Asset Approval Workflows
Updated
It is sacrosanct to have only brand-compliant media get published. Approval Workflows ensure that the right individuals review and authorize assets based on predetermined criteria.
In this article, we will explore the steps involved in setting up an approval workflow, understand the Asset streams related to asset approvals, and learn how to manage assets awaiting approval or those that have been rejected.
By implementing a robust approval workflow, businesses can maintain quality control and ensure the integrity of their content and media.
Create Asset Approval Workflow:
To initiate an approval workflow, navigate to the Settings section in Sprinklr and search for Approval Workflows.
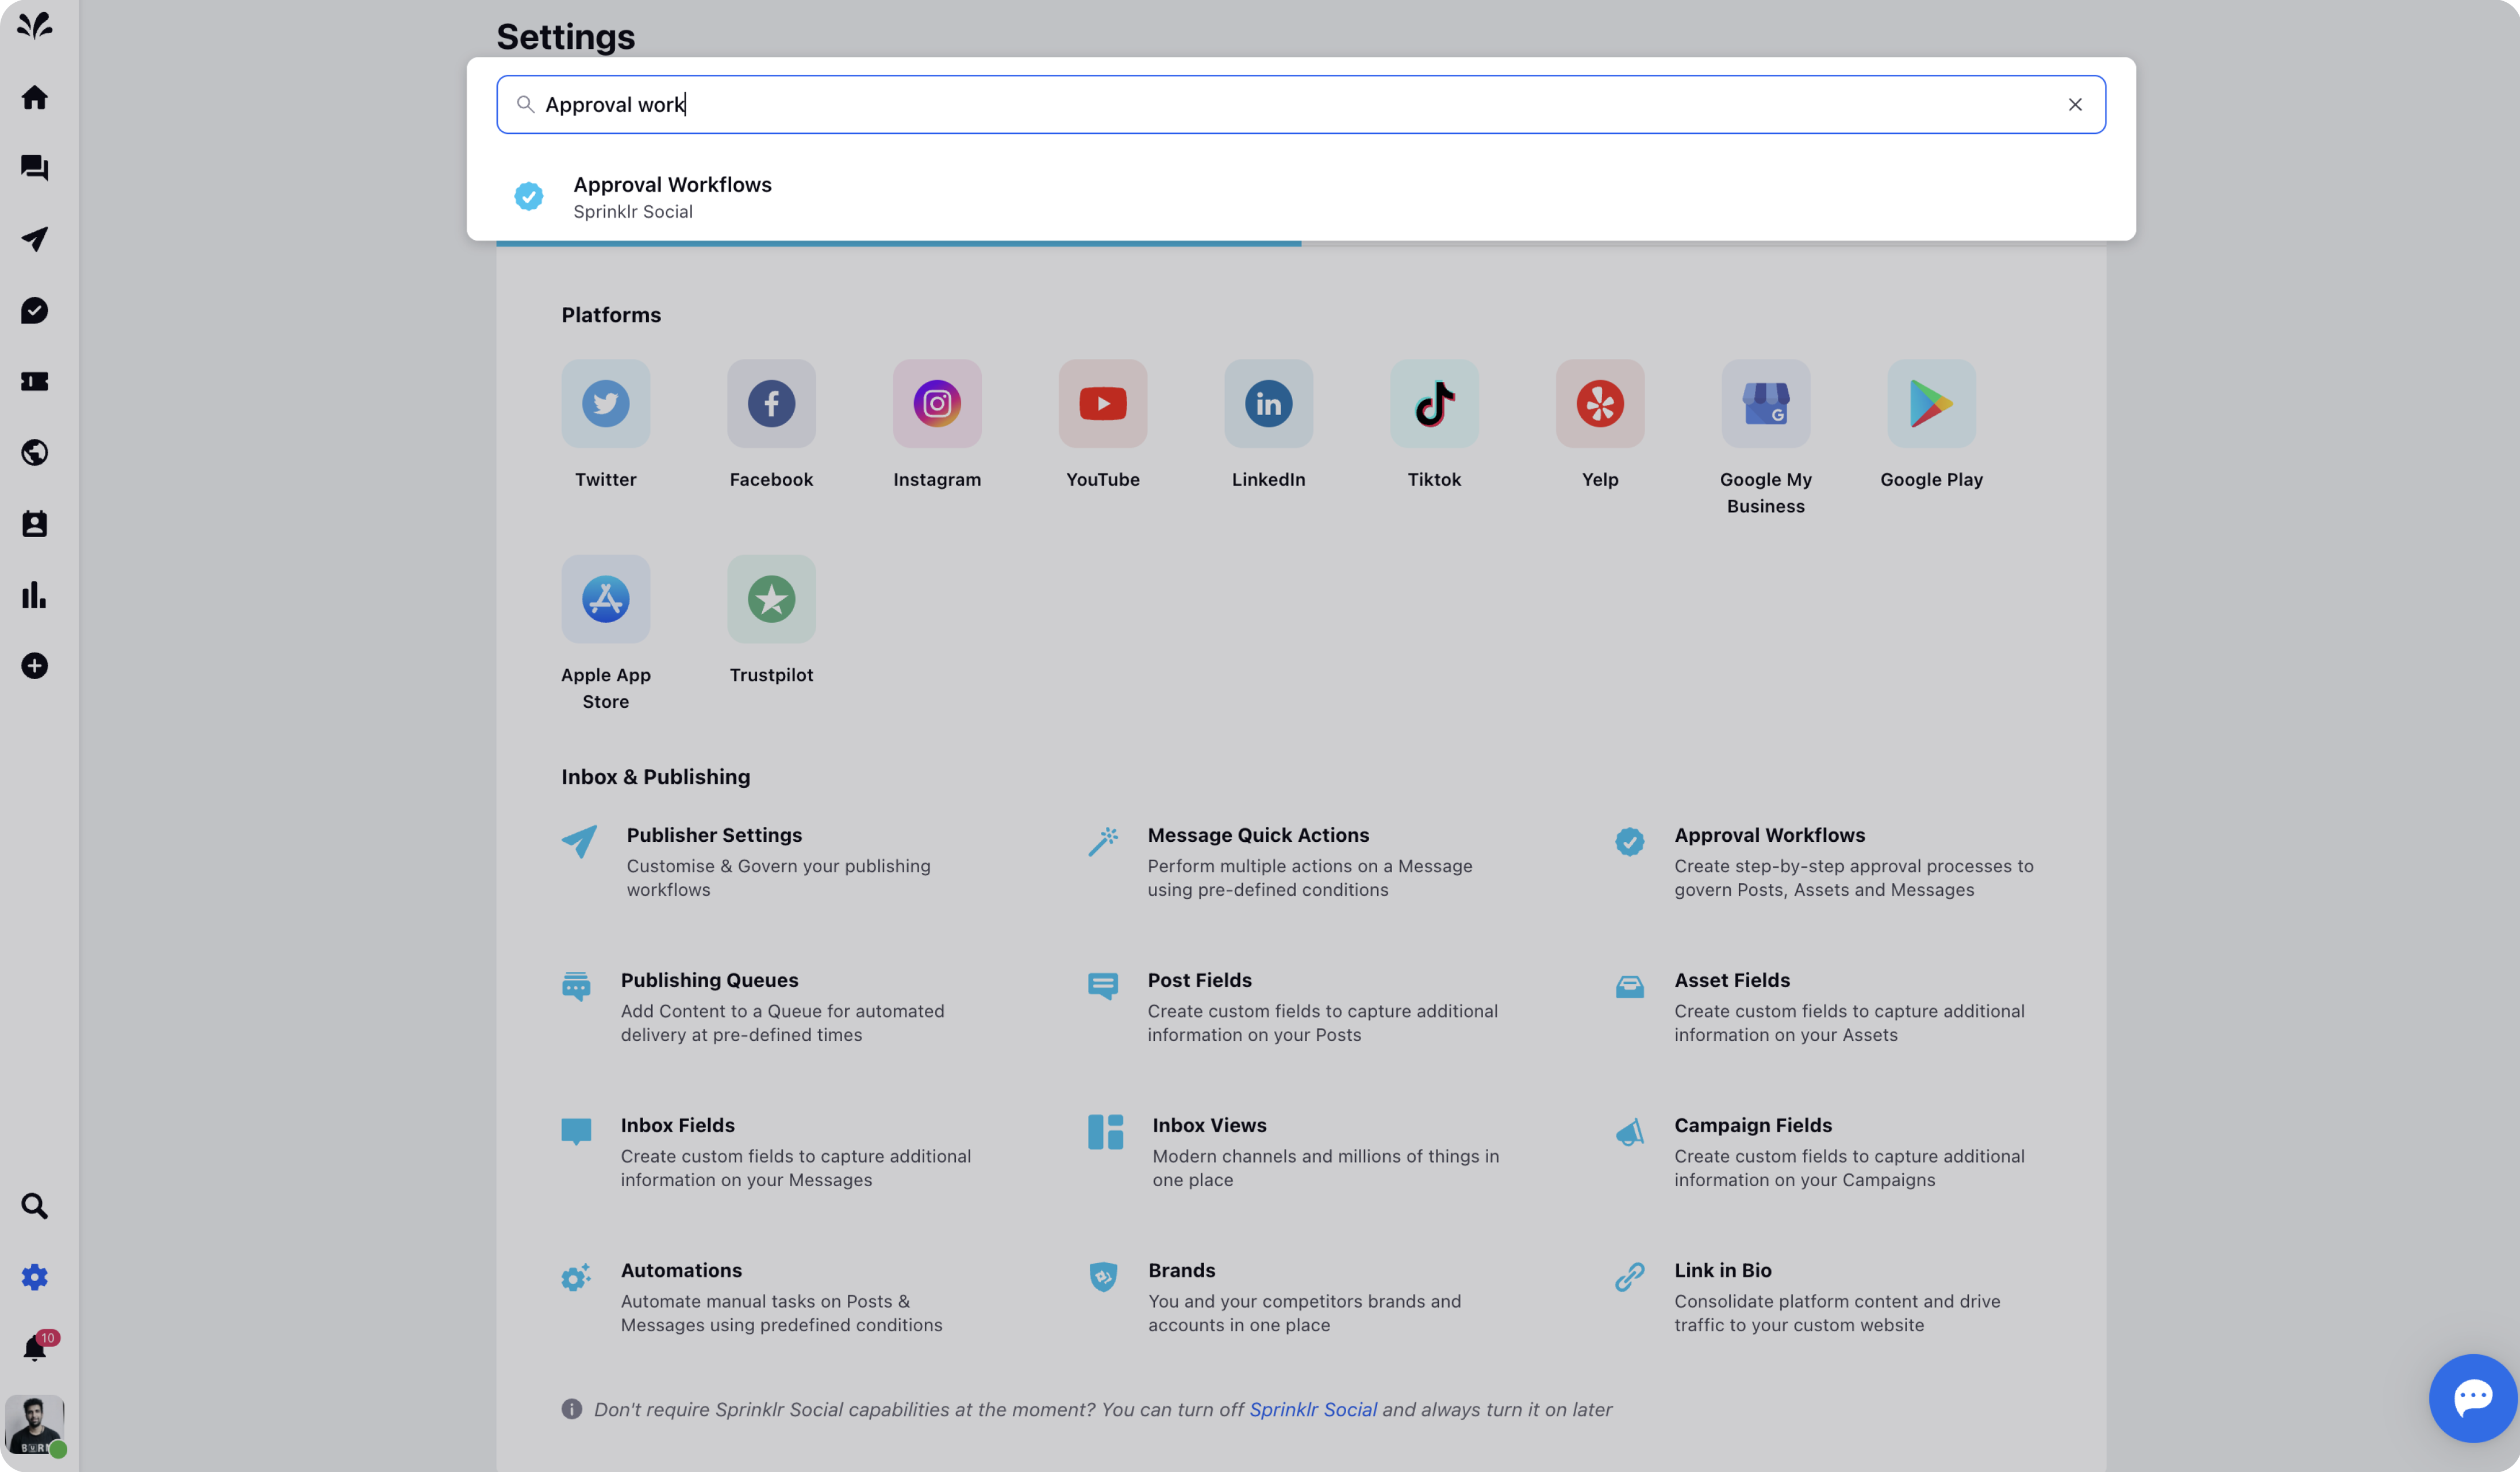
Move to the Assets tab on Approval Workflows page and click on Create Workflow in the top right corner.

Provide the required details, such as the name, step name, and approver name, under Configure Workflow.
Note: You can add a workflow for multiple entities by selecting values such as Post, Message or Asset in the 'Applicable On' field.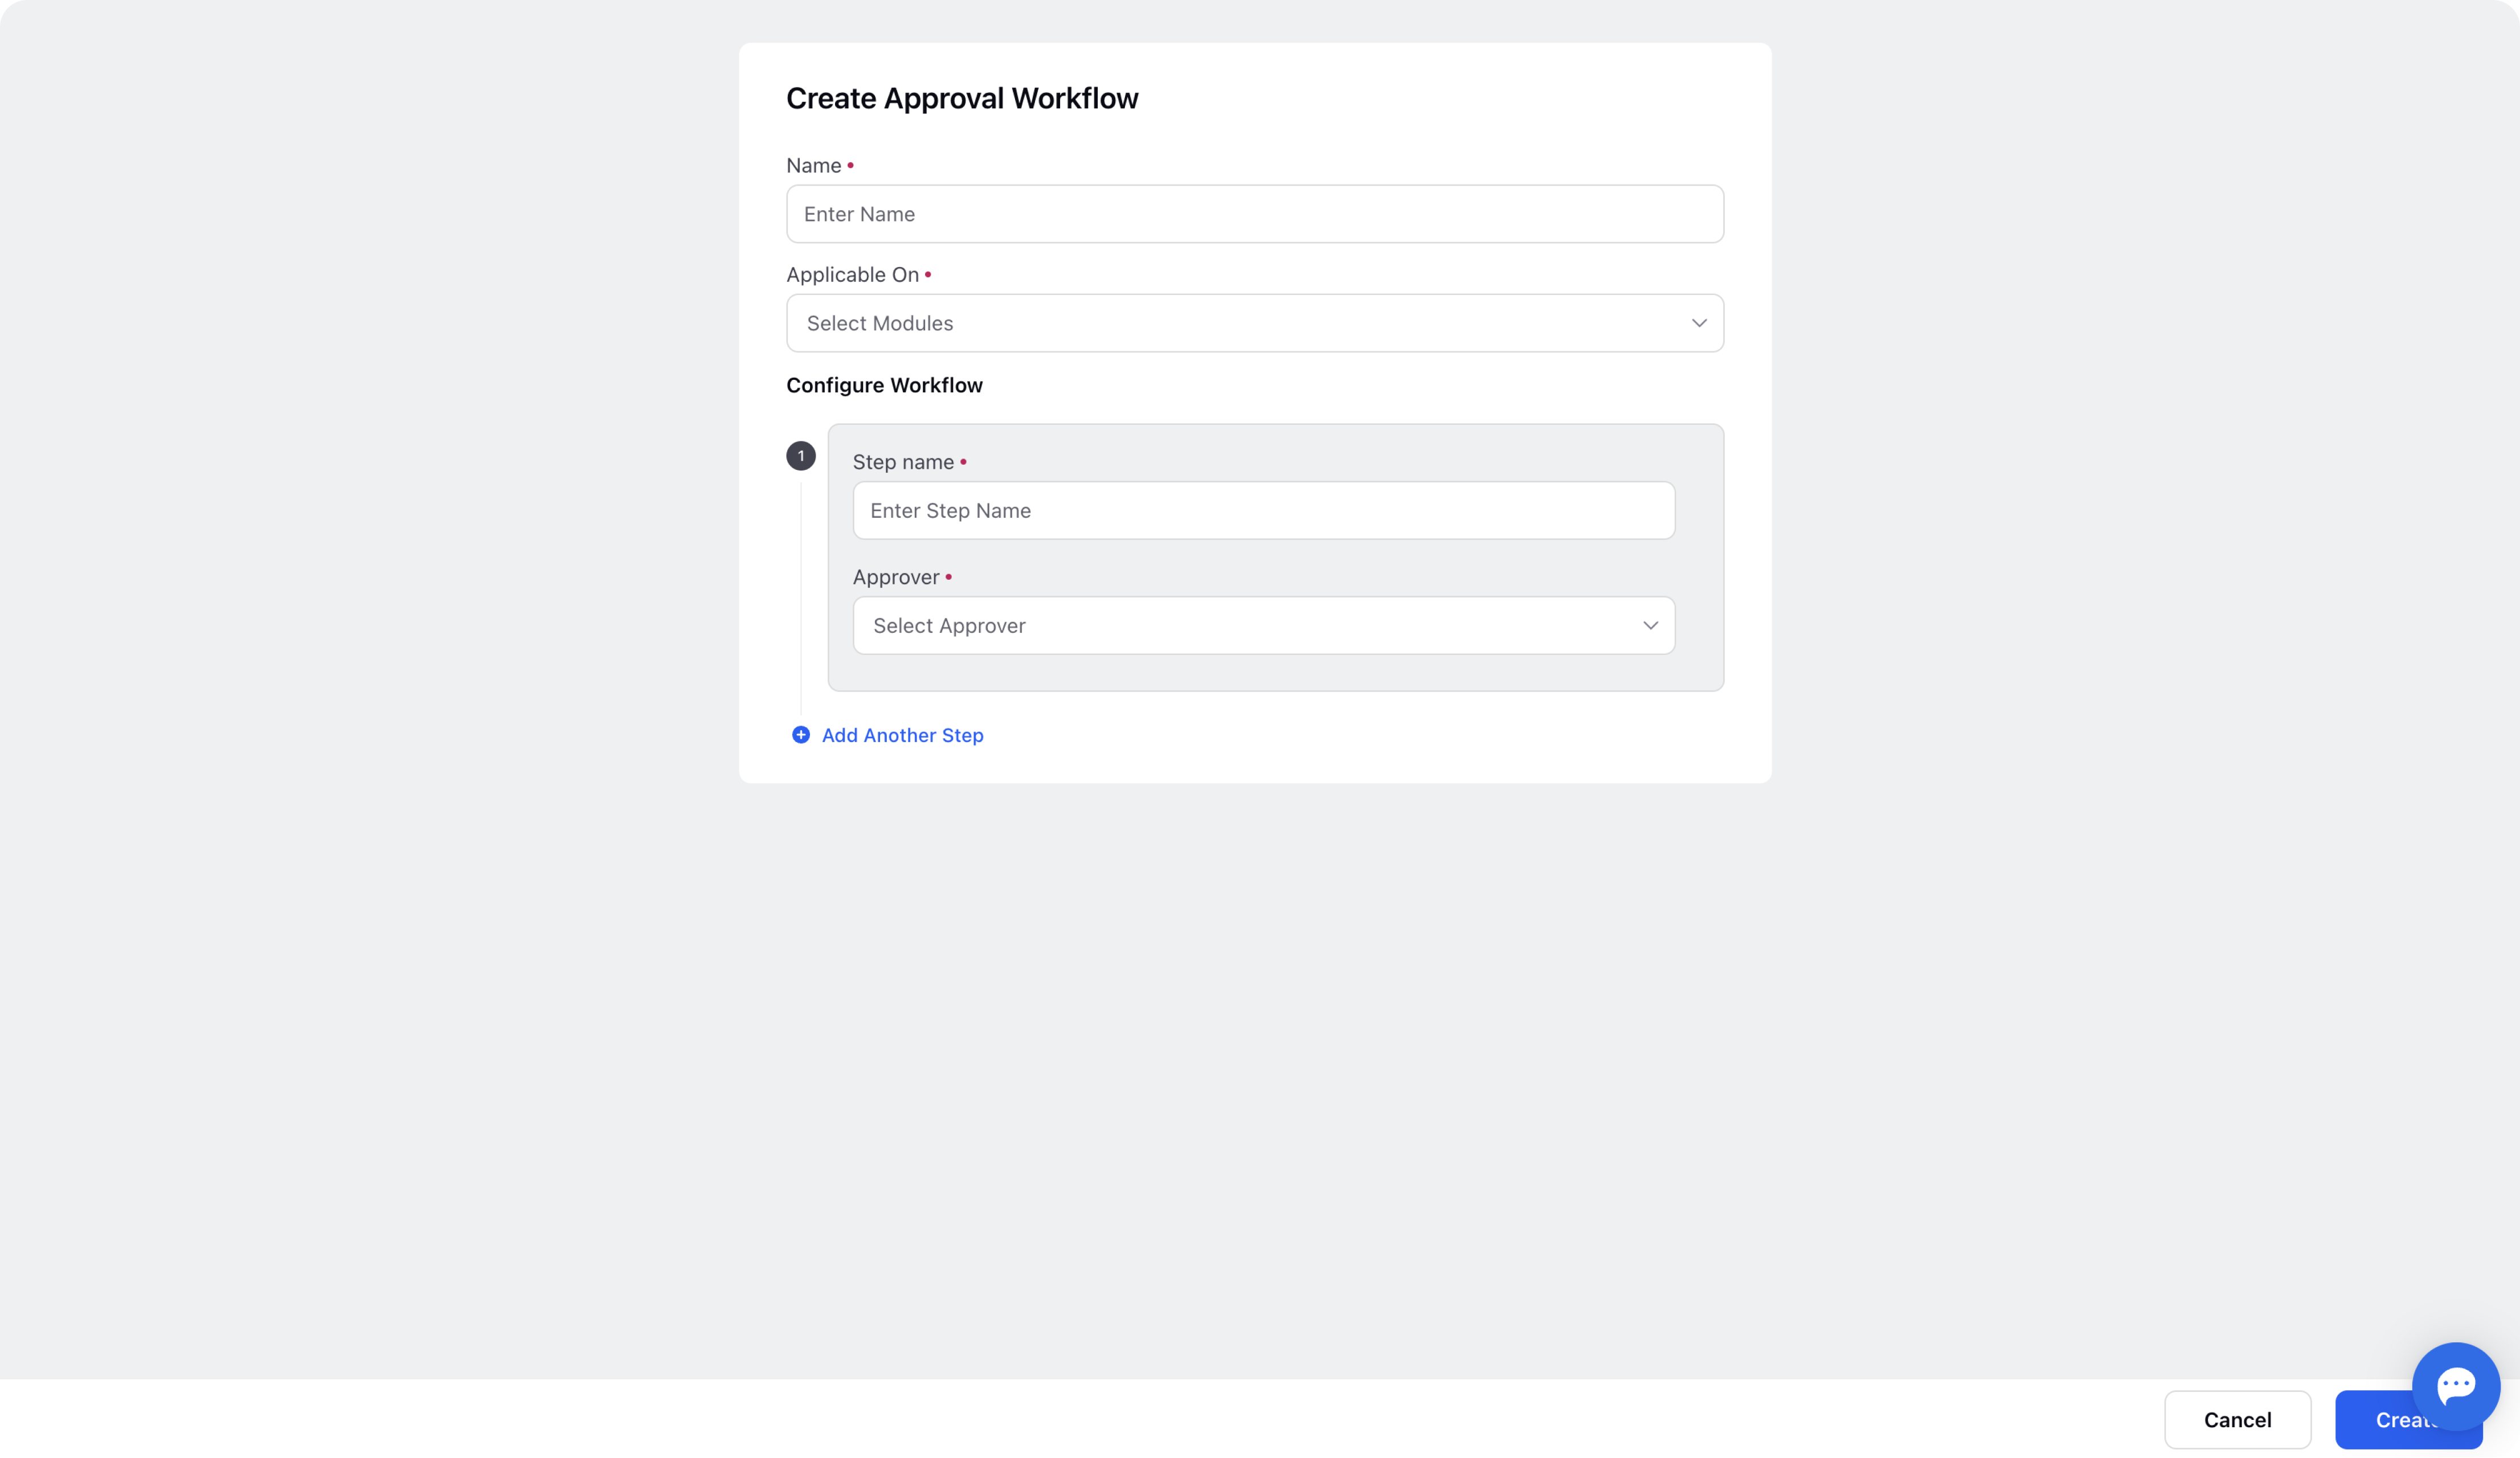
Once completed, click Create to finalize the creation of the workflow.
Asset Approval Views in Asset Manager
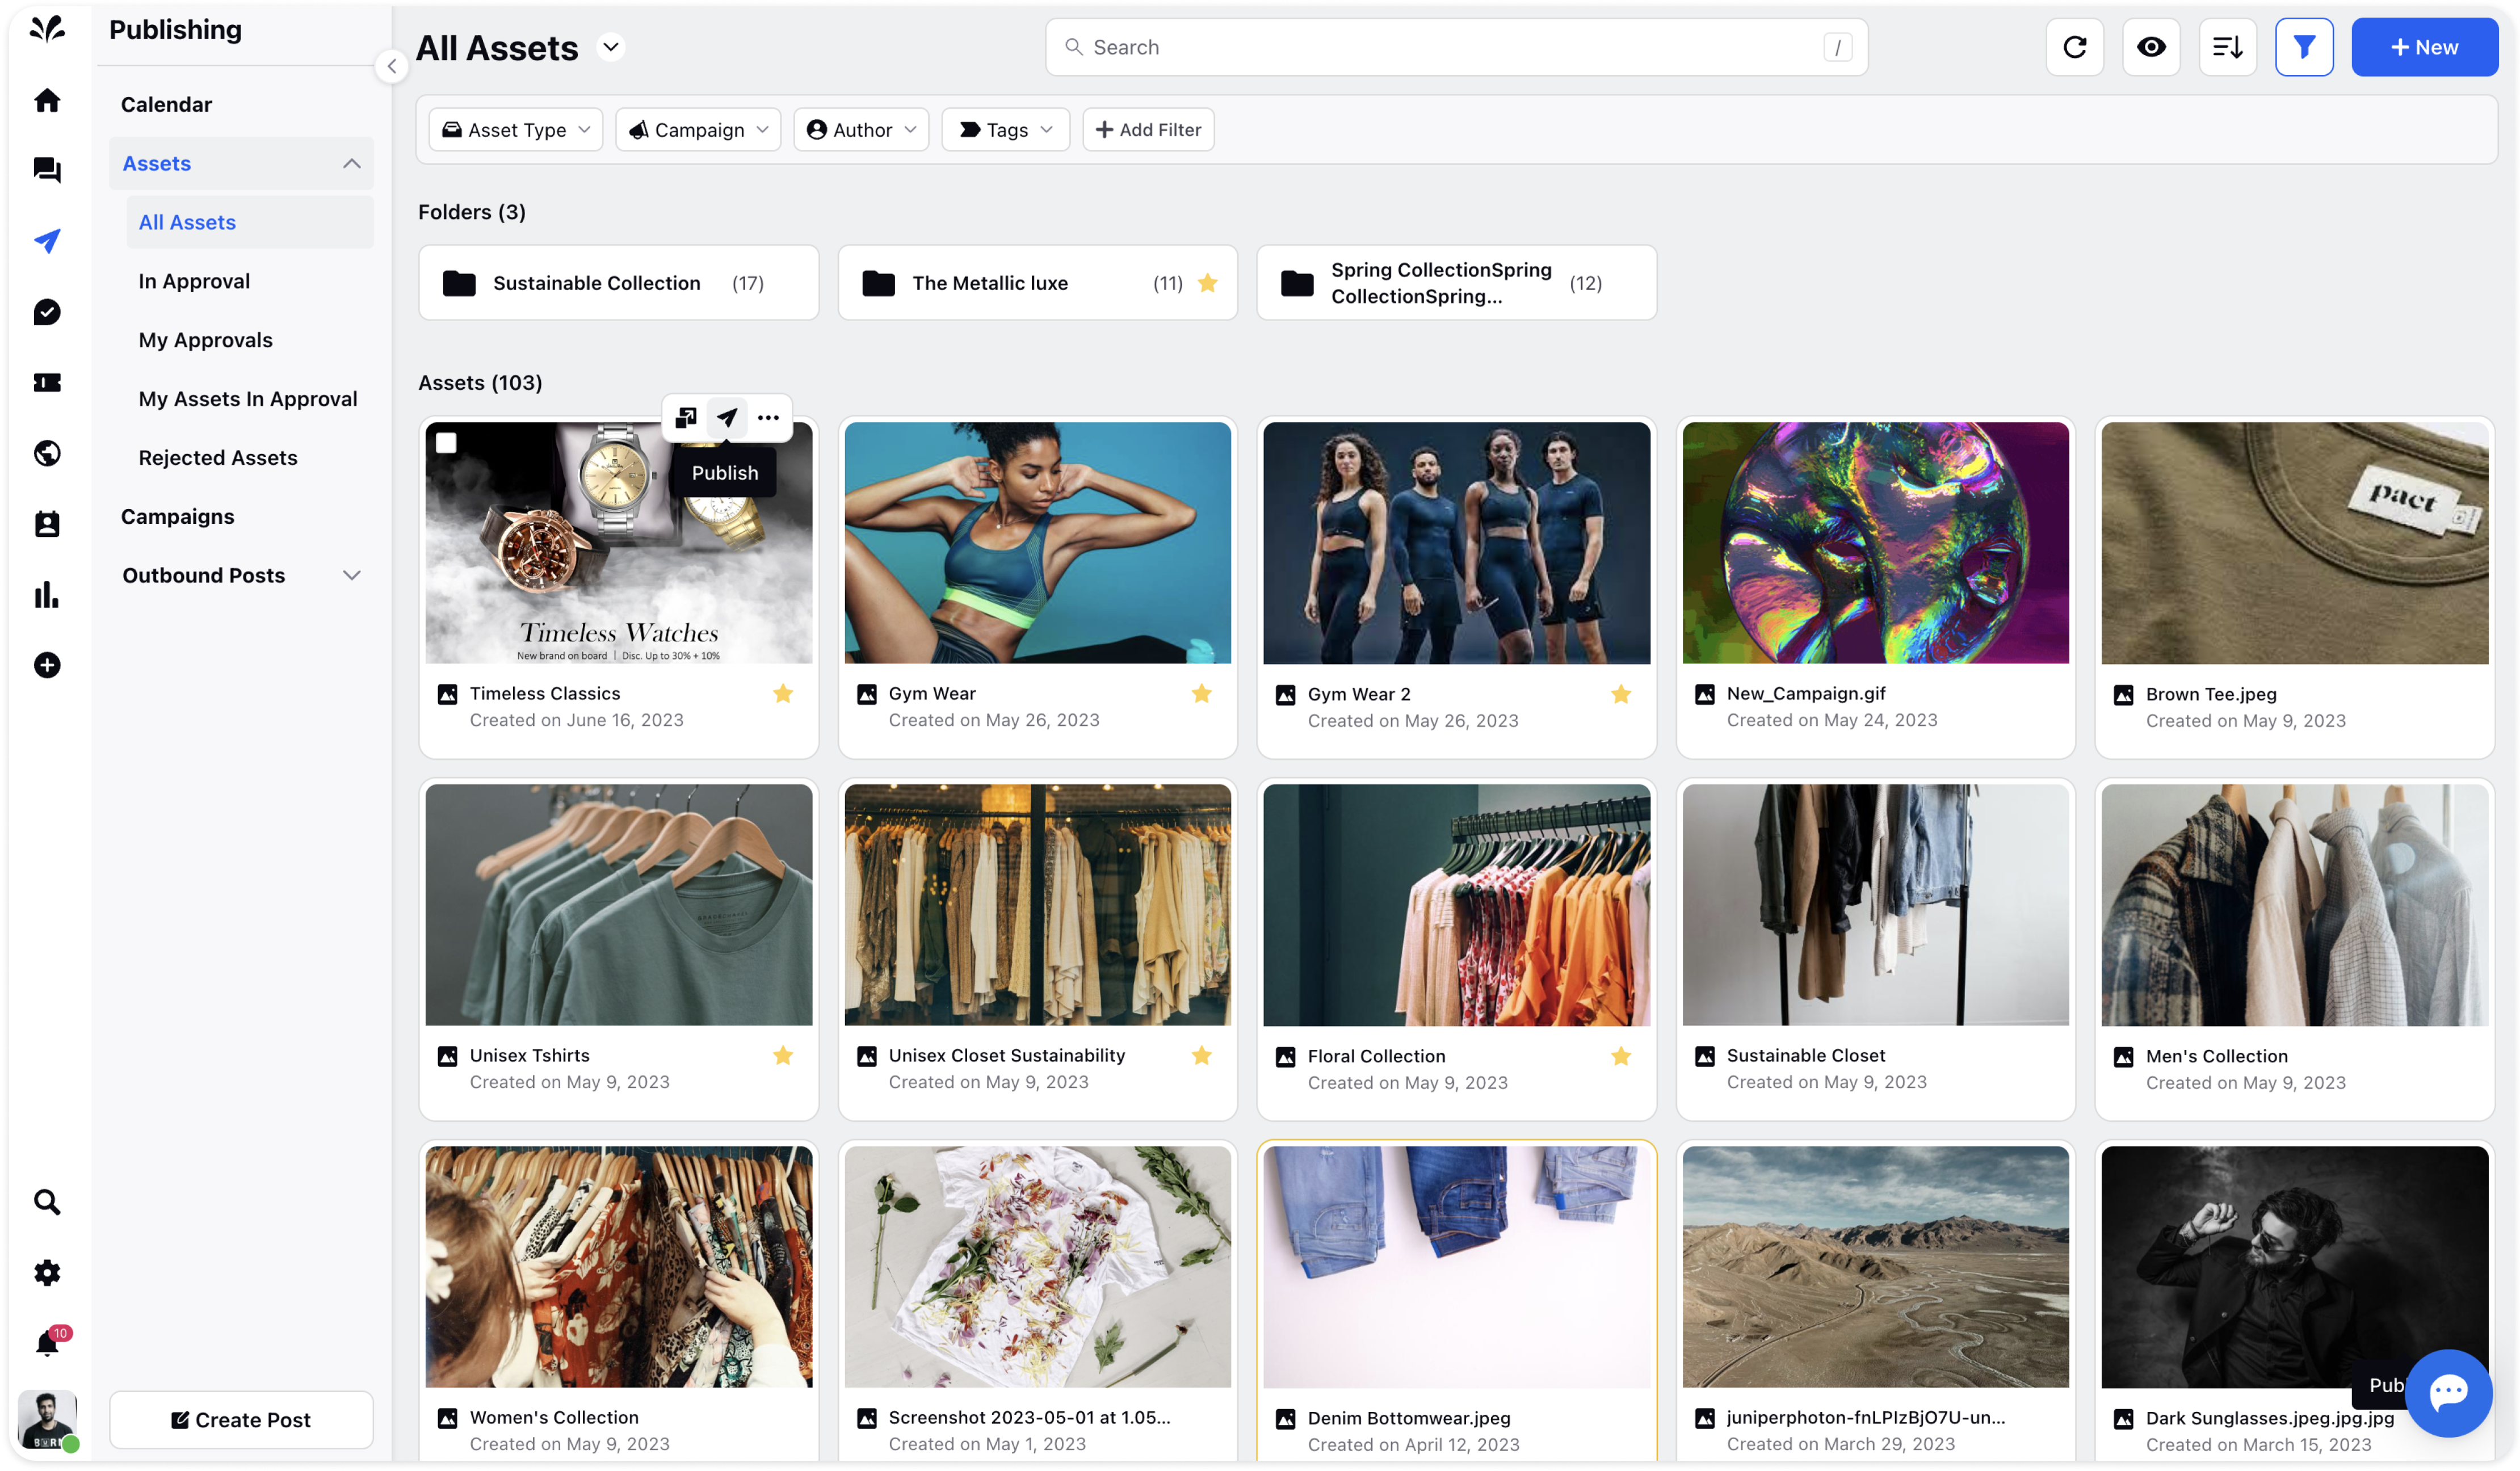
There are several pre-configured streams or Views to access & manage assets approvals. These views can be accessed from the sub-navigation pane or from the Views dropdown on top left i.e. All Assets
All Assets: This View displays the list of created assets. Clicking on an asset provides a detailed view in the third pane.
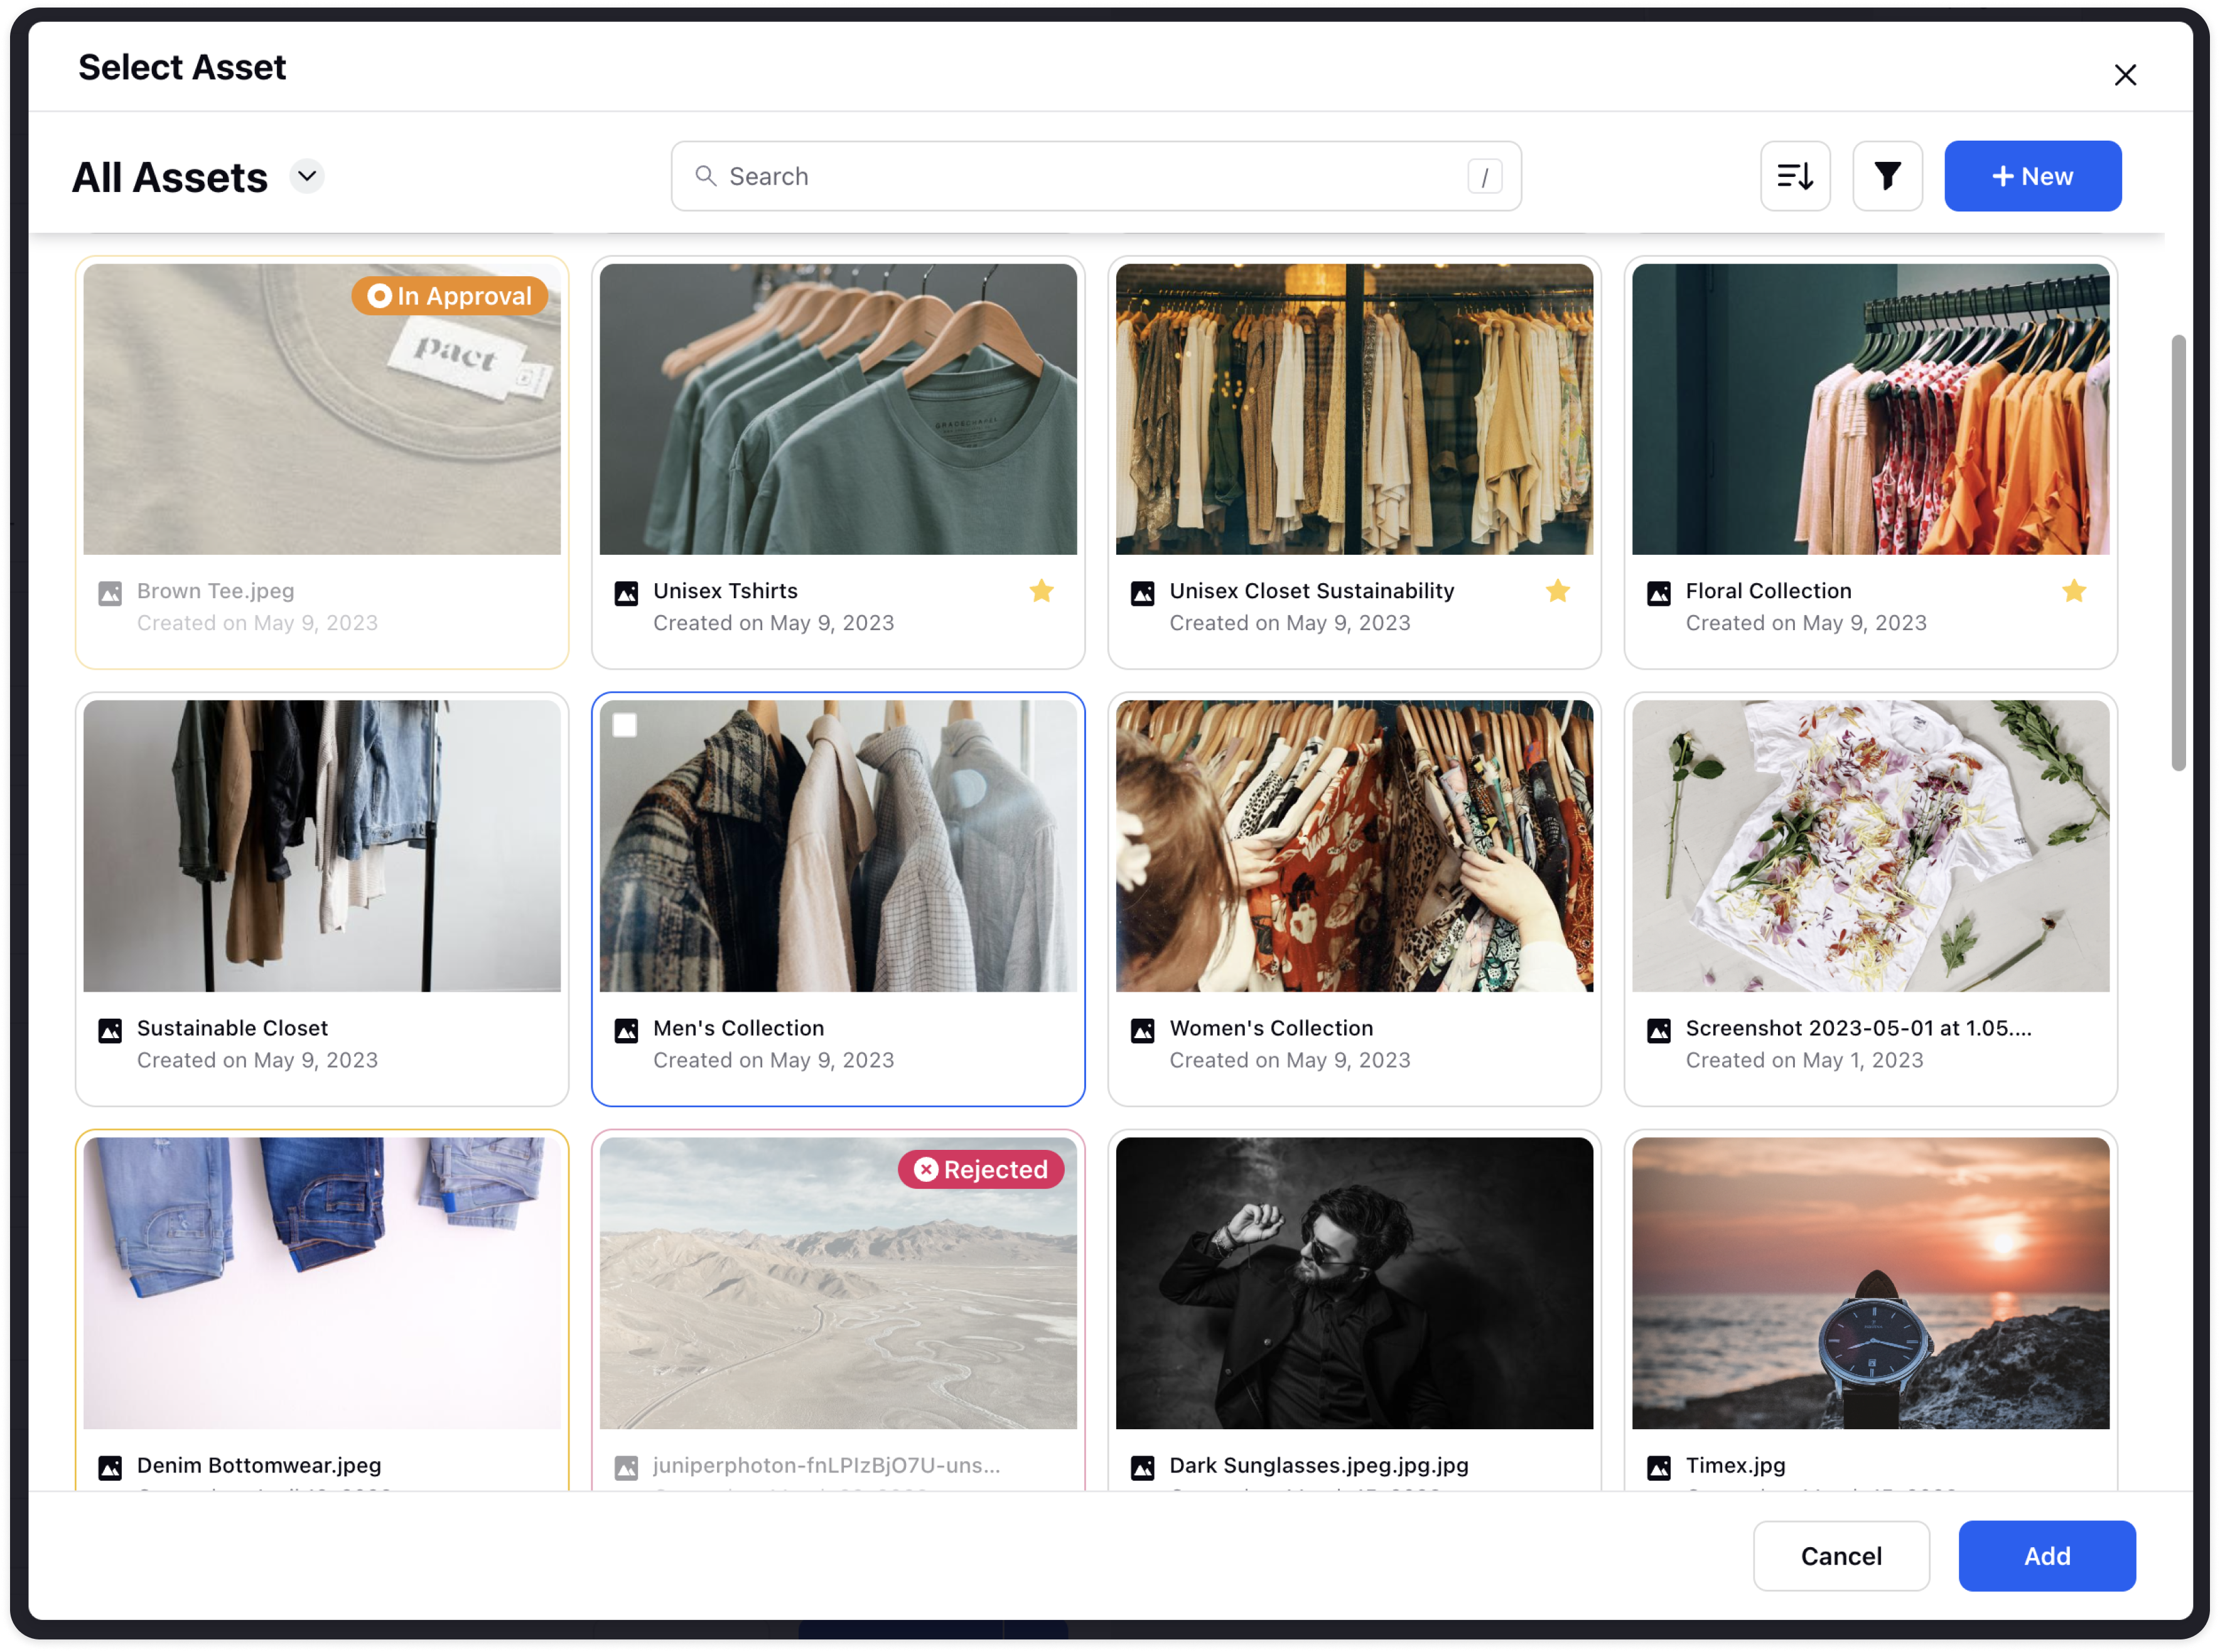
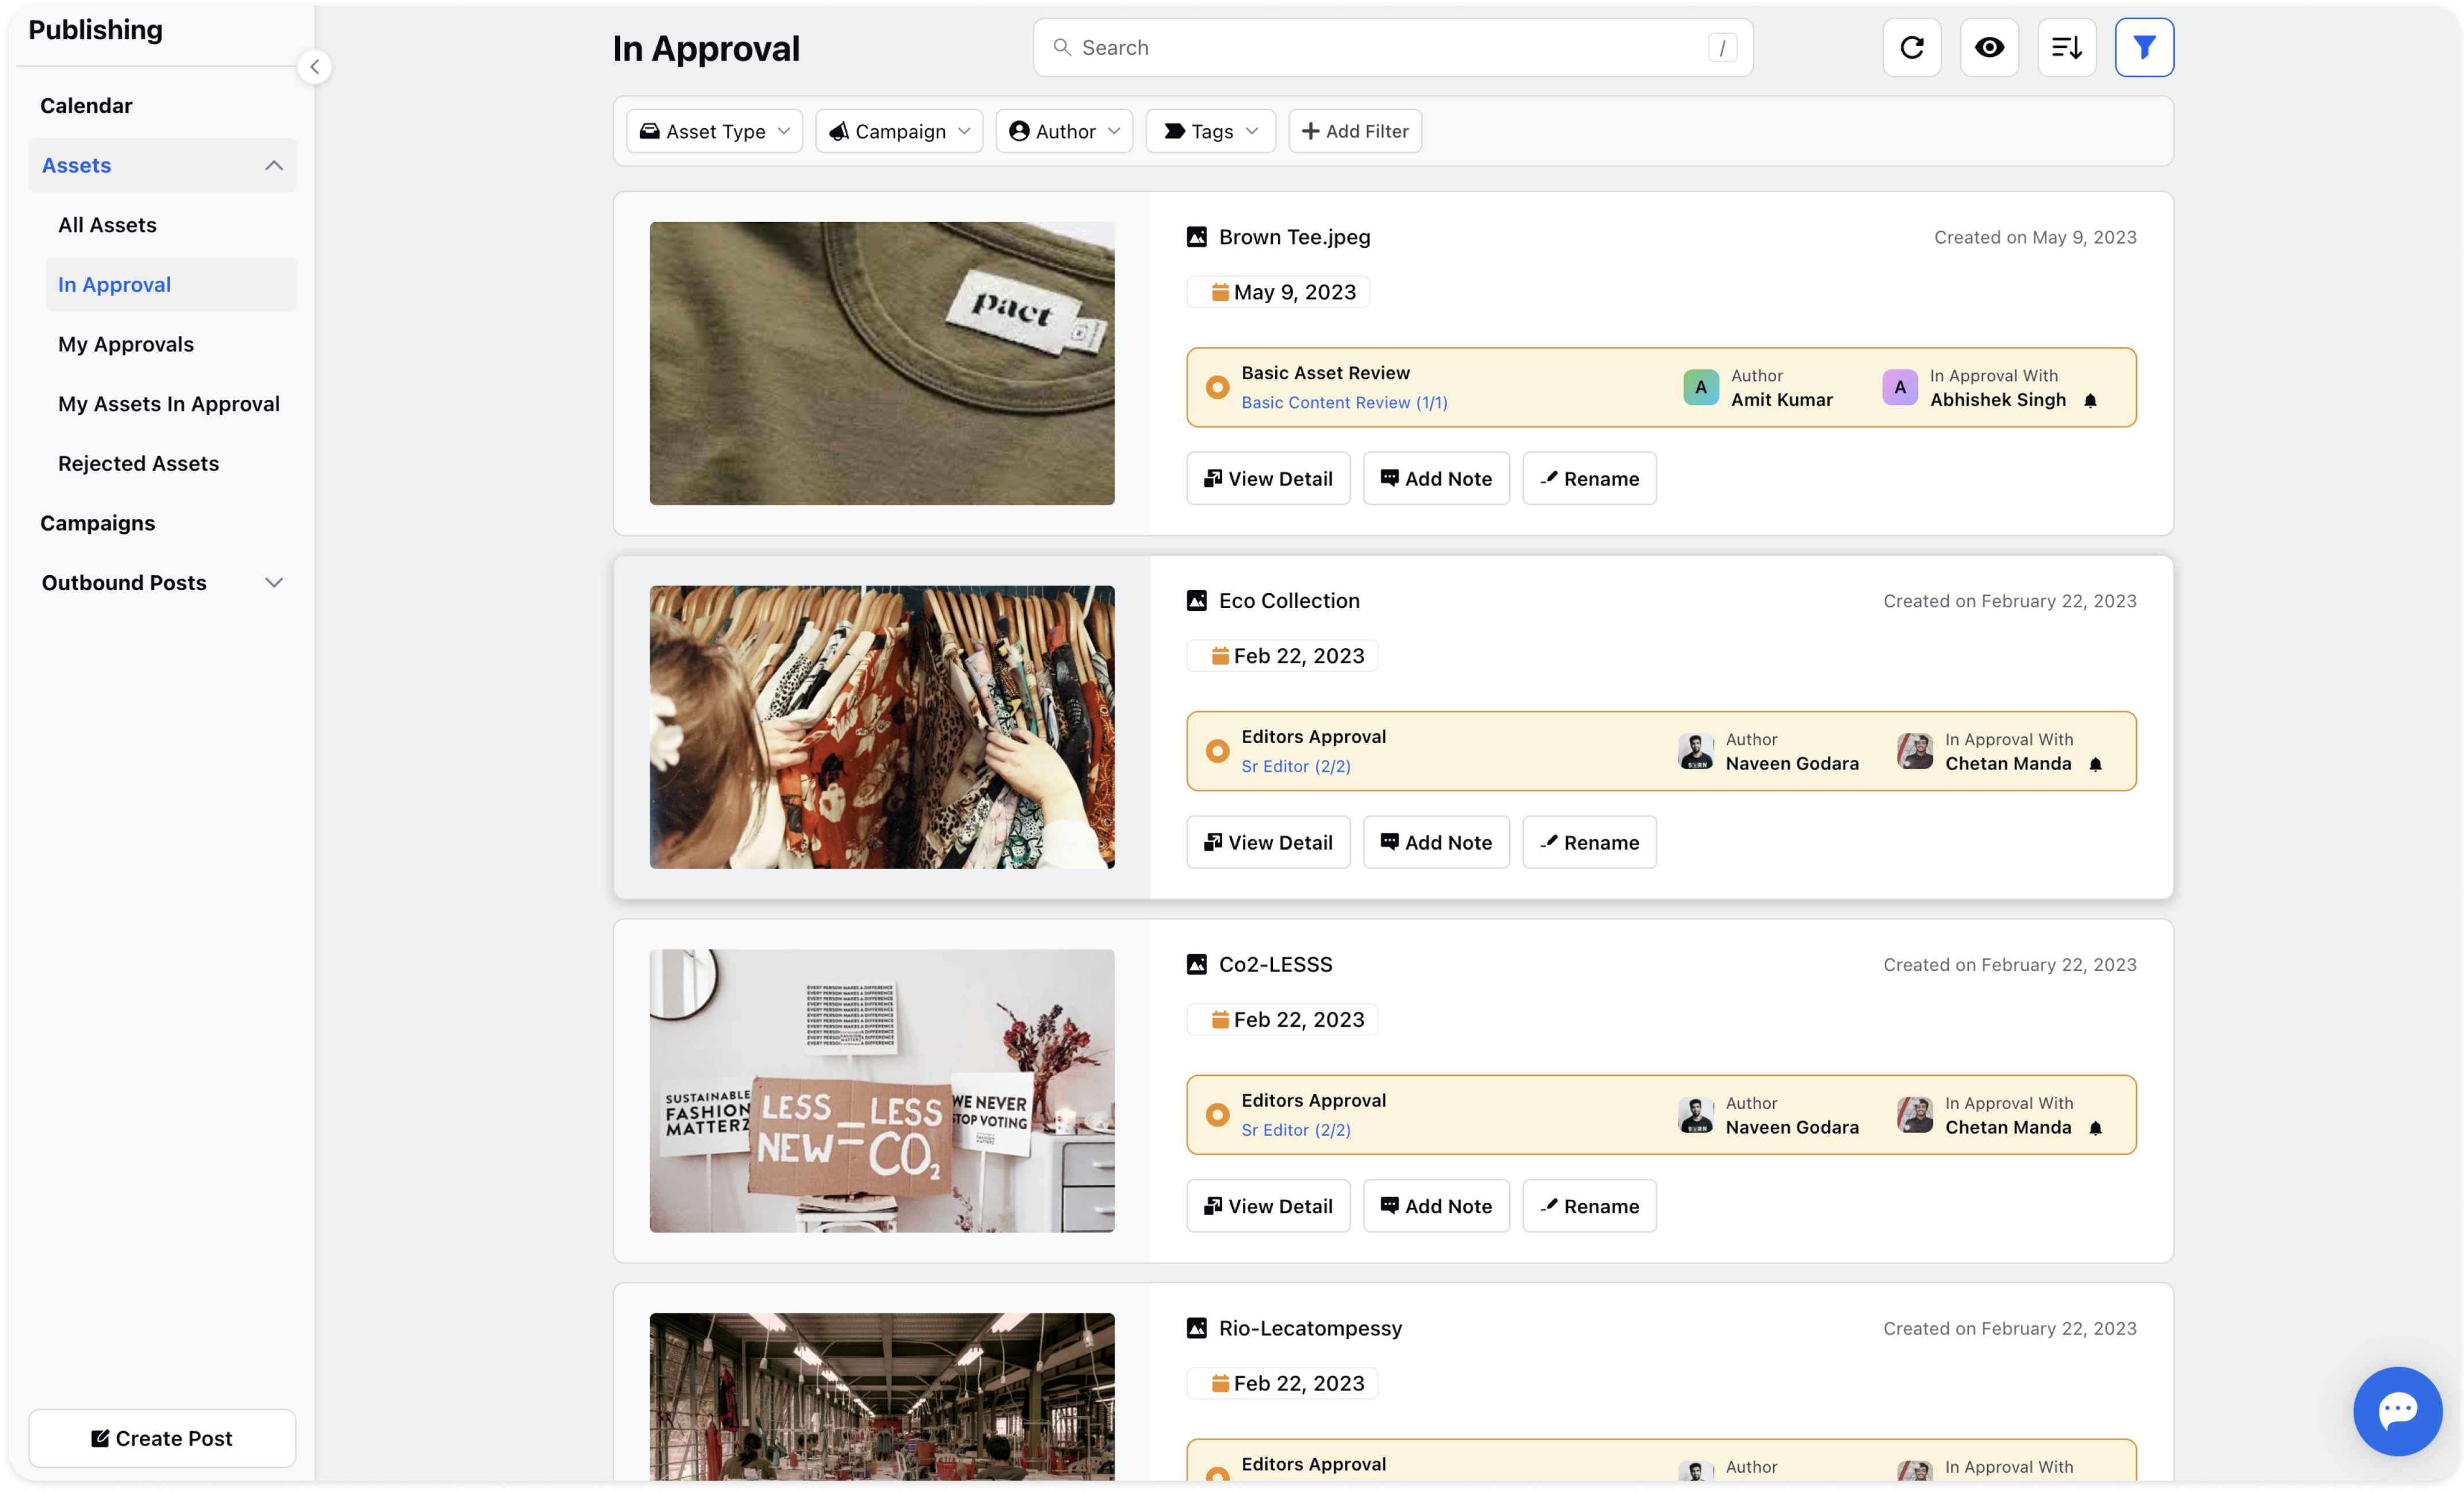
In Approval: Assets that require approval are listed in this section. Each asset shows the author's name, the approver's name, and the date the asset was submitted for approval. Actions available include View Detail, Add Note, and Rename.
My Approvals: In this section, you can find a list of assets that require your approval.
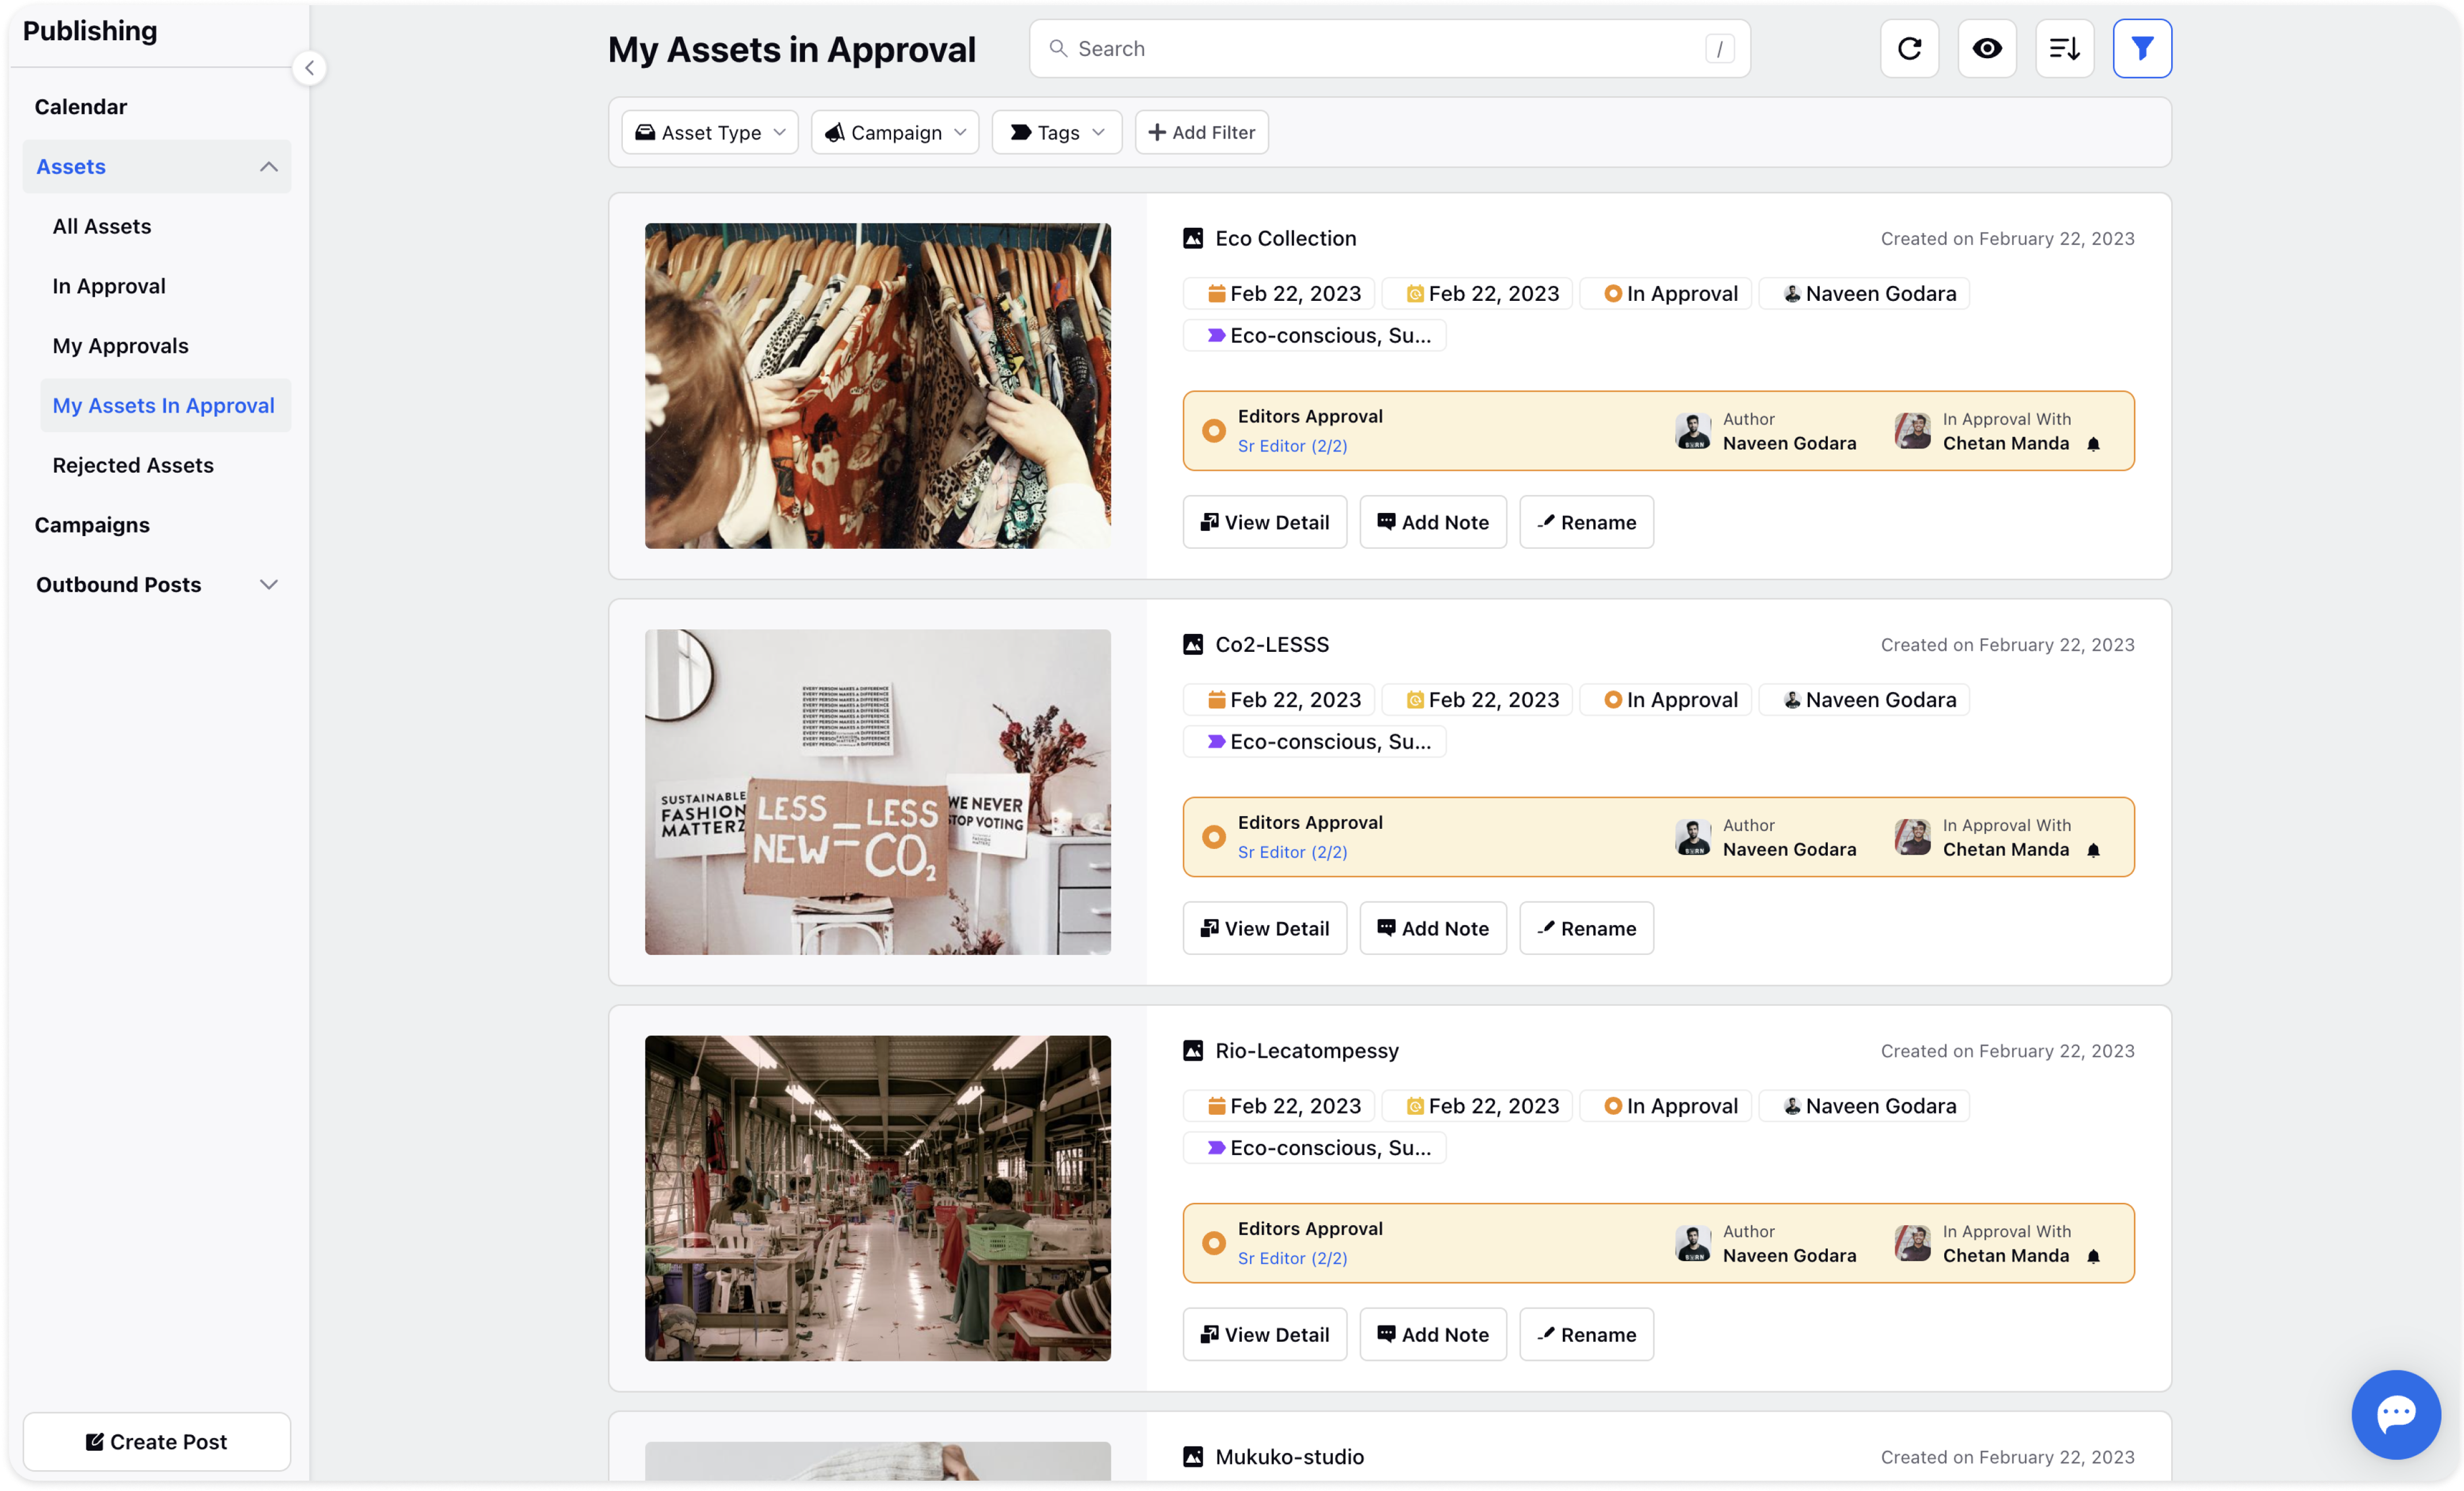
My Assets in Approval: This section displays assets created by you that require approval from another approver.
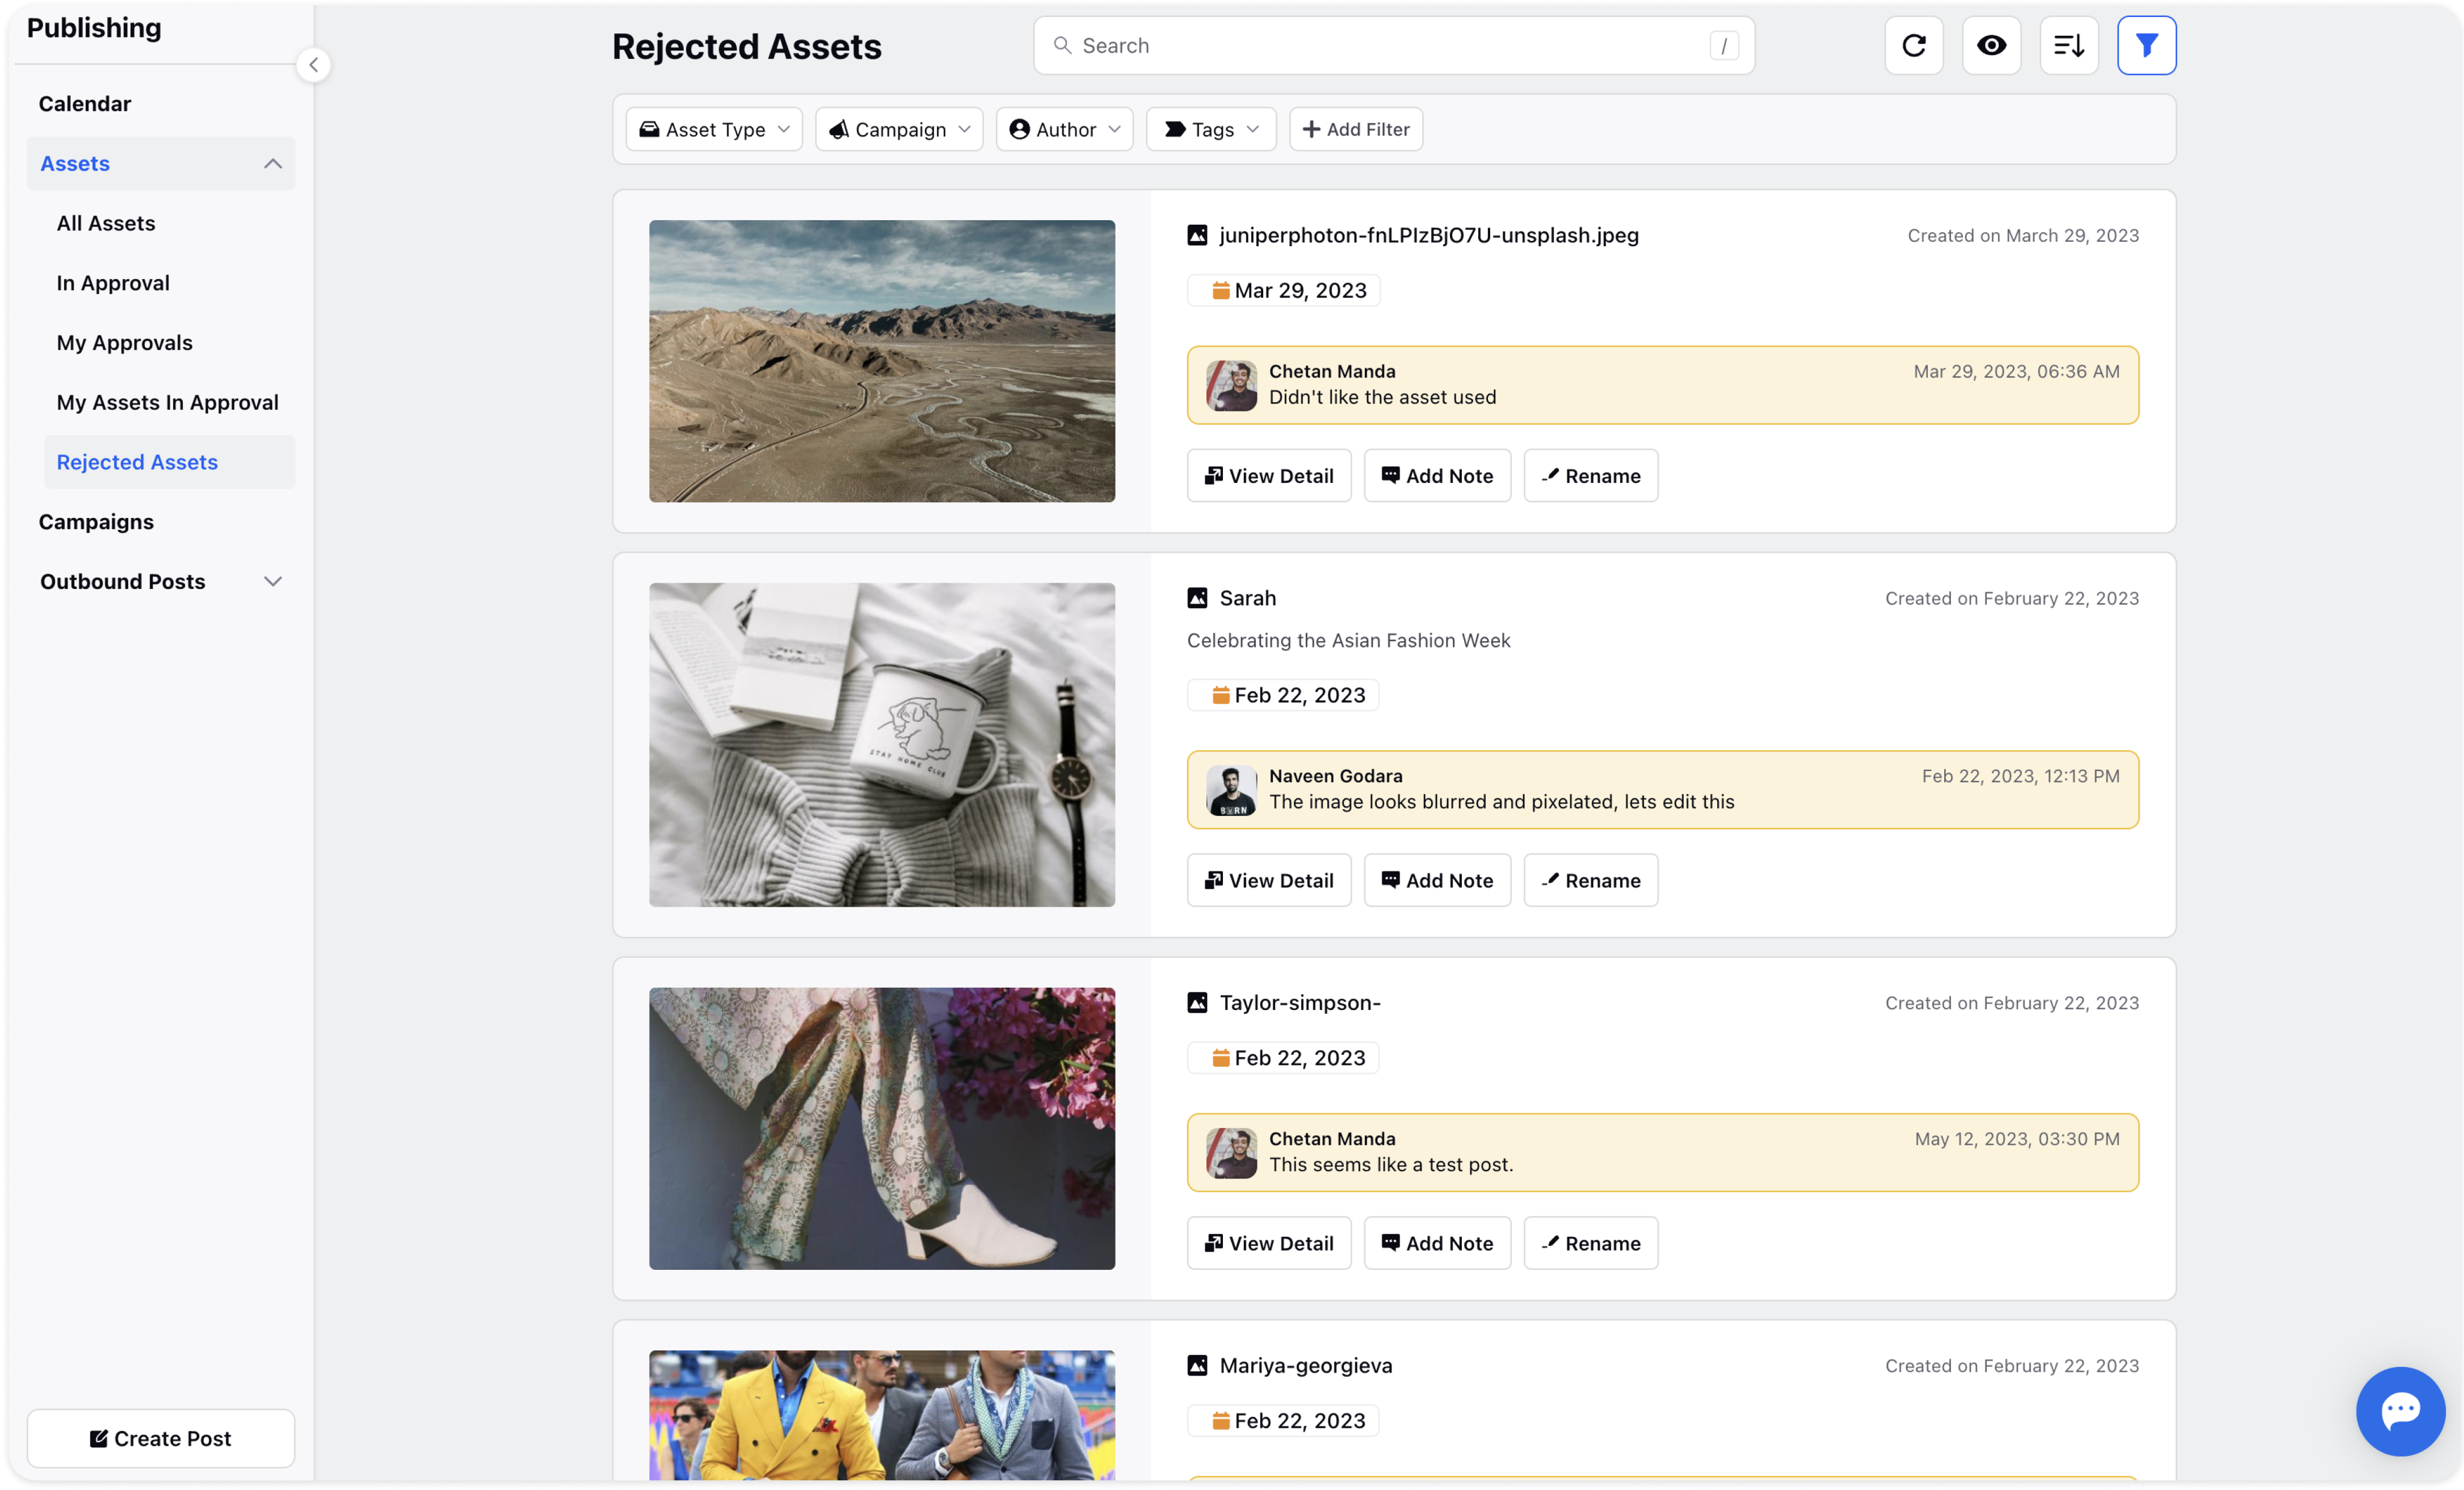
Rejected Assets: Here, you can find a list of assets that have been rejected by the approver. The rejection reason is stated in a yellow box.
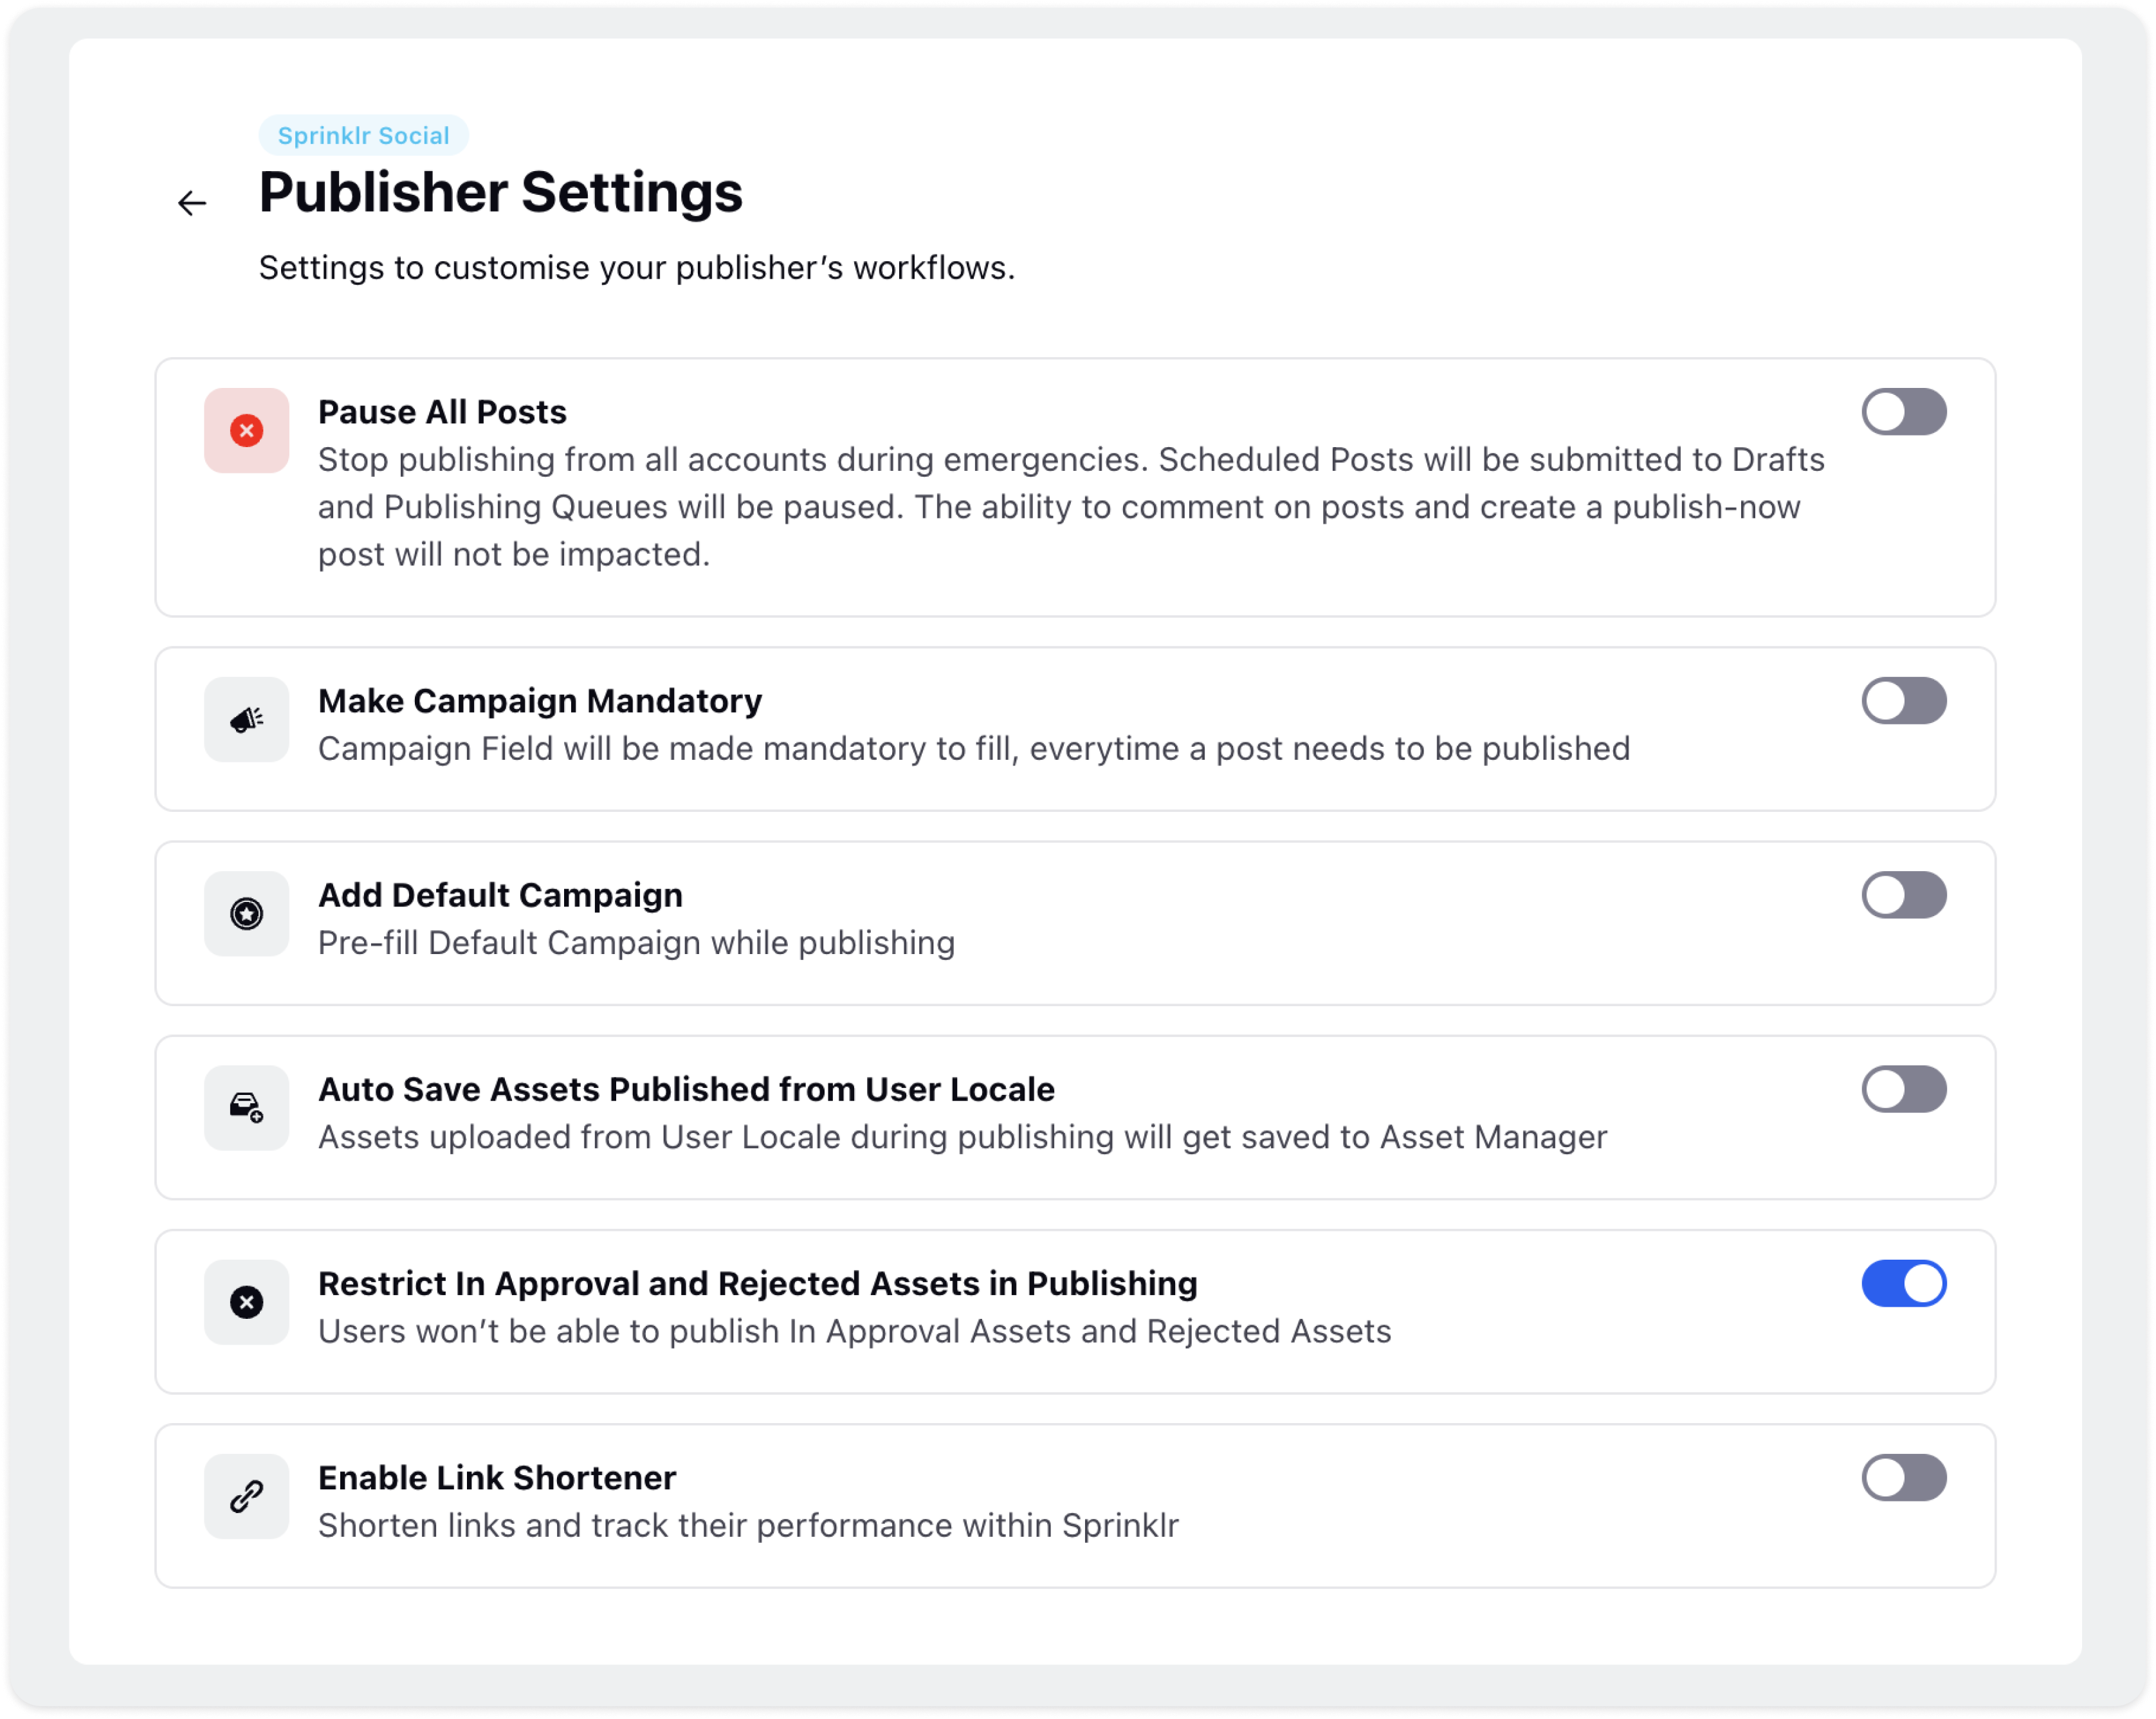
Restrict In-approval & Rejected Assets Publishing
To restrict pending approval assets from being published, go to Settings on the platform and search for Publisher Settings.
Toggle on the option to Restrict In Approval and Rejected Assets in Publishing. This ensures that users cannot publish assets in the approval or rejected state.
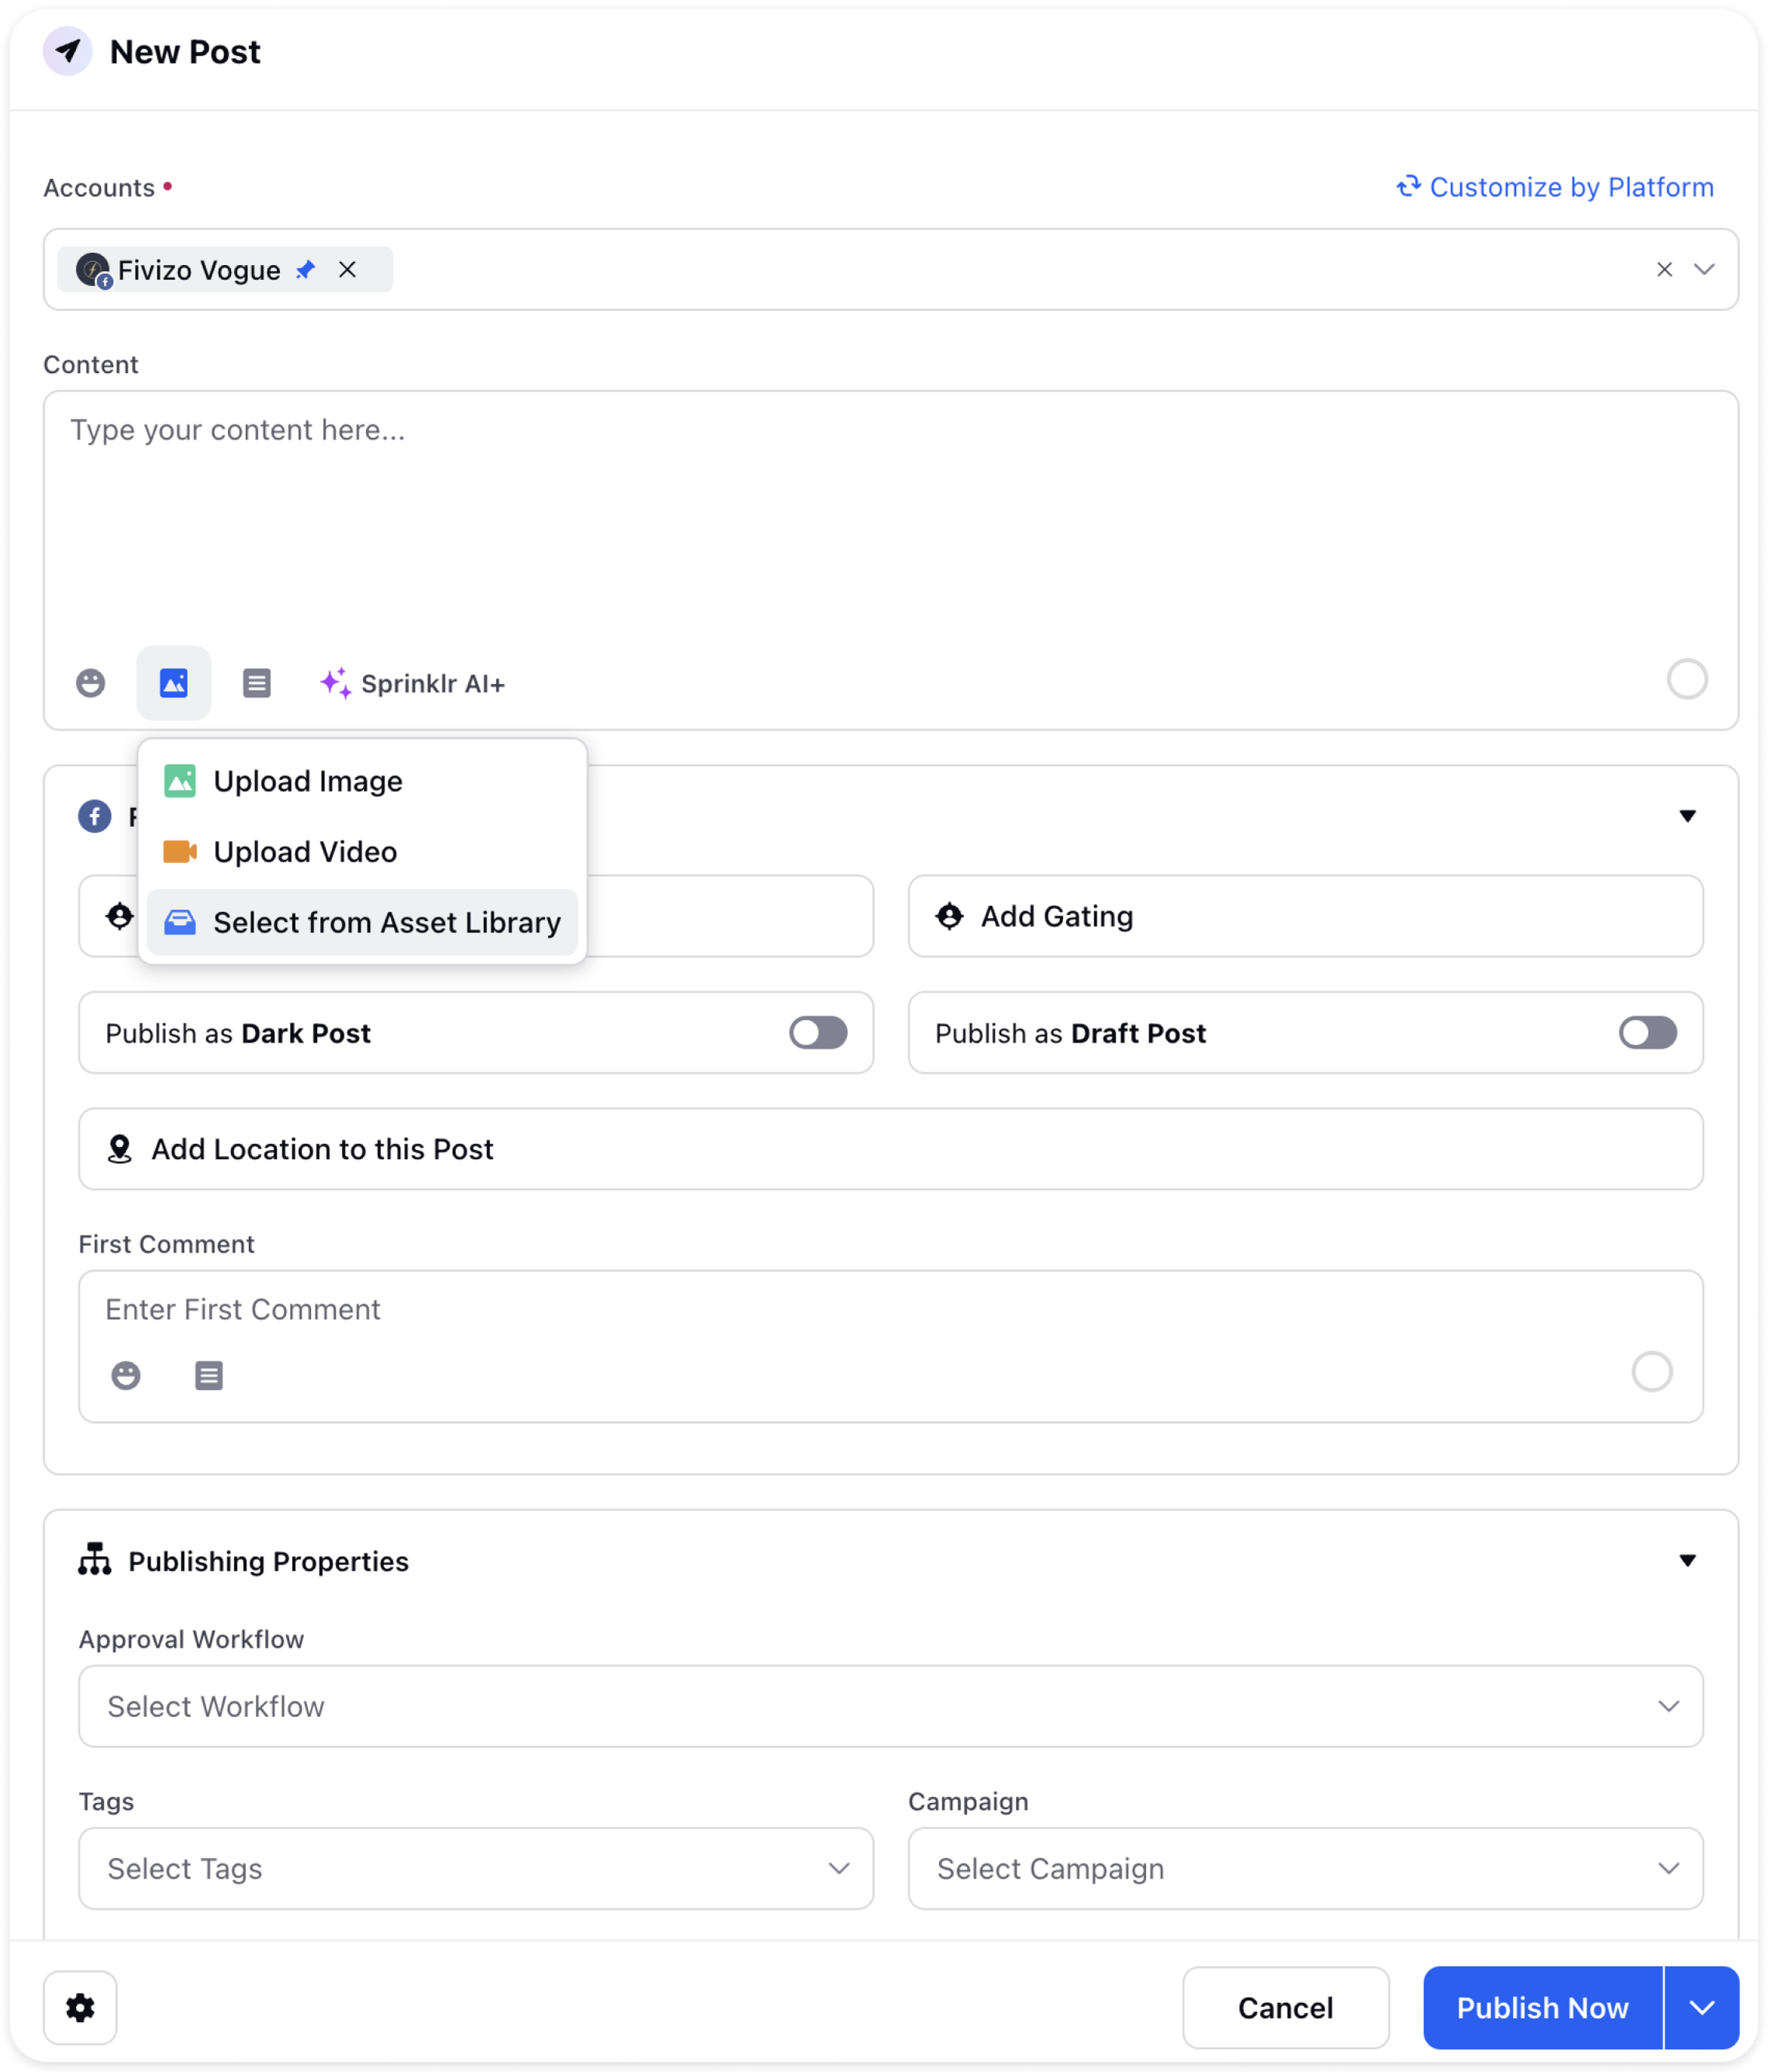
When selecting assets for publication, assets under In-approval or Rejected status will be unavailable if the corresponding toggle is enabled. Only approved can be selected.