
Upload Assets in Asset Manager
Updated
The Asset Manager is an essential tool for managing all your media assets, documents, templates, and more. It is a versatile tool that provides you with the ability to manage your assets in a manner that is tailored to your specific needs.
To add Assets to the Asset Manager:
1. Go to Asset Manager.
2. Click on "+ New" on top right corner and choose the Asset type you want to add. Upload the asset from your computer by selecting a file from your device. Alternatively, you can always drag and drop from your desktop itself.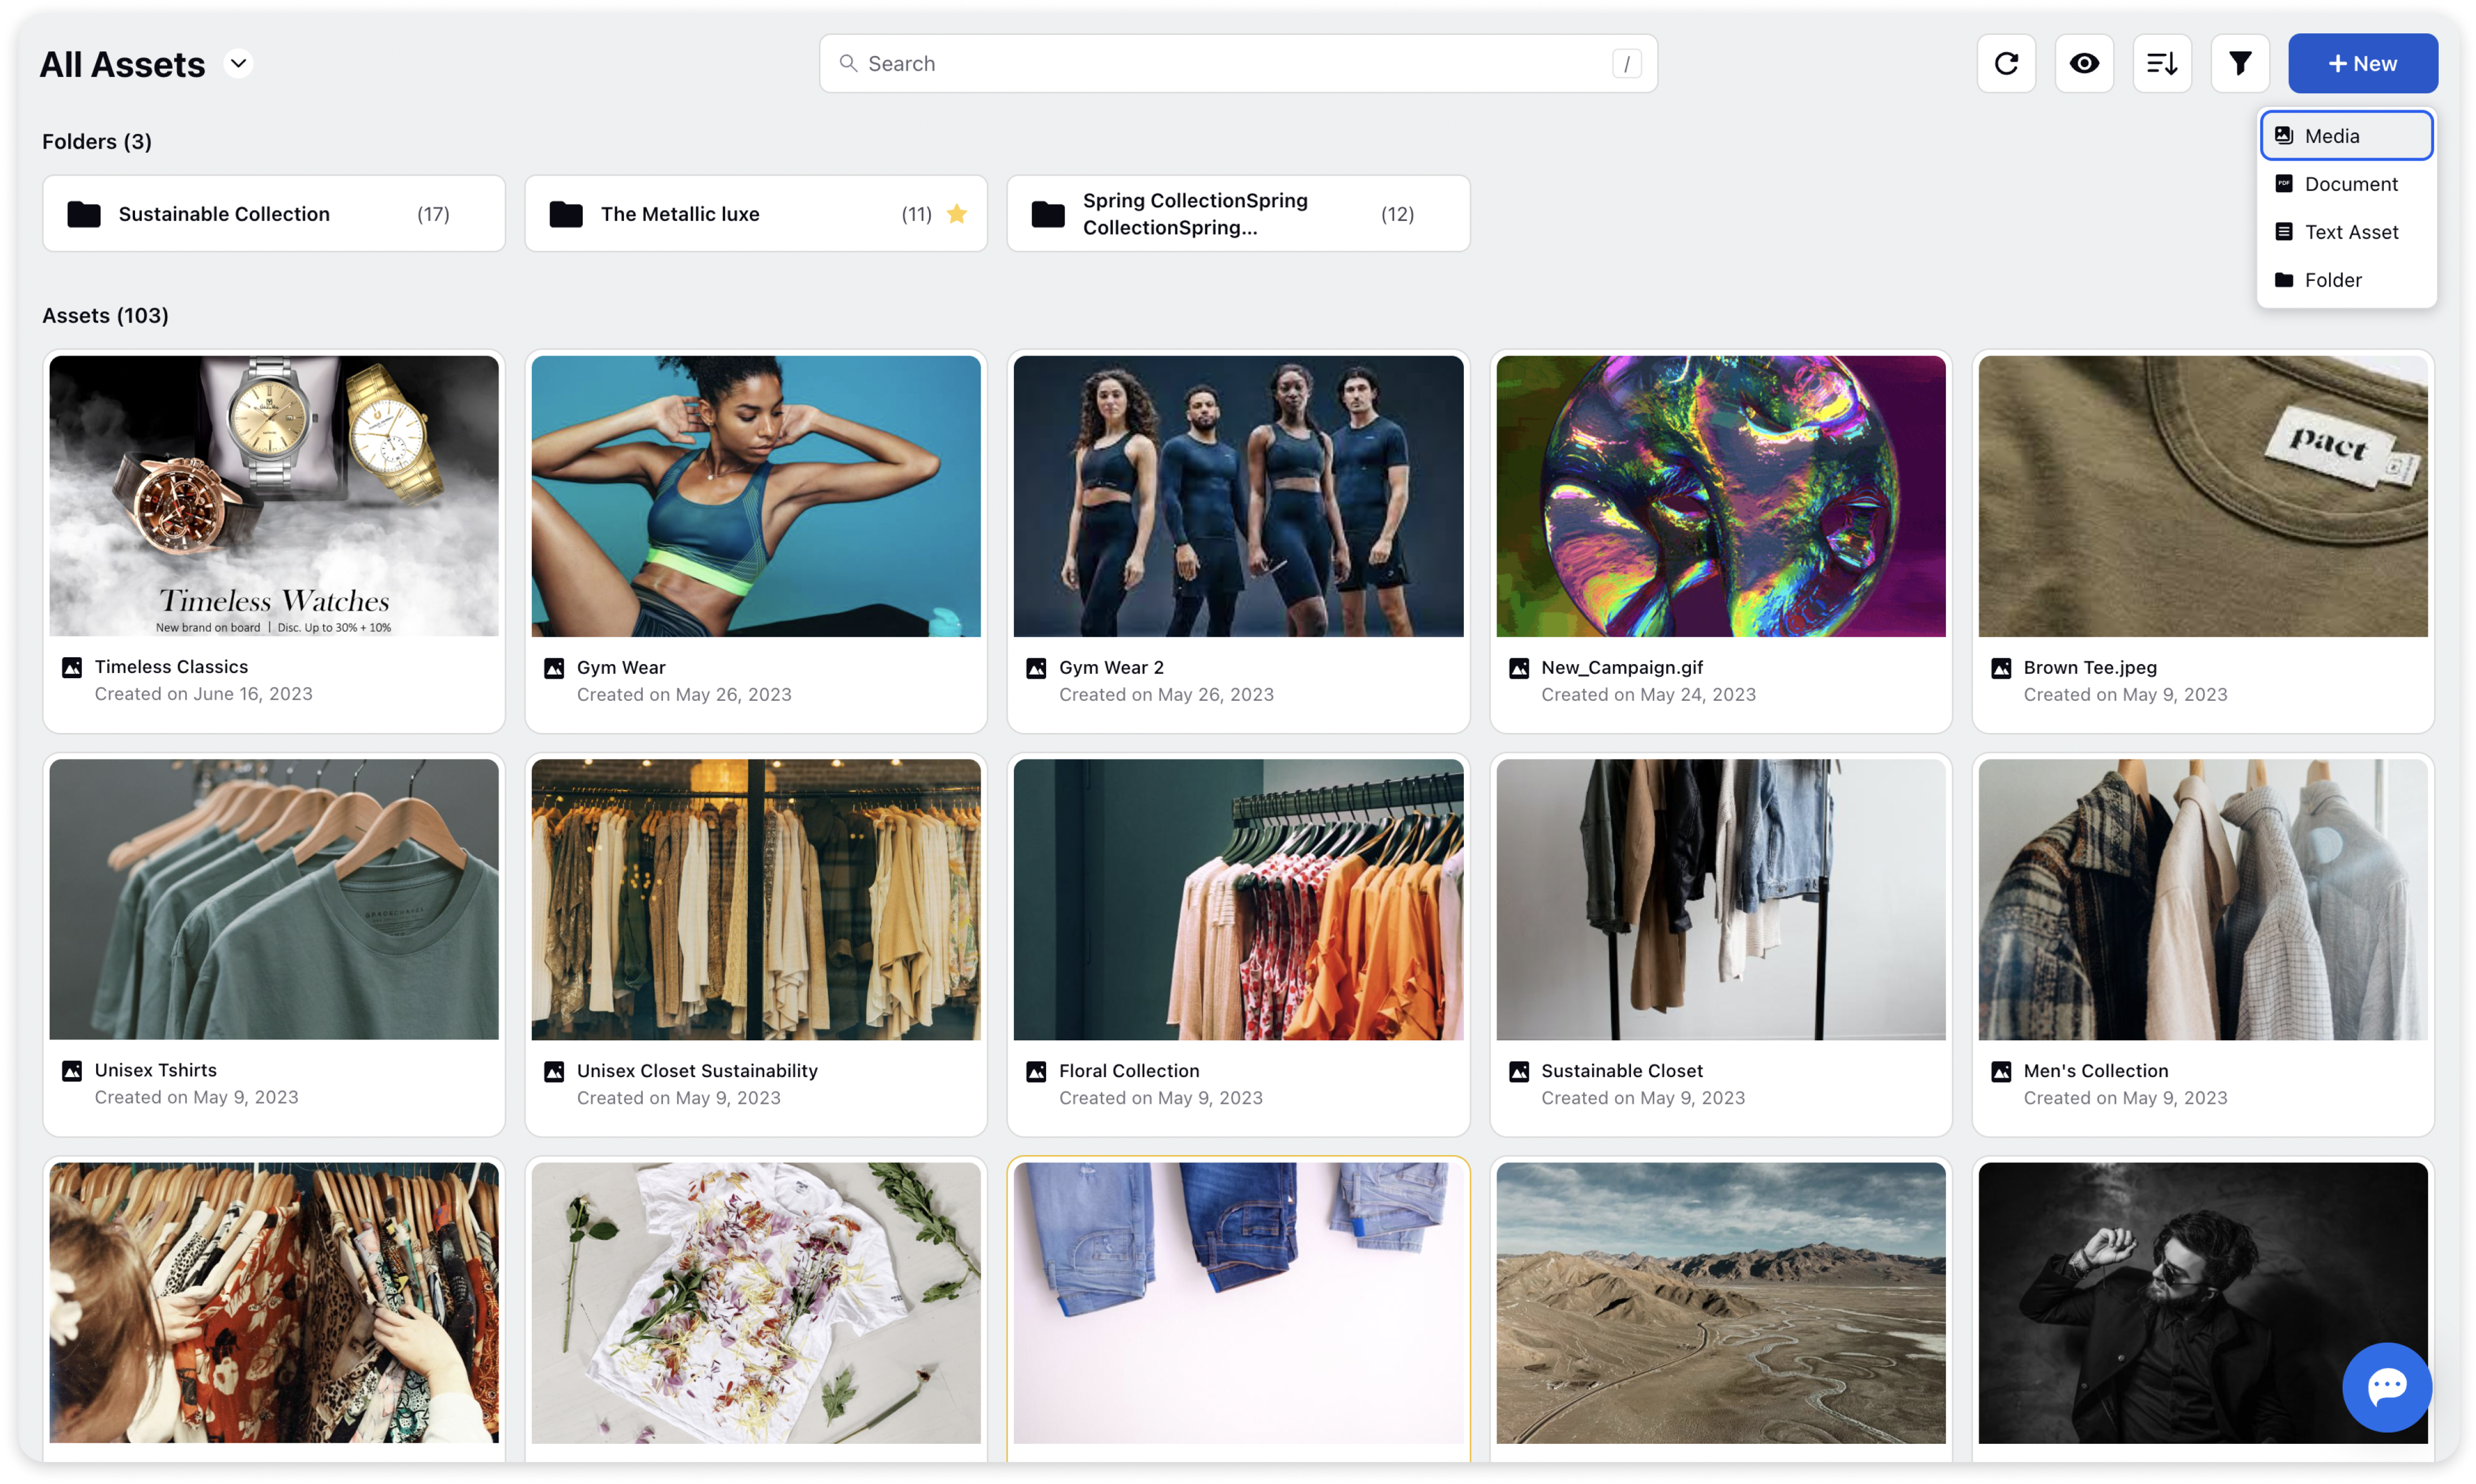

3. After selecting the assets to upload or dropping them, a pop-up Asset Creation window will appear. Here, enter asset details such as description, folder, tags, campaign, approval workflow and custom fields if needed. Under the "Share With" option, select the asset visibility across users.
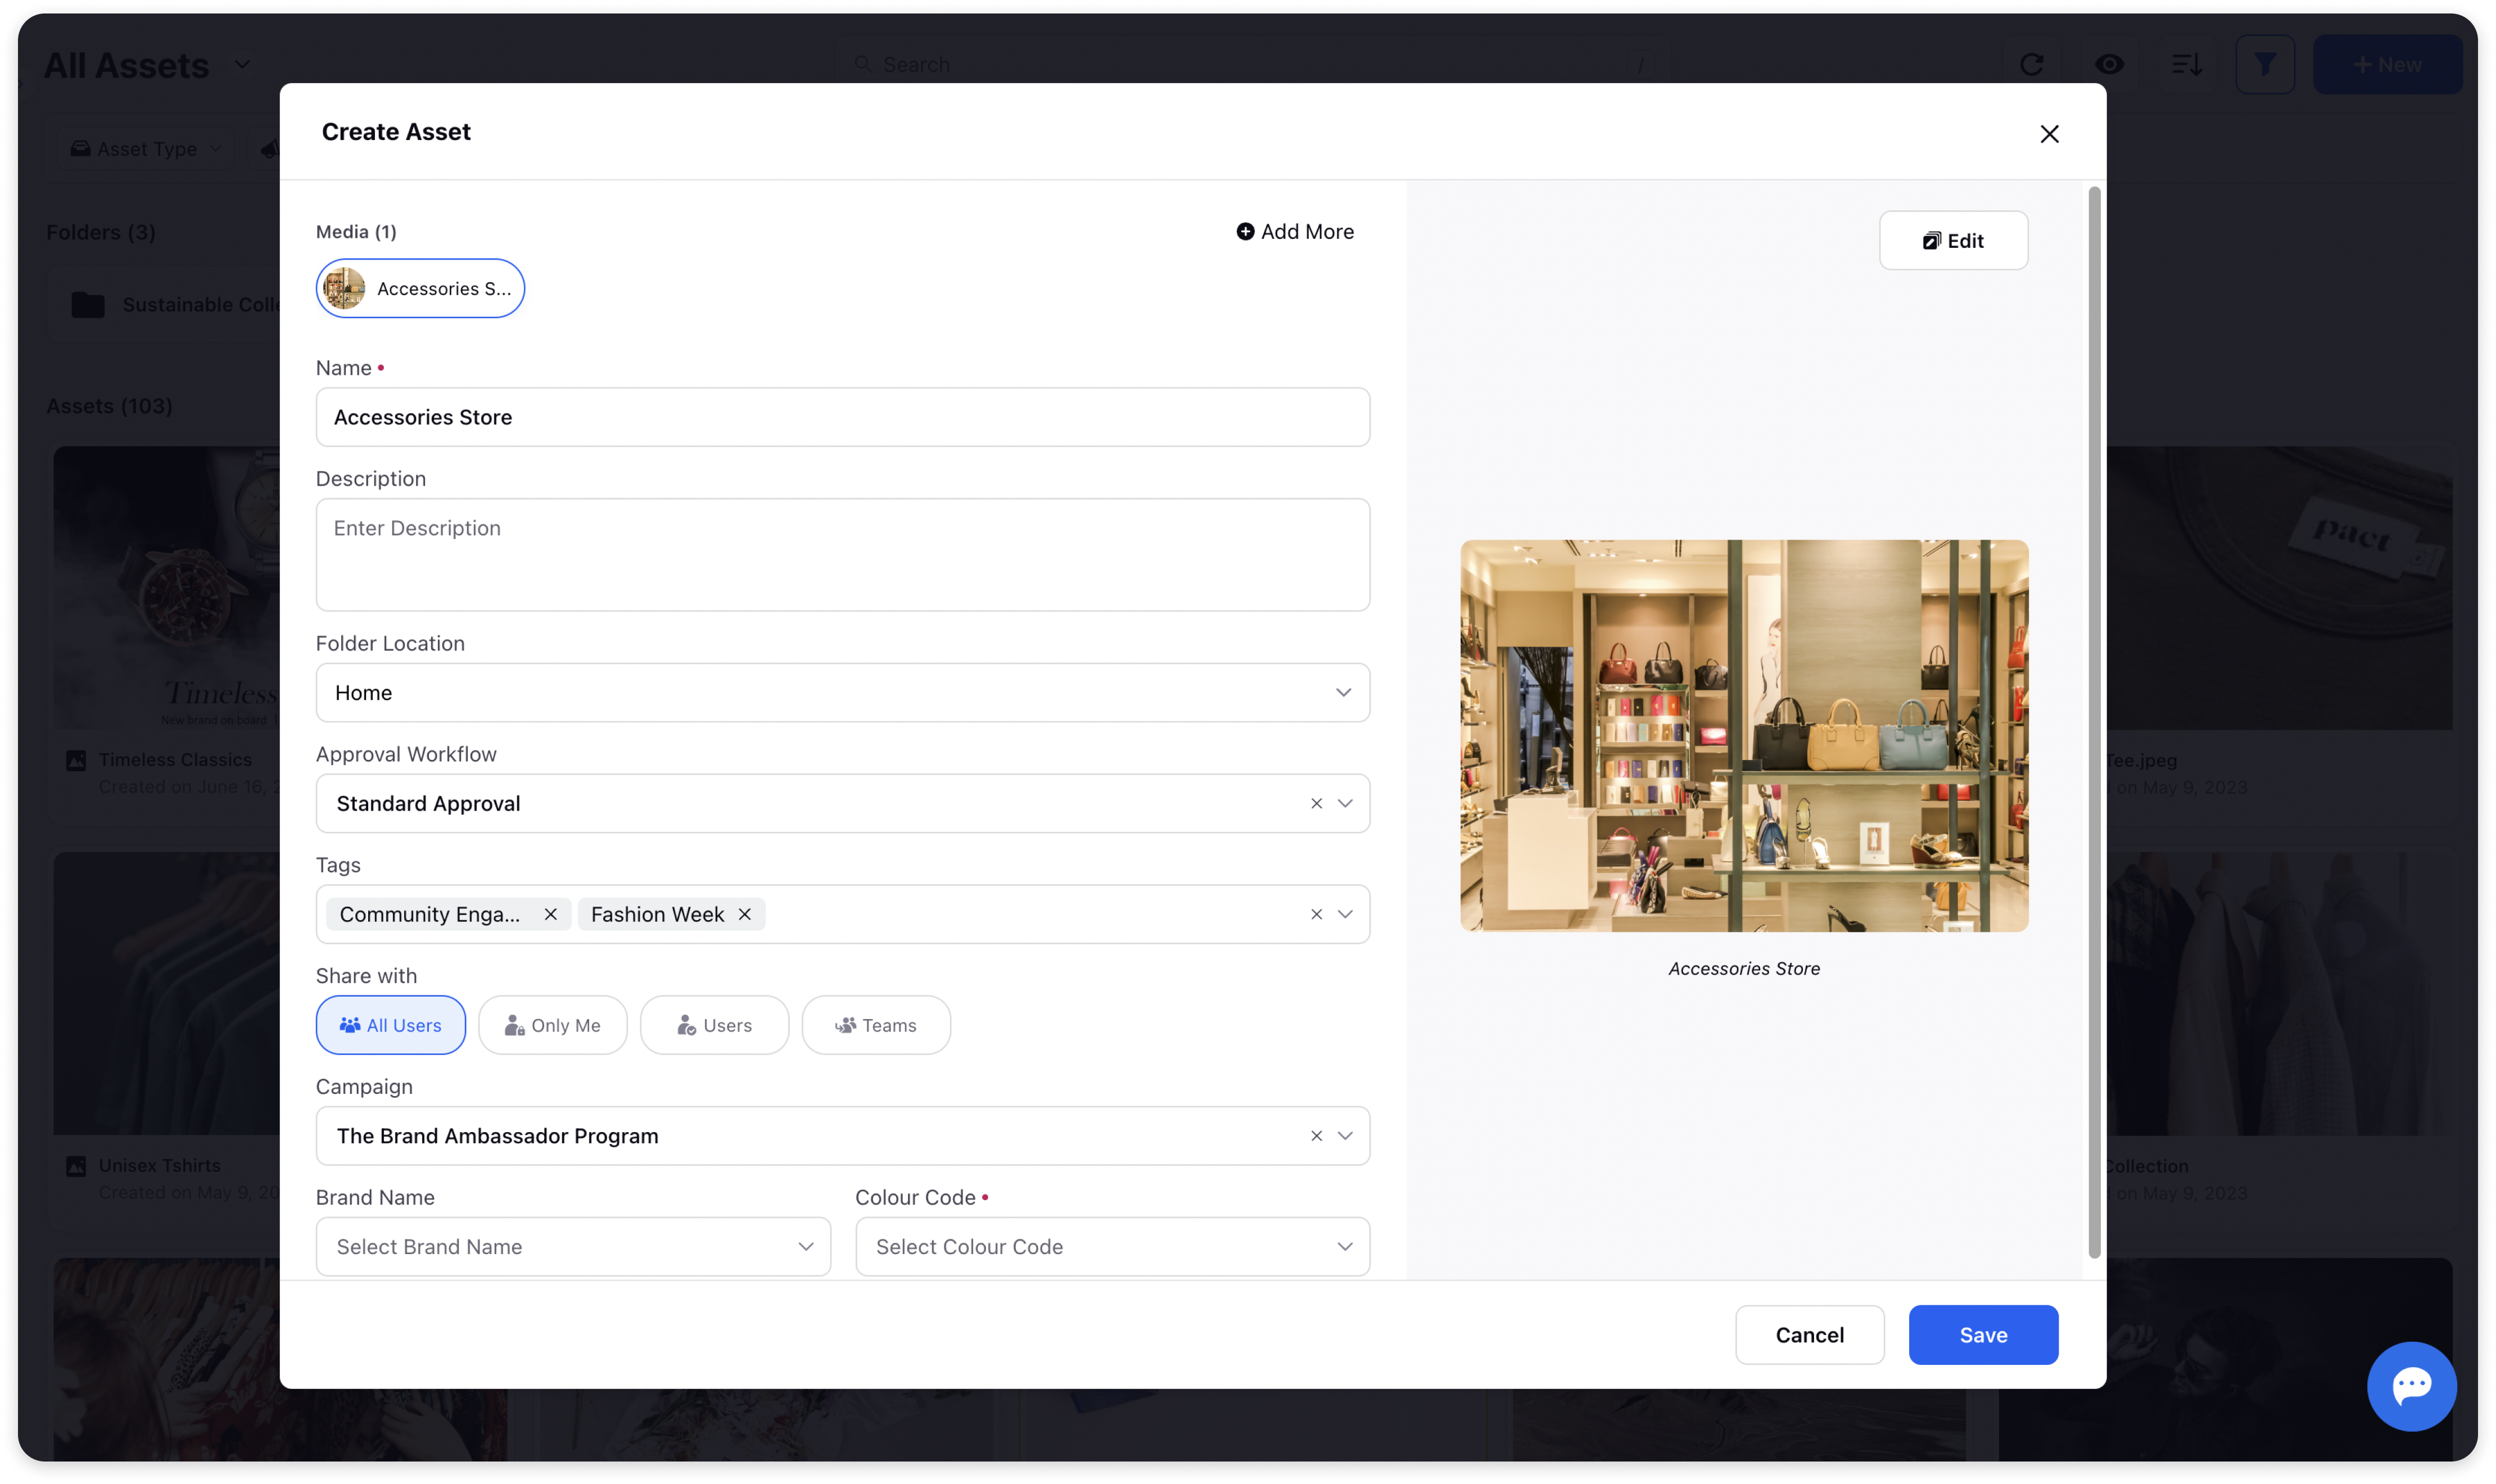
Note: In case of multi asset upload, all the information added under ‘All Assets’ tab applies to all the Assets being uploaded except the Name. If you wish to customise the details for each asset, switch to the Asset Tab and fill in the details.
4. Click on Save
Supported Asset Types
Asset Manager currently supports Images, Videos, PDFs & Text Asset types to be uploaded. For more details on Media Types Supported, Click here!