Create, Share, Edit & Delete Calendar Views
Updated
The user has the option to create a new Calendar view, edit it, share, and delete the view.
To Create Calendar View
In any Calendar view, be it Day, Month, Week, or Number of Days, begin by adding the desired filters under the following categories:
Accounts
Platforms
Channels
Status
Created By
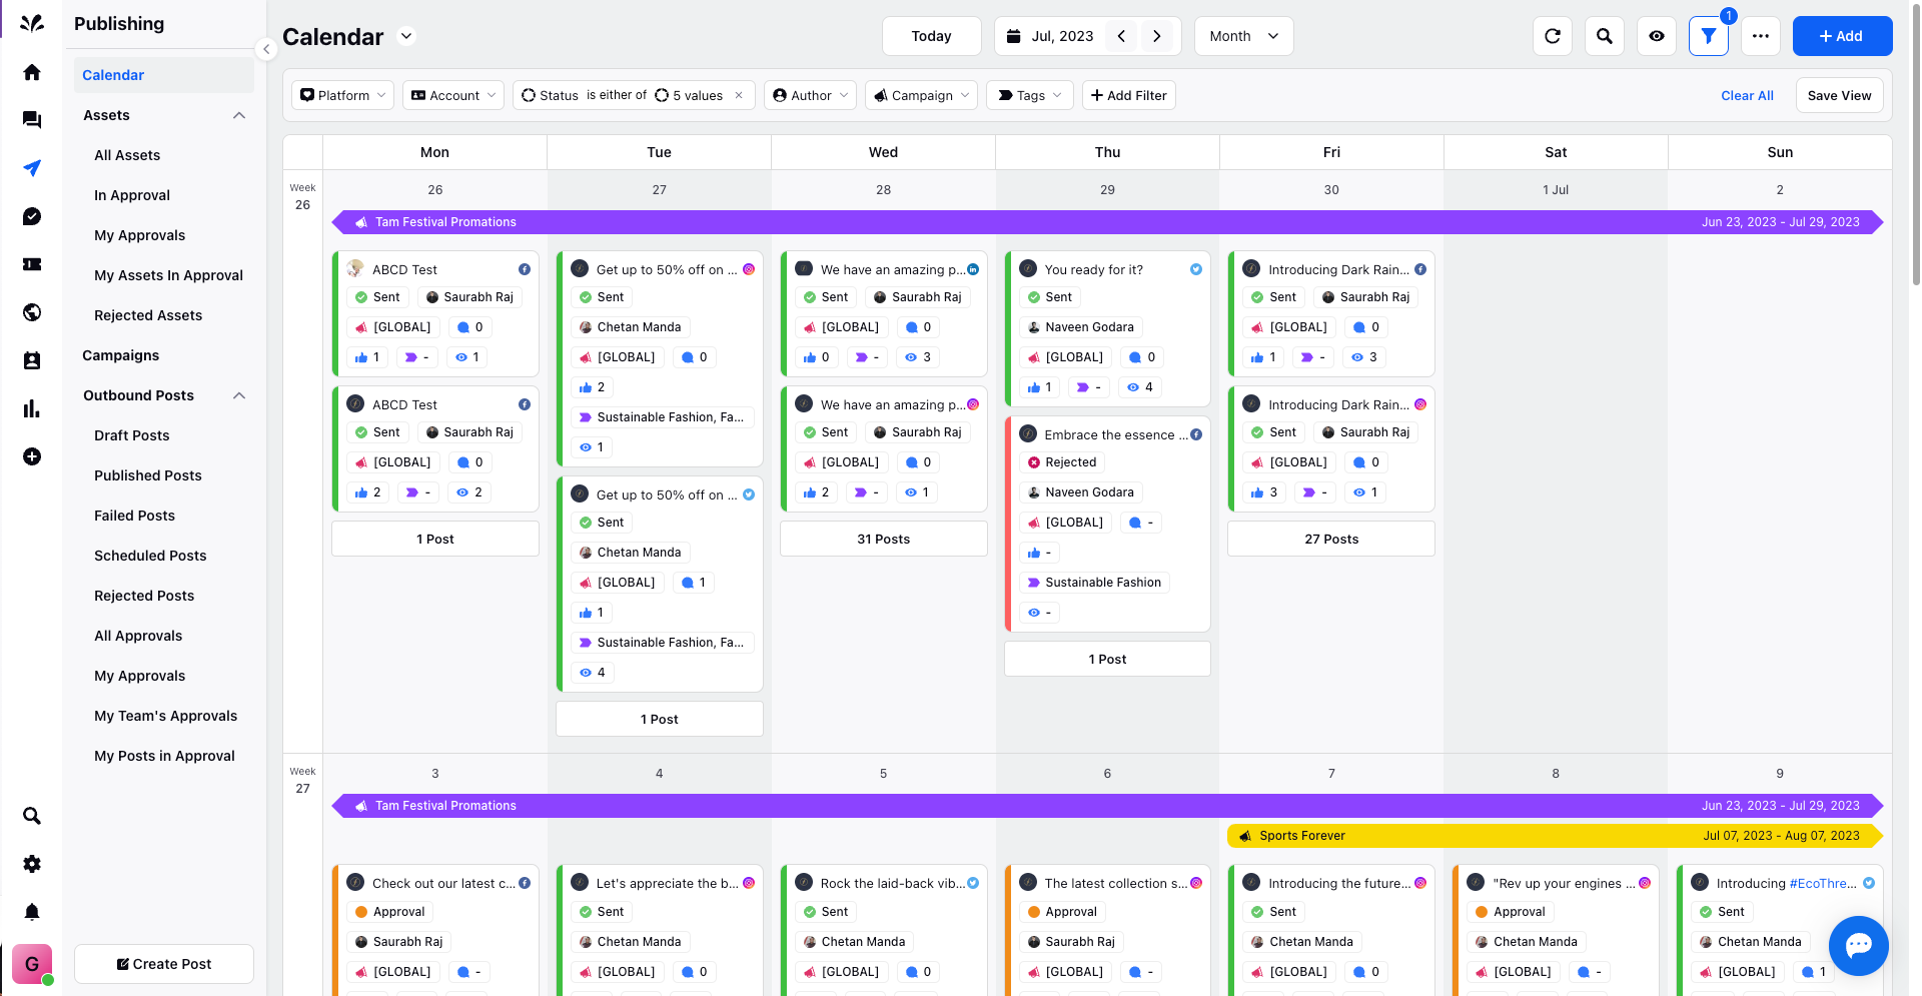
Once you have applied the filters to tailor the Calendar view according to your preferences, click on "Save View" located in the top right corner.
A pop-up window will appear, prompting you to provide essential details for the new view. Enter a distinctive name for the view, and decide with whom you wish to share it. After finalizing the details, click "Save" at the bottom right of the pop-up.
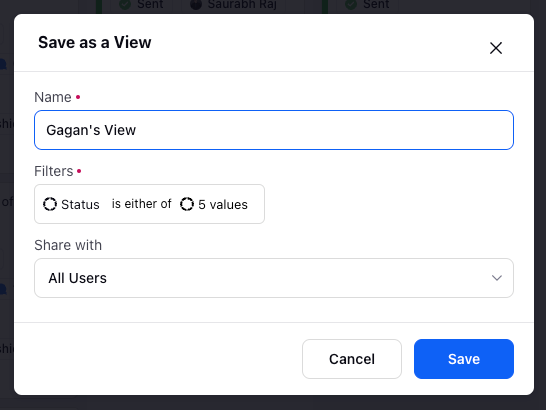
A new Calendar view will be created.
To Edit Calendar View
You can click on the 3 dots icon and select Edit Settings from the drop-down menu and make the desired changes such as modifying the filters in the Edit View window. Click Save at the bottom right.
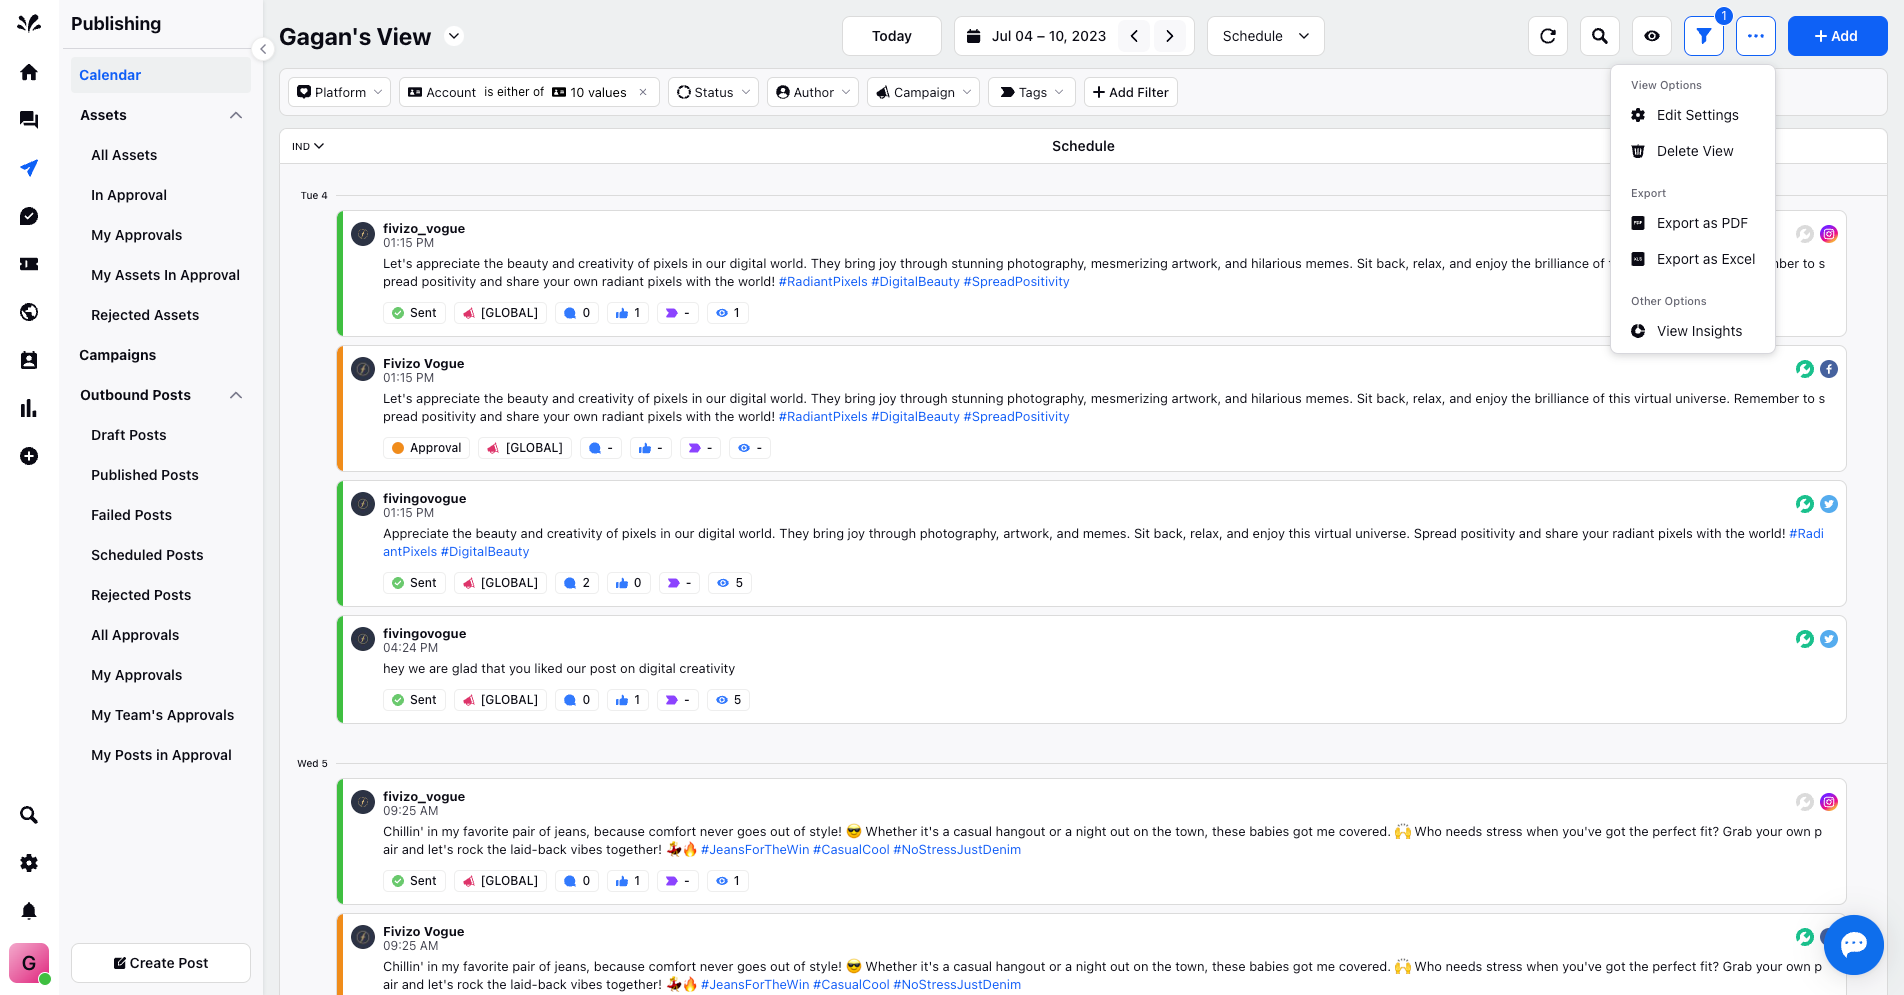
Delete Calendar View
Click on the 3 dots icon and select Delete View to delete the newly created view. Once you delete the recently created view, it will redirect you to the default Calendar view.
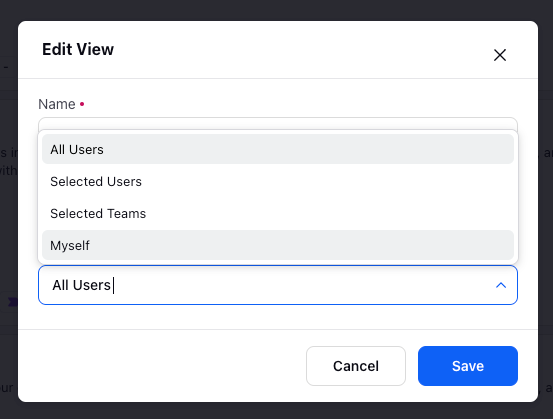
To Share Calendar View
While you create a new Calendar view, you get an option to share the view with the desired people such as All Users, Selected Users, Selected Teams, and Myself. Click Save at the bottom right.