Understanding Business Hours
Updated
Learn all about business hours and how it helps to manage the working hours of the team and control SLA compliance.
Business hours are the official working hours when your team is available to serve your contacts. It helps you manage expectations with your contacts and set benchmarks for your team. For example, if your business hours end at 6:00 PM and a request is raised at 6:30 PM, the SLA countdown for the first response time will begin the next day at 9 AM when your business hour time is set to start.
Business Hours help you configure and monitor the engagement hours for different support teams in which they are available to engage with your contacts across channels. You can also use business hours to define routing rules to manage ticket assignment and resolution time. For example, if billing Team A is unavailable at a particular hour of the day, the ticket will be routed to billing Team B.
Use case of Business Hours
Manage the working hours of your teams across tickets, chats, and voice channels. For example, if your business hour ends at 5:00 PM Friday, a ticket comes in at 4:59 PM; which is too late to resolve before the weekend, the agent will be alerted and start working toward a resolution soon after login on Monday.
Control your SLA compliance by determining whether a ticket or chat is due or exceeding the assigned time limit. For example, if your team works from 11 am to 8 pm and a contact reaches you at 8:30 pm, the due timer doesn’t start until 11 am on the next business day.
Based on your team's availability, you can automate the responses for tickets, offline chat experiences, and voicemail for phone calls.
Refer to the following video to better understand business hours:
You can further read the below article to see the steps of configuring a business hour:
To configure Business Hours
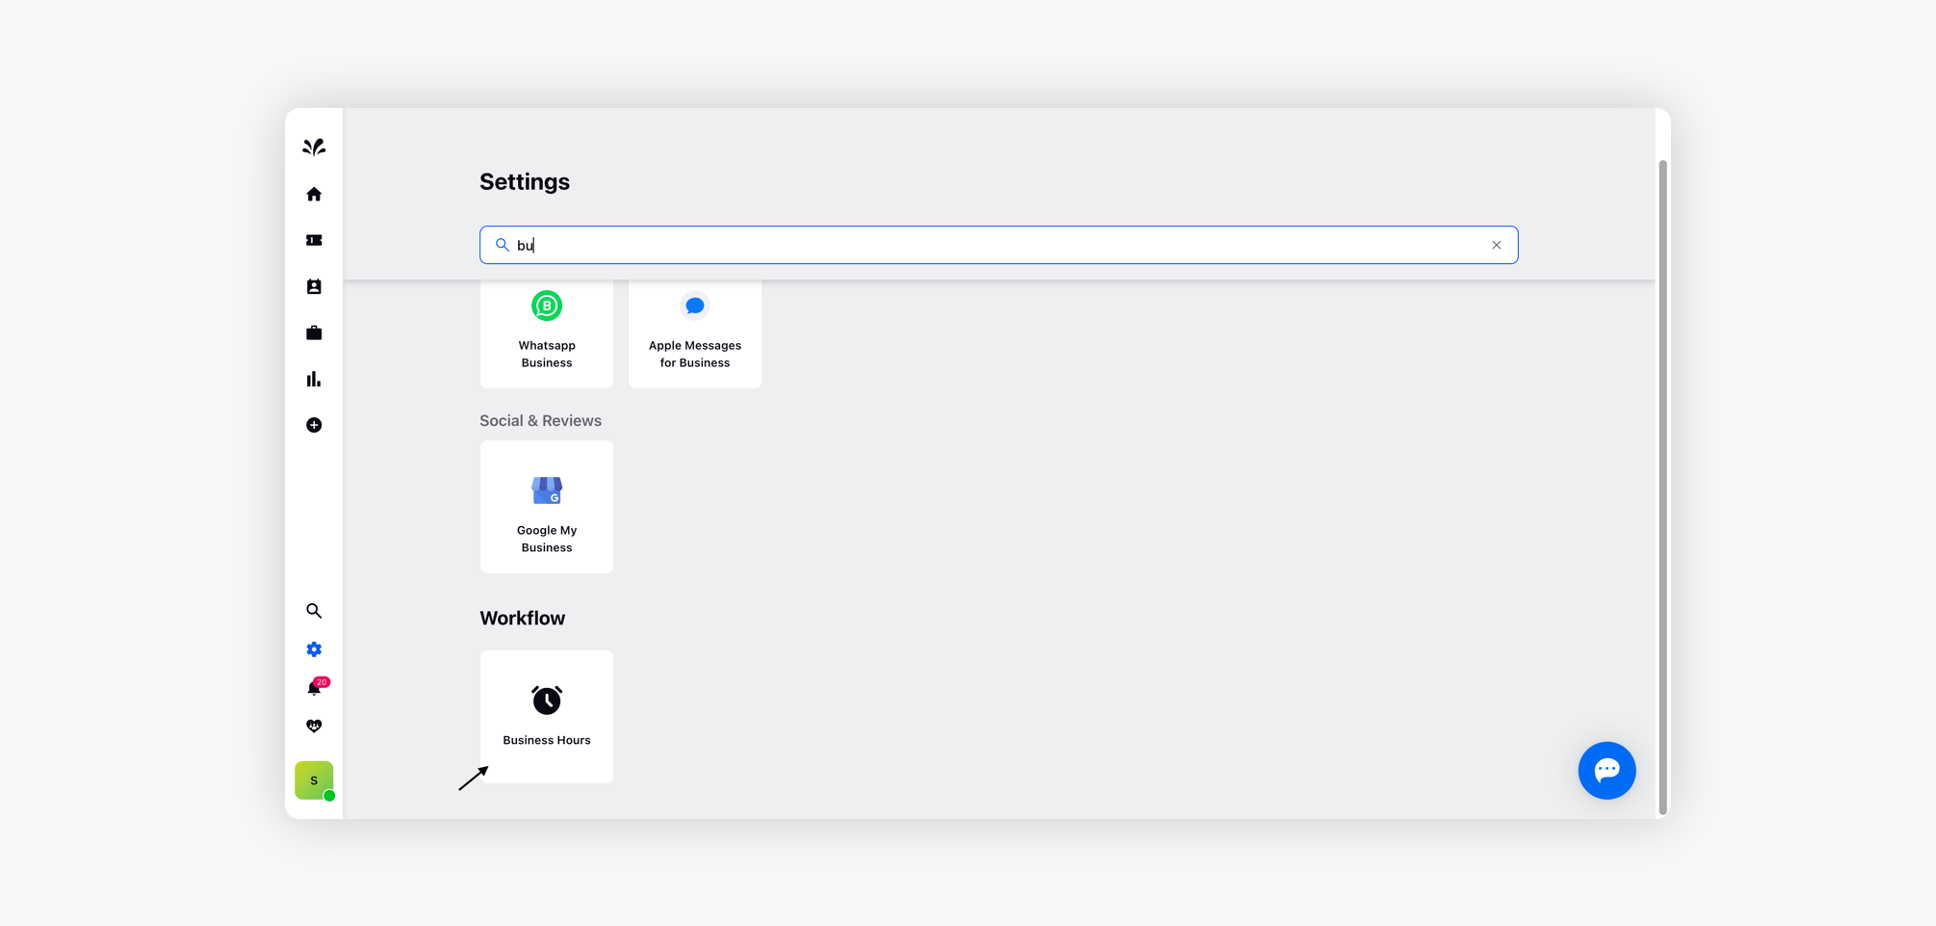
Log into Sprinklr Advanced. On the Sprinklr Advanced Home window, click the Settings icon on the left navigation. Click Business Hours within Workflow.
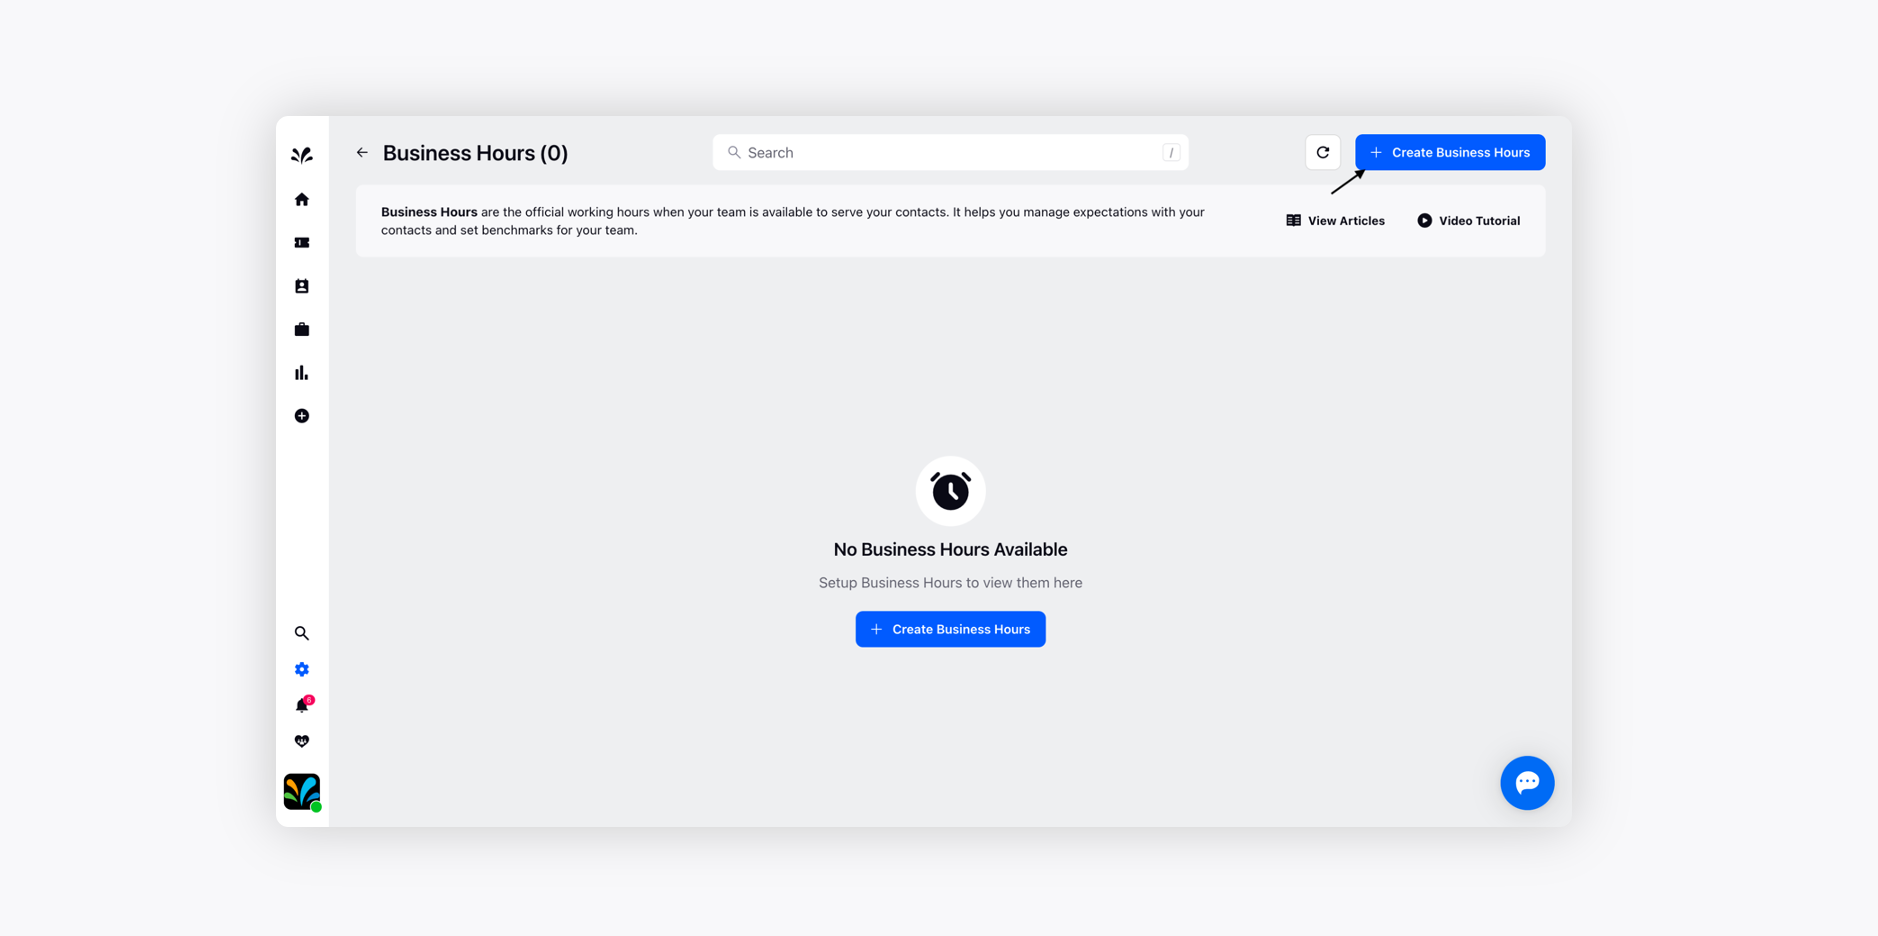
To create a new business hour, click Create Business Hours in the top right corner of the Business Hours window.
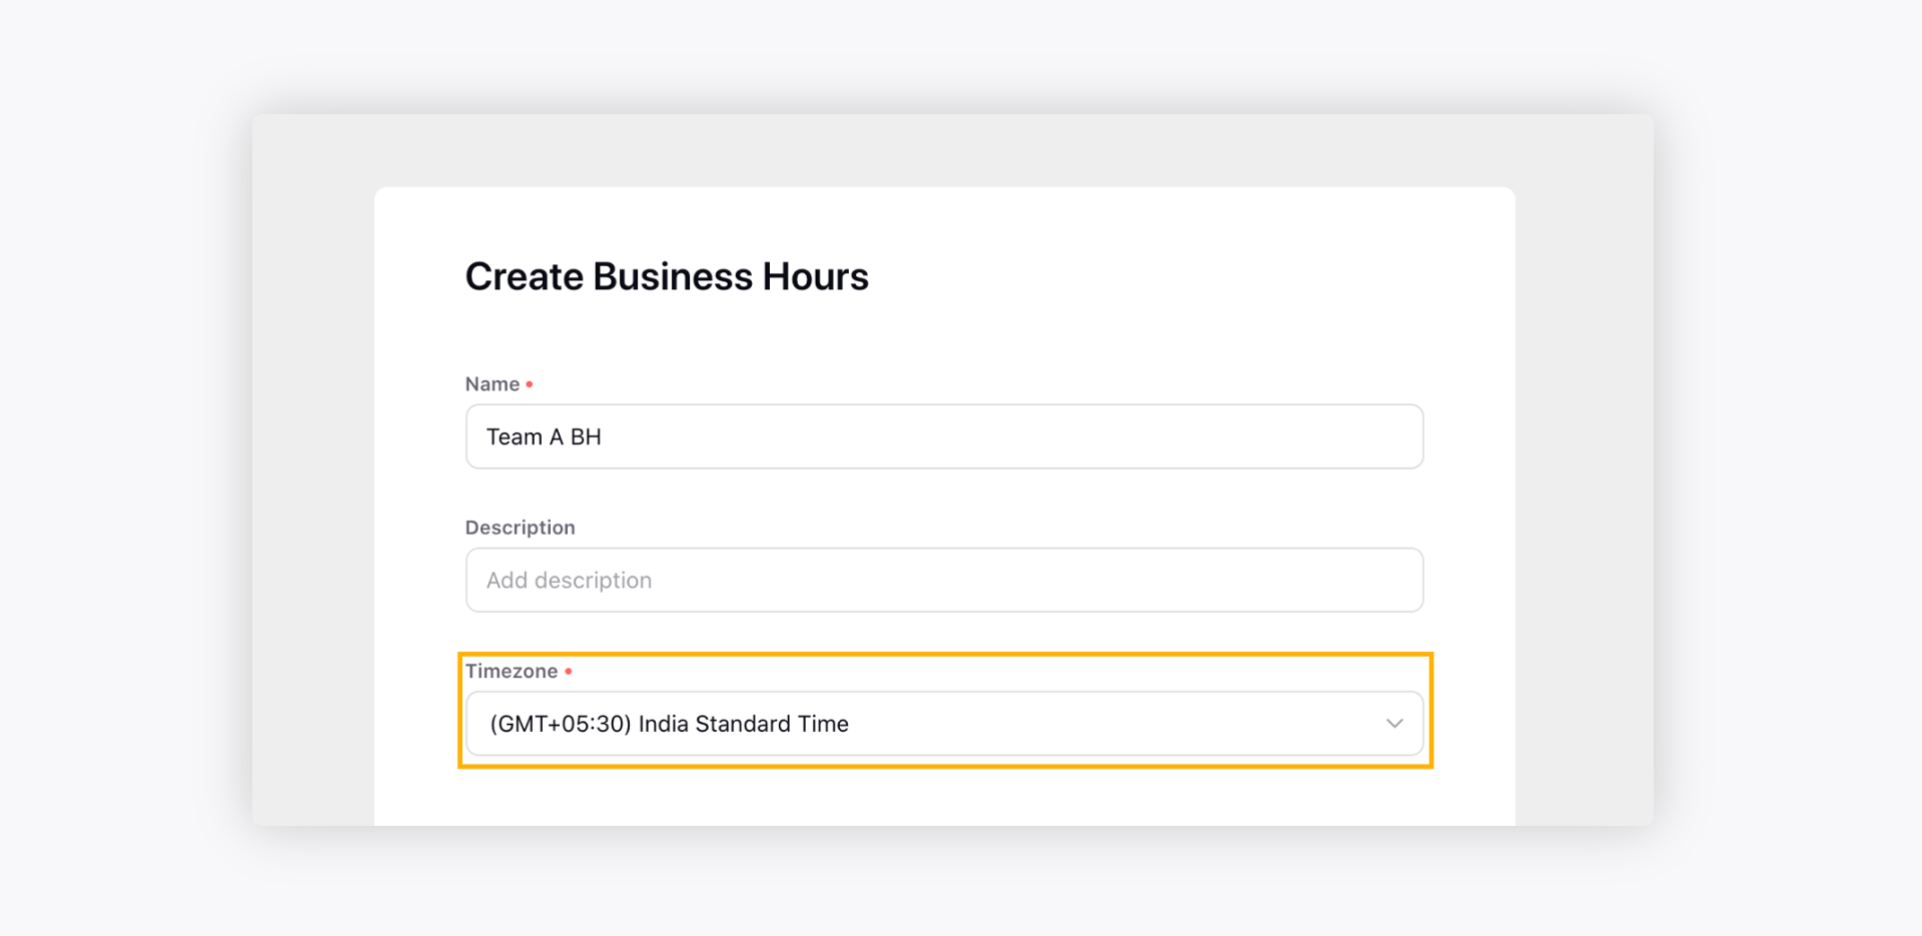
Select the desired Timezone for your Business Hours from the drop-down menu. All hours that you fill in will be configured according to the local time as per the selected timezone.
Select Operating Schedule from the drop-down menu under the Set Business Hours section based on your teams’ operation timing. The operating schedule is a part of business hours where you can configure the time when you are operational. These are the following operation schedules to select from:
24 x 7 Days Support - Select this option if your team operates round the clock.
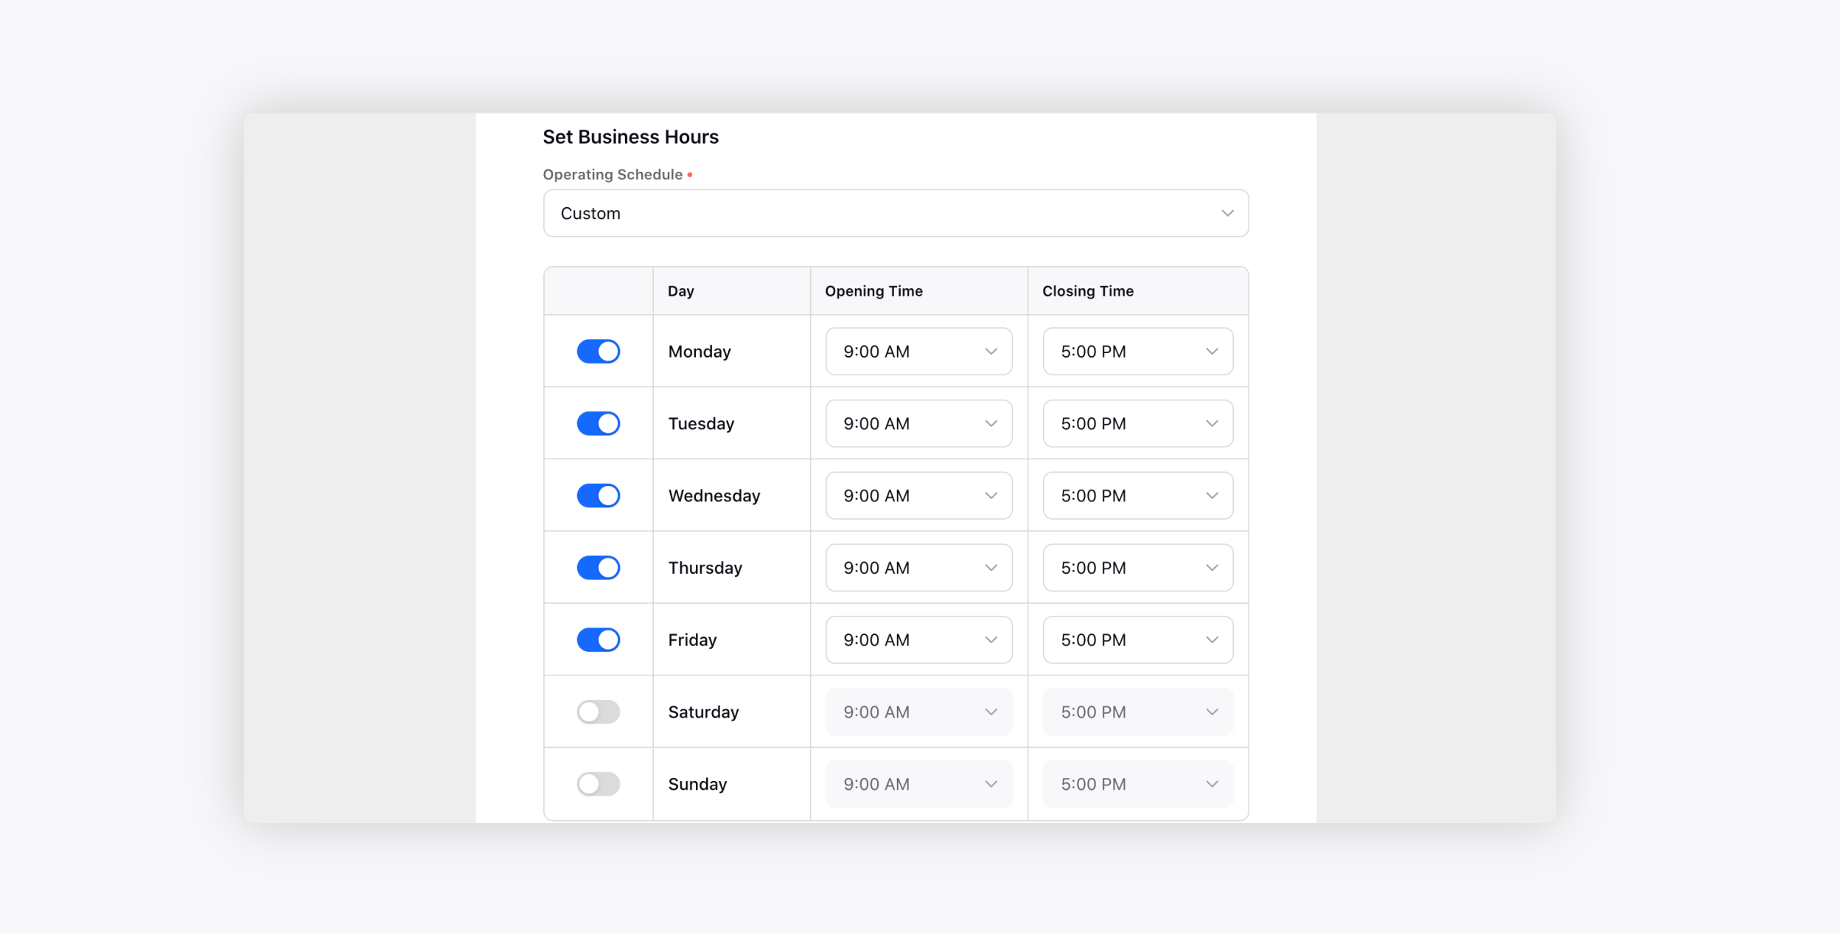
Custom - Select this option to customize your business hour duration.
If you select Custom as Operating Schedule, you will have further options to select the business Days along with Opening and Closing Times. You can toggle on/off the operating day(s).
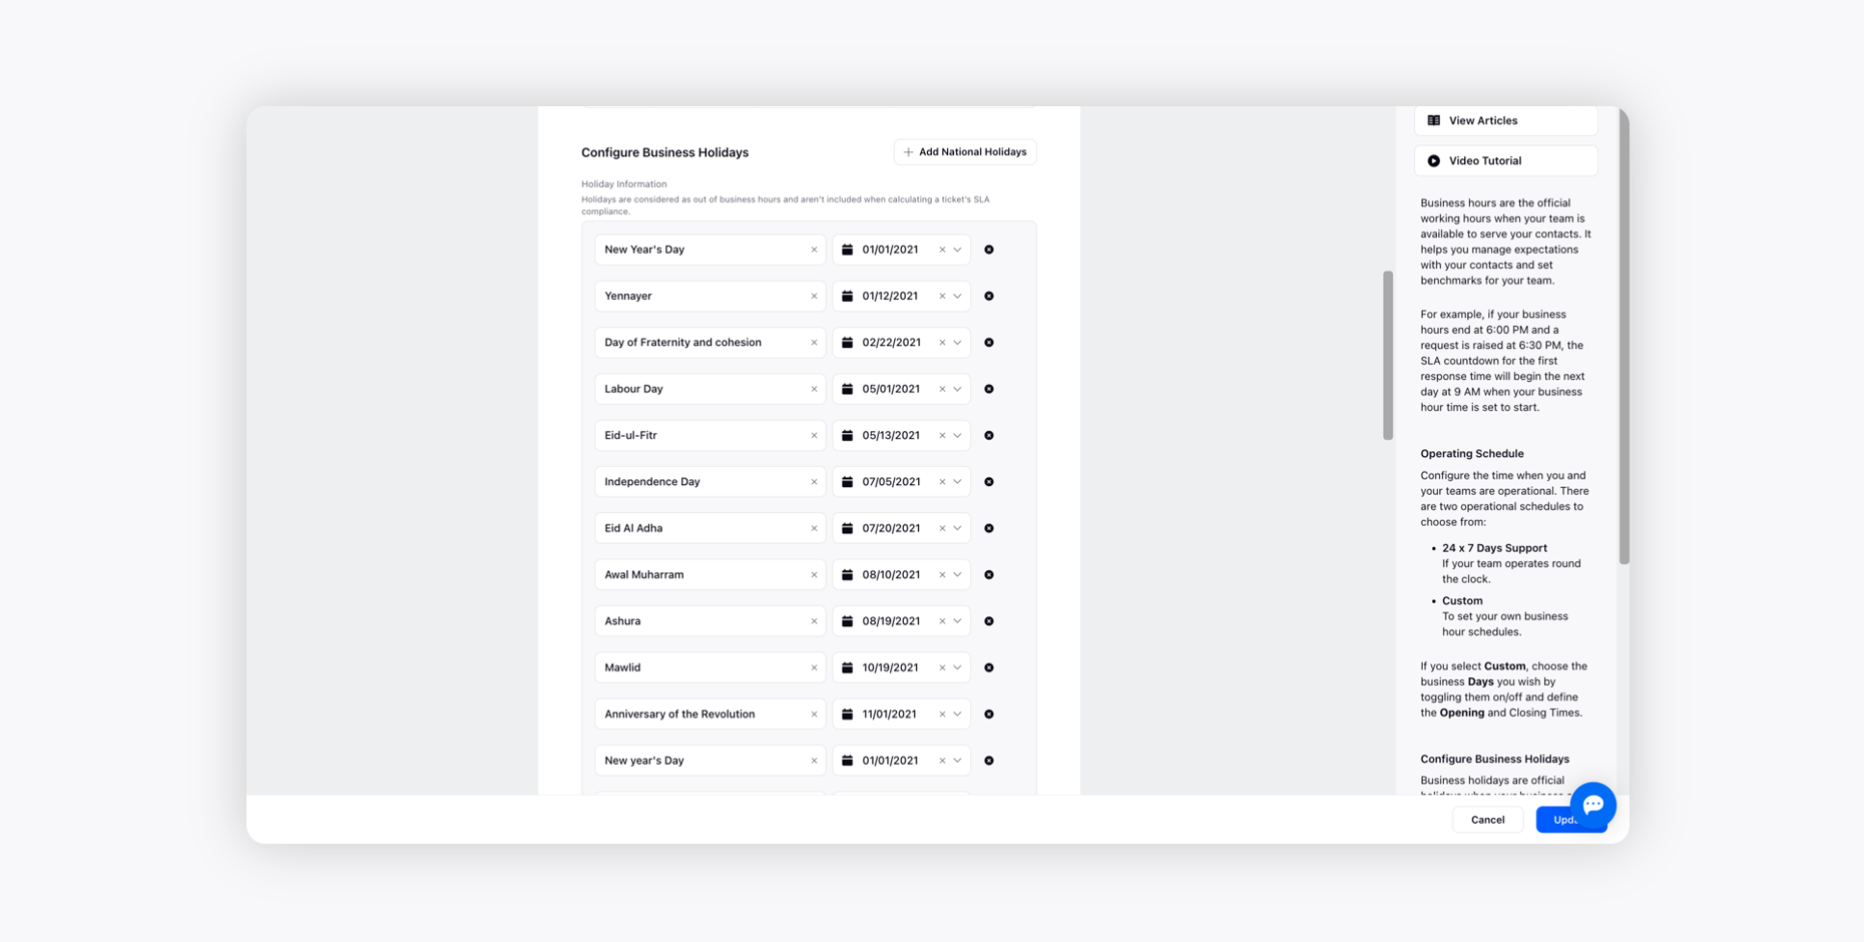
Business holidays are official holidays when banks and most businesses are closed for the day. These holidays are beneficial in routing tickets, workforce management, and setting Service Level Agreement (SLA) limits.
Under the Configure Business Holidays section, you can provide holiday information such as Holiday Name and Date or select from a list of holidays with a set of business hours that you already have configured.
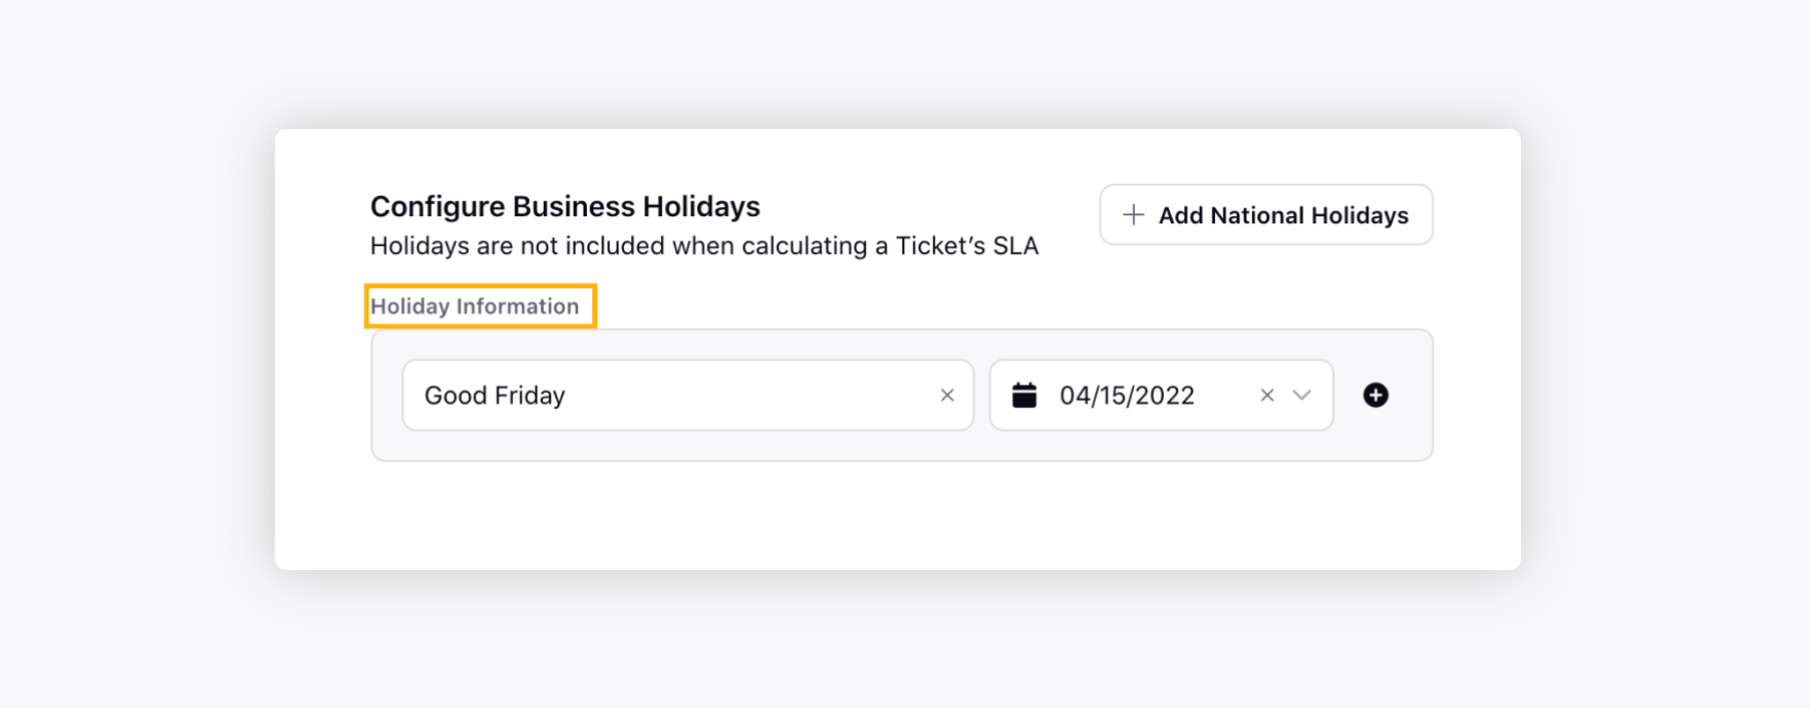
You can add multiple holidays to your business hours. All holidays will be treated as outside the business hours and will not be counted towards any metric you measure in business hours.
Additionally, you can click Add National Holidays to import a list of standard holidays pertaining to a specific geography. You can then make changes and add custom holidays as needed.
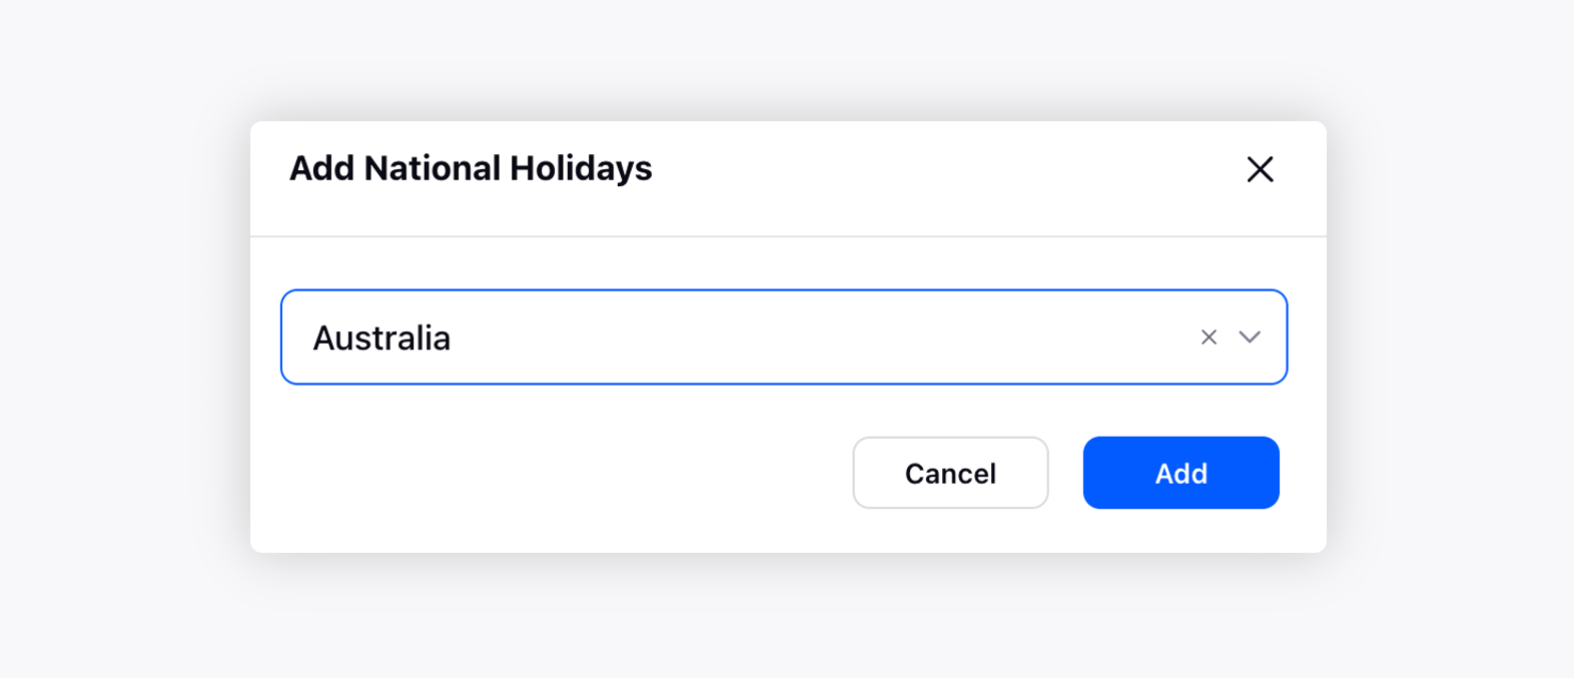
Click Add and then the list of national holidays pertaining to specific country will be generated.
Once done, click Create in the bottom right corner to save your business hour.
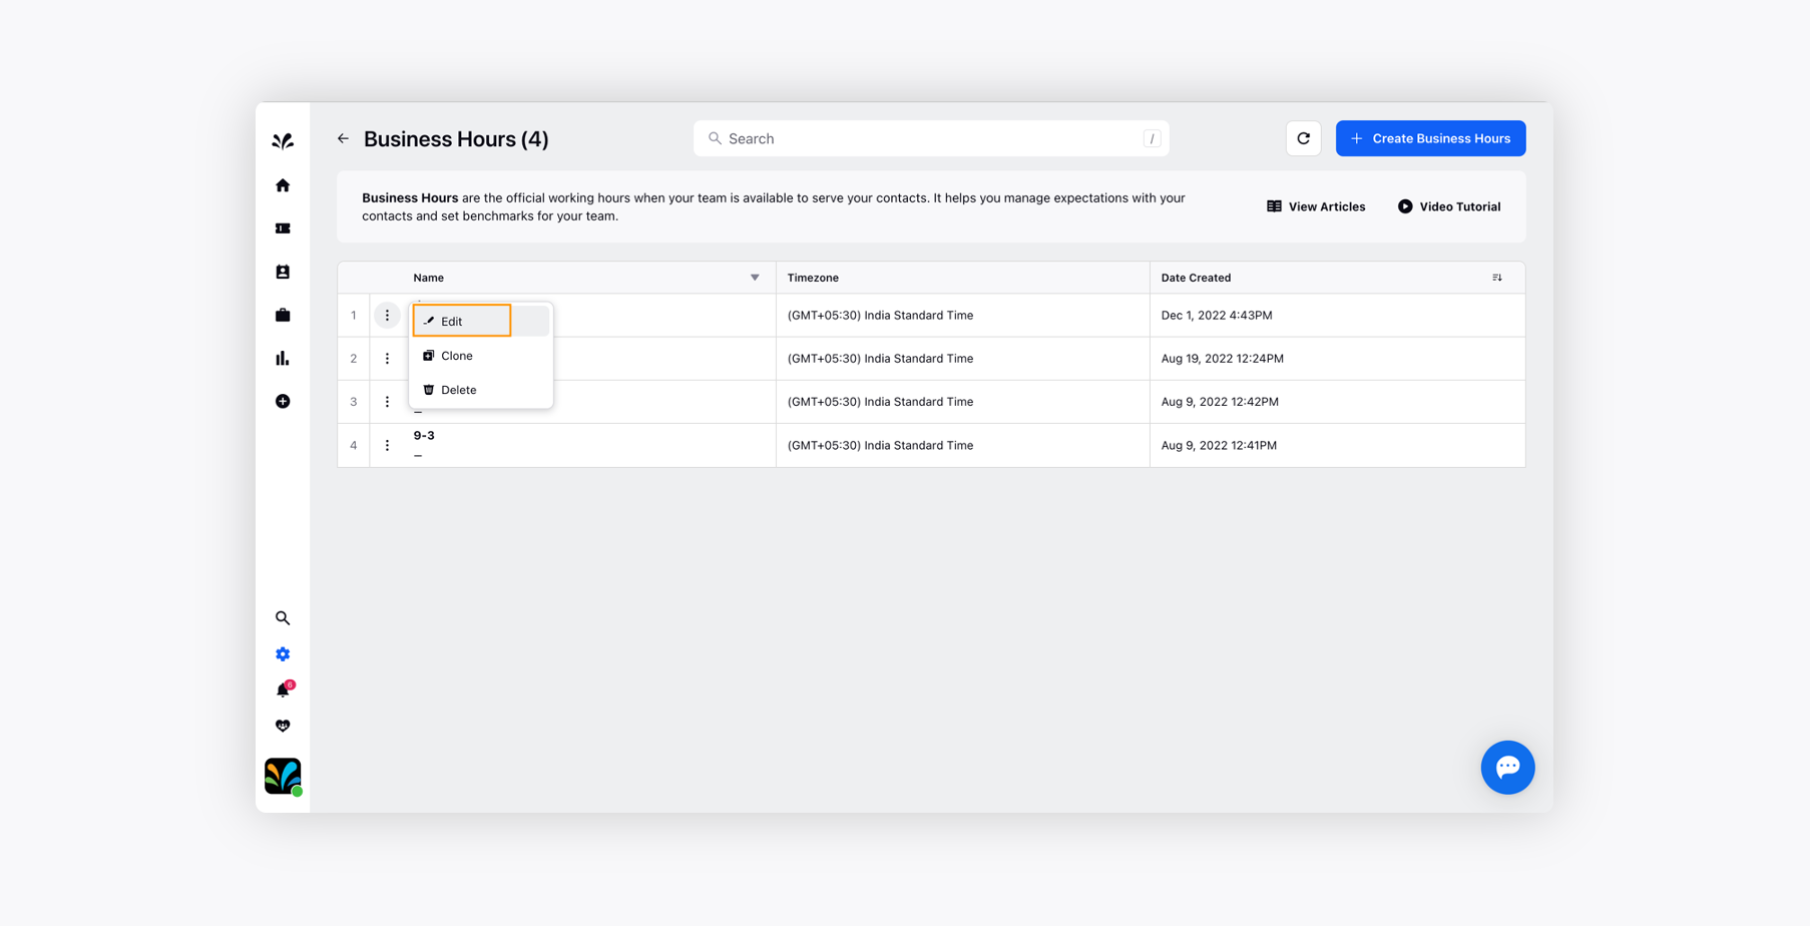
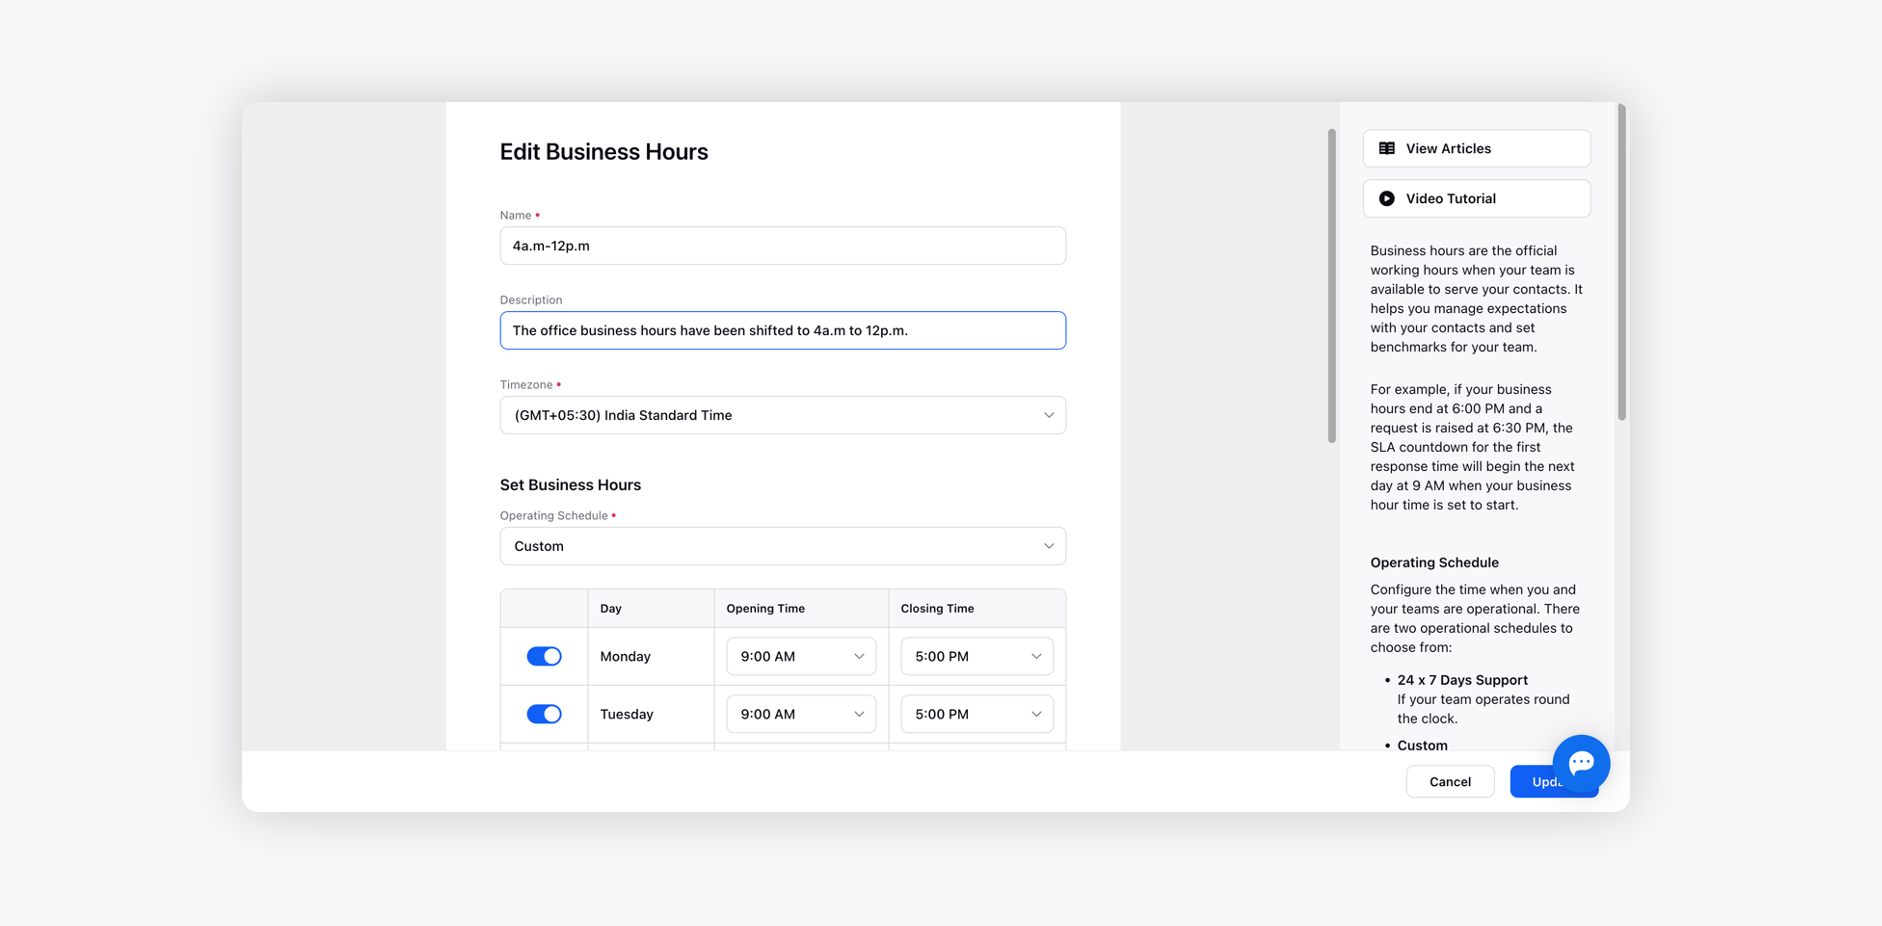
To Edit existing Business Hours
Hover over the Options icon alongside the desired business hour and click Edit to modify the previously created business hours.
On the Edit Business Hours window, make the desired changes and click Update in the bottom right corner to save.
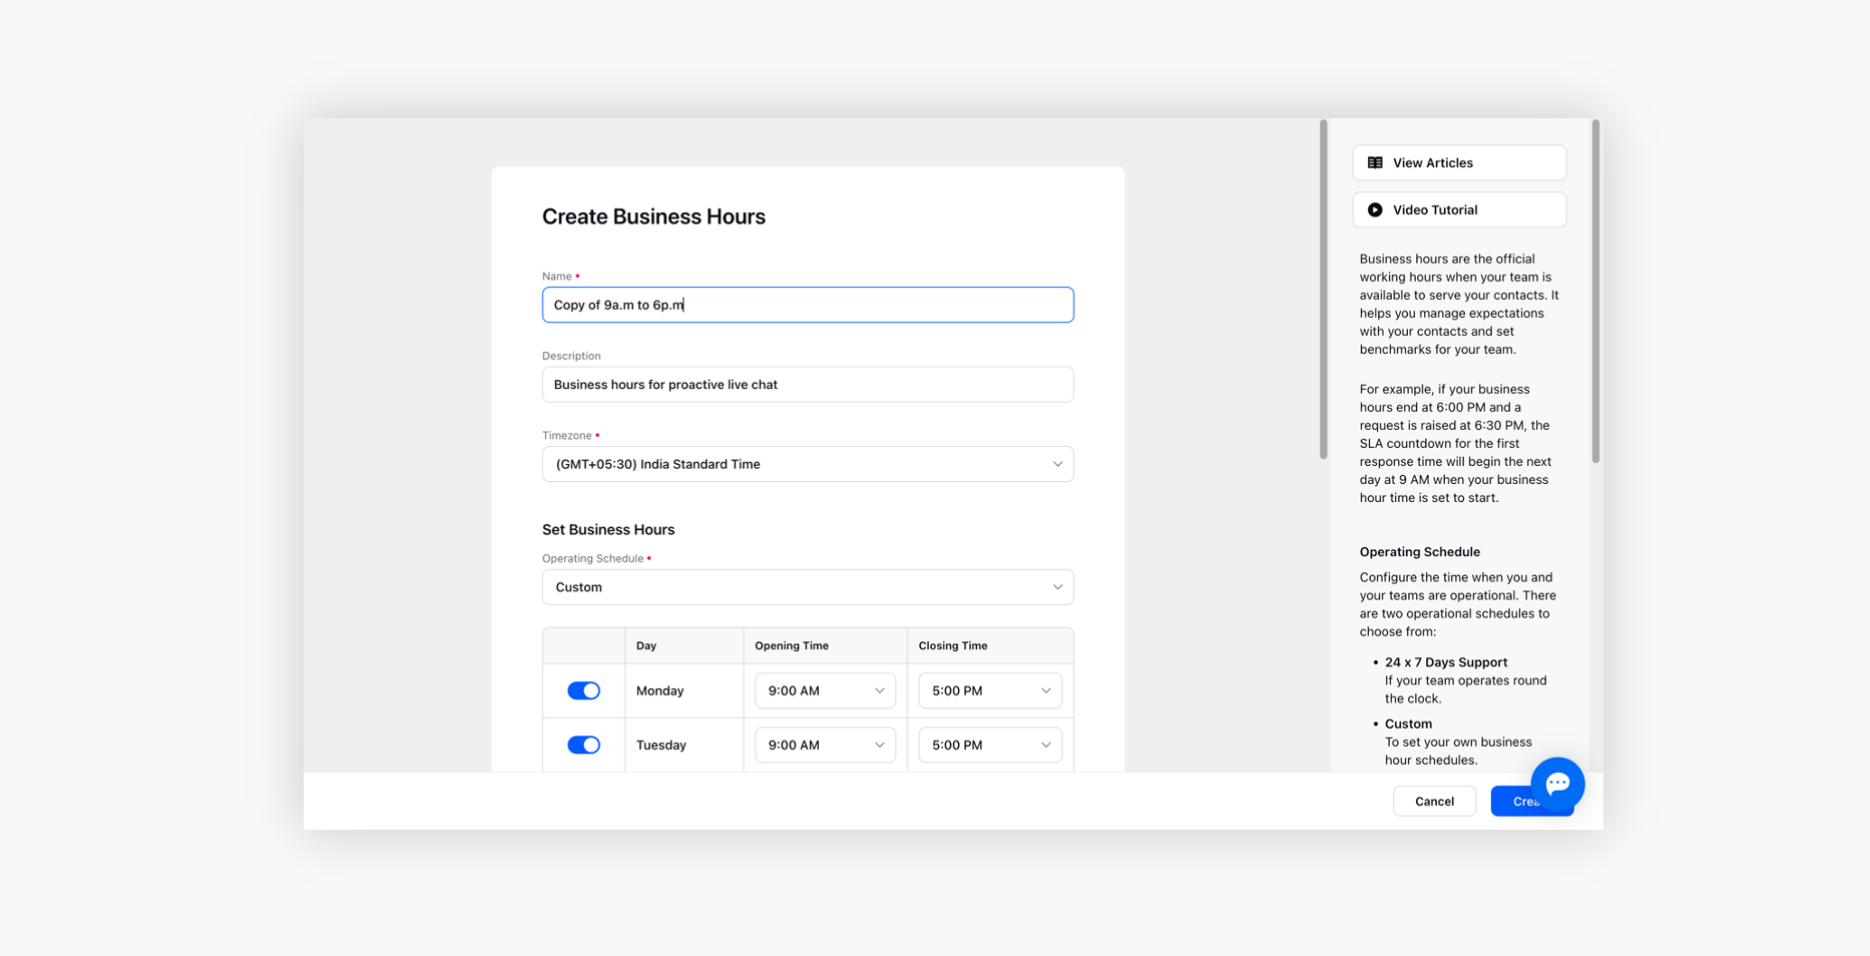
To Clone existing Business Hours
Hover over the Options icon alongside the desired business hour and click Clone to modify the previously created business hours.

On the Create Business Hours window, make the desired changes and click Create in the bottom right corner to save.
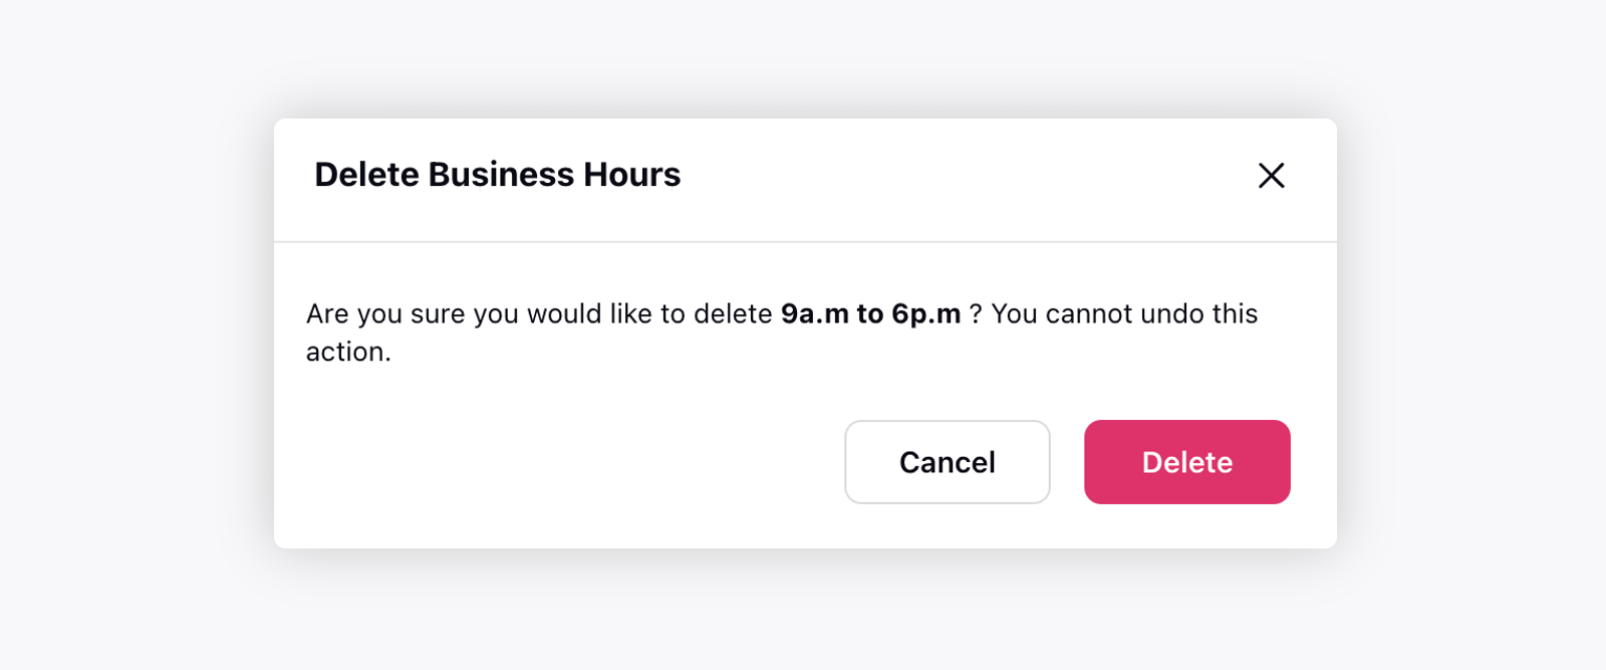
To Delete existing Business Hours
Hover over the Options icon alongside the desired business hour and click Delete to permanently delete the previously created business hours.

On the Delete Business Hours pop-up window, click Delete to finalize your selection. You can not undo this action.