How you can leverage ticket status in Sprinklr Advanced to handle the tickets effectively and take further actions accordingly. Ticket statuses are the stages a ticket goes through in its life cycle. In Sprinklr Advanced, there are various ticket statuses you can choose from while working on a ticket. In this article, you will learn all about ticket statuses.
To navigate and update the Ticket Status
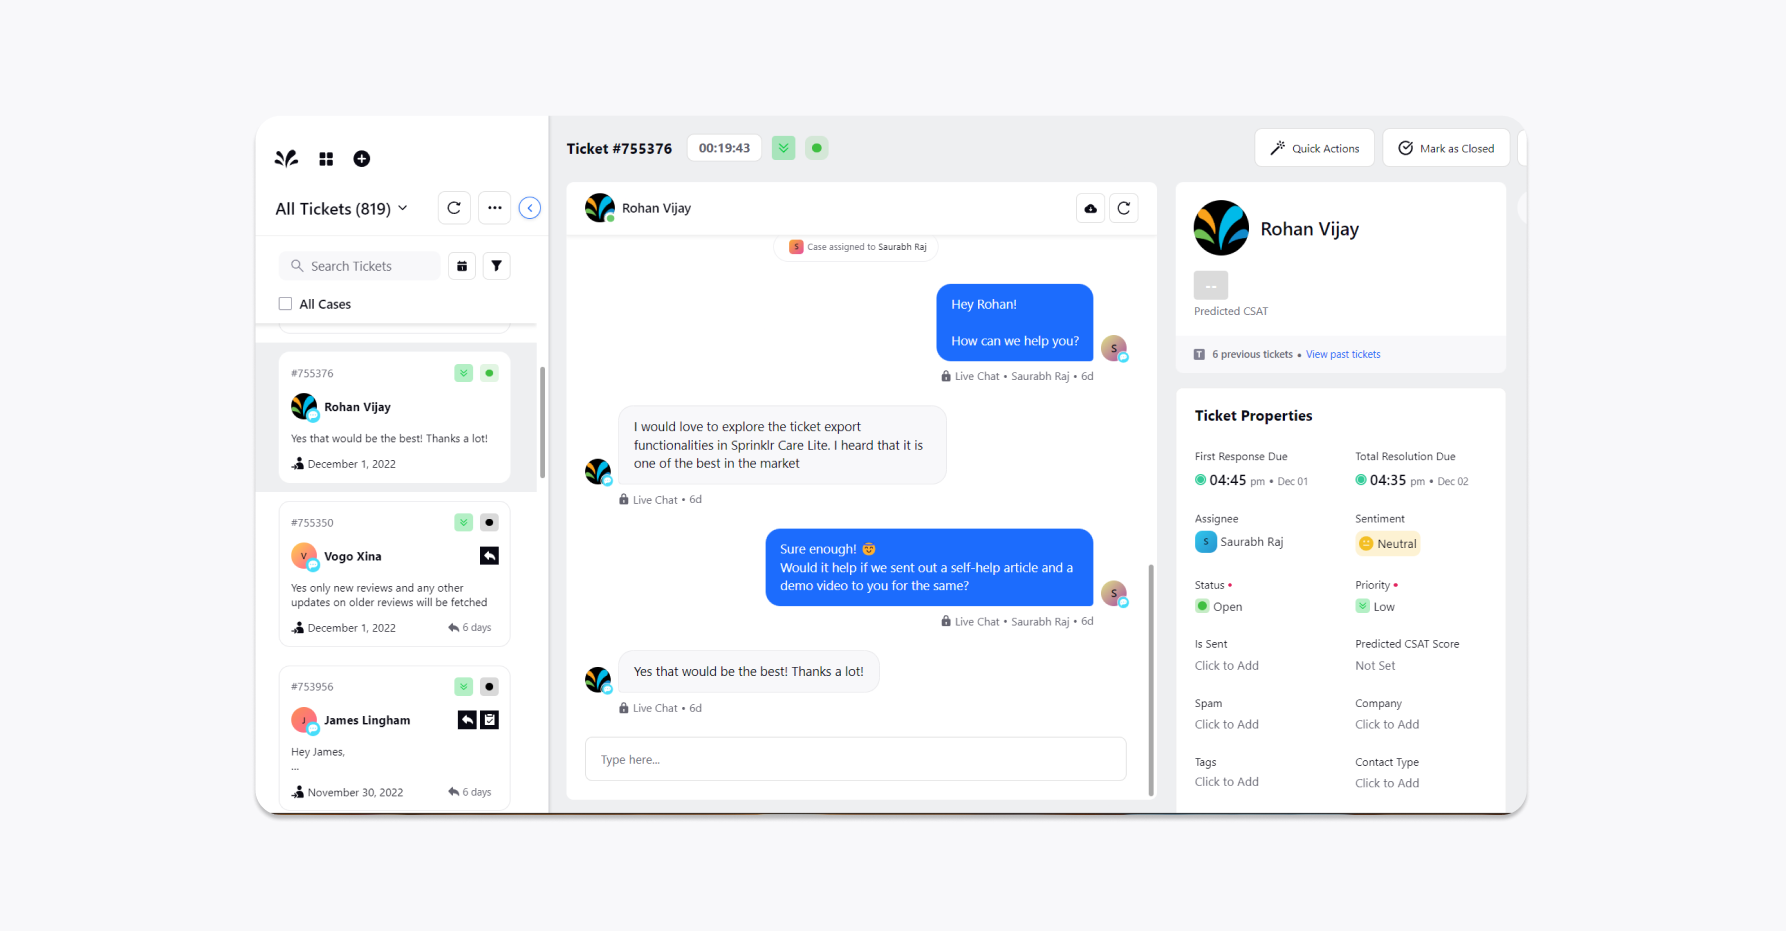
Log into Sprinklr Advanced, and click the Tickets icon in the left navigation pane.
On the Sprinklr Advanced window, select the desired ticket you want to respond to from the left menu.
Go to the Ticket Properties section and update the Status value that you would like to change in the corresponding fields. These are the following ticket statuses available in Sprinklr Advanced by default:
Ticket Status
Description
Open
Any ticket coming directly from customers will be marked Open by default. In short, all the tickets that require assistance will be open.
No Response Required
You can use this ticket status when you receive a ticket unrelated to your services.
Awaiting Response
When a customer raises a ticket and fails to respond further, you can mark that ticket as Awaiting Response. Once you get a reply from the customer, the ticket status changes to Open again for you to work. This way, you can manage your total time spent on a particular ticket.
Escalated
You can use this option if you fail to provide a resolution due to some reason. If you escalate a ticket, it will get unassigned from you and automatically gets assigned to your supervisor.
Note: It is recommended using Quick Action capability while escalating a ticket. Quick action provides you with the option to mention escalation reasons that will help your supervisor understand the ticket better.
Internal Hold
You can use this status when waiting for information from someone (i.e., supervisor) other than the customer. These tickets will appear as open to your customers.
Closed
You can use this status when your customer accepts the solution you have provided. Customers can complete these tickets if they are satisfied with your resolution. You can also mark close from the agent console.
Significance of colour-coded ticket Priority icons
In the Ticket Trail, there are various coloured icons in circular shapes alongside each ticket. These coloured indicators are visual cues intended to attract the agent’s attention.
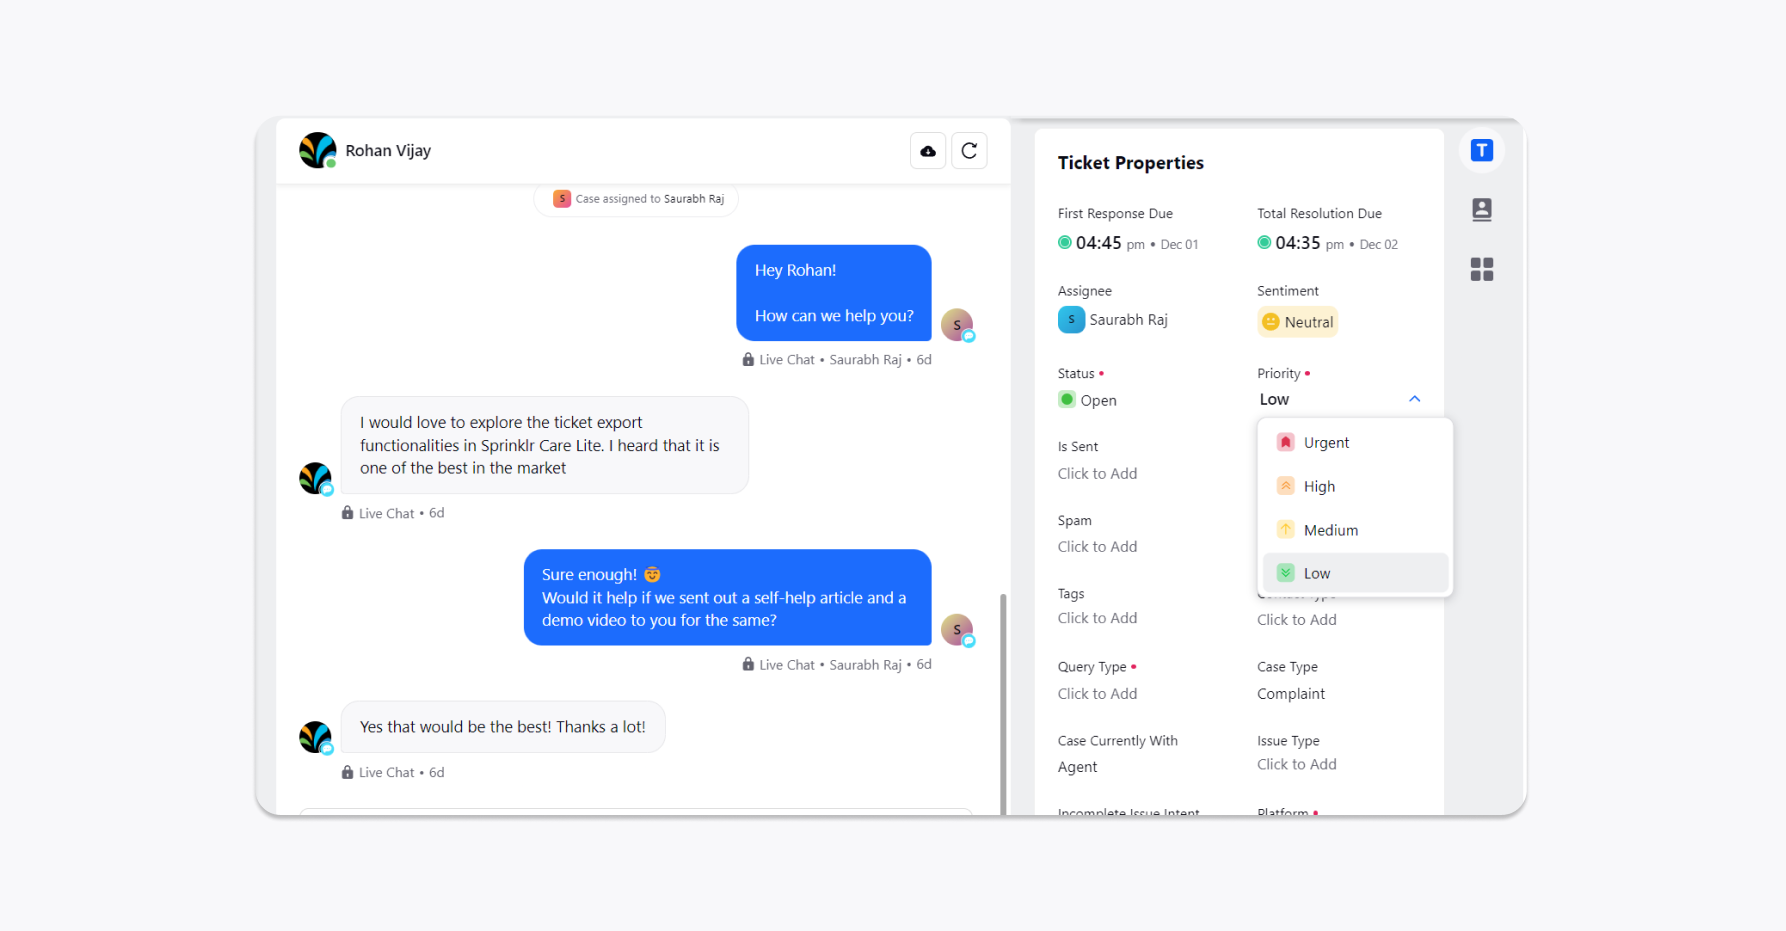
Follow the given steps to change the ticket priority in Sprinklr Advanced:
Log into Sprinklr Advanced and click the Tickets icon on the left navigation pane.
On the Care Console window, select the tickets you want to change the priority to from the left menu.
Go to the Ticket Properties section and update the Priority value that you would like to change in the corresponding fields. These are the following ticket statuses available in Sprinklr Advanced by default:
Color
What does it represent?
Red
It indicates that the ticket is of urgent priority and requires your immediate attention. Such tickets result in a critical business impact where the customer may experience:
(i) complete or substantial data loss while using your services.
(ii) the inability to use a critical application within the platform.
Orange
Tickets with orange-coloured status are of high business impact. Such tickets signify that:
(i) the platform functionality is adversely affected but can be circumvented.
(i) a complete or substantial data loss while using the platform.
(ii) certain functions within the platform are disabled, but the platform remains operable.
Yellow
This icon indicates that the issue is of medium priority and has no critical business impact. Yellow status may also signify that the issue is time-sensitive and essential to long-term productivity, not causing an immediate work stoppage.
Green
Blue indicates that the ticket is low priority and has minimal business impact.