
Adding Dynamics 365 Integration with Sprinklr Service Self Serve
Updated
Steps to do in Azure Portal to Integrate Dynamics
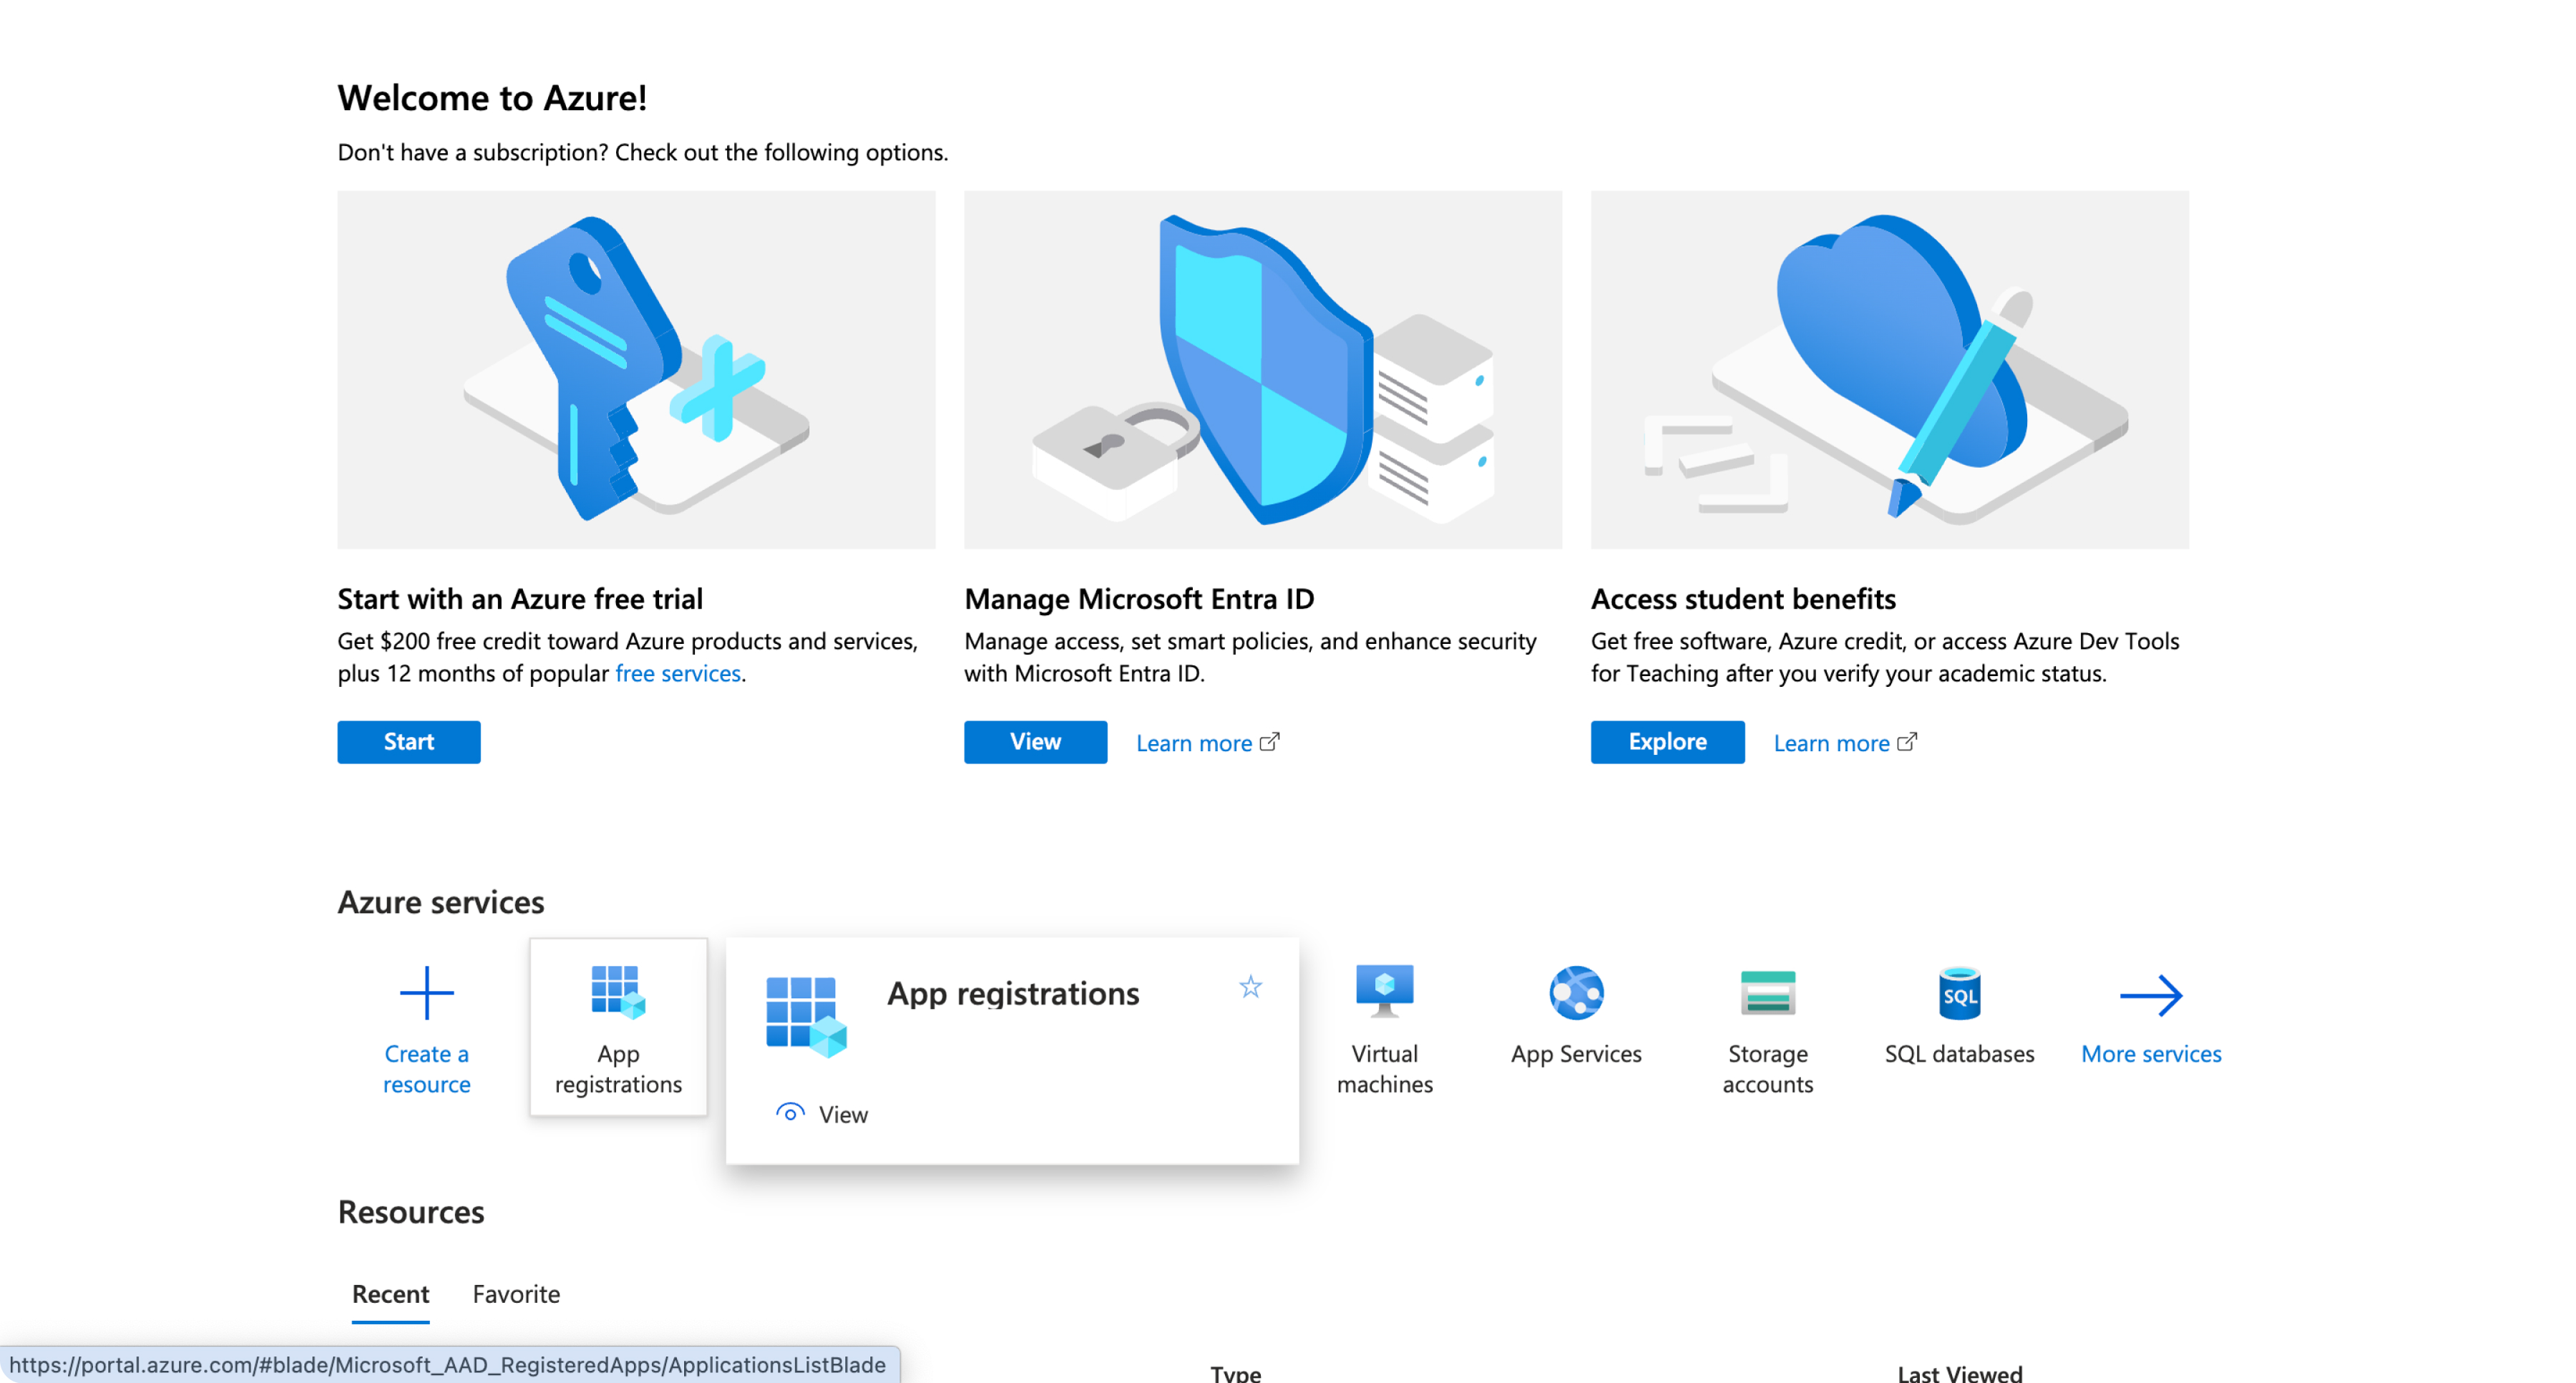
Go to Azure (https://portal.azure.com/) and open App Registration
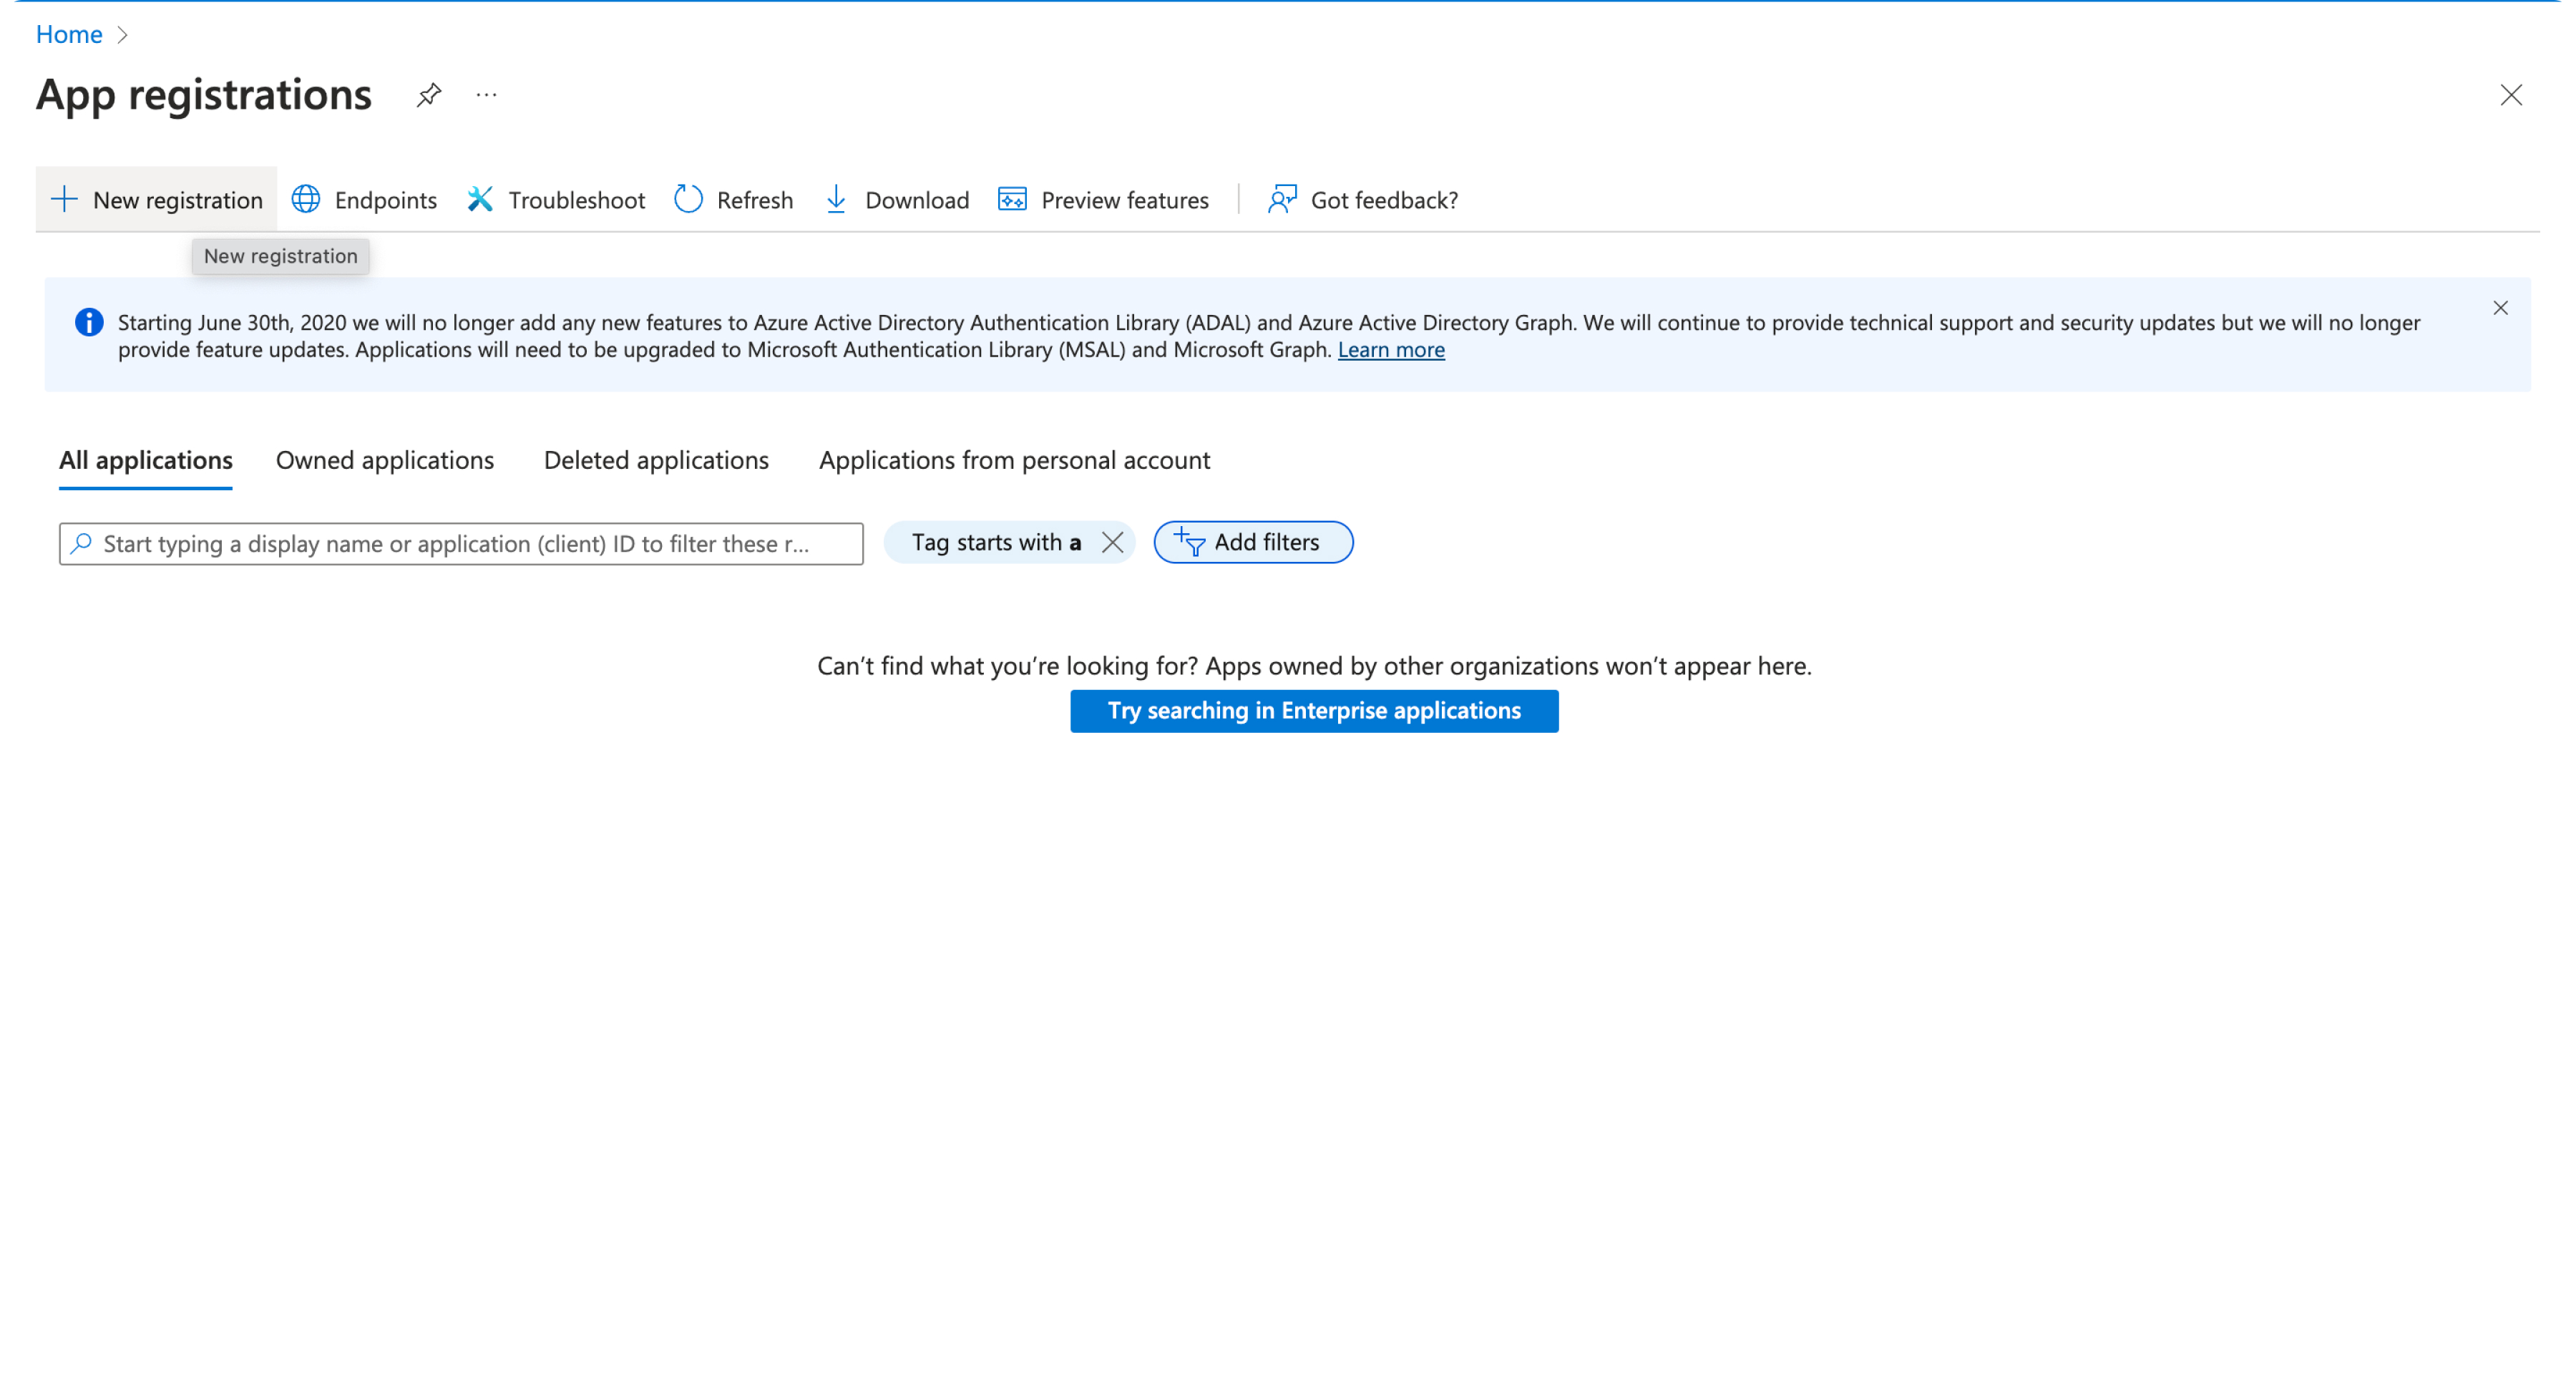
Choose New Registration
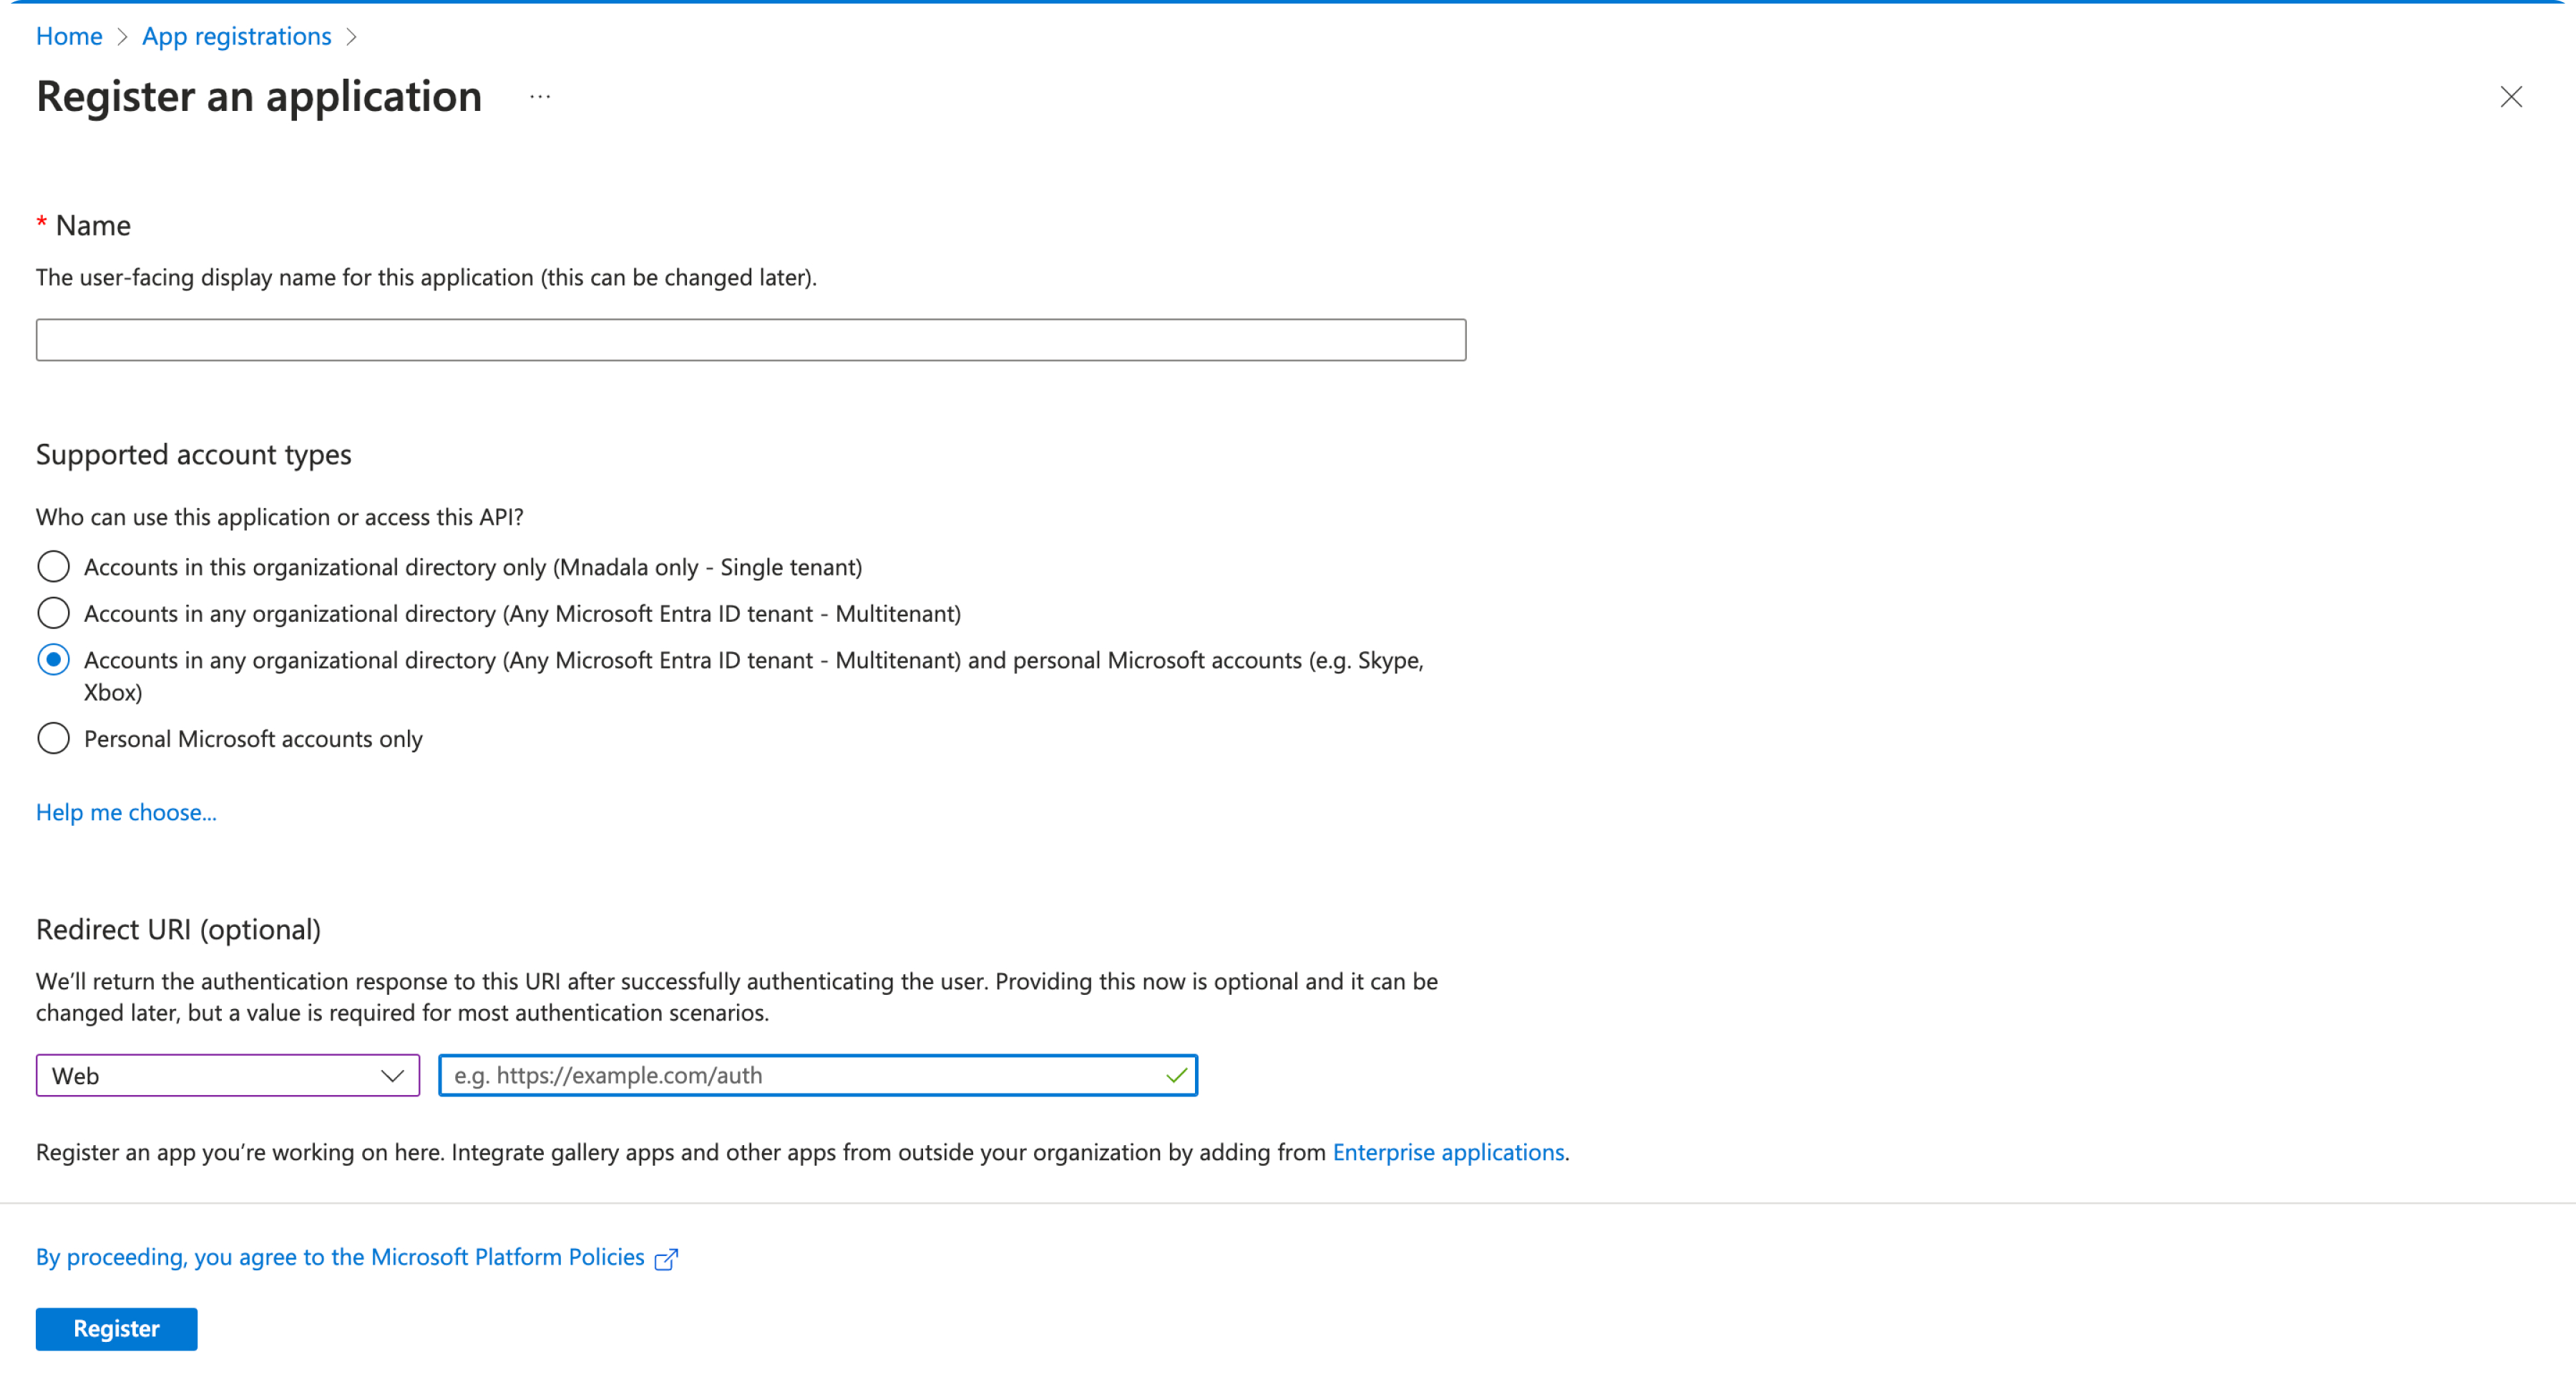
Provide Name and Choose Accounts in any organizational directory and personal Microsoft Accounts
In Redirect URL
Choose Web
Add redirection URL for Prod12 and Prod3 (for this reach out to tickets@sprinklr.com)
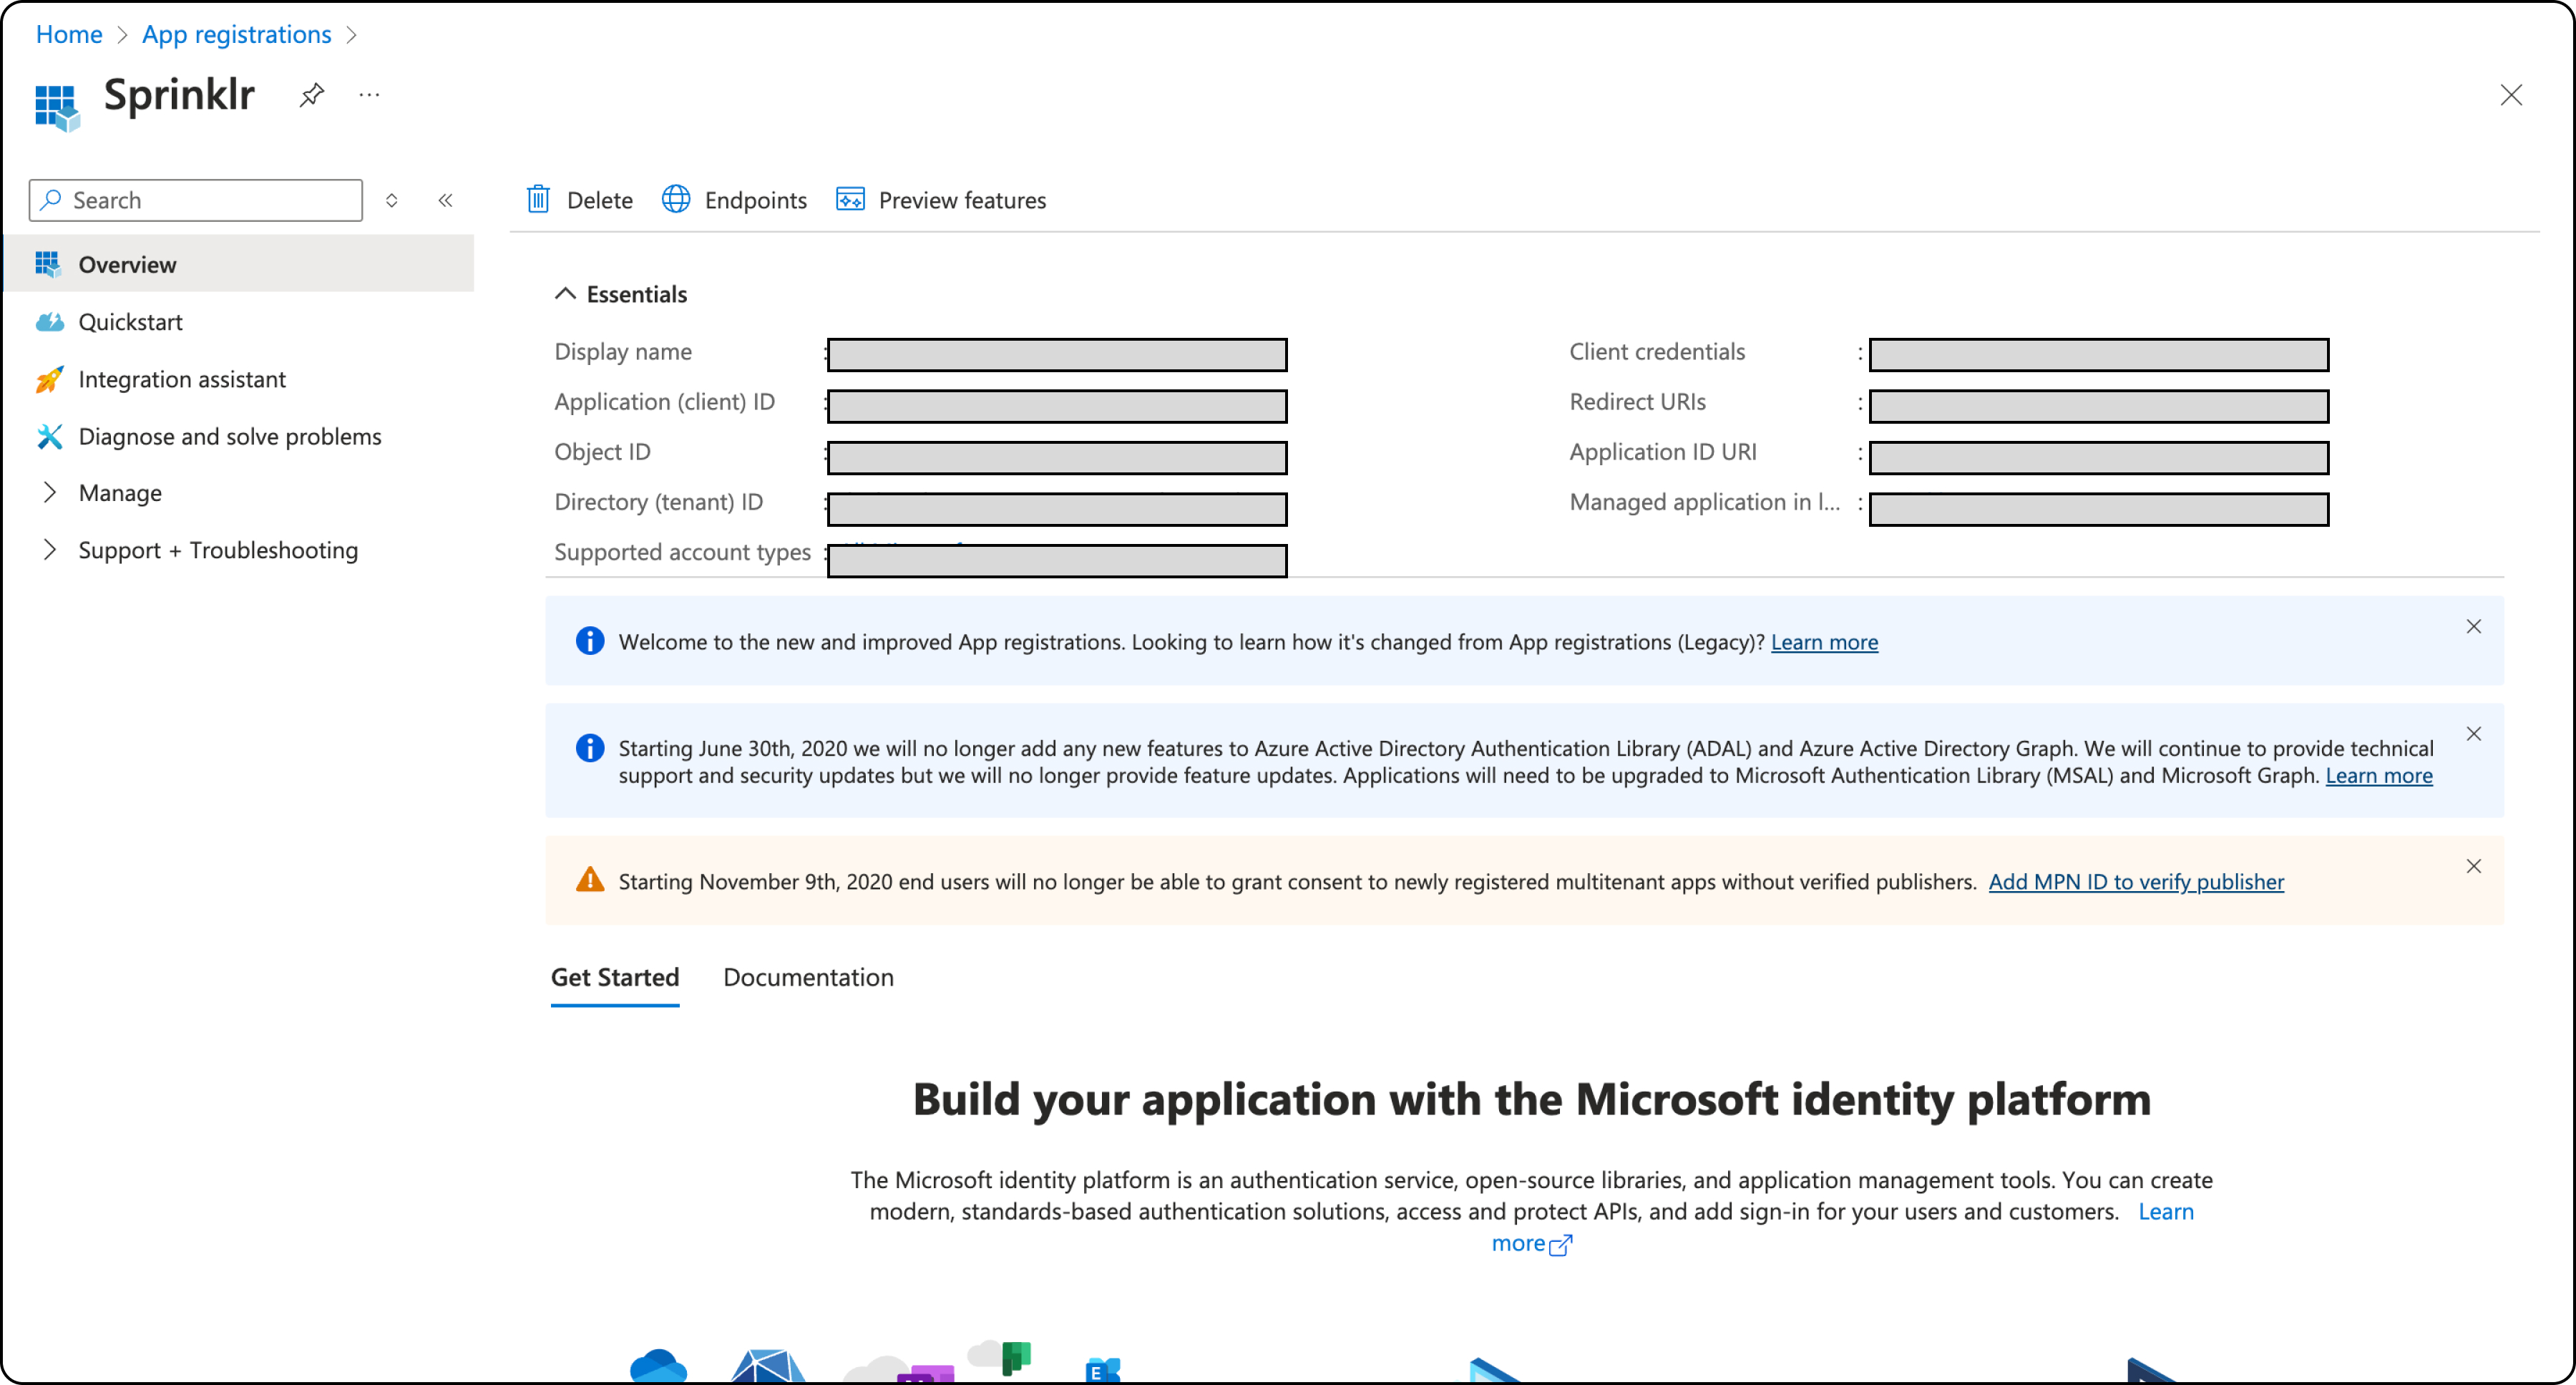
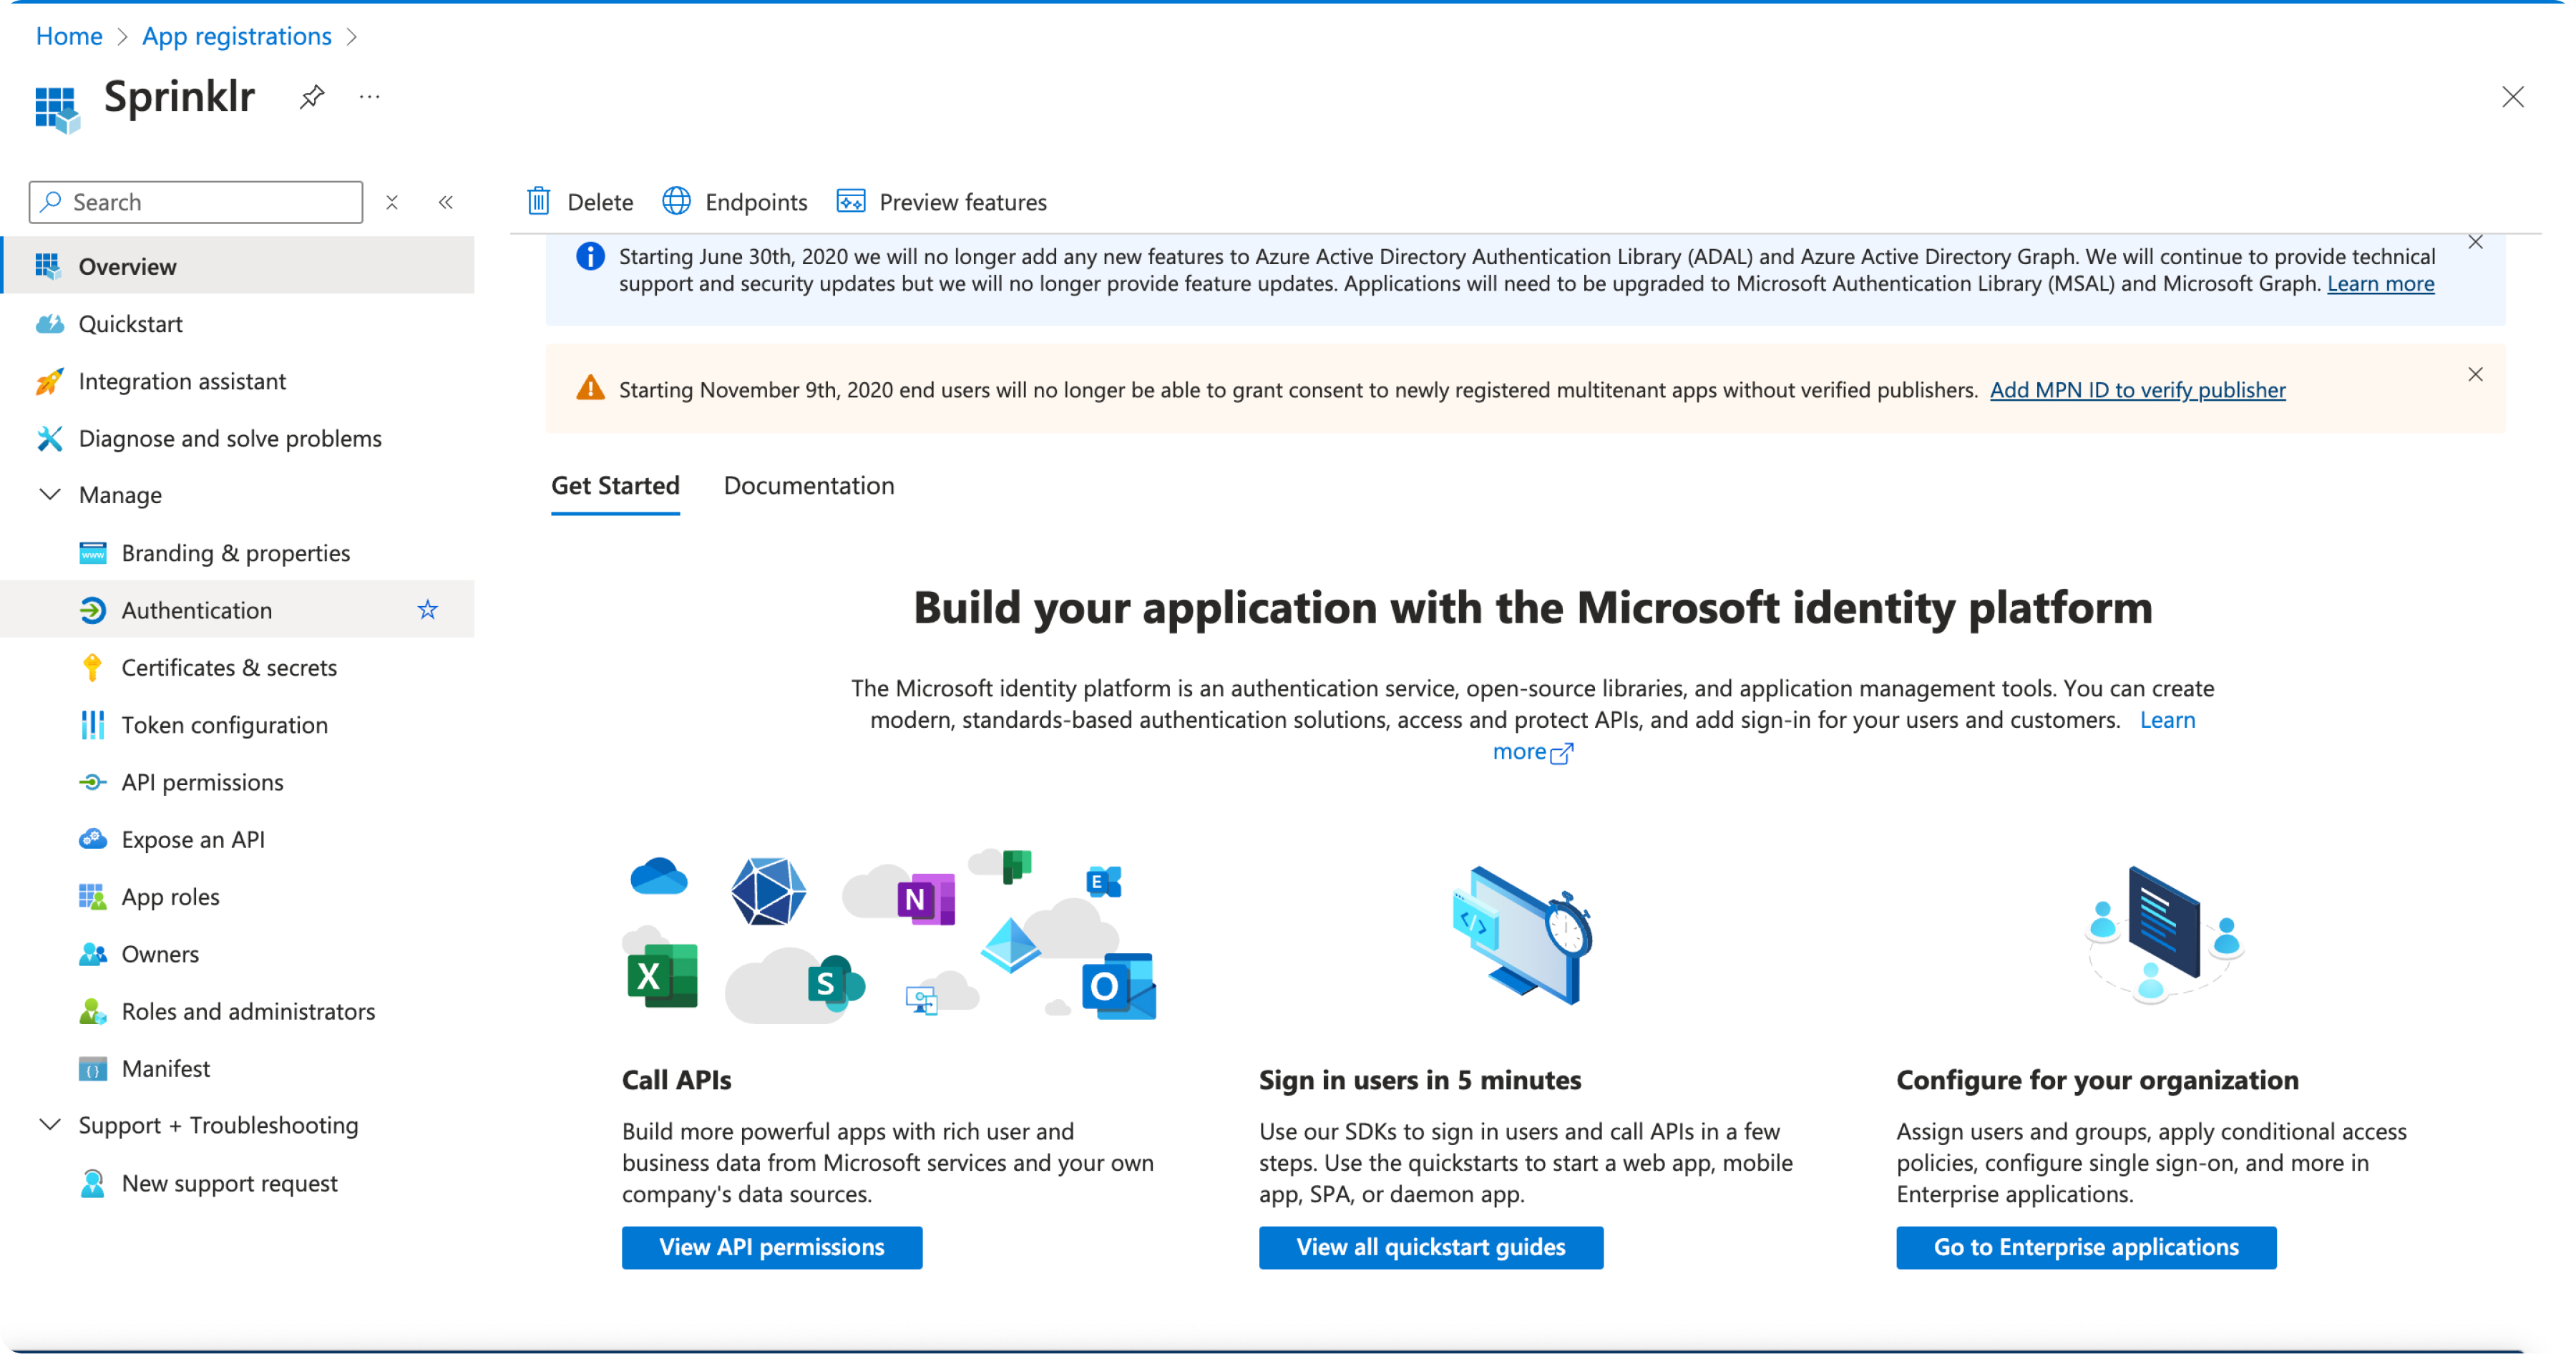
Once you register, you’ll be redirected to app page -> copy the client id
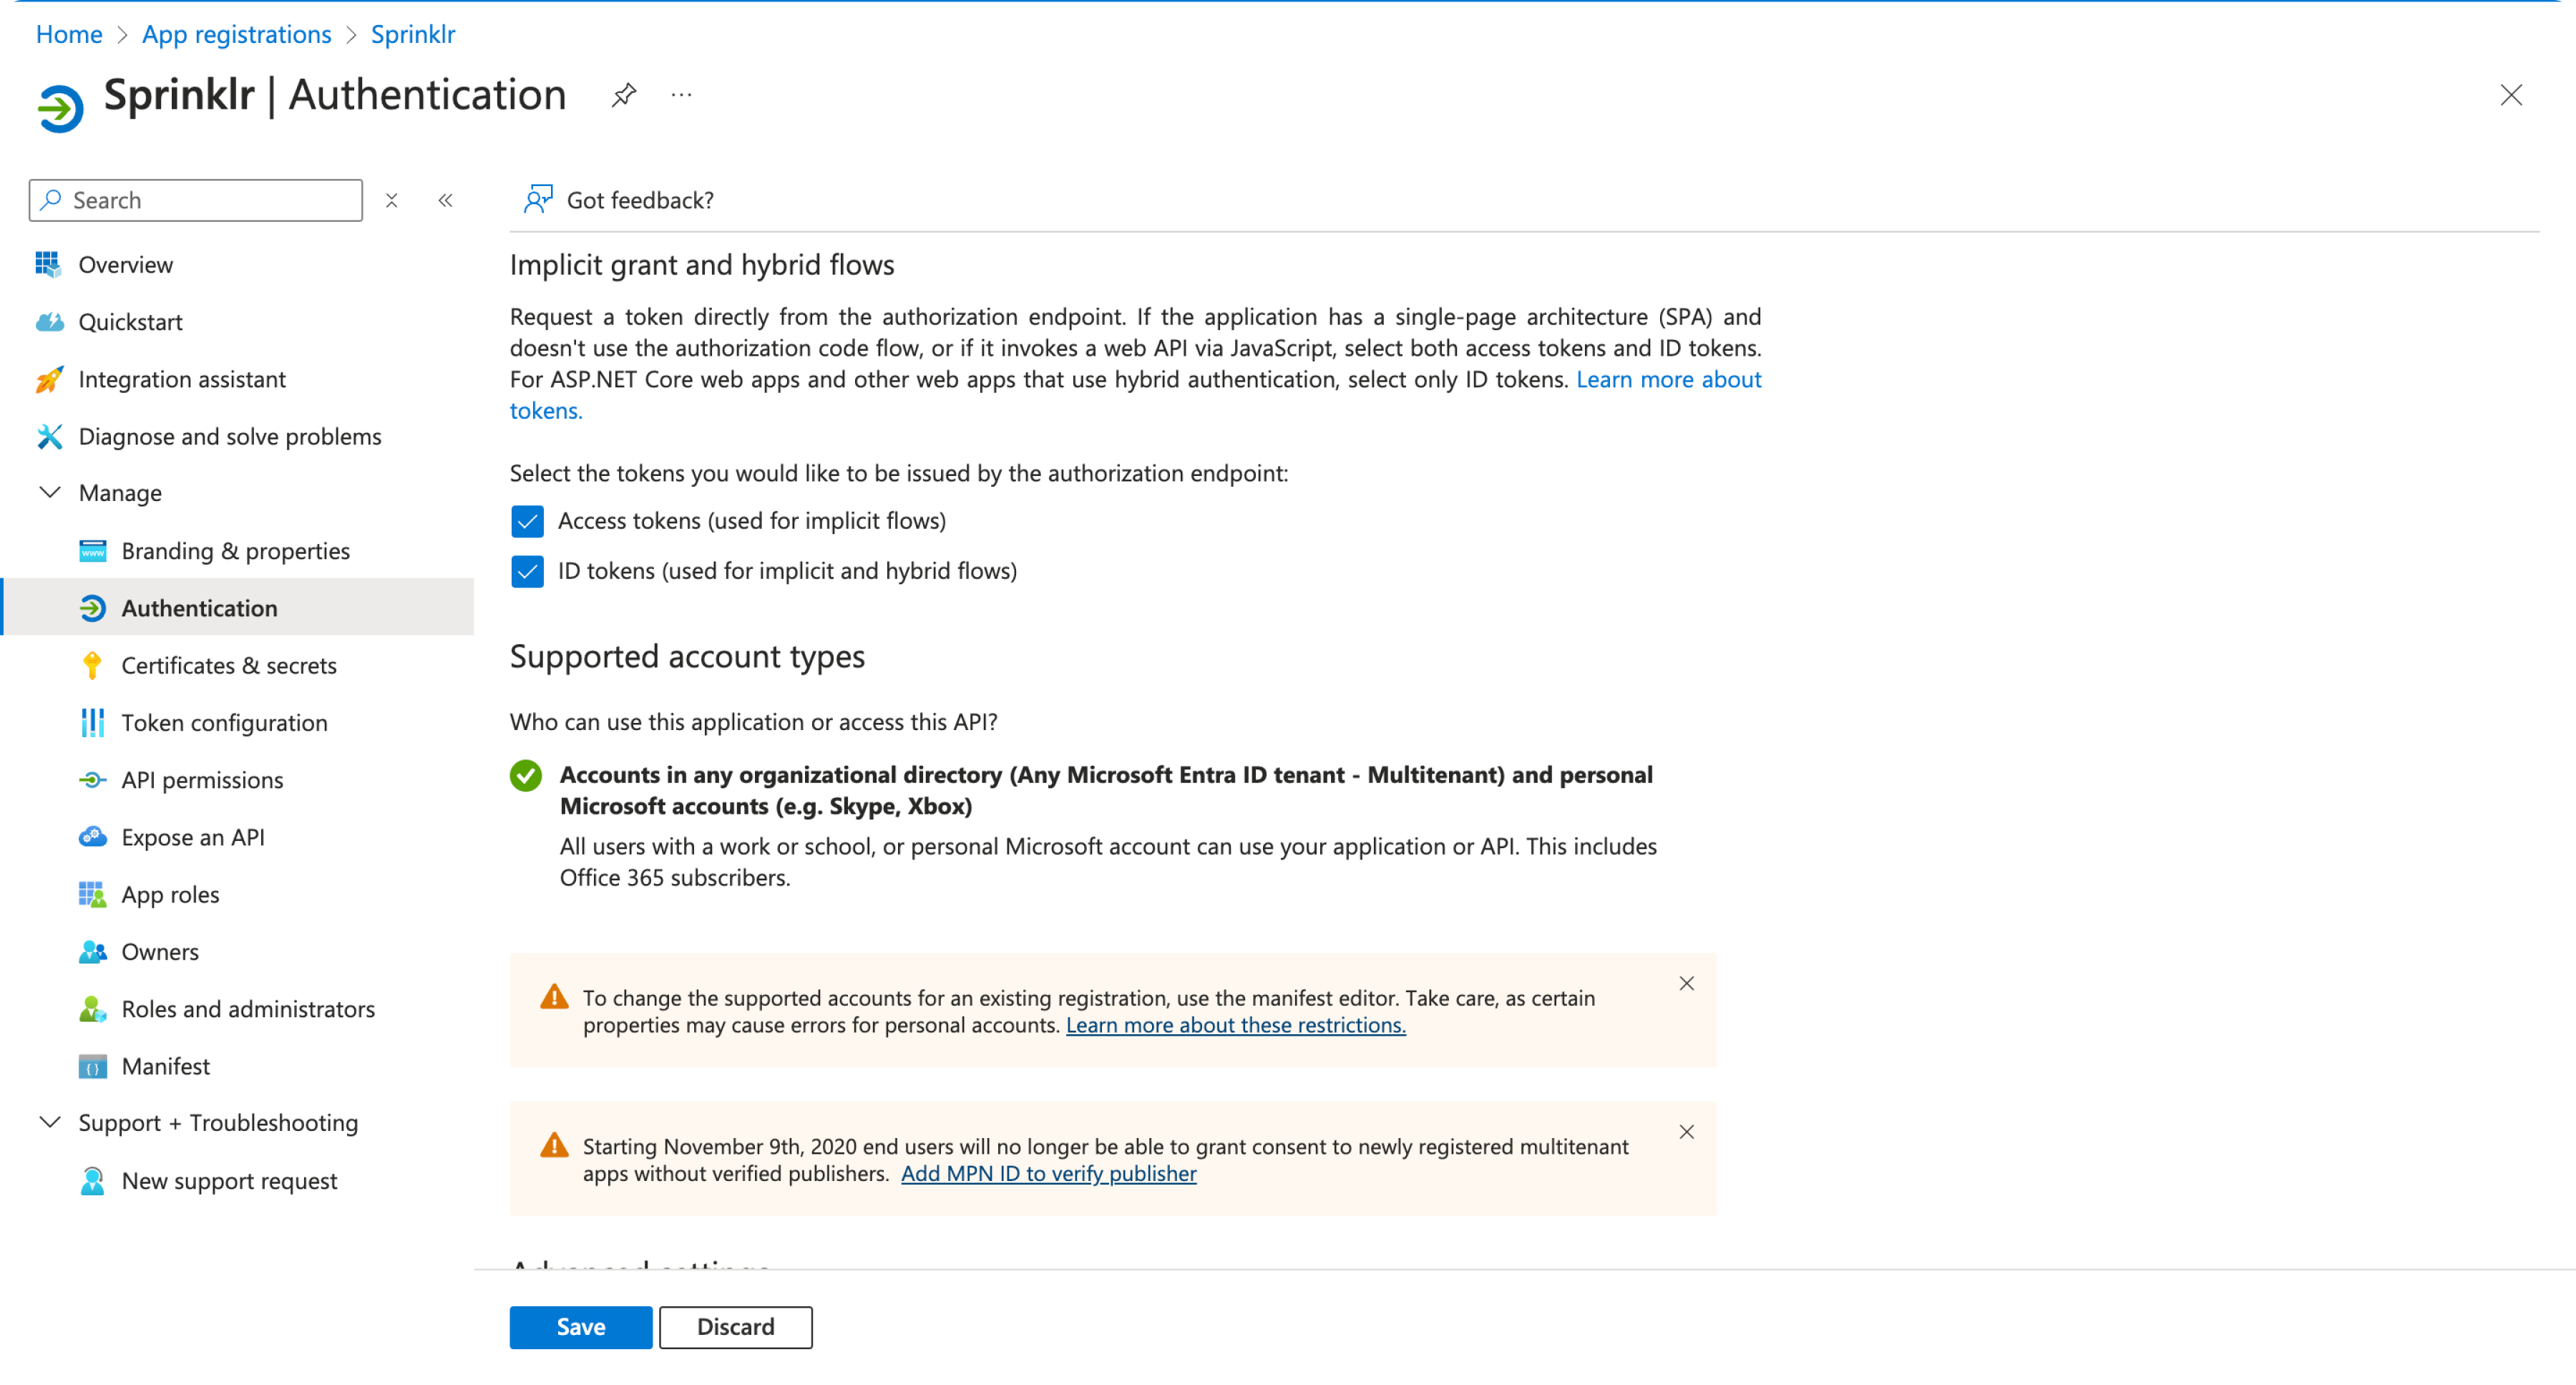
Now go to authentication from the left-hand pane
Under the Implicit grants and hybrid flows, give permission for both
Access Tokens
ID Tokens
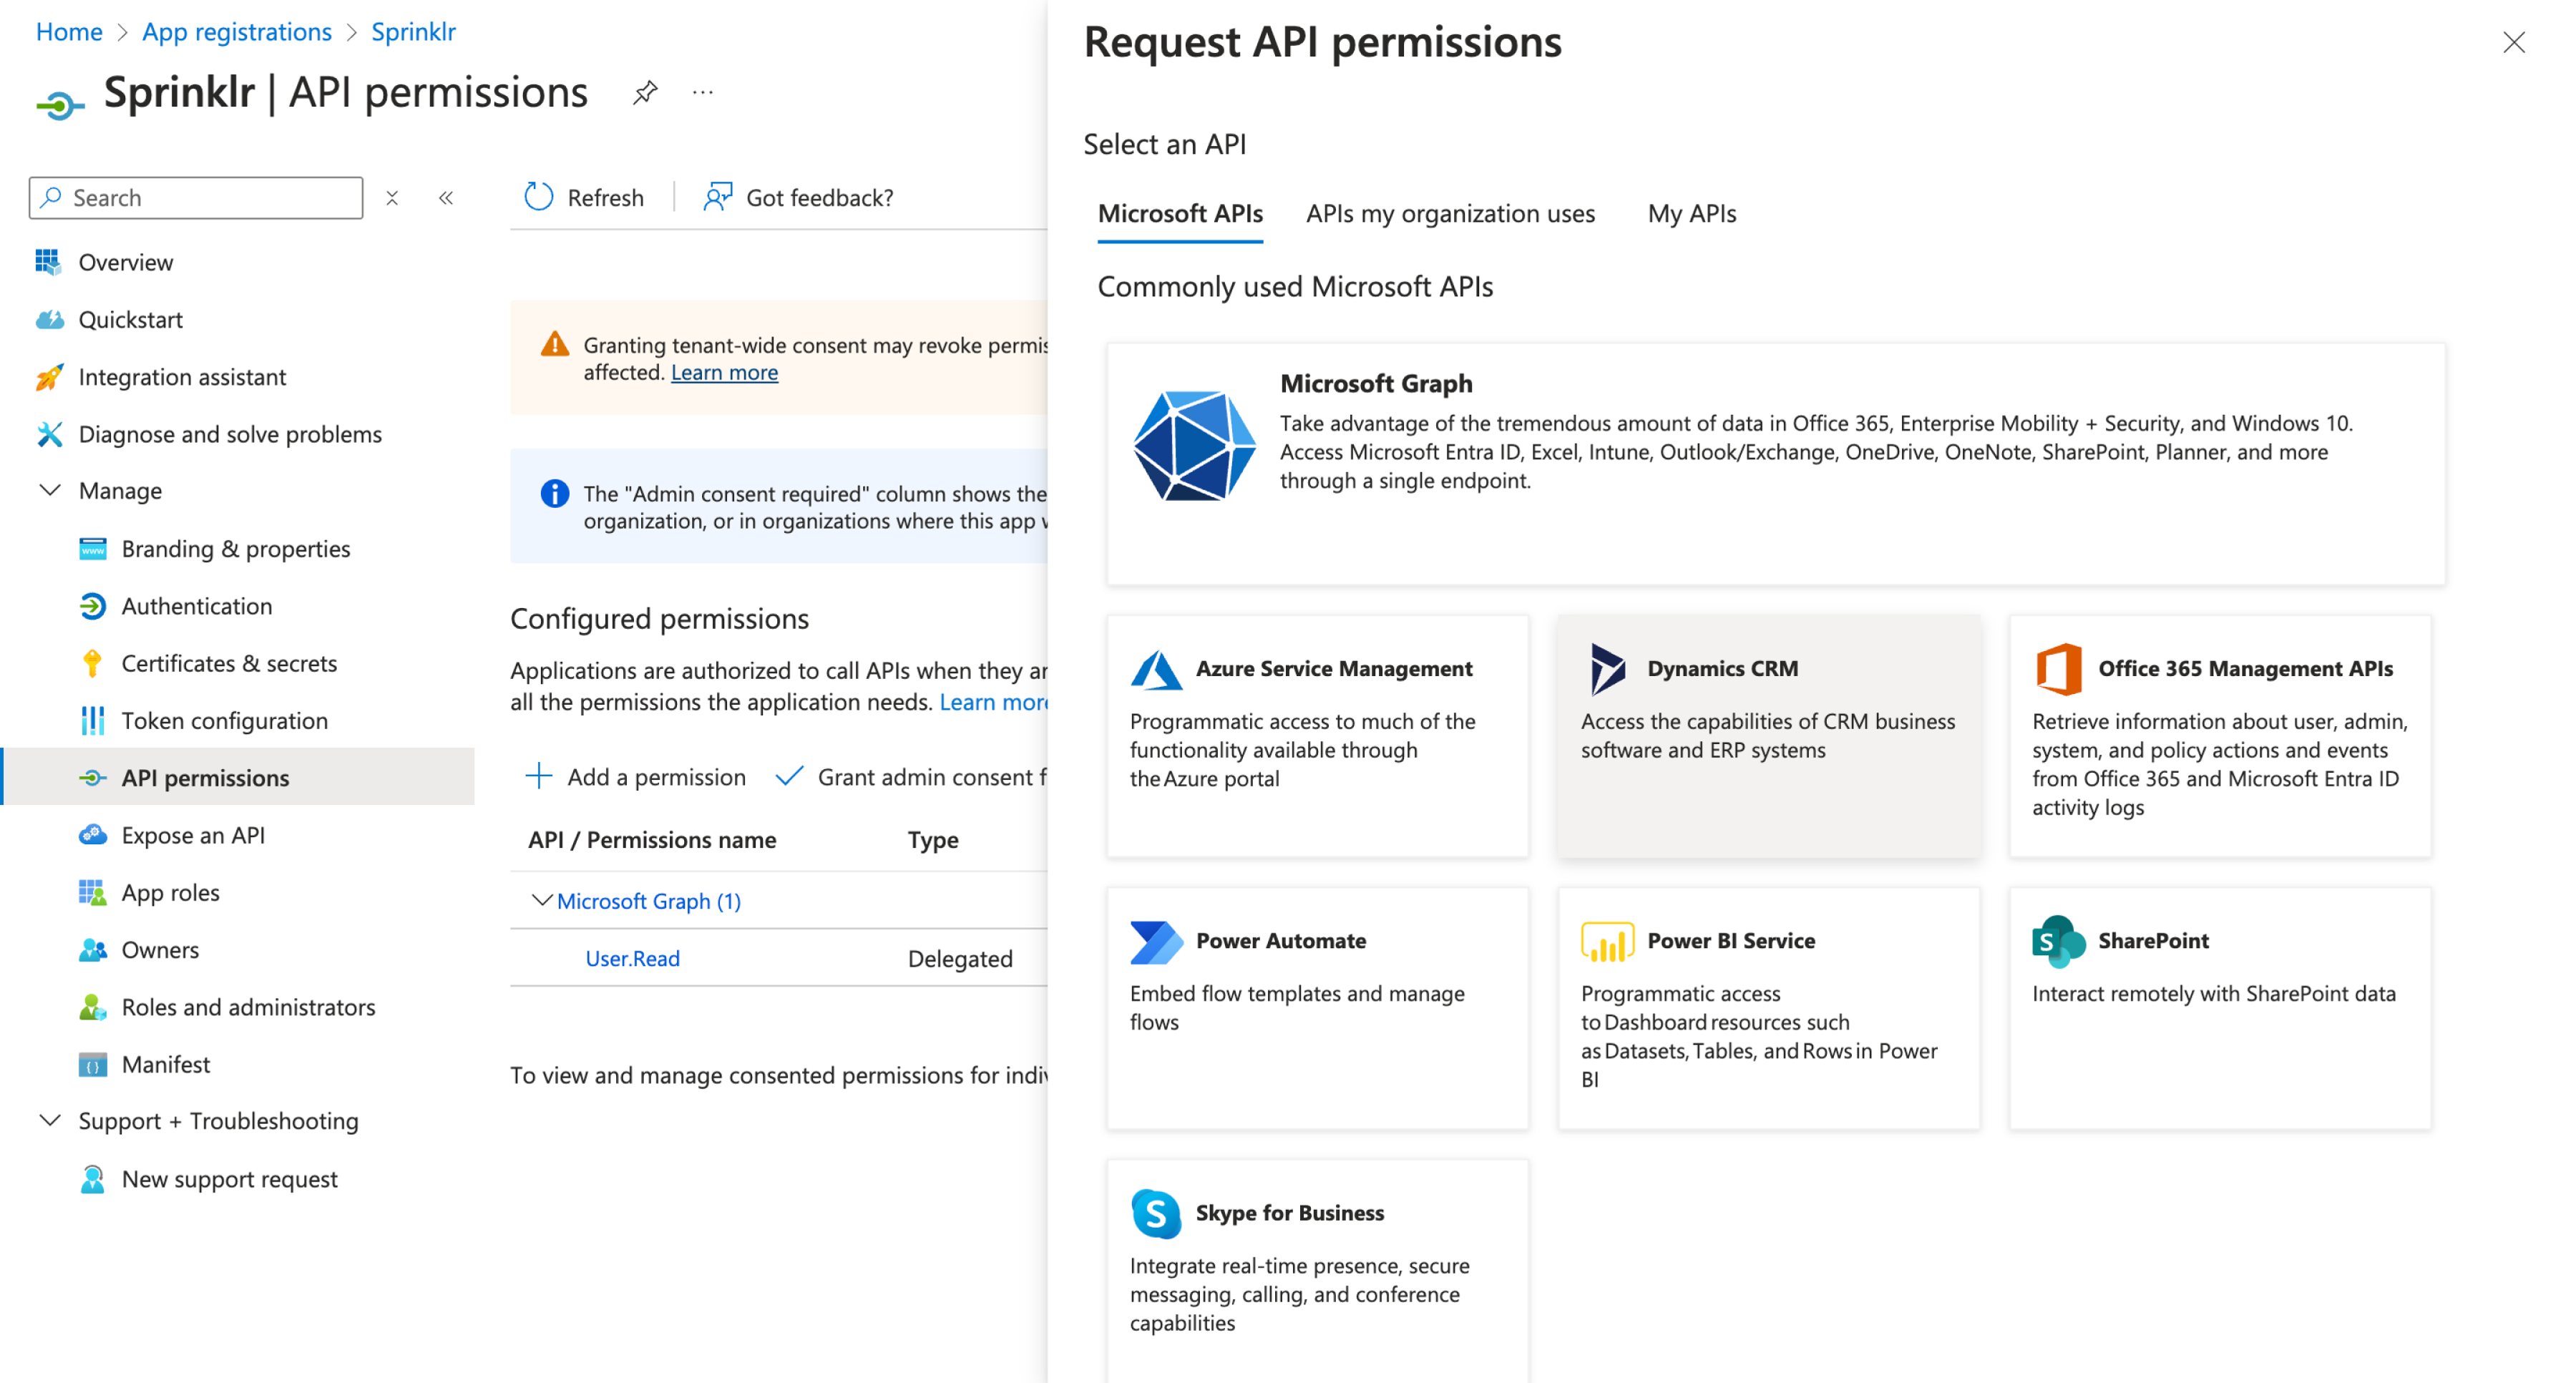
Now go to API Permissions
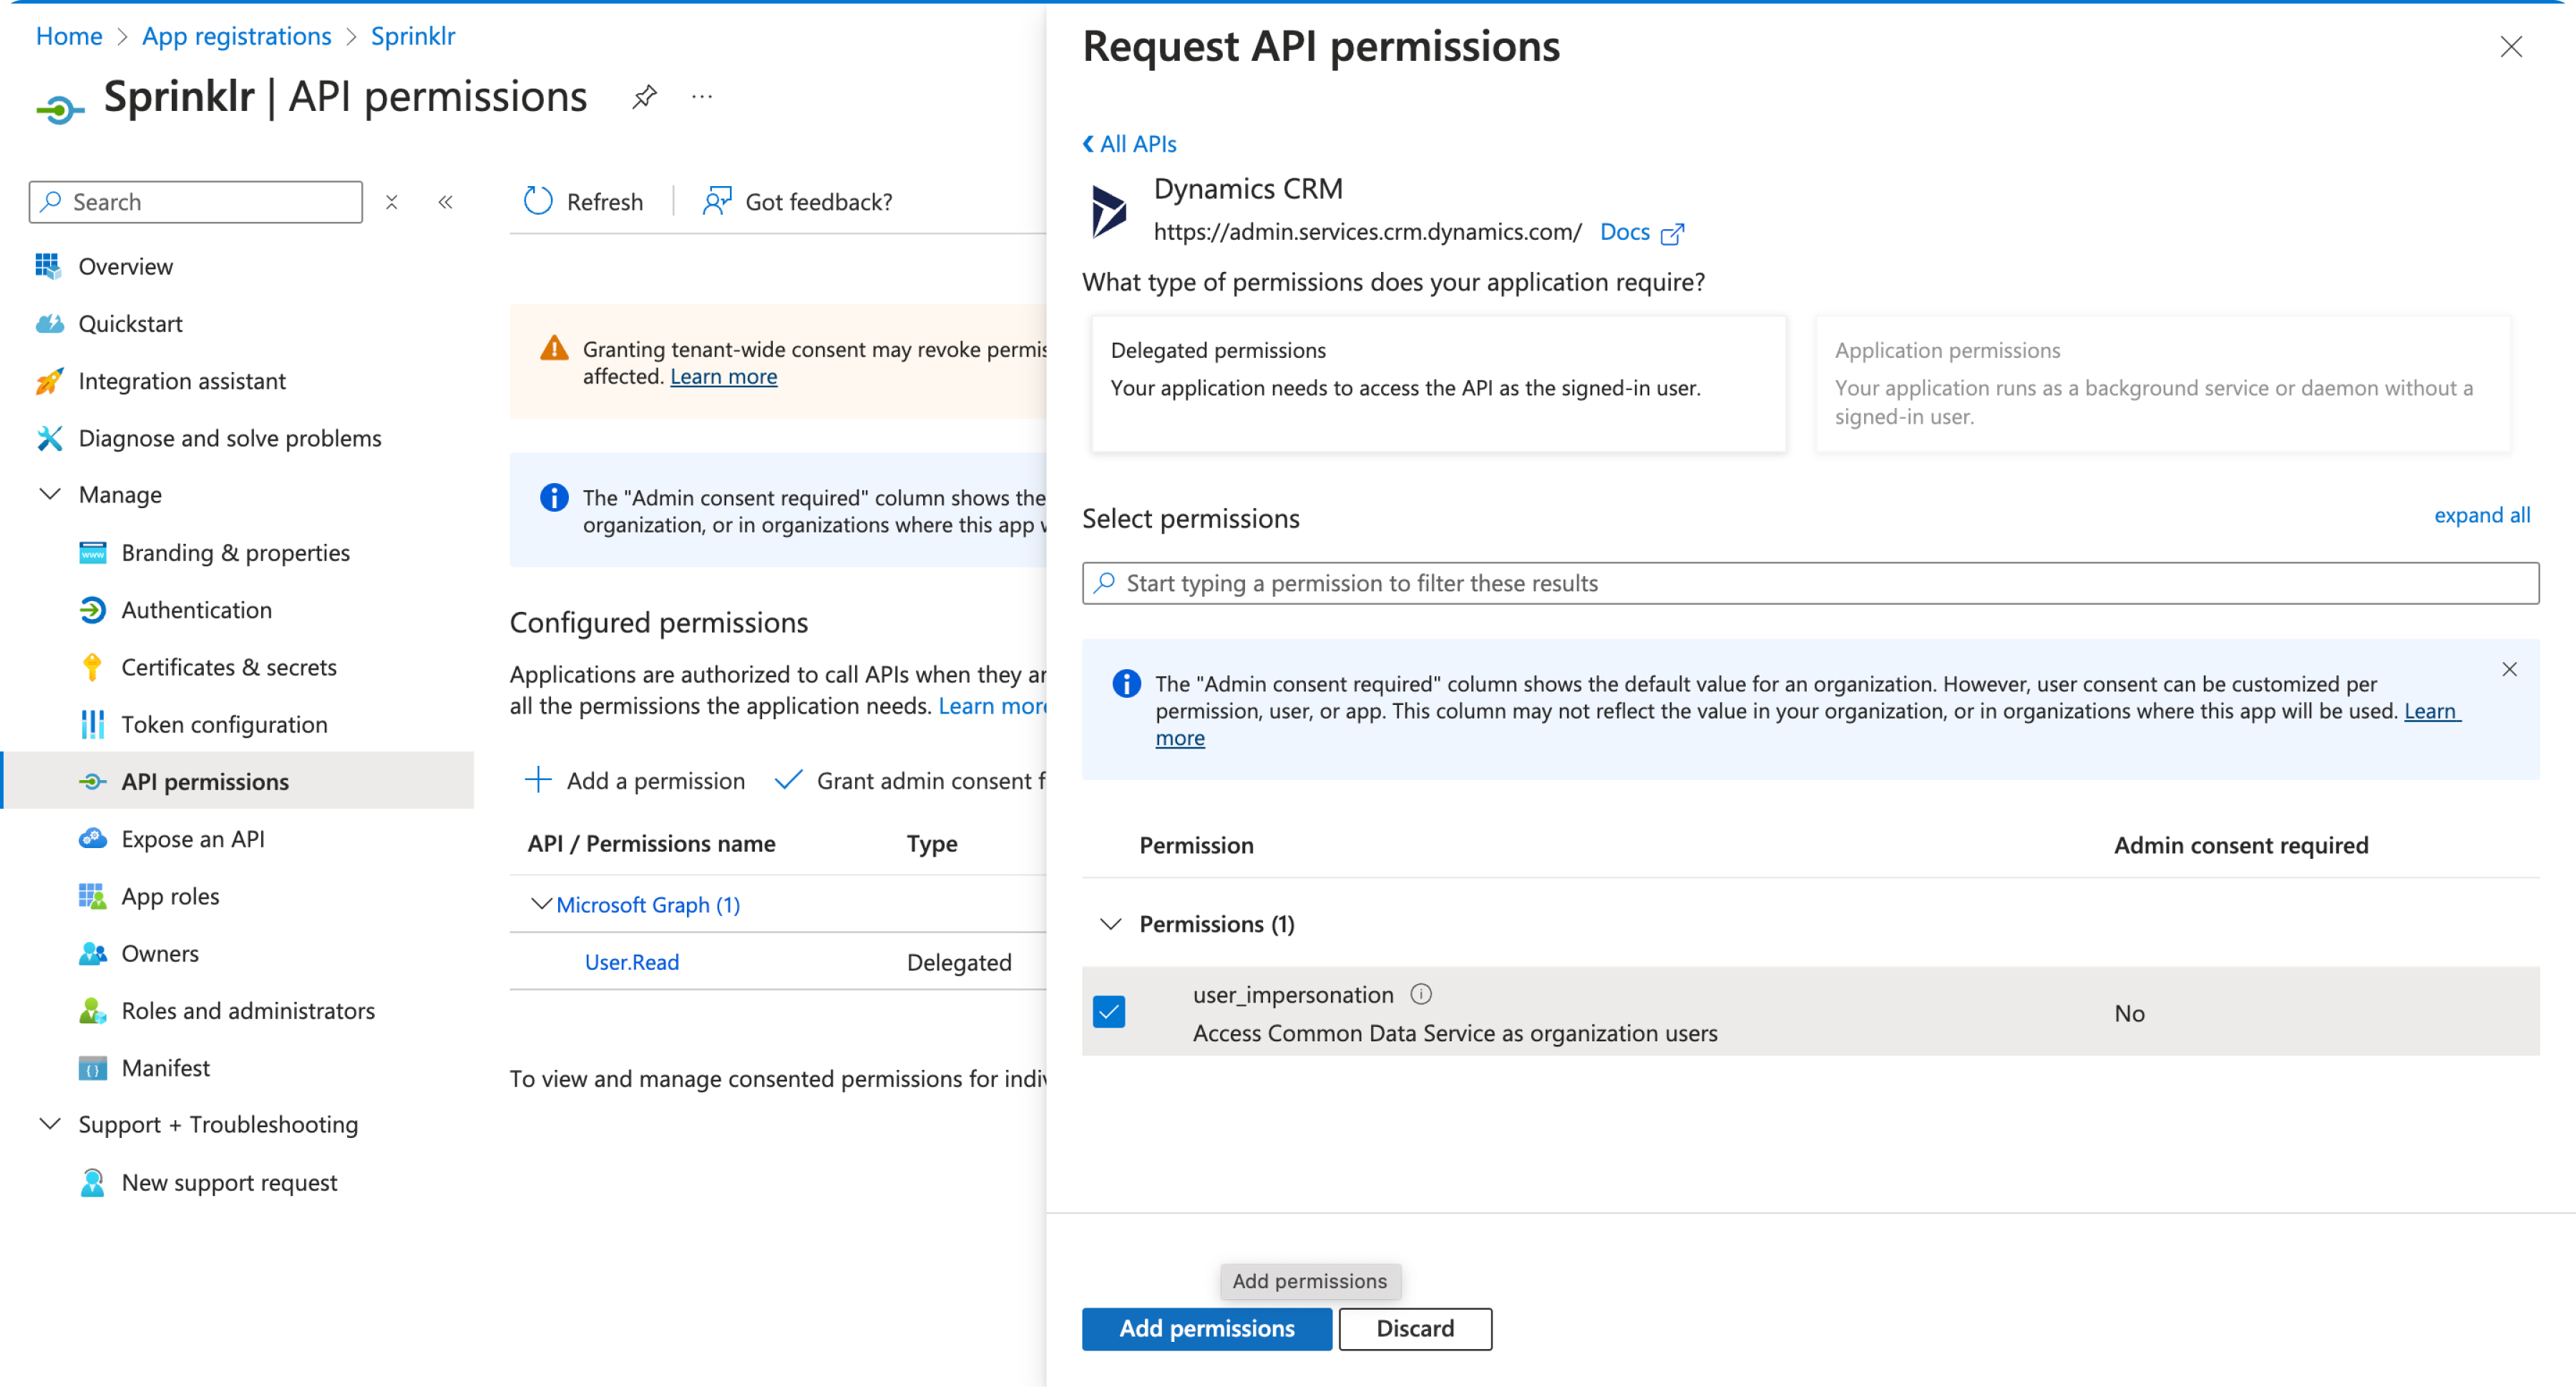
Add New permission --> Dynamics CRM
Give user_impersonation Permission
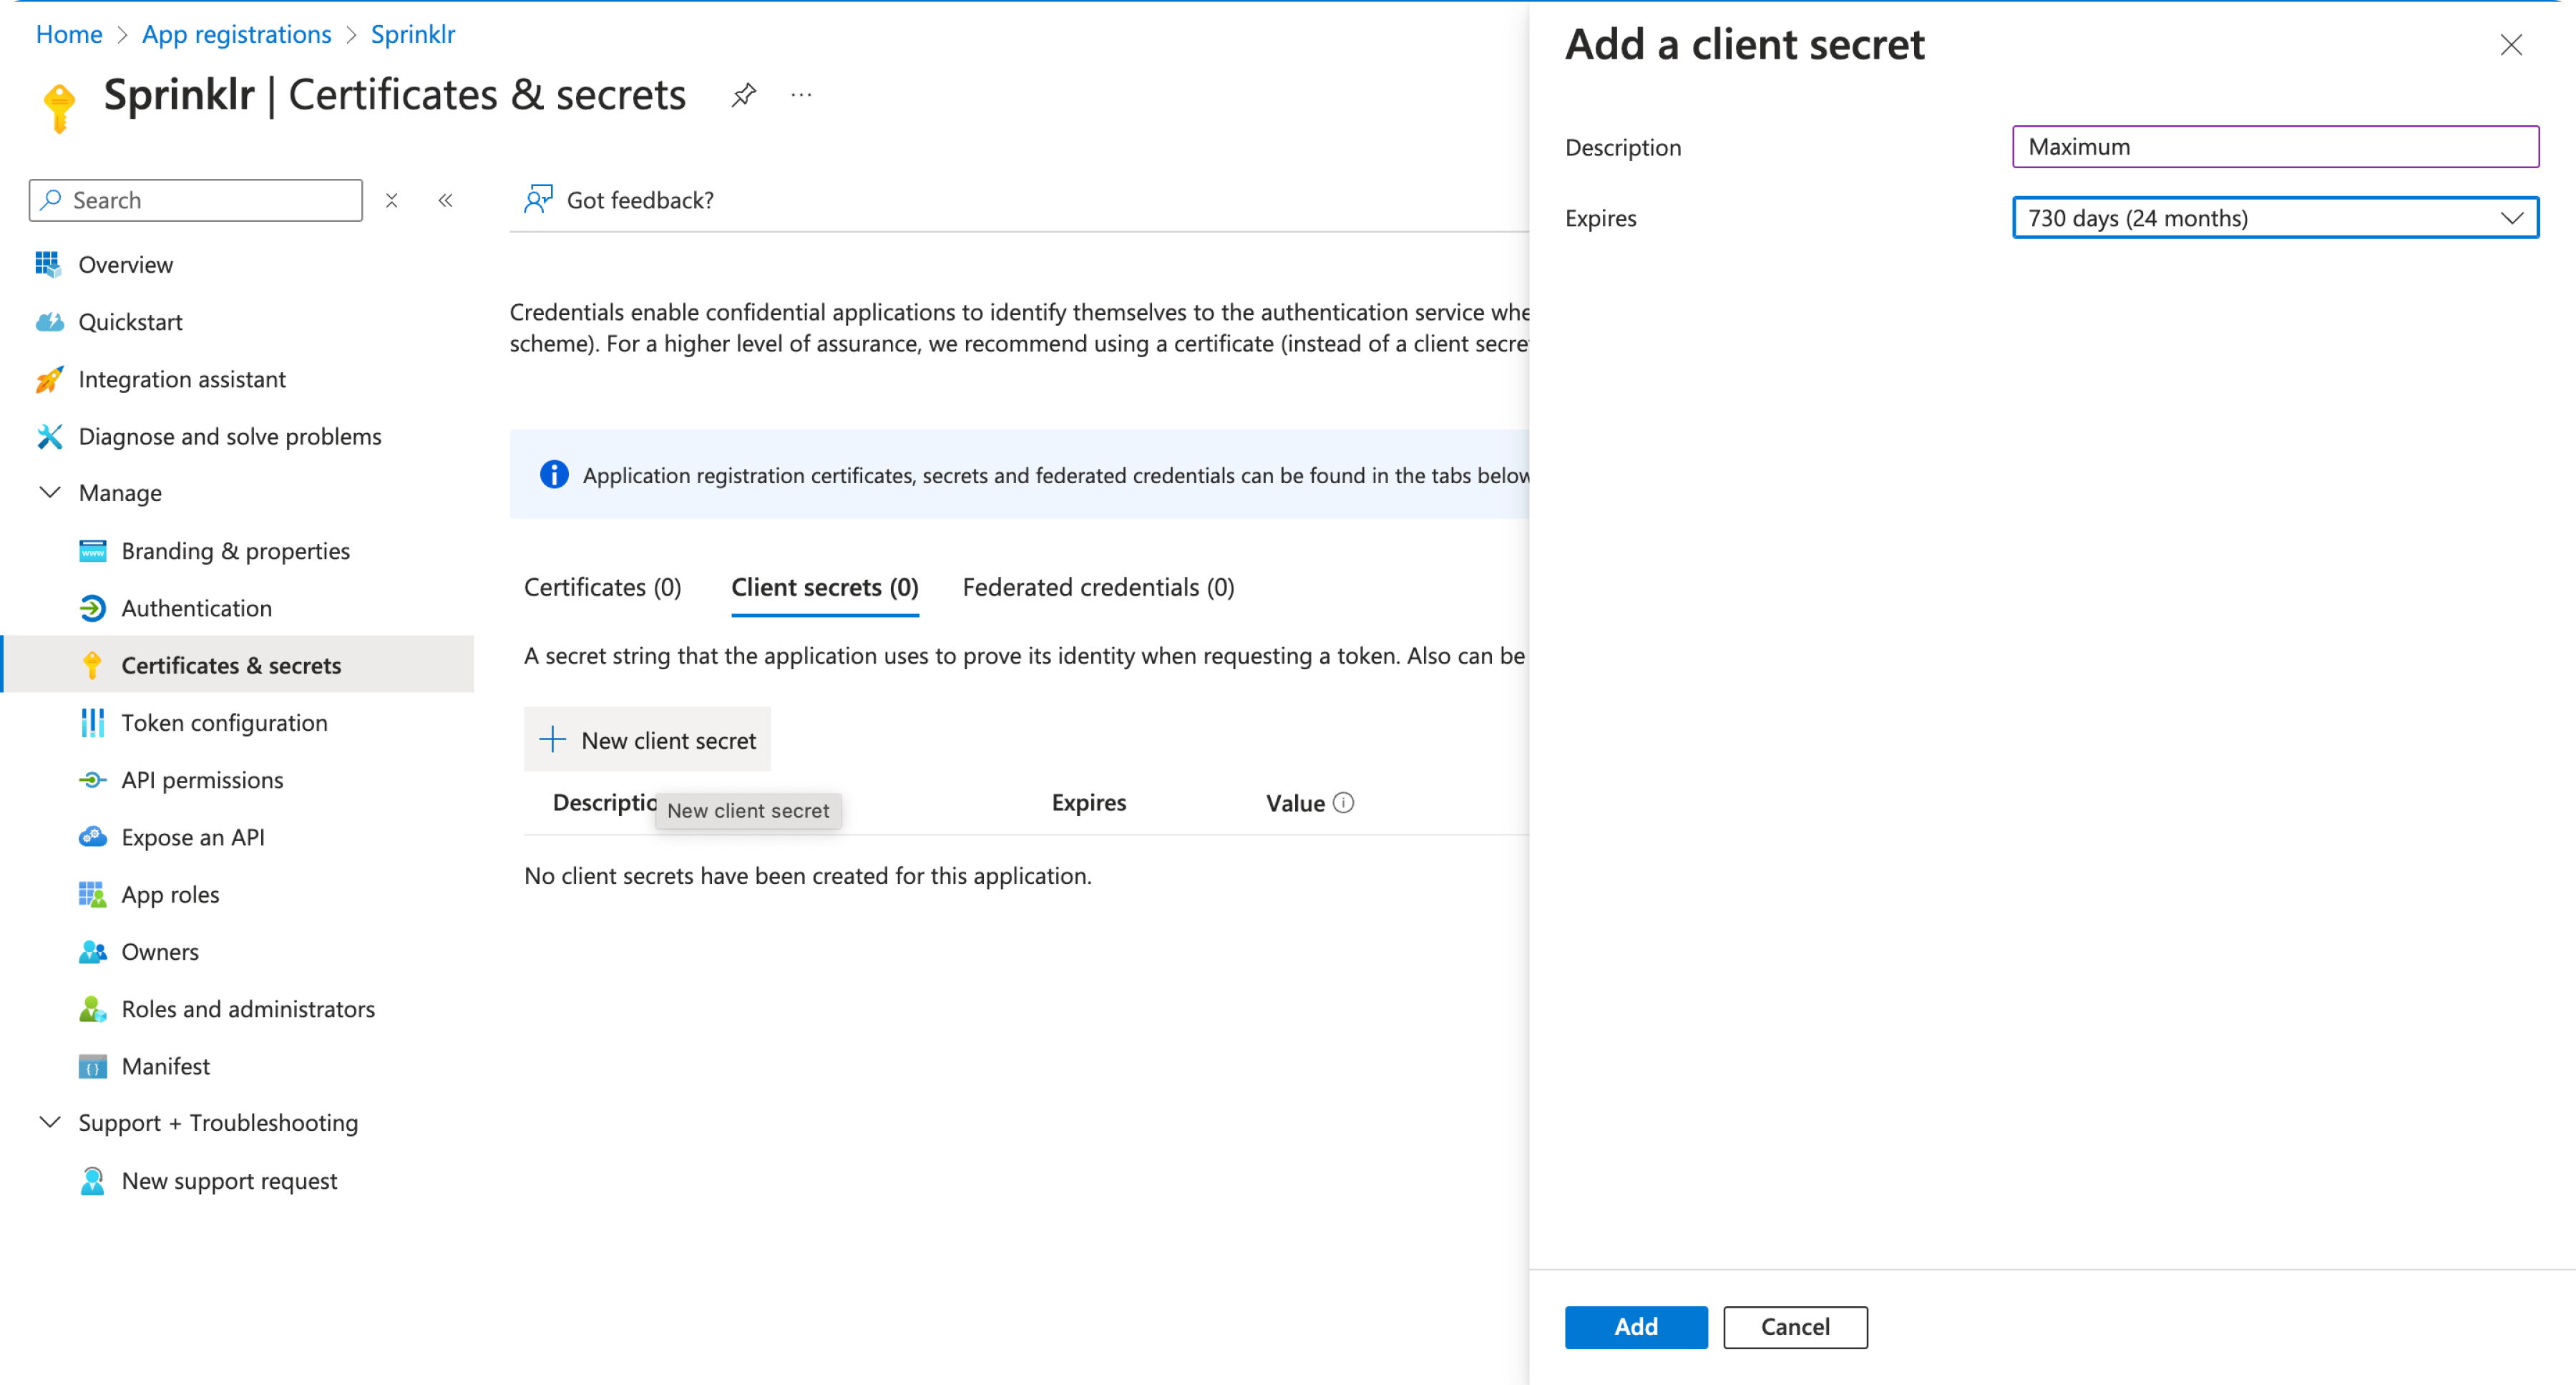
Now go to Certificates and Secret
Move to Client Secrets tab and choose New client secret
Add description and set expiry as per your choice
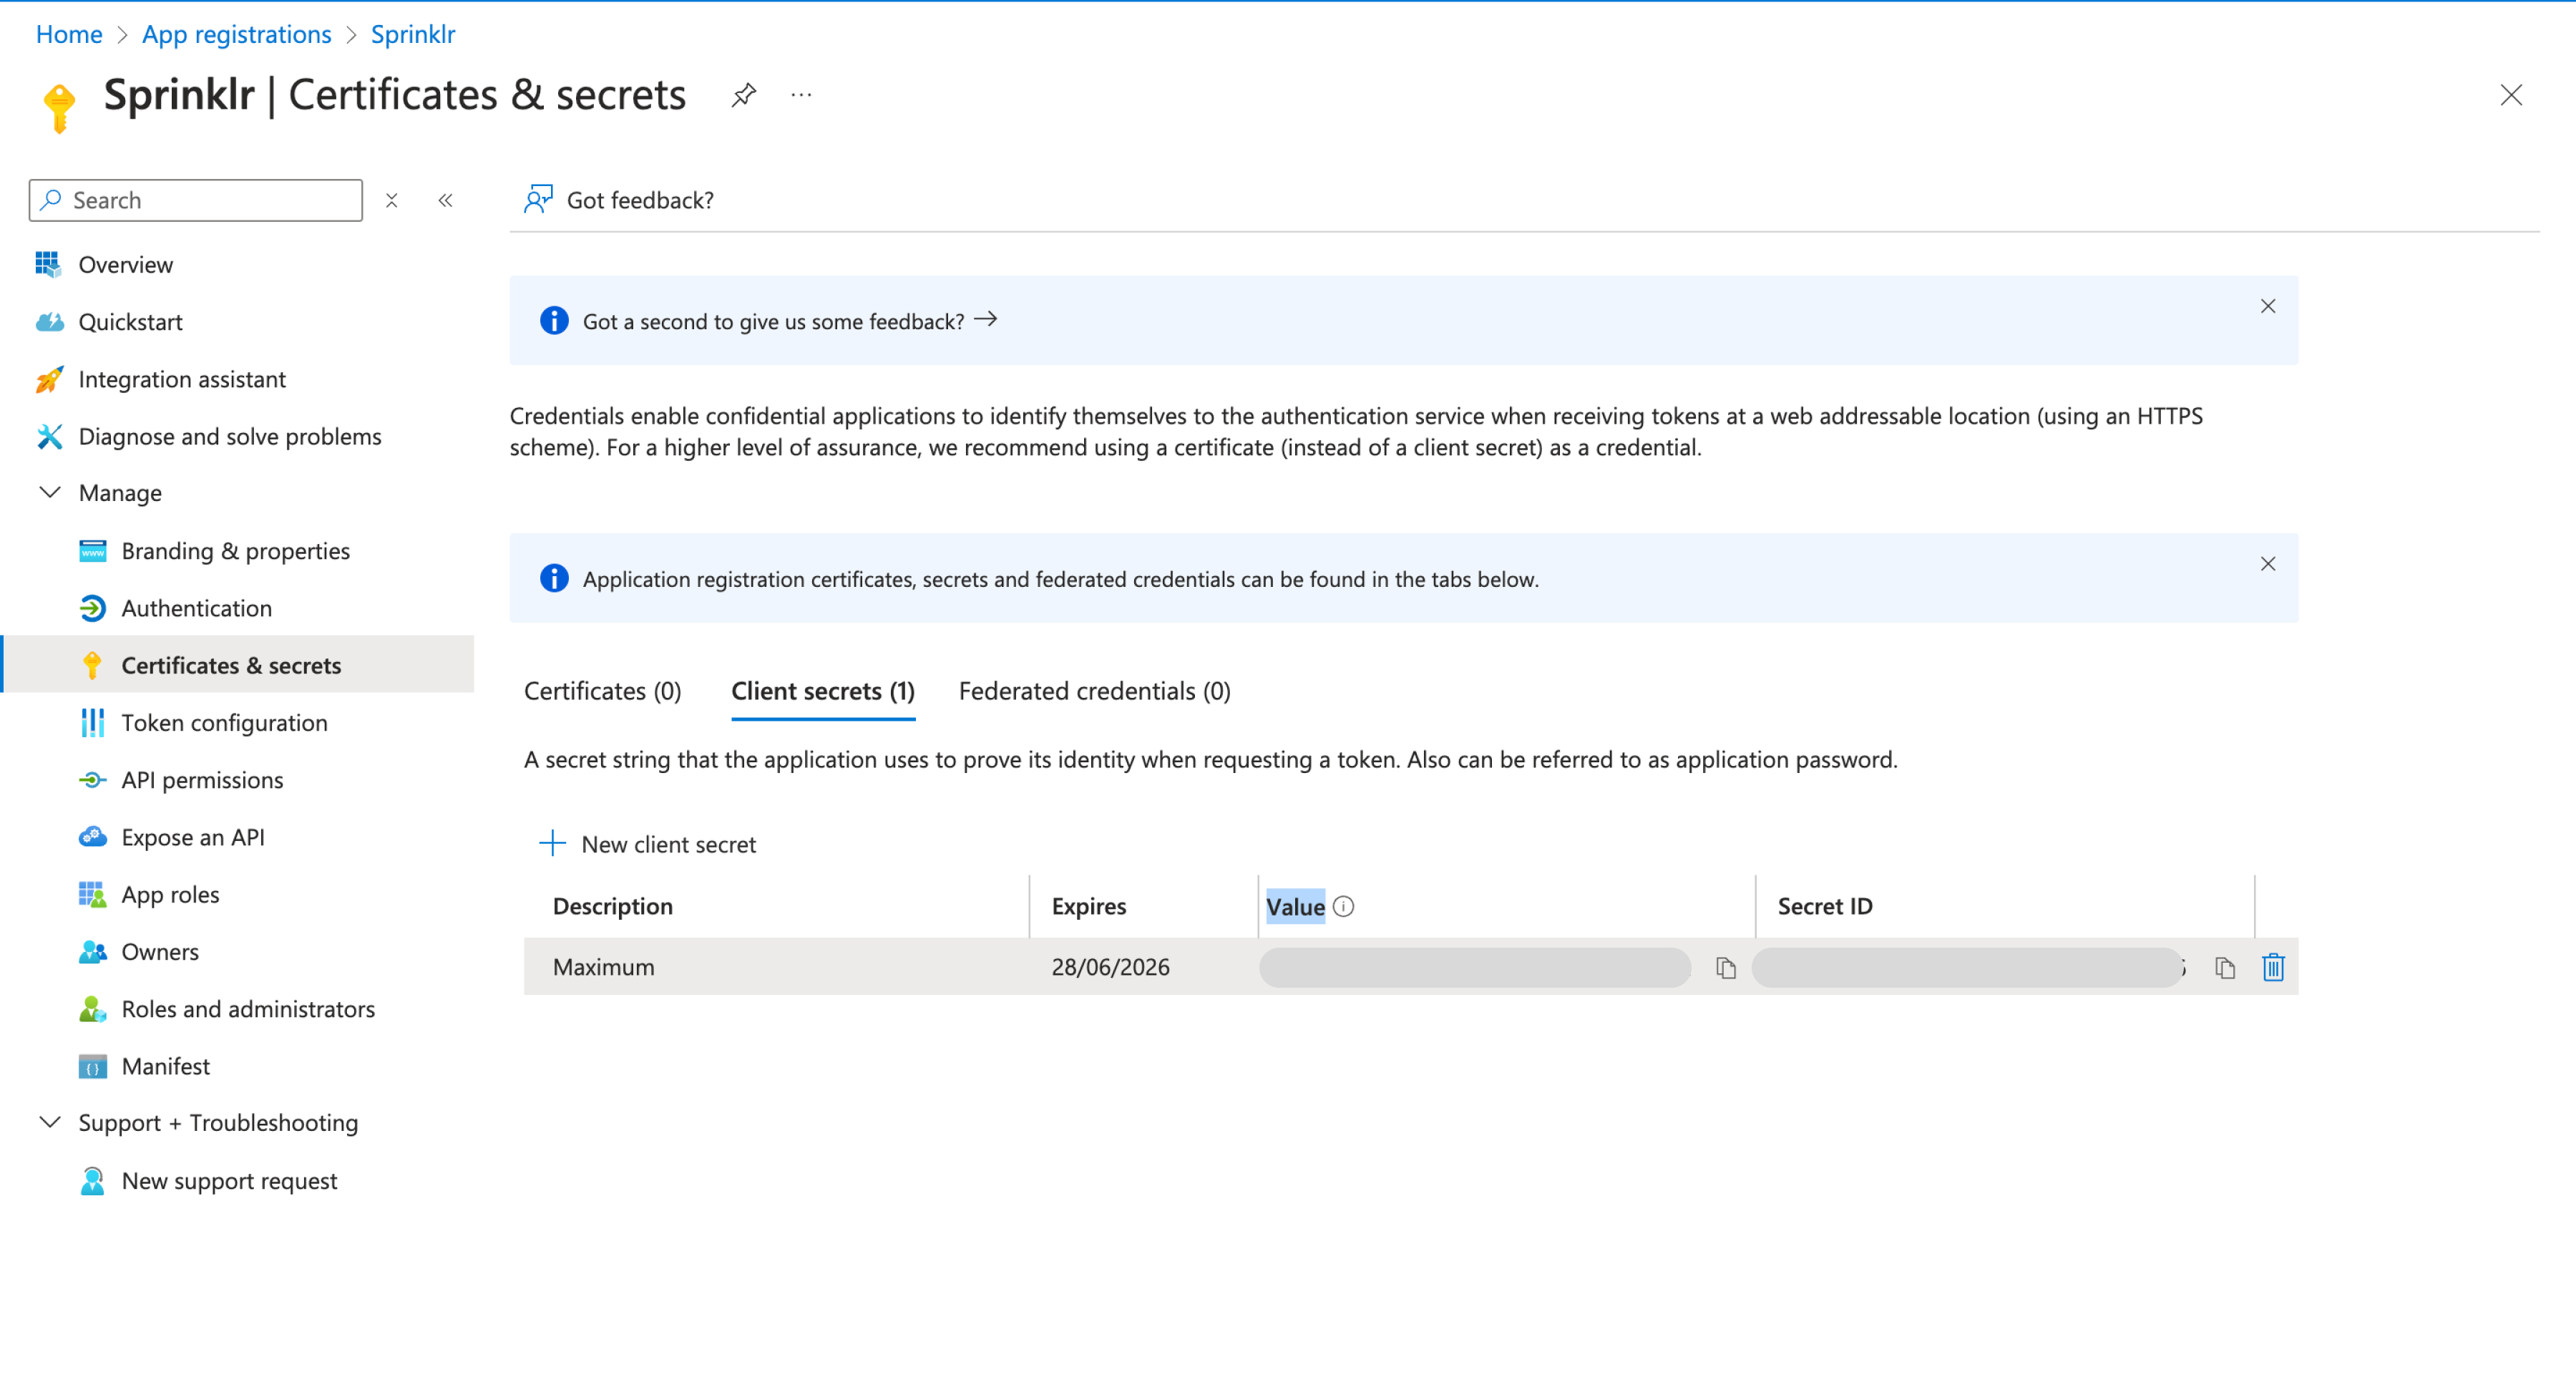
From the client secret added copy the value field
Now go to Sprinklr Platform to complete the rest of the Steps
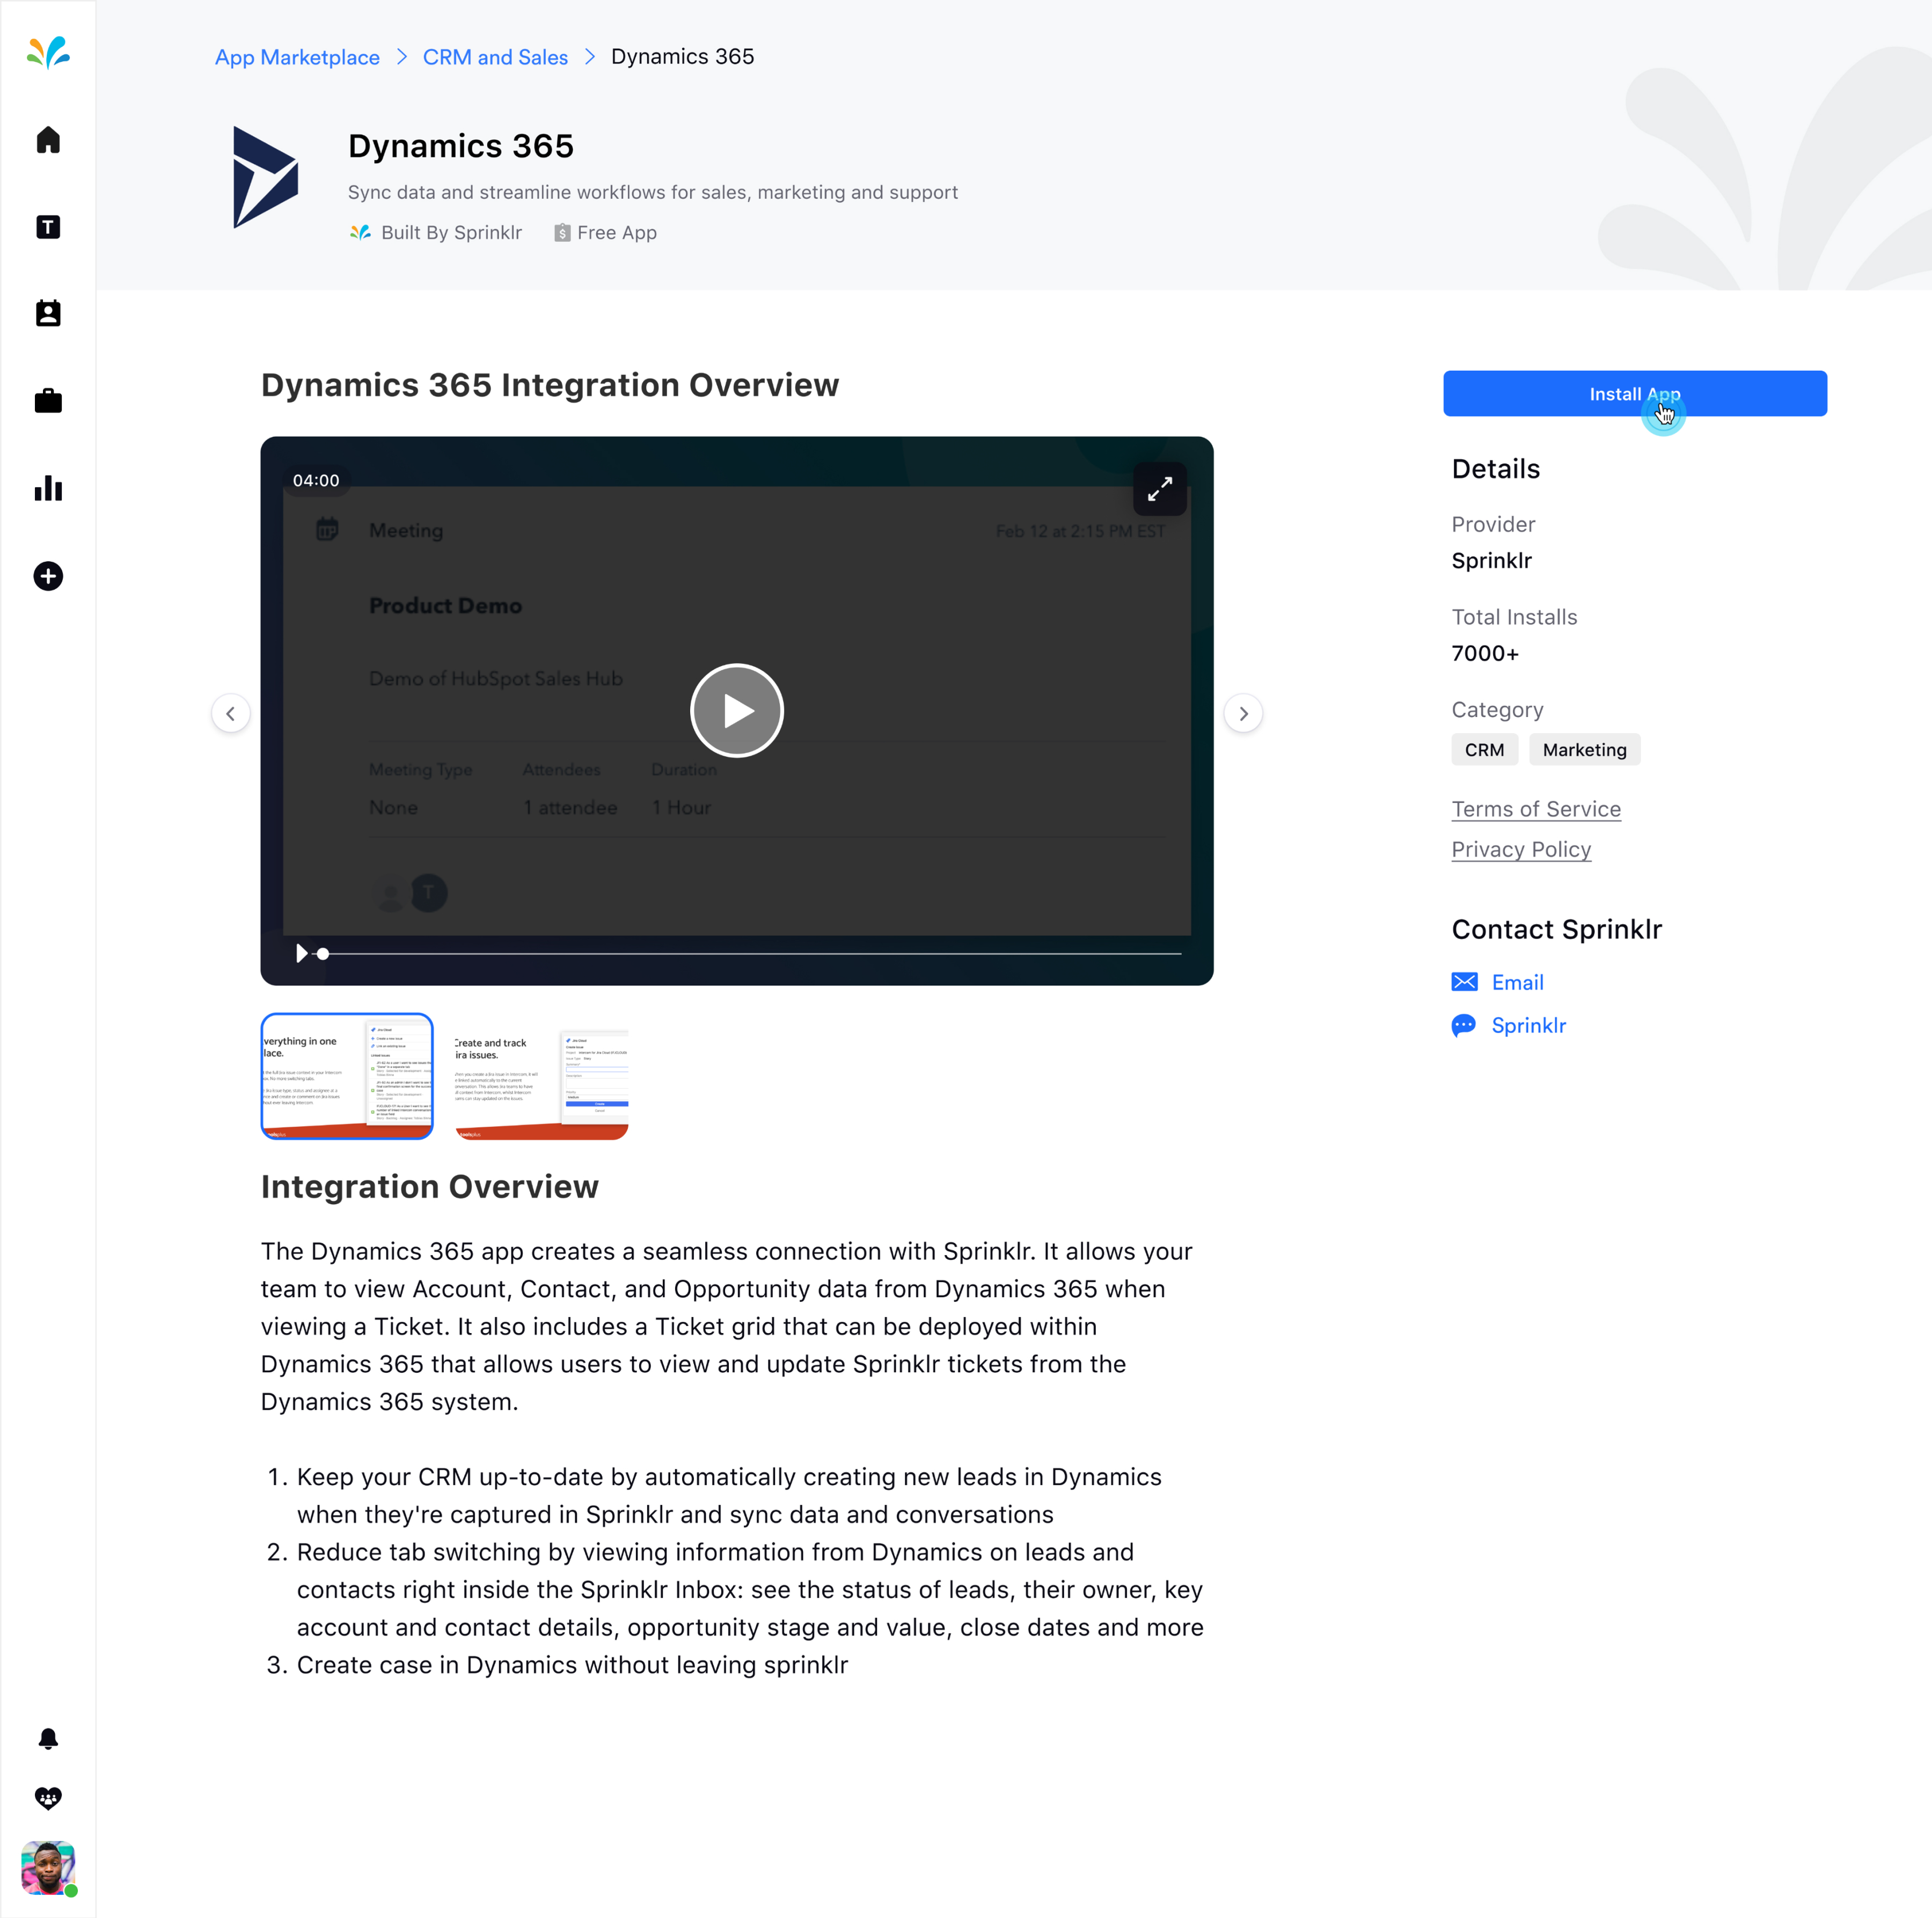
Steps to Integrate Dynamics 365 in Sprinklr
Go to Sprinklr and Install Dynamics 365
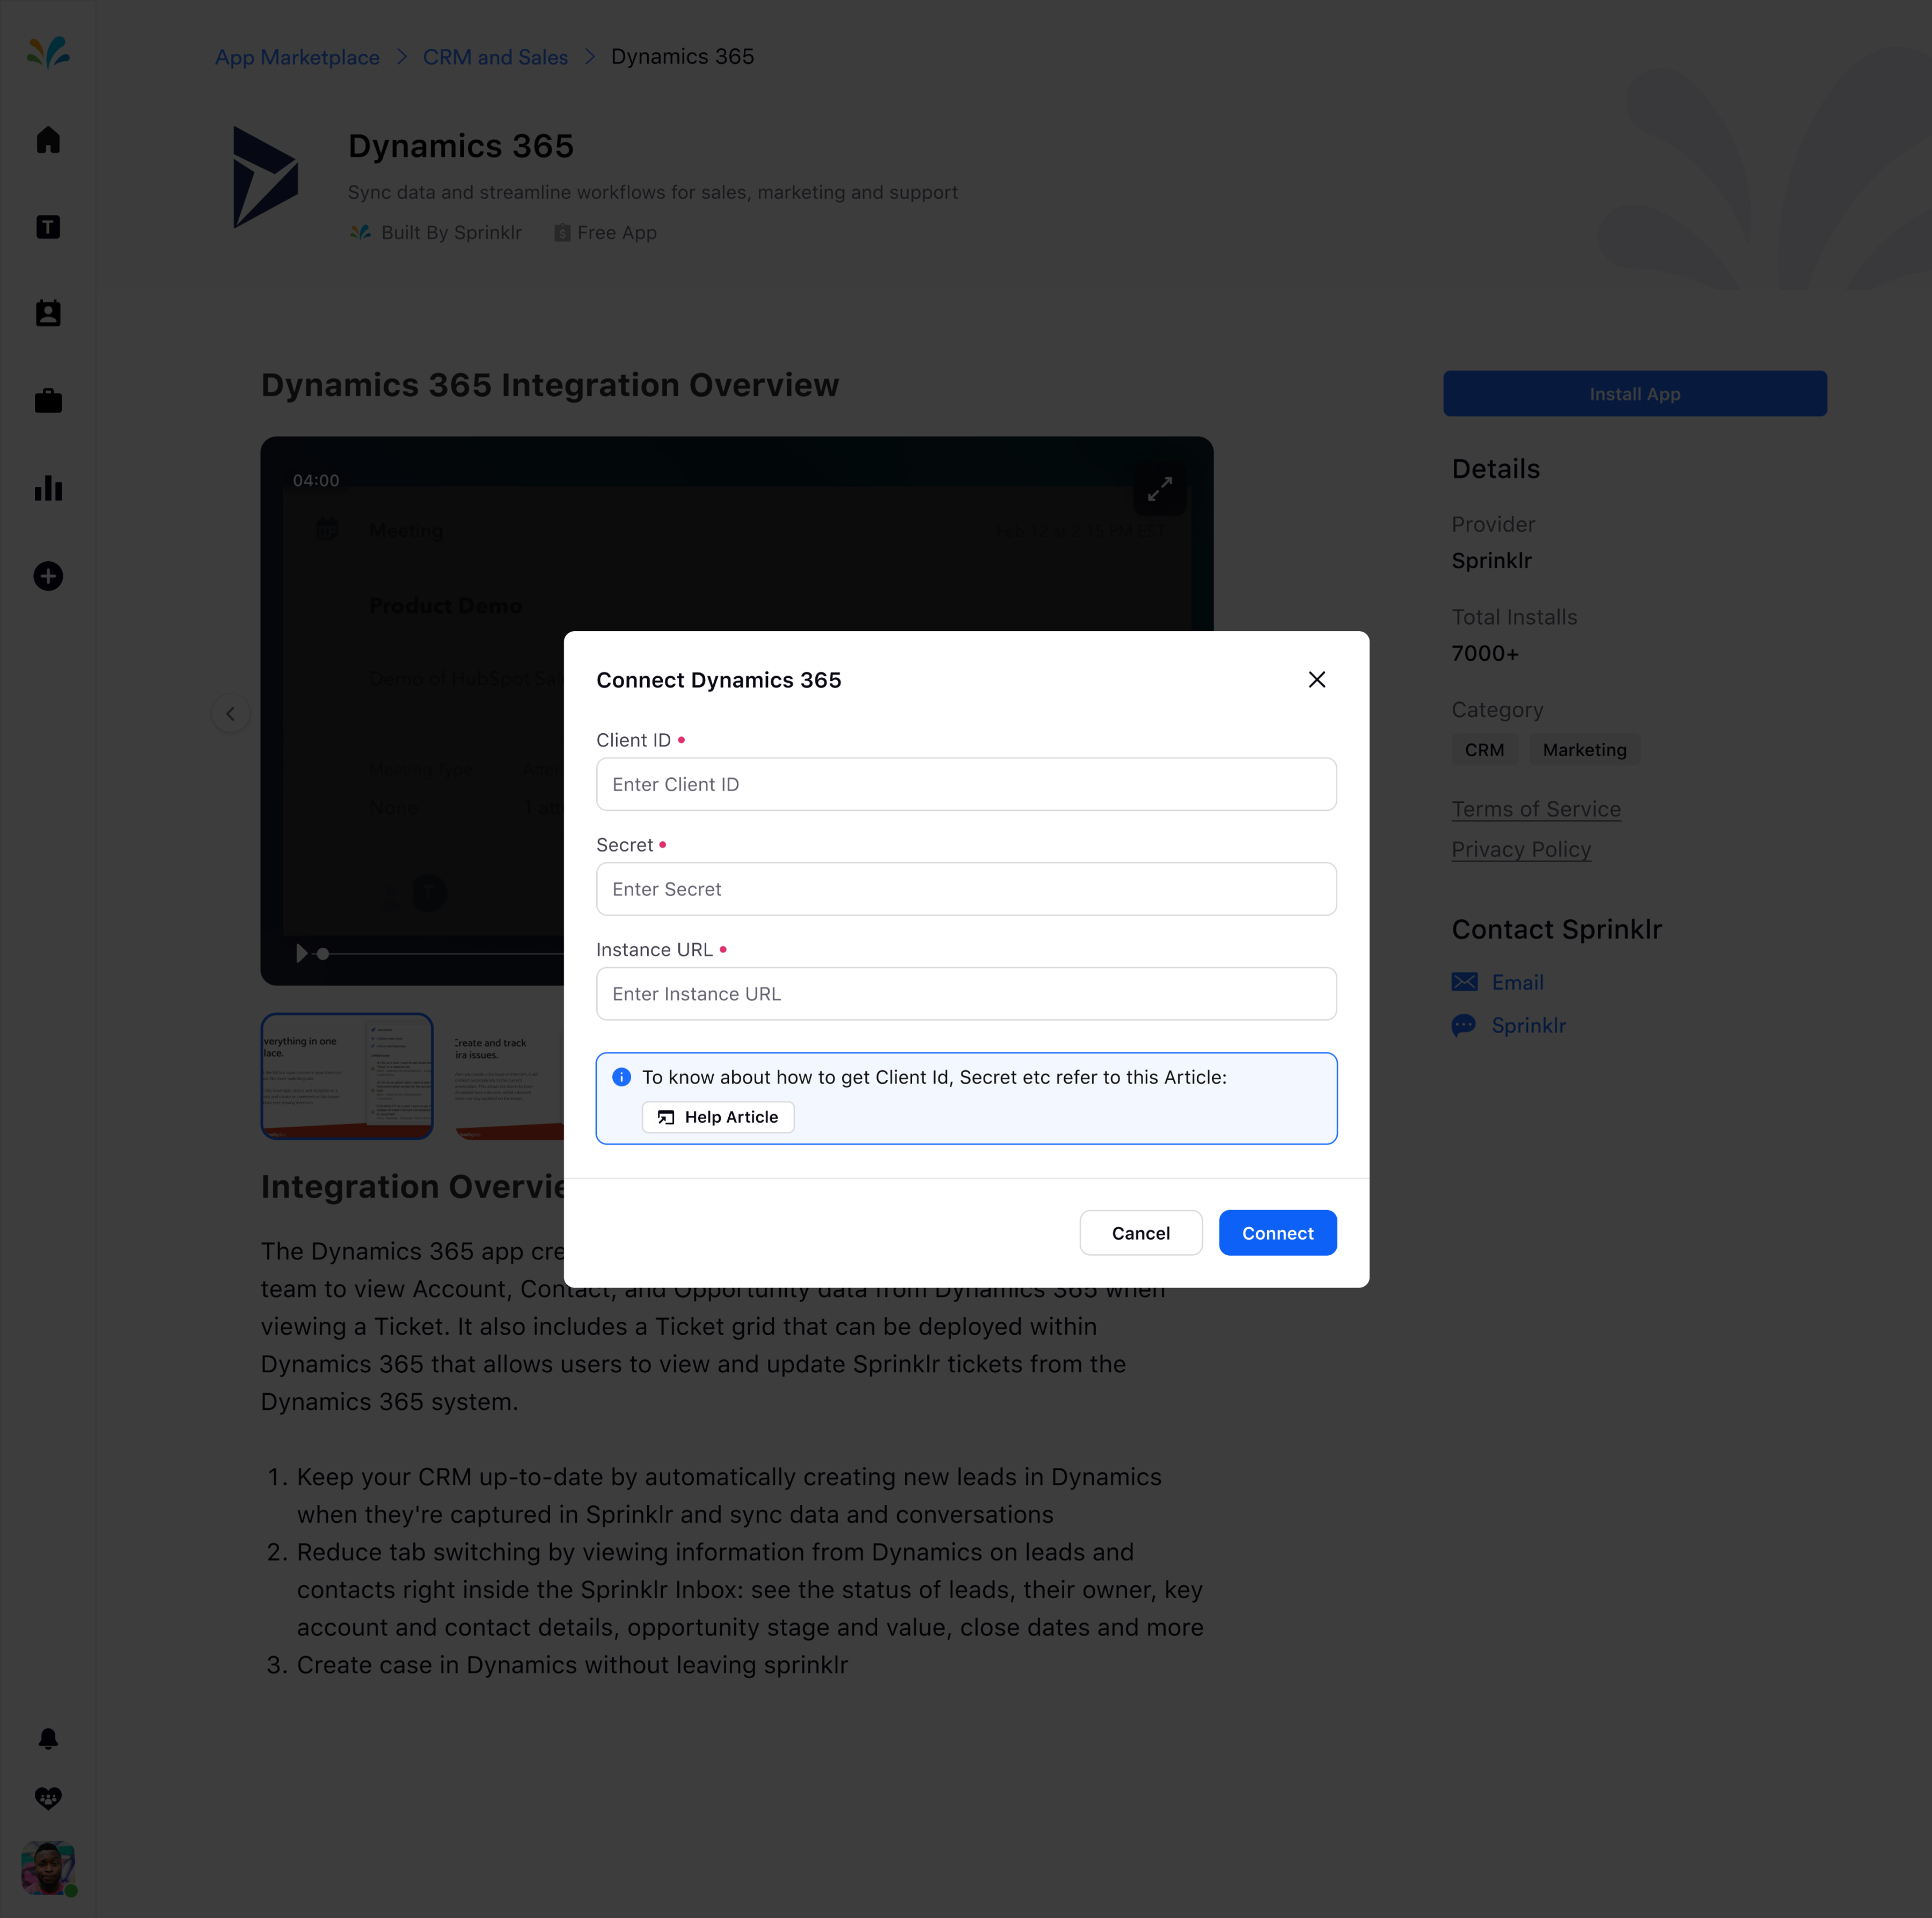
Provide the client ID (Step 5)
Provide the client secret (Step 8.c)
Instance URL – Your dynamics instance url
Once entered click Connect and give consent to Sprinklr App and your installation is completed