Personalize your login page
Updated
To make your login page uniquely yours, follow these steps:
Navigate to Settings: Start by going to your Settings.
Find Security and Personalization: Look for the "Security and Personalization" option under Global Governance.
Customize: You'll come across three options: Custom Domain, Personalized Login Page, and SSO with SAML. Turn on the toggle switch for "Personalized Login Page" and type in your preferred domain.
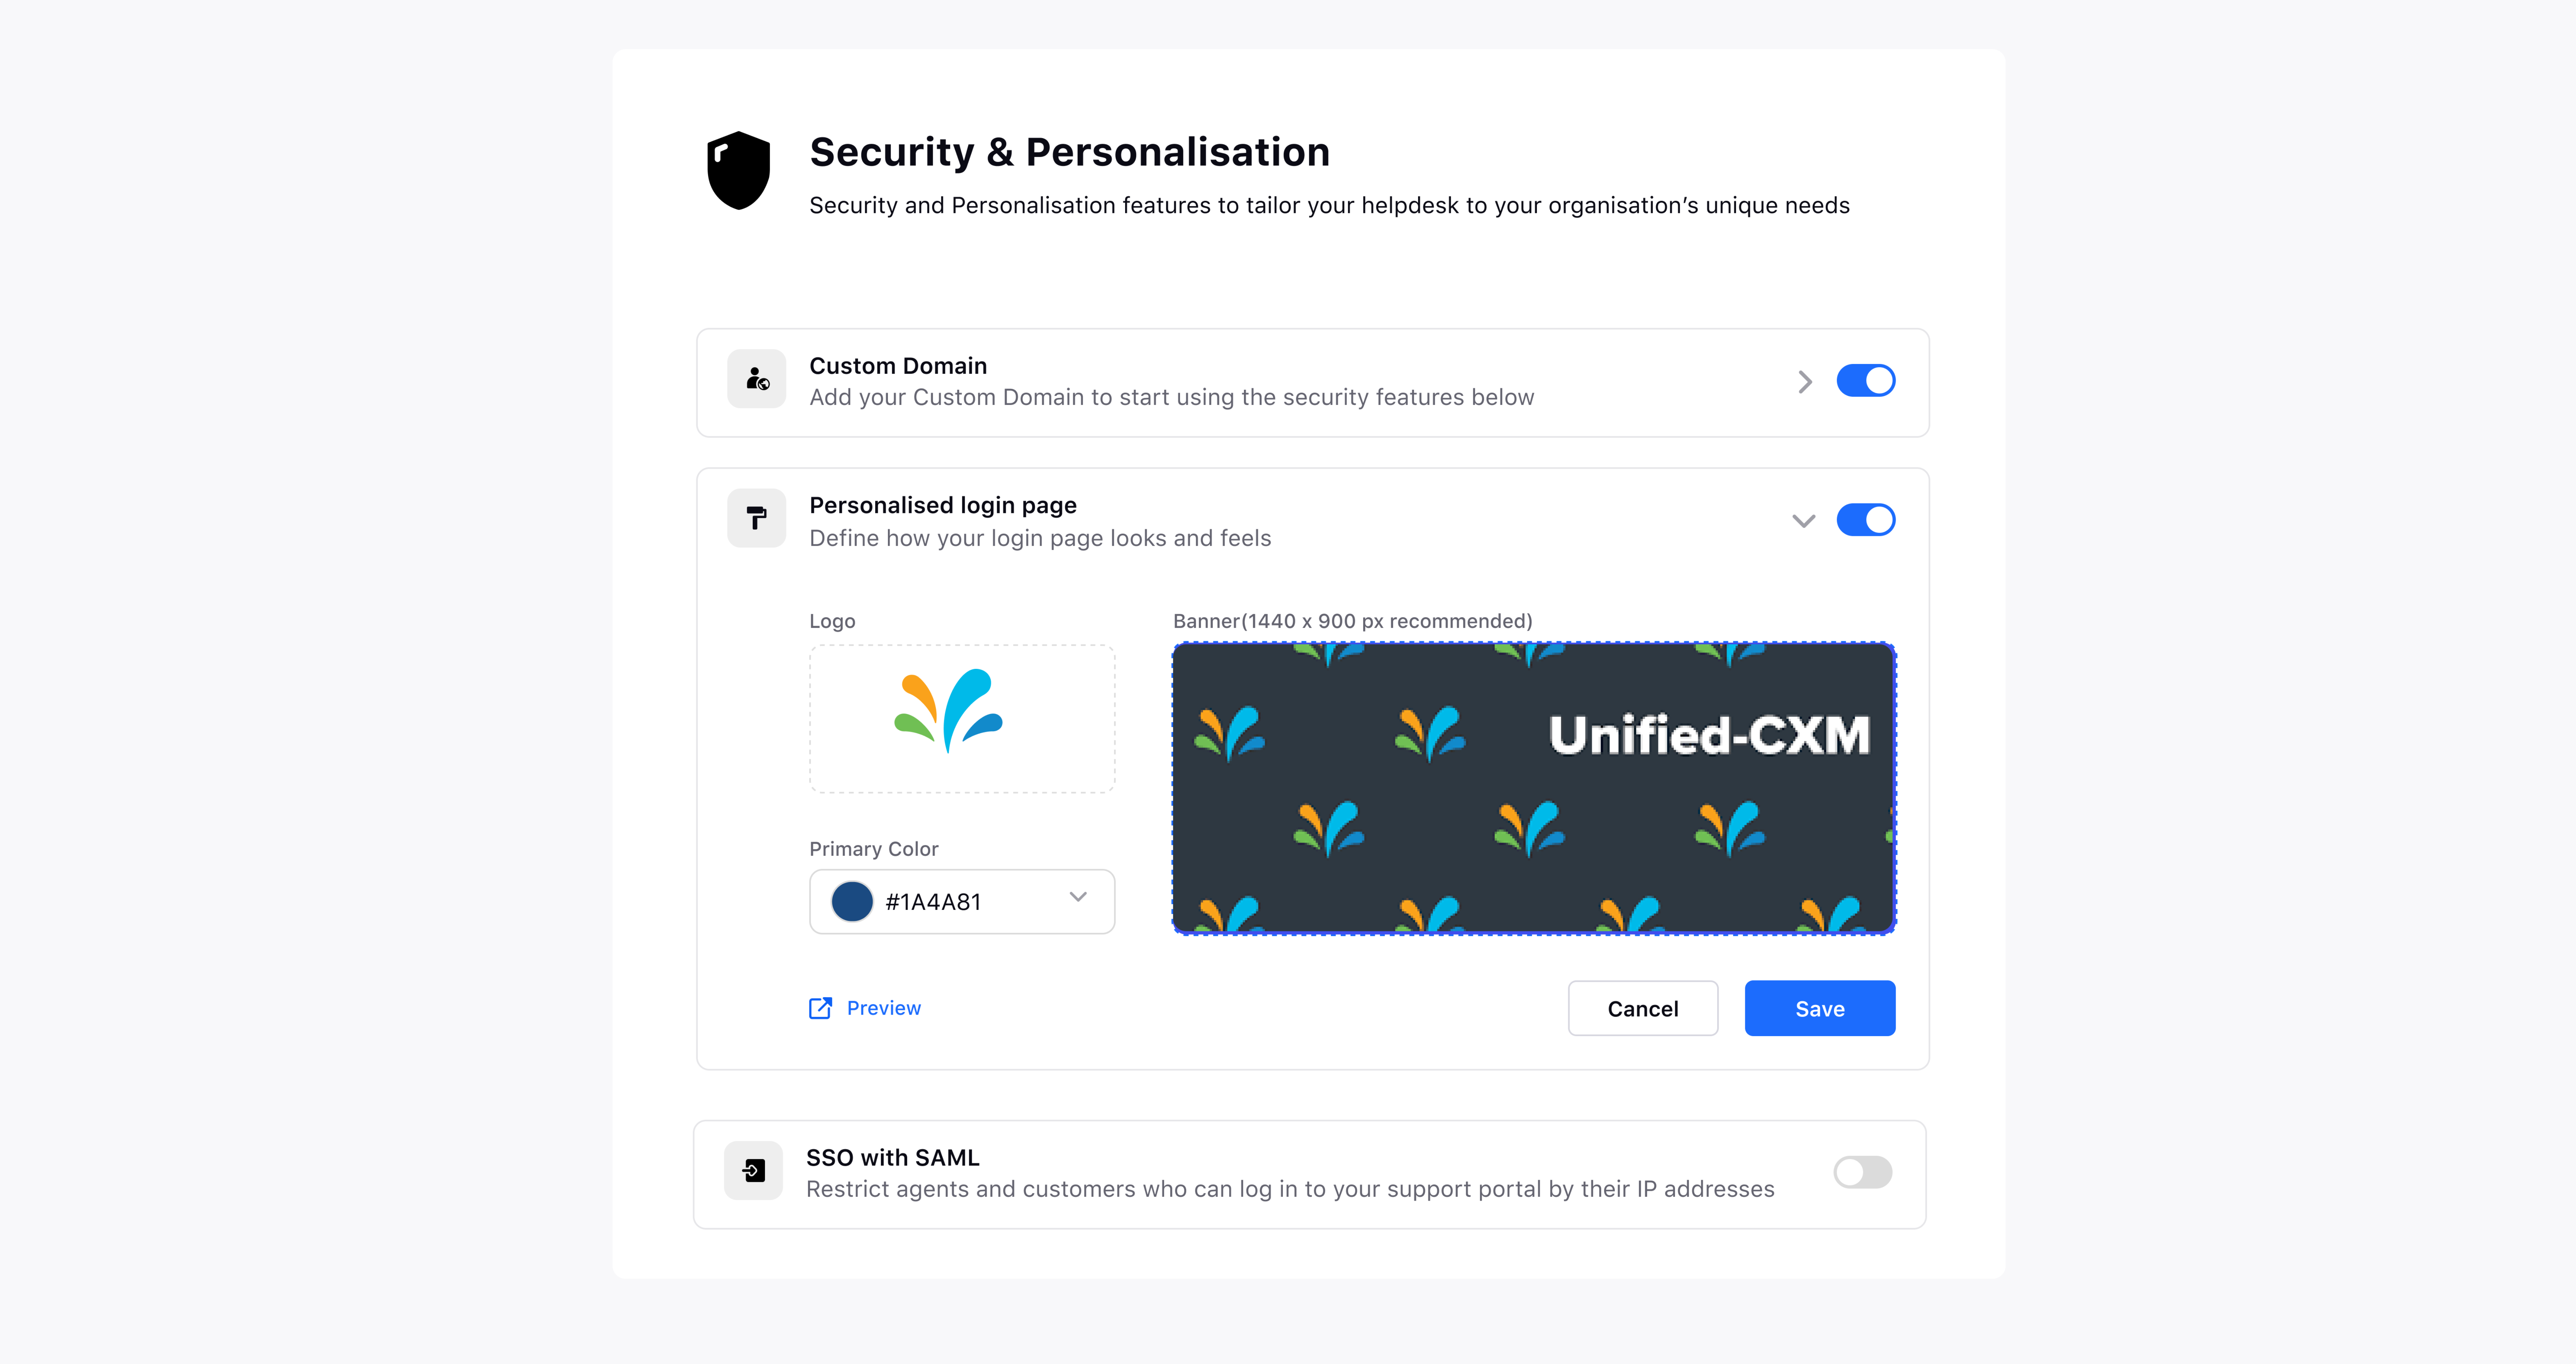
Custom Domain Is a Must: It's important to note that you can only personalize your login page if you've enabled the Custom Domain feature. Make sure to set up the Custom Domain first.
Customize Your Page: Now, you can get creative. Choose the logo, pick the primary color, and select a banner image for your login page.
Preview Your Changes: Want to see how it looks before finalizing? Click on the "Preview" icon to take a sneak peek.
Save Your Settings: Once you're satisfied with the changes, remember to click "Save."
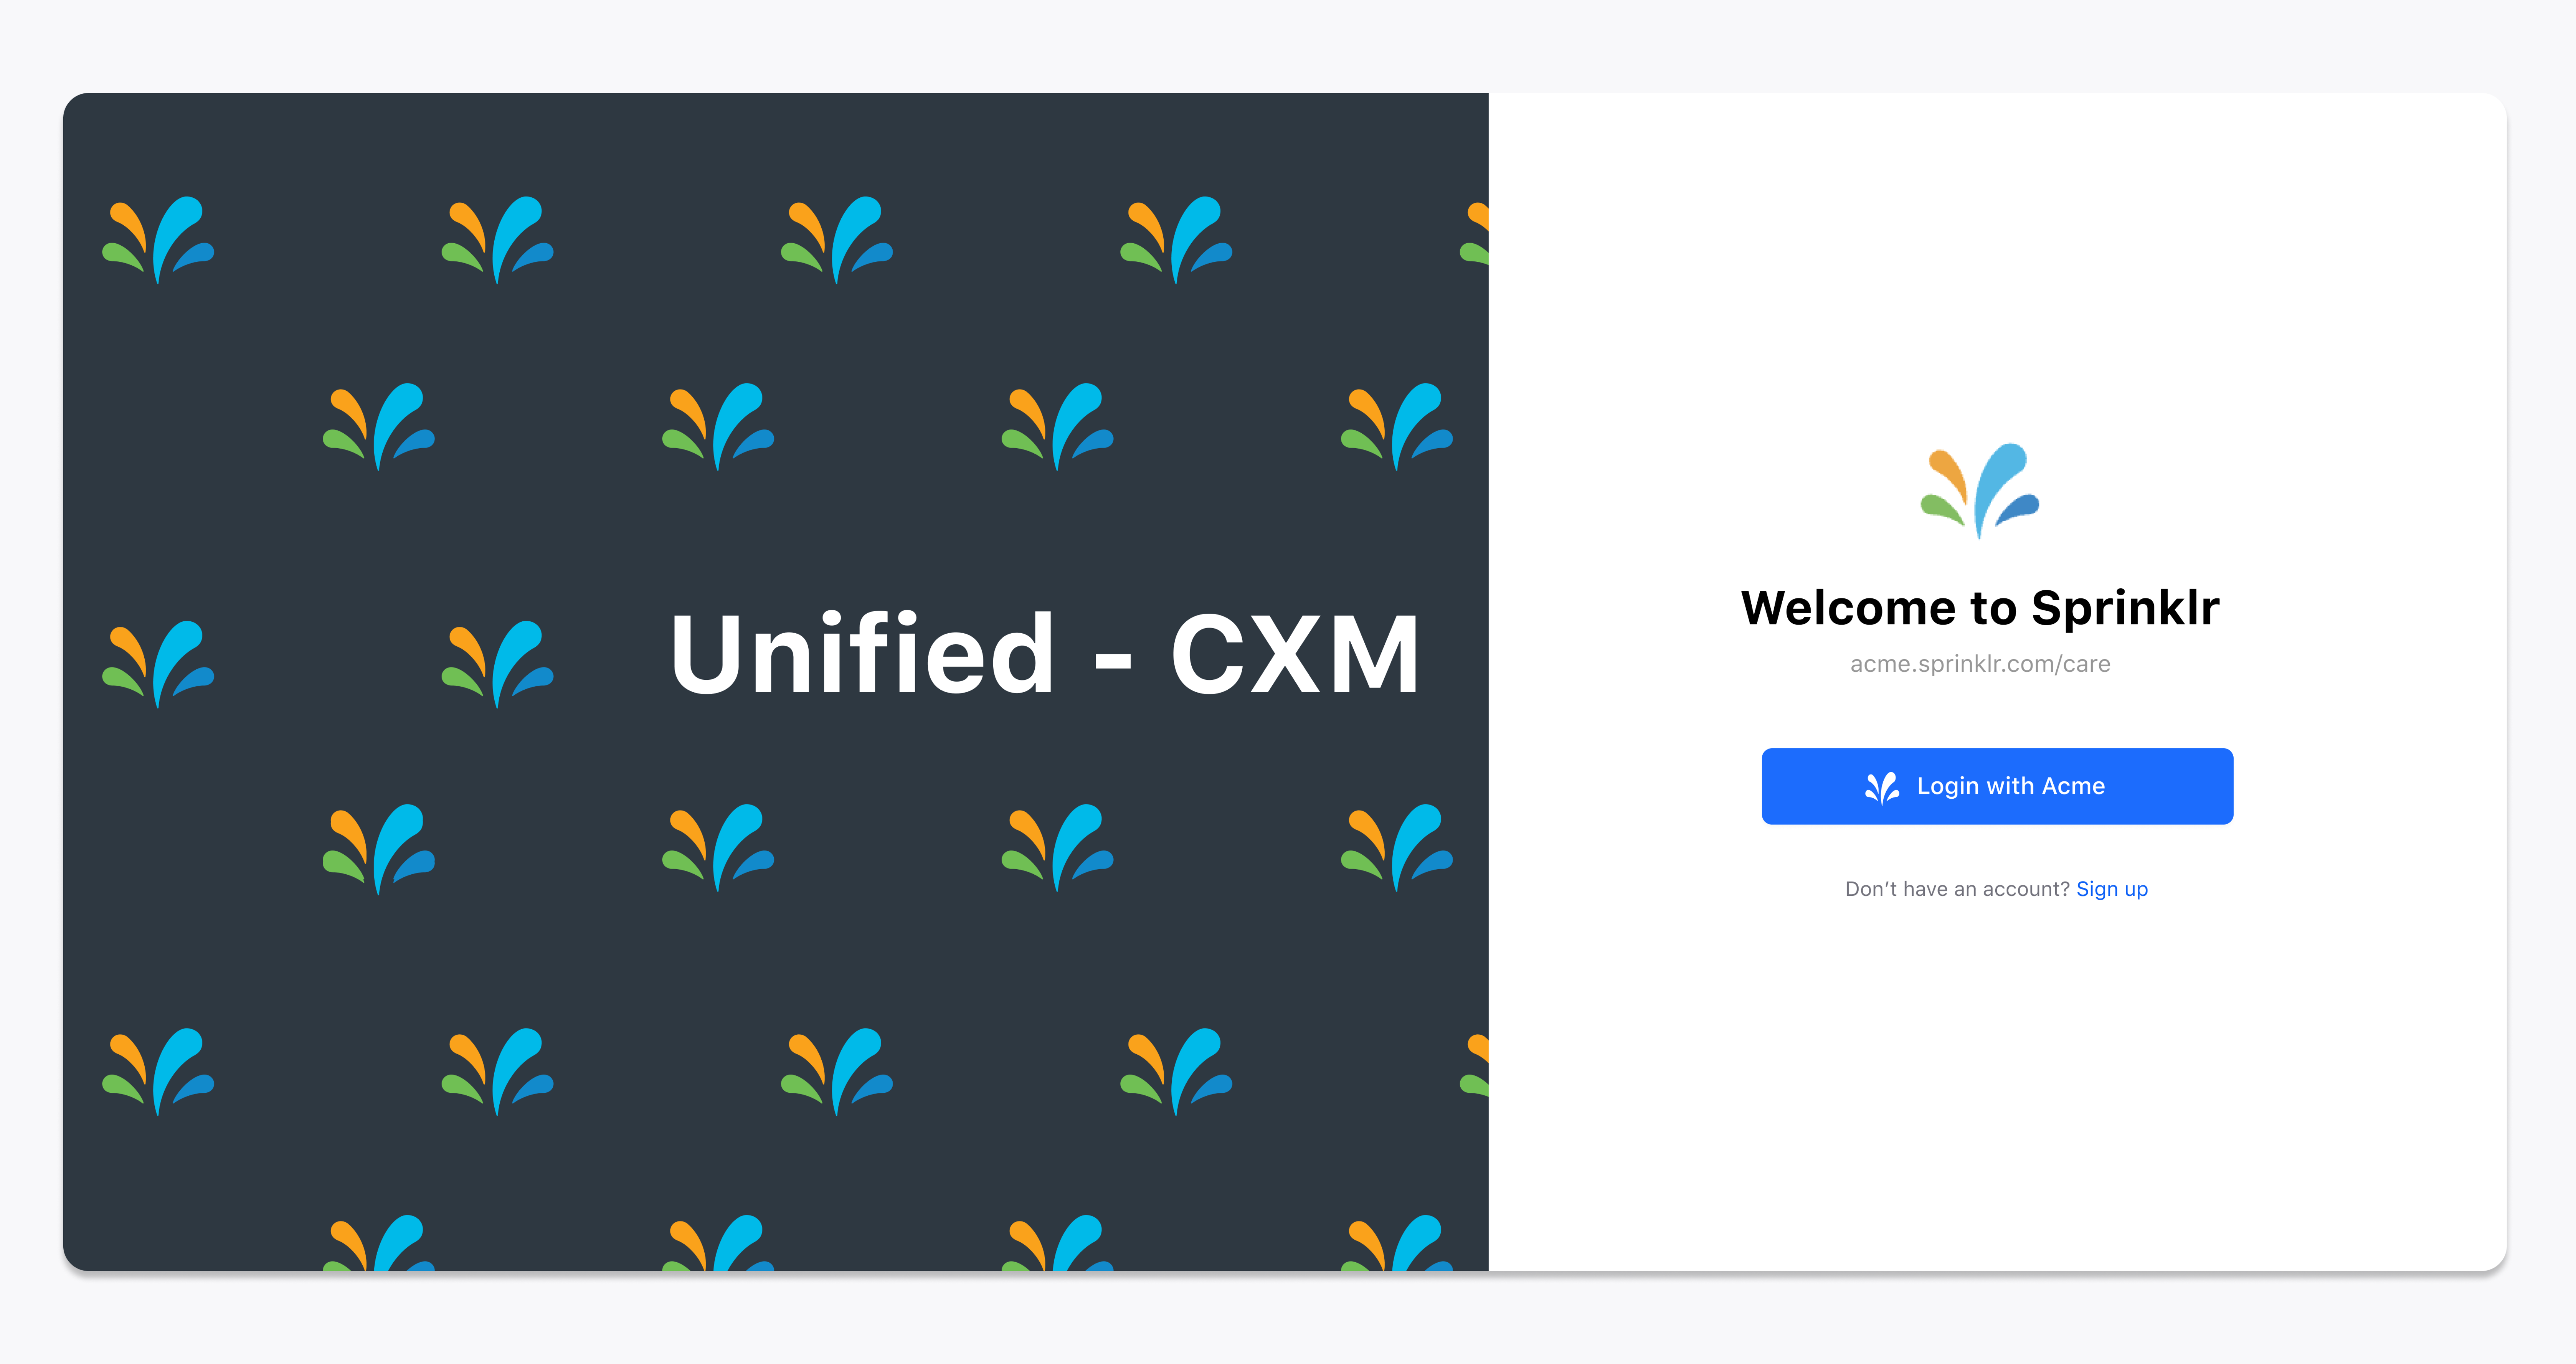
Enjoy Your Personalized Login Page: From now on, every time you log in using your Custom Domain, you'll see your own Personalized Login Page. It's all about making your login experience unique and tailored to your preferences.