Adding Slack Chatbots to Sprinklr Advanced
Updated
How you can add Slack Chatbots to Sprinklr Advanced and reduce average response time.
Adding a Slack channel and a chatbot on the Sprinklr Advanced Platform will help your queries be answered instantly without unnecessary to and fro. This enables agents to focus on other important tasks. The customer can connect with the chatbot on the Slack channel, and if the bot is not able to resolve the customer’s query, the ticket will be routed to the agent on the Sprinklr Advanced platform.
To add Slack Channel into Sprinklr Advanced
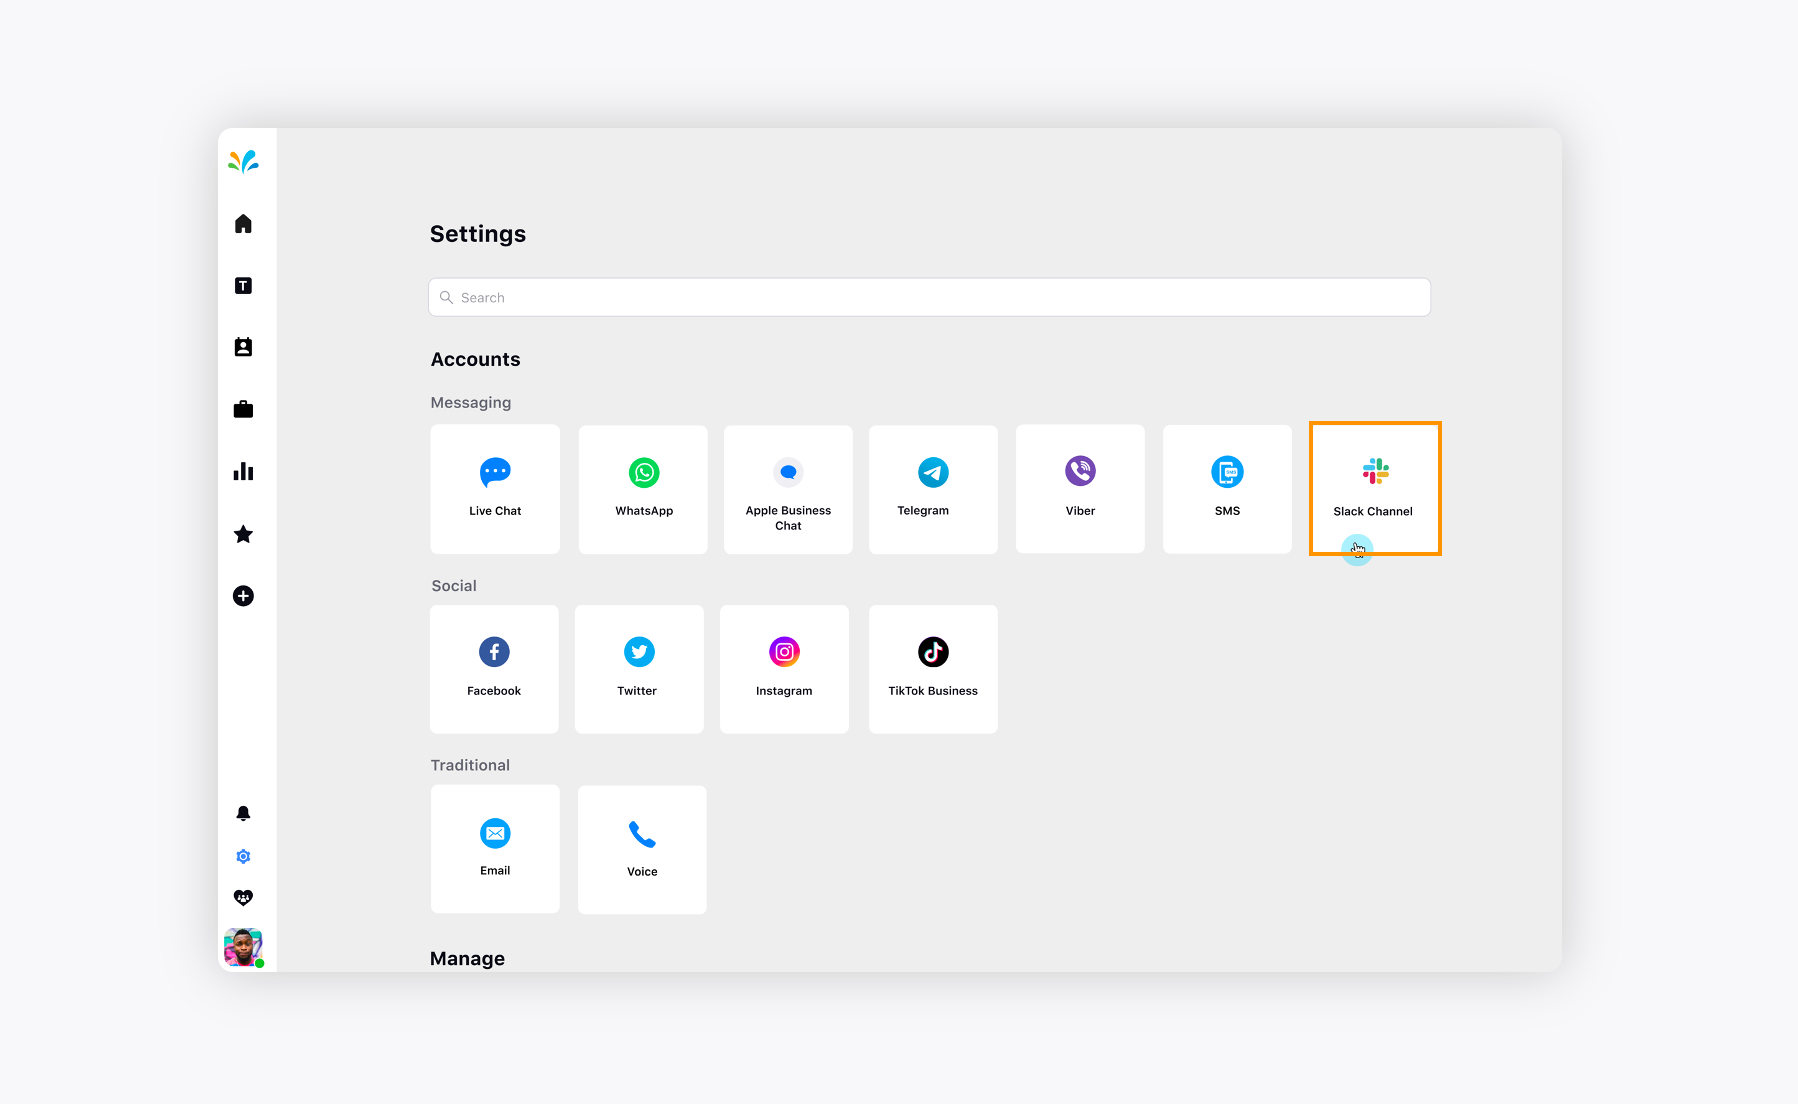
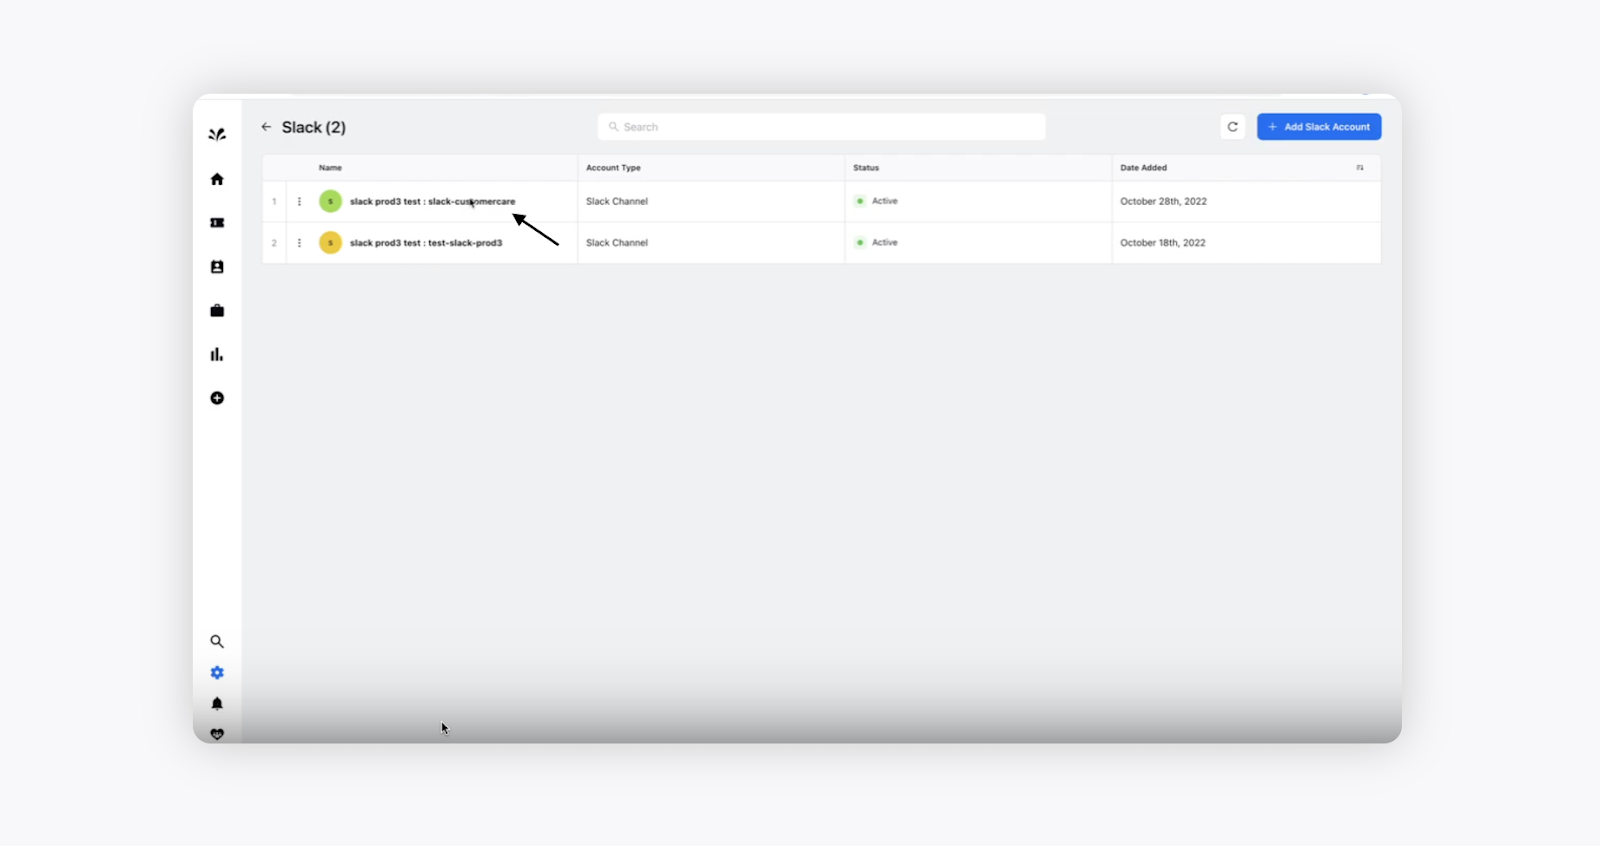
Log in to Care Console. On the Sprinklr Advanced window, click Settings on the left-hand side. Click Slack under Messaging within Platform.
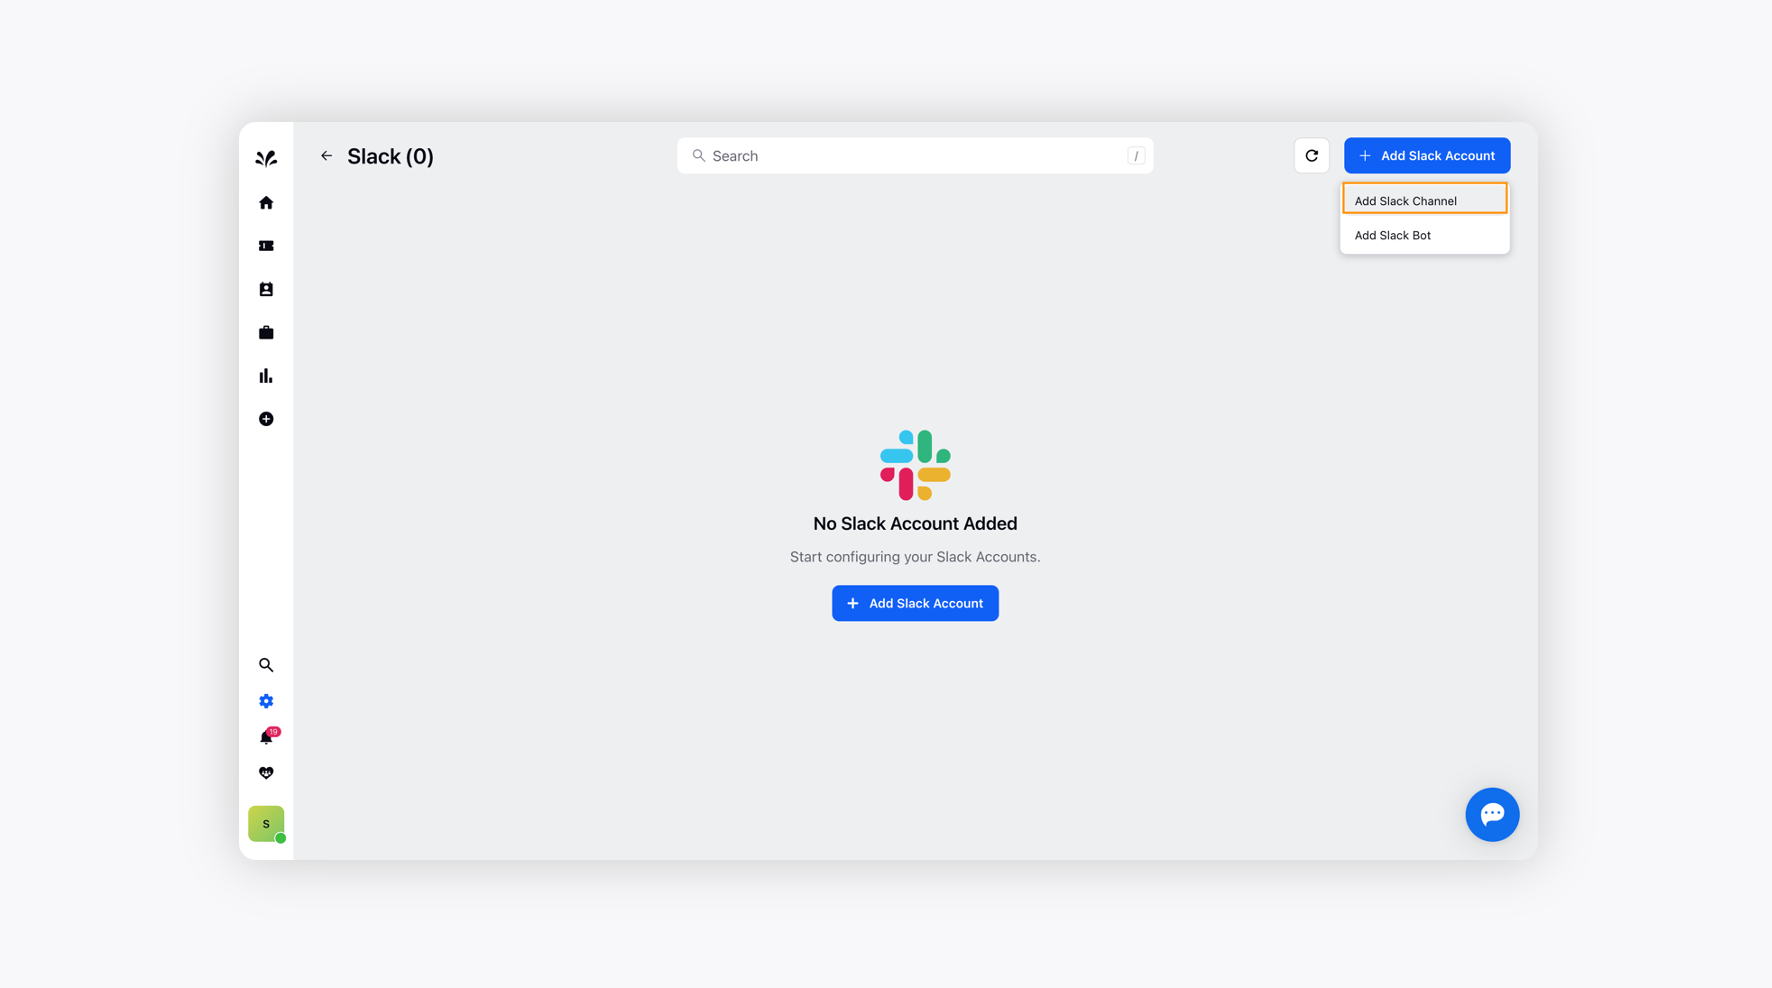
Now, add a new Slack channel by clicking Add Slack Channel from Add Slack Account in the top right corner.
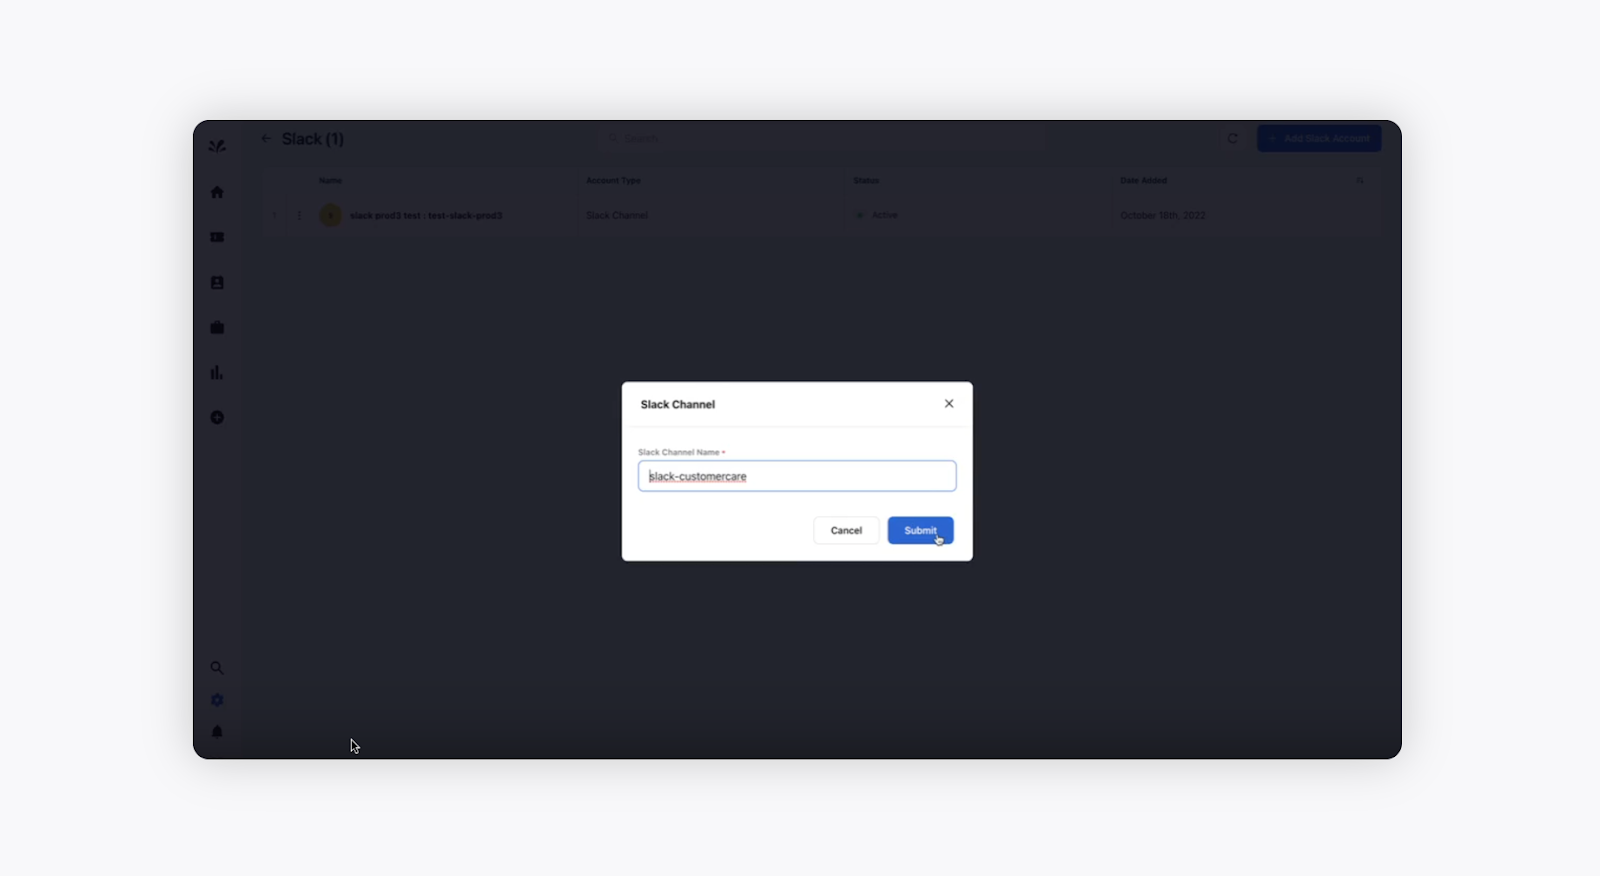
Provide the desired Slack channel name that you want to add to Sprinklr Advanced and click Submit after that.
It'll ask you for certain approval, which you need to provide. Click Allow at the bottom right.
The Slack channel will be added to the Sprinklr Advanced account.

Adding Chatbot into Sprinklr Advanced
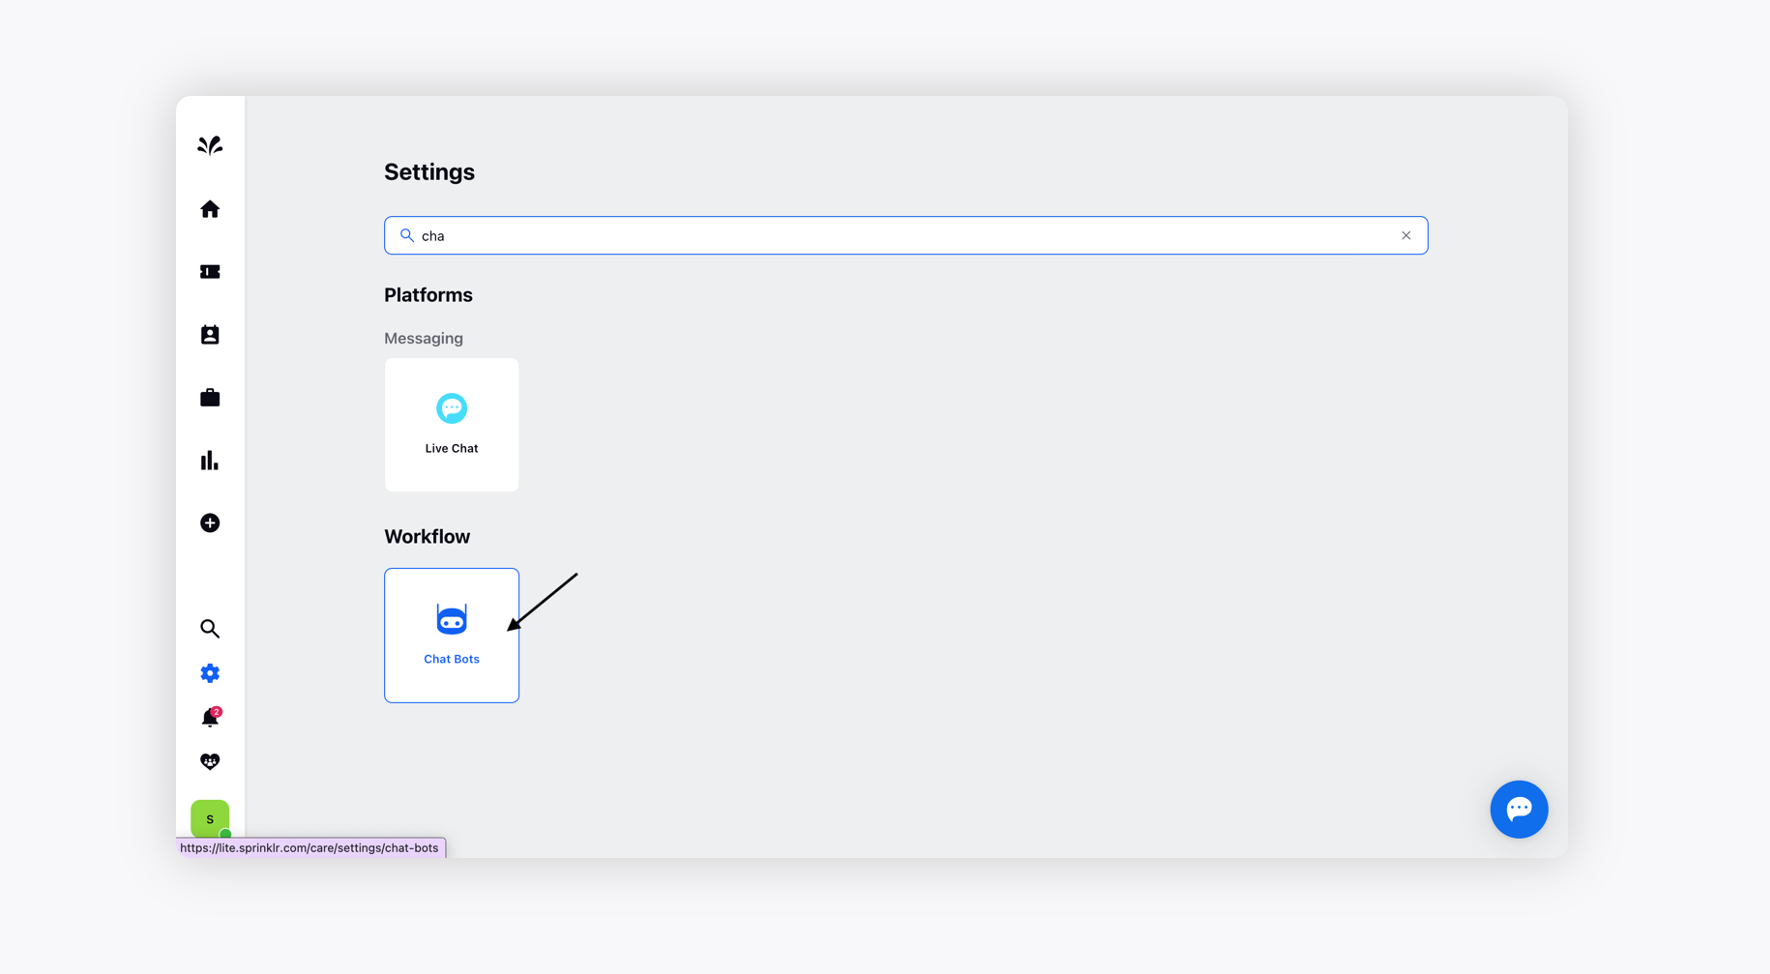
Go back to the Settings Page and click Chatbot under Workflows. Click Create New Bot in the top right corner.
The Create Bot window will appear where you need to provide the Name and choose the desired Account. Click Create at the bottom.
You will be redirected to Chatbot canvas, where you can design the Bot flow as per your requirements. Click on the + icon and choose Bot Says from the drop-down.
Now, select the message type as Text and provide the desired text to the Bot. Click Save at the bottom.
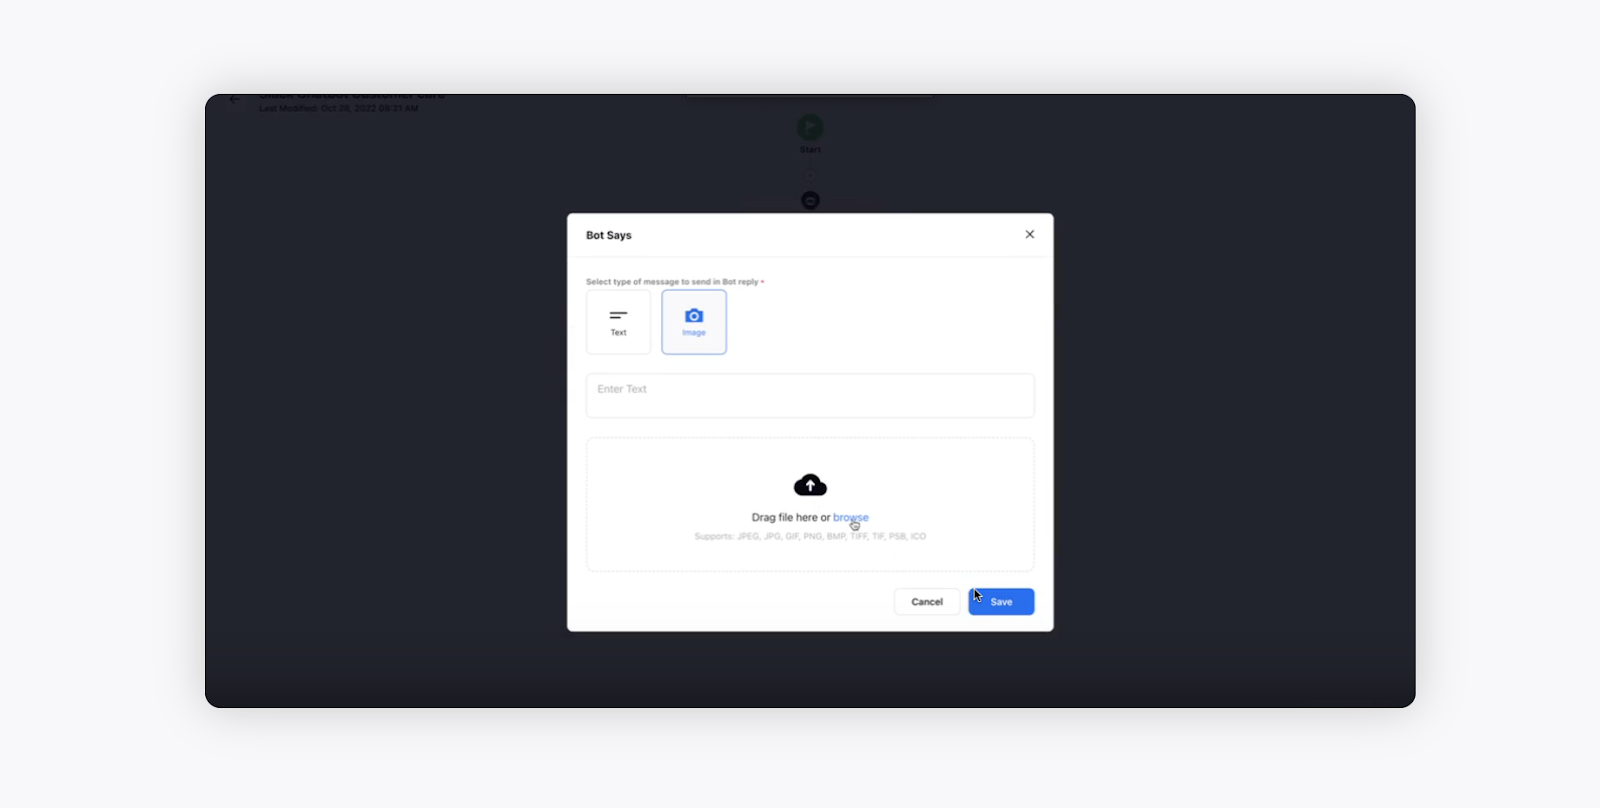
You can also attach an Image to the Bot Says node as well by clicking the + icon and uploading the desired image. You can also enter the text along with the image. Click Save at the bottom.
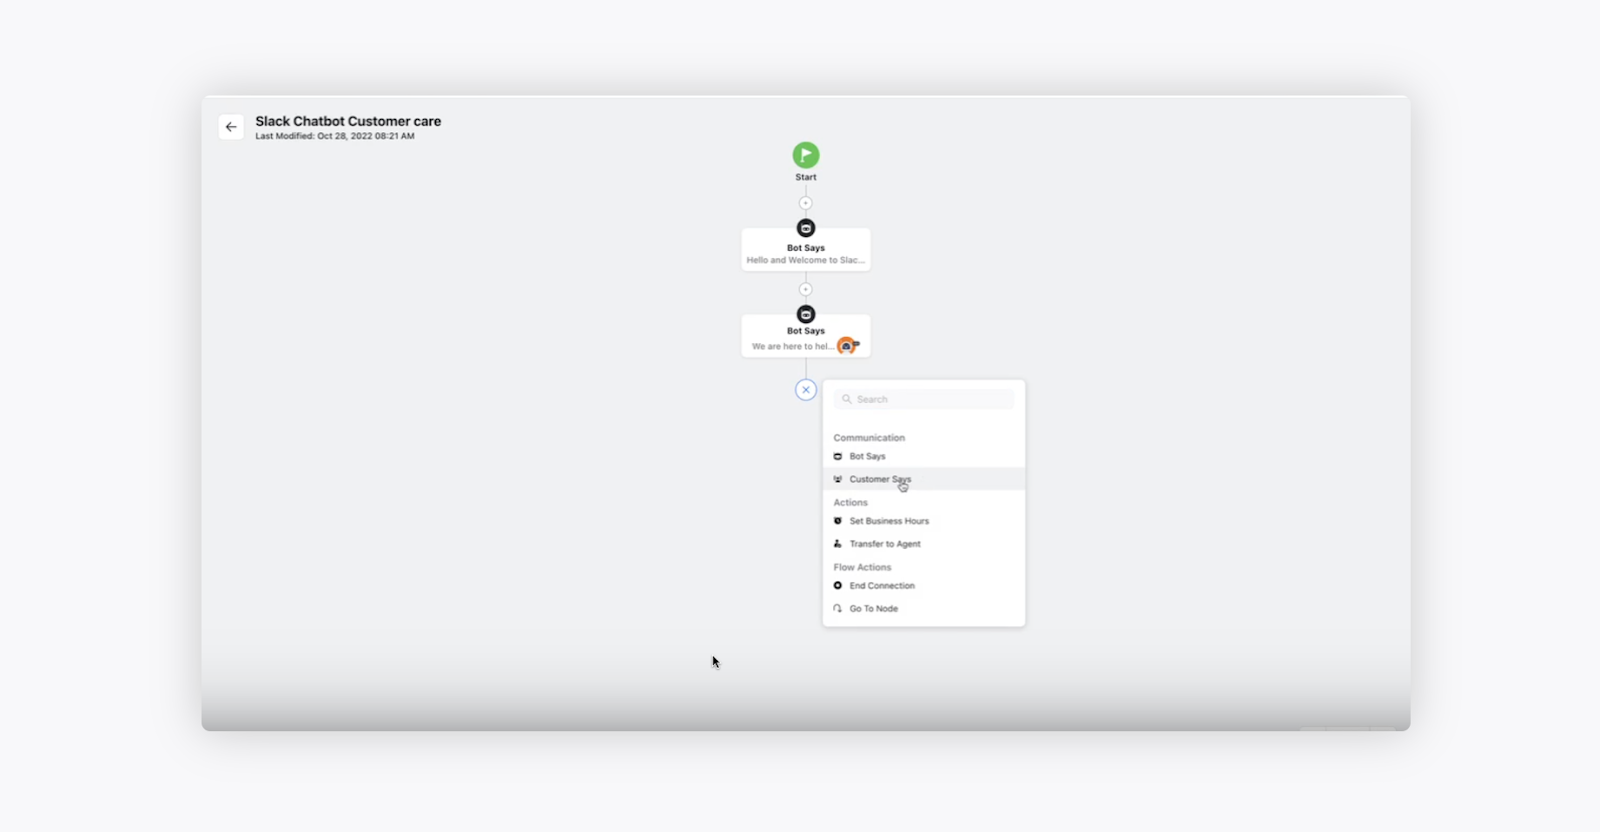
This is how the Bot flow will look like.
Now, you can add a Customer node to the bot flow. Click + icon from Bot Says and choose Customer Says from the dropdown.
You have the option to choose multiple intents. Click Save at the bottom.
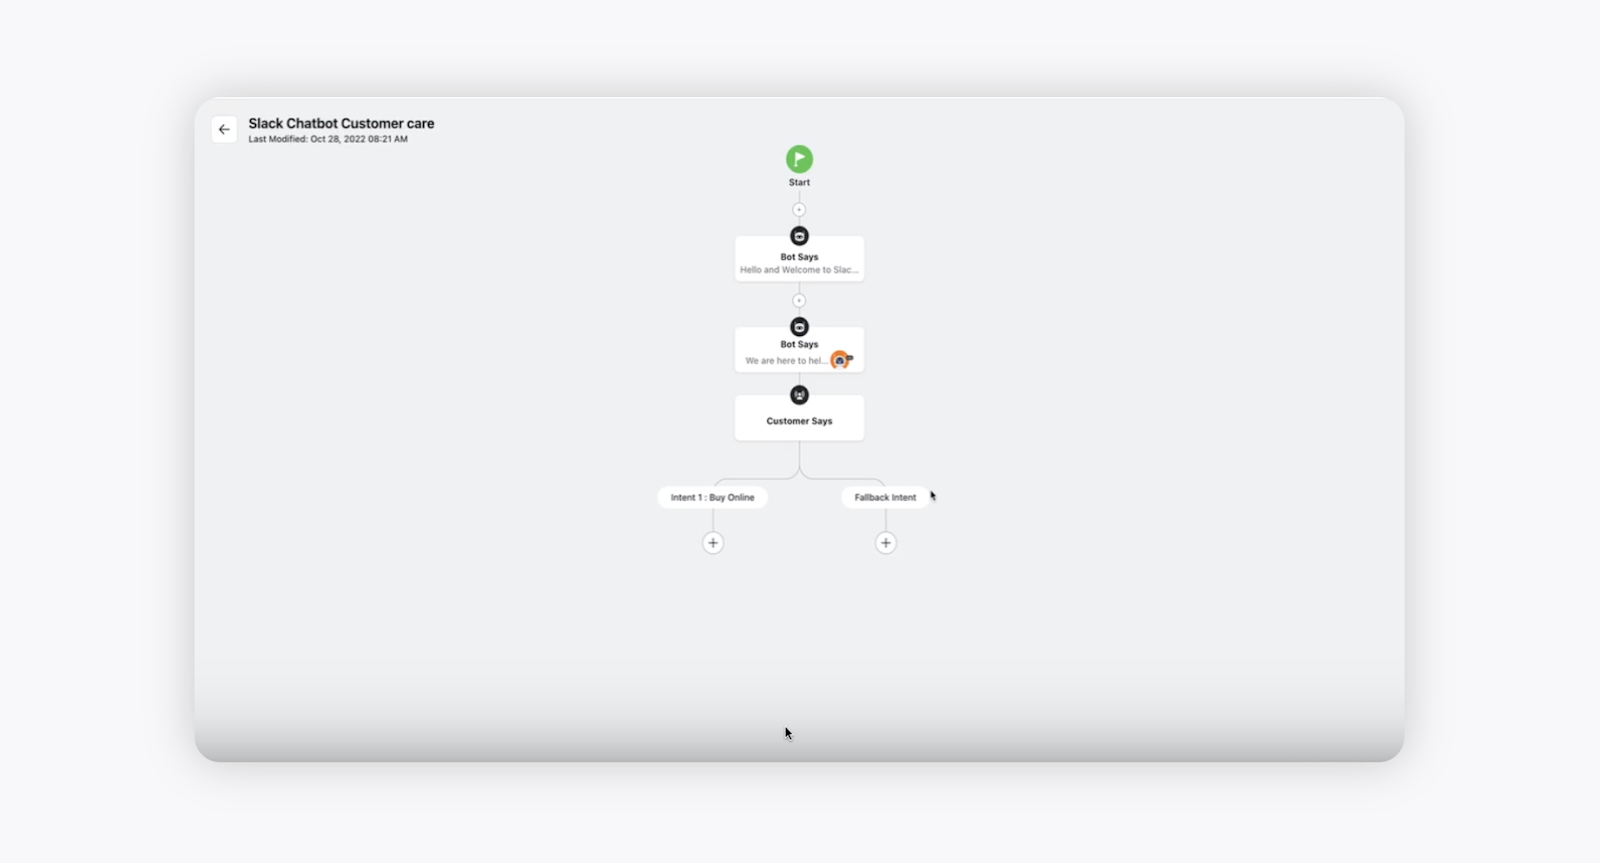
This is how the Bot flow will look after adding the desired intents.
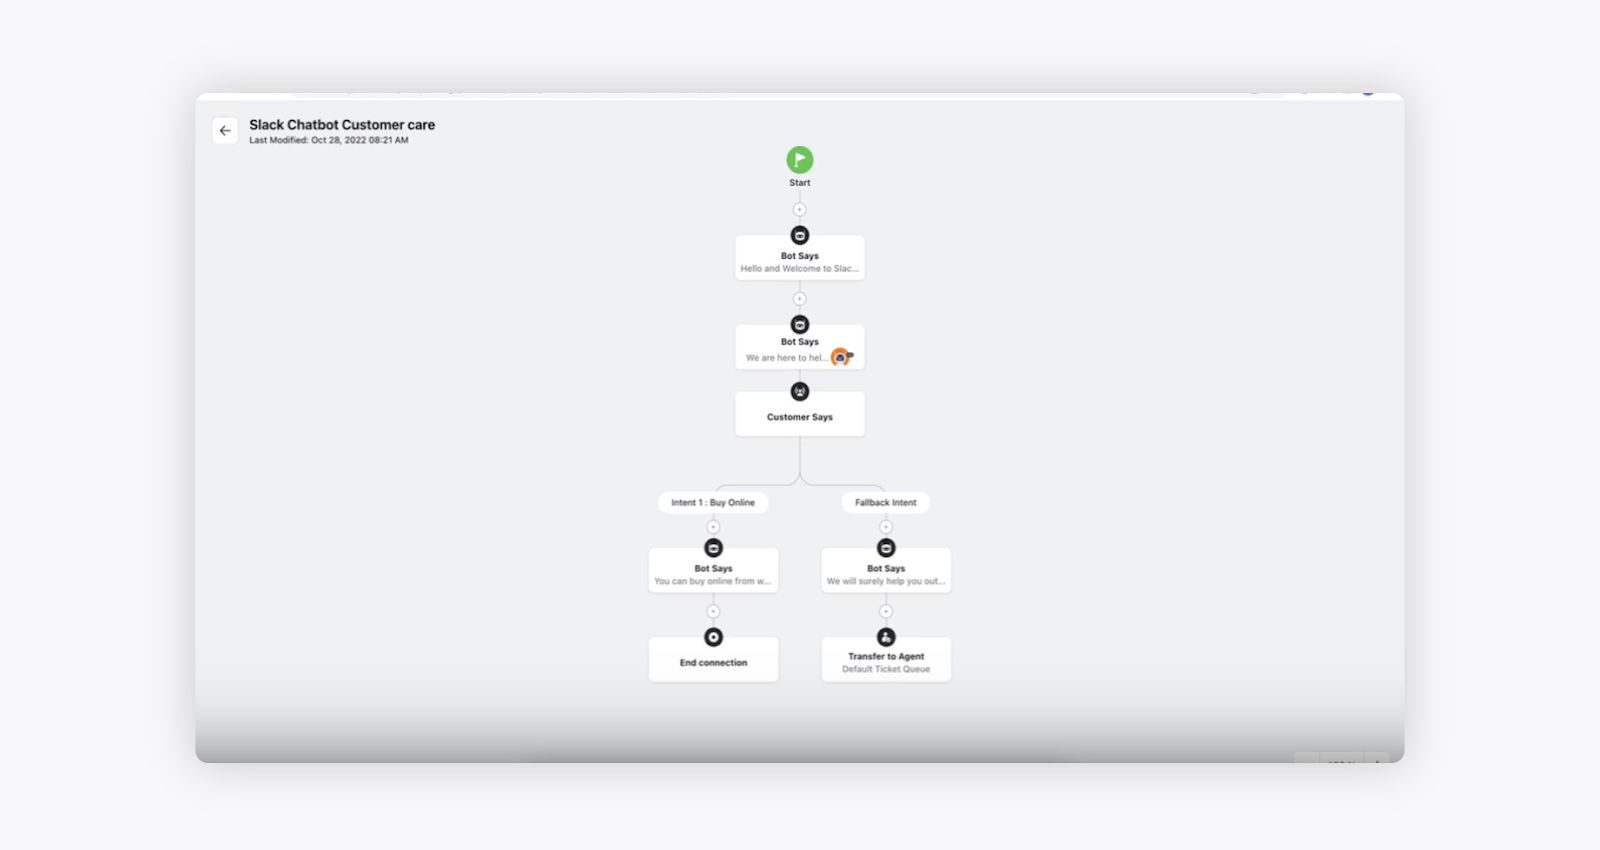
Now, click the + icon and choose Bot Says from the dropdown for Intent 1. Provide the desired text to the bot and end the node.
Now, click the + icon and choose Bot Says from the dropdown for Intent 2. Provide the desired text to the bot. Click + icon again and choose Transfer to Agent from the dropdown as part of Fallback Intent.
Save and Deploy, and the Chatbot will be added to the Sprinklr Advanced account.
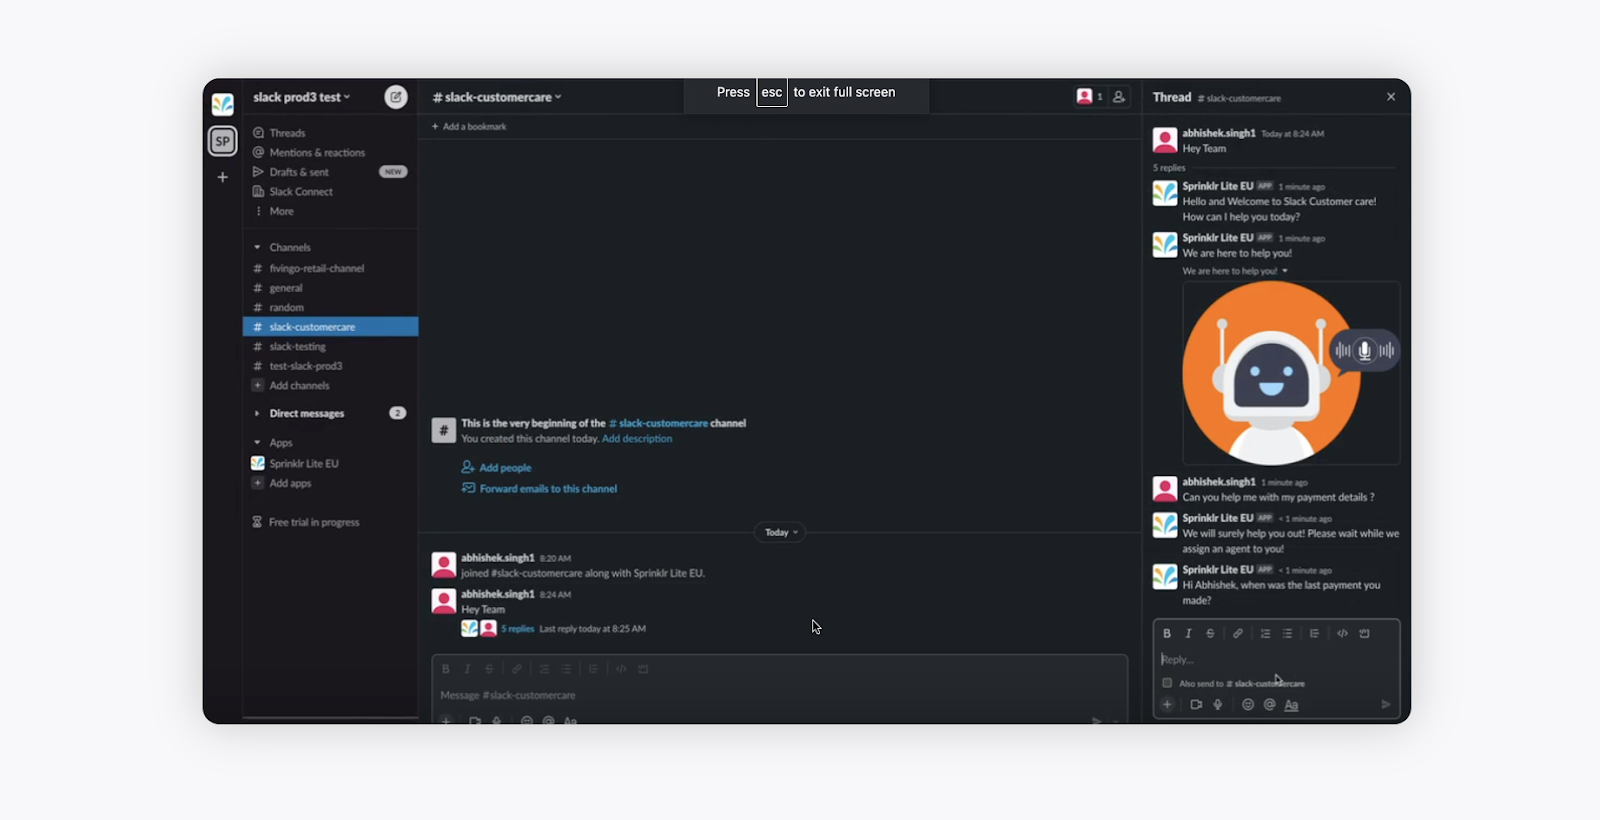
Now, send a message from the Slack channel, and the same will be reflected in the form of a ticket in the Sprinklr Advanced platform.


Ticketing section in Sprinklr Advanced
You can see the Bot conversation with the customer on the Sprinklr Advanced platform.
The customer can view the response to their message on the Slack channel as well.
However, if the Bot is unable to resolve the customer’s query, it will go back to the Fallback Node, wherein the request will be handled by the agent. The agent will reply to the customer's query from the Sprinklr Advanced account.
The agent's reply to the customer query will be visible on the Slack channel as well. This is how the Slack Chatbot works on the Sprinklr Advanced platform.