
Configure rules to automate different tasks using Automations
Updated
Reduce complexities and increase efficiency by executing multiple actions on your tickets with certain predefined conditions using Sprinklr Automations.
Automation is a set of rules triggered by certain predefined conditions to automate manual tasks for you and your team. It helps you simplify complex workflows by eliminating repetitive tasks such as updating a ticket, triaging, and routing.
You can use automation to:
Assign tickets to different teams based on the ticket issue type.
Set ticket priority based on which company/contact created it.
Differentiate tickets based on the company industry and assign them to the teams with the right expertise.
Delete spams and auto-replies before they arrive on your ticket list.
Send emails to customers with specific kinds of requests.
Refer to the following video to better understand automations:
To create a new Automation
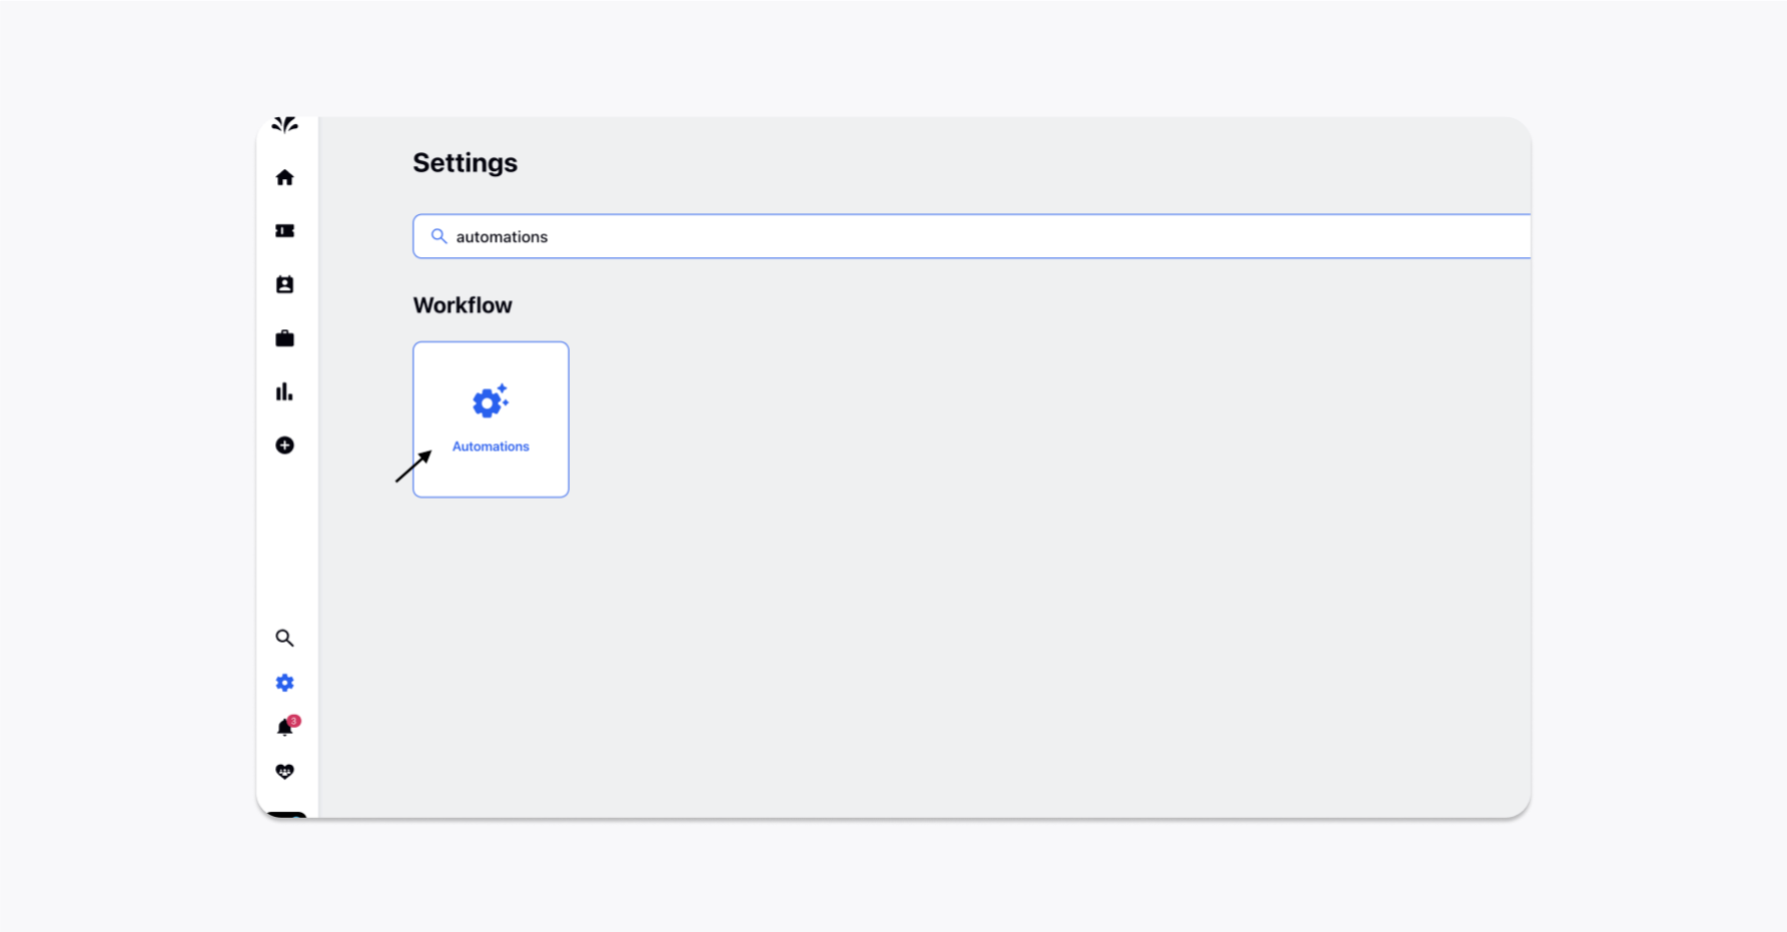
Log into Sprinklr. Click the Settings icon on the left pane. On the Settings window, select Automations under Workflow.
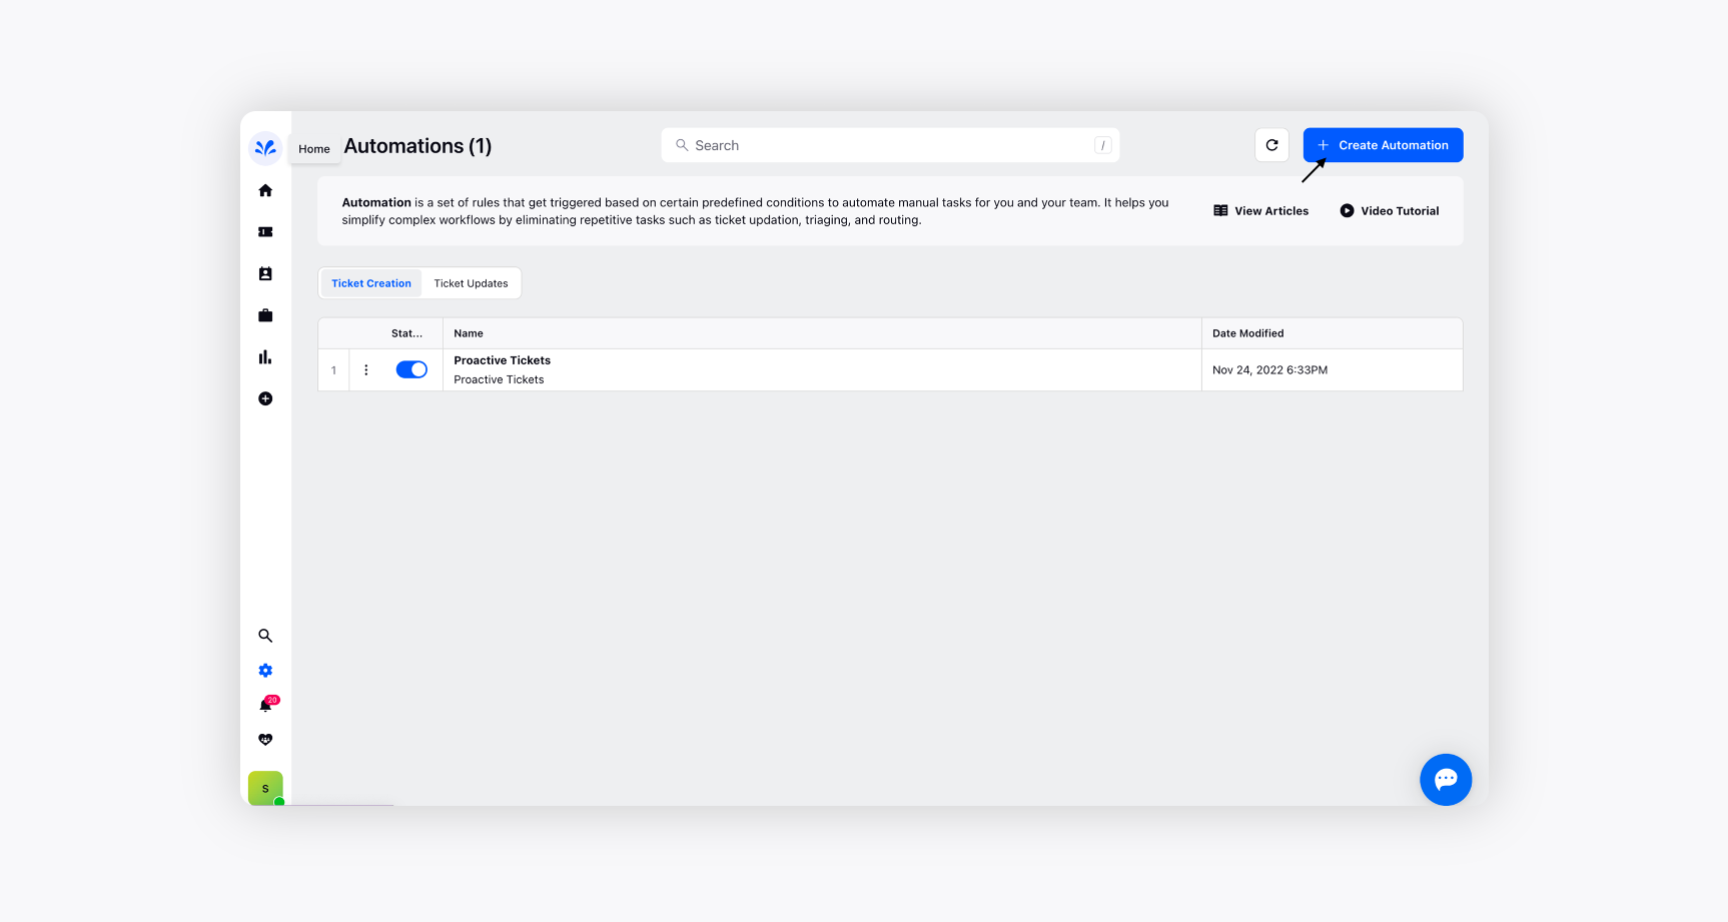
Click Create Automation in the top right corner of the Automations window.
Enter an Automation Name and an optional Description on the Create New Automation pop-up window.
Select Automation Type from the following:
Ticket Creation - These automation rules allow you to set up your support workflows by performing a predefined set of actions on newly created tickets.
Ticket Updates - These automation rules get triggered each time a message is sent/received, or any ticket property is updated and is applied to the tickets which satisfy the filtering conditions.
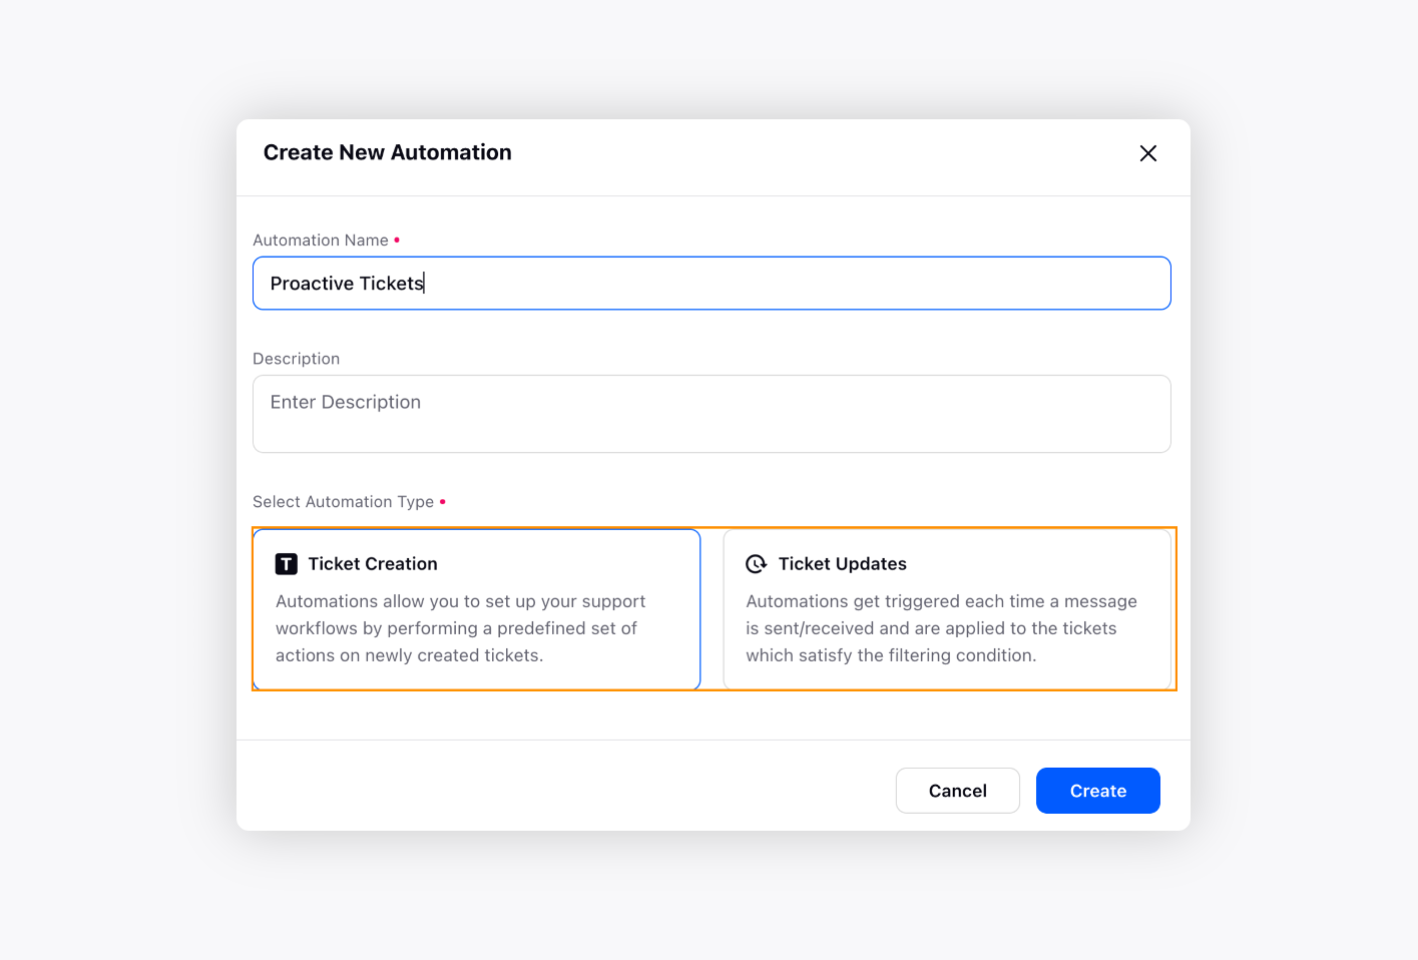
Click Create in the bottom right corner.
Configure Automations conditions
Conditions are triggers that help the system execute automation actions on your tickets. When a condition does not return true, automation will not take place. You can add multiple conditions while creating automation for your upcoming tickets.
For example, if you want to add a note to the tickets coming from Facebook, you can use:
Condition - Channel containing Facebook
Action - Add a Note
It will automatically add a note to tickets coming from Facebook to your support portal.
You can follow the below steps to configure your automation conditions:
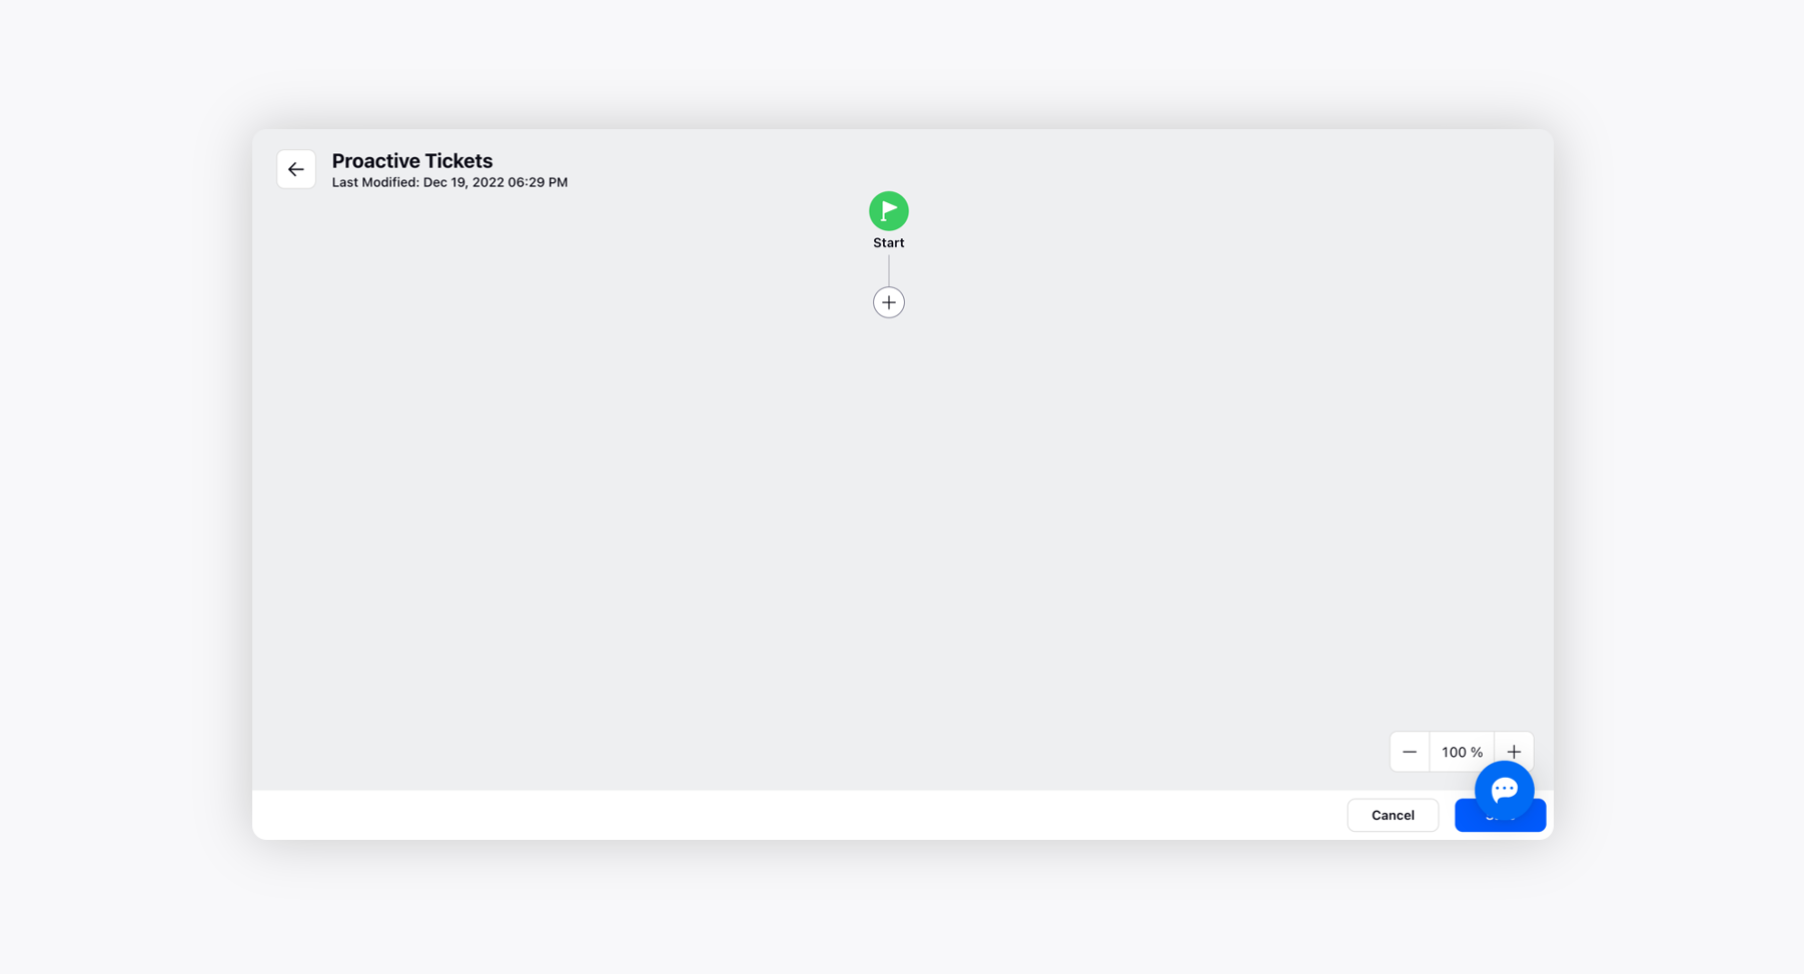
Click the Addition icon on the Automation Builder window to define ticket conditions.
On the Define Conditions pop-up window, enter a name for your condition in the Condition Box Title field.
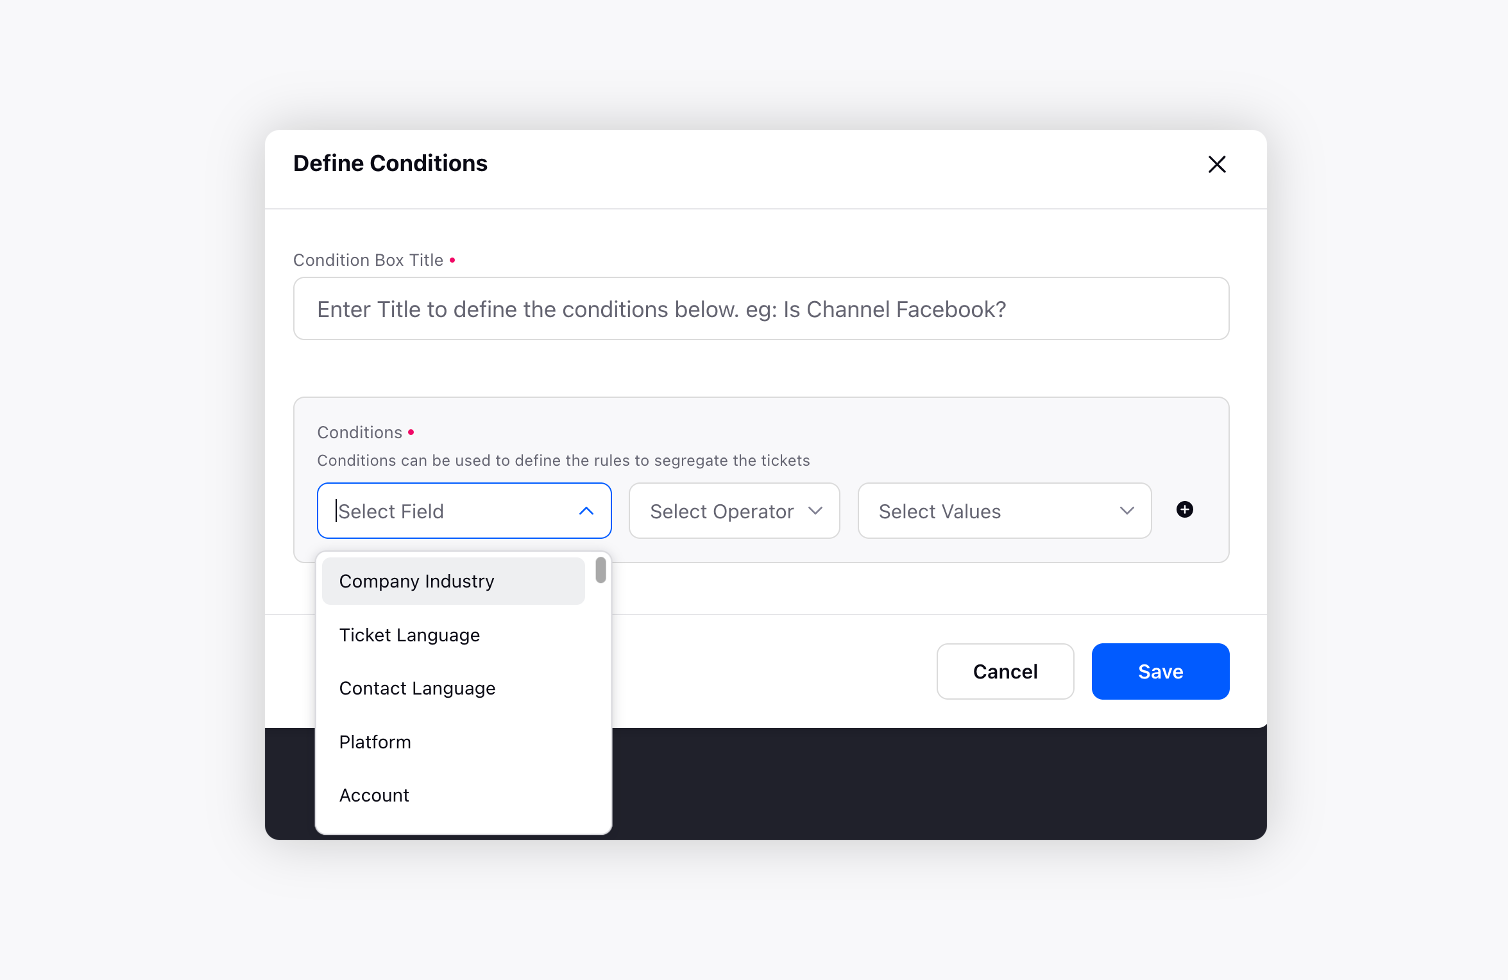
Under the Conditions section, select the desired rules to segregate the upcoming tickets. For the list of available conditions, see Automation Conditions — Description.
Automation Conditions — Description
Configure Automation actions on upcoming tickets
You can further configure desired actions on your tickets after configuring the conditions. These actions define what happens if all the condition statements are satisfied. You can add multiple actions to trigger if all of your conditions are true.
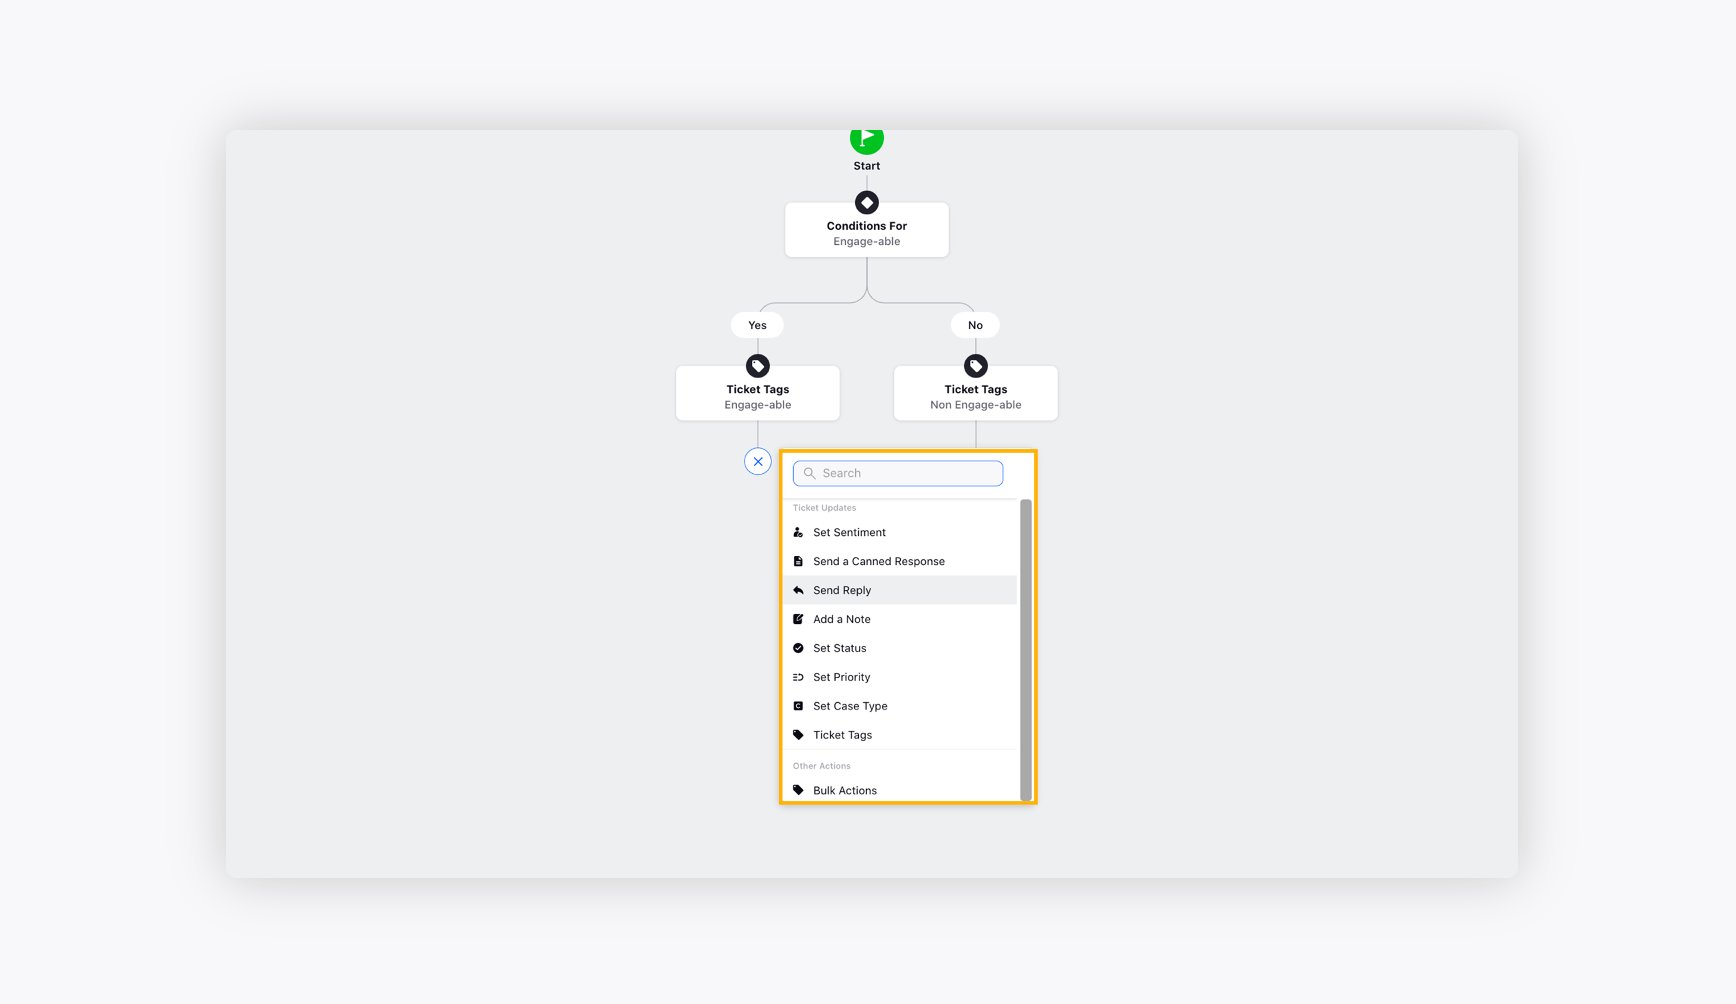
For example, if you want to send an automated reply to the ticket you have just received, you can add Send Reply actions by clicking the Addition icon below Yes.
You can follow the below steps to configure automation actions:
On the Automation Builder window, click the Addition icon and select from the list of actions that you want to execute on the upcoming tickets. For the list of available actions, see Automation Actions — Description.
Automation Actions — Description
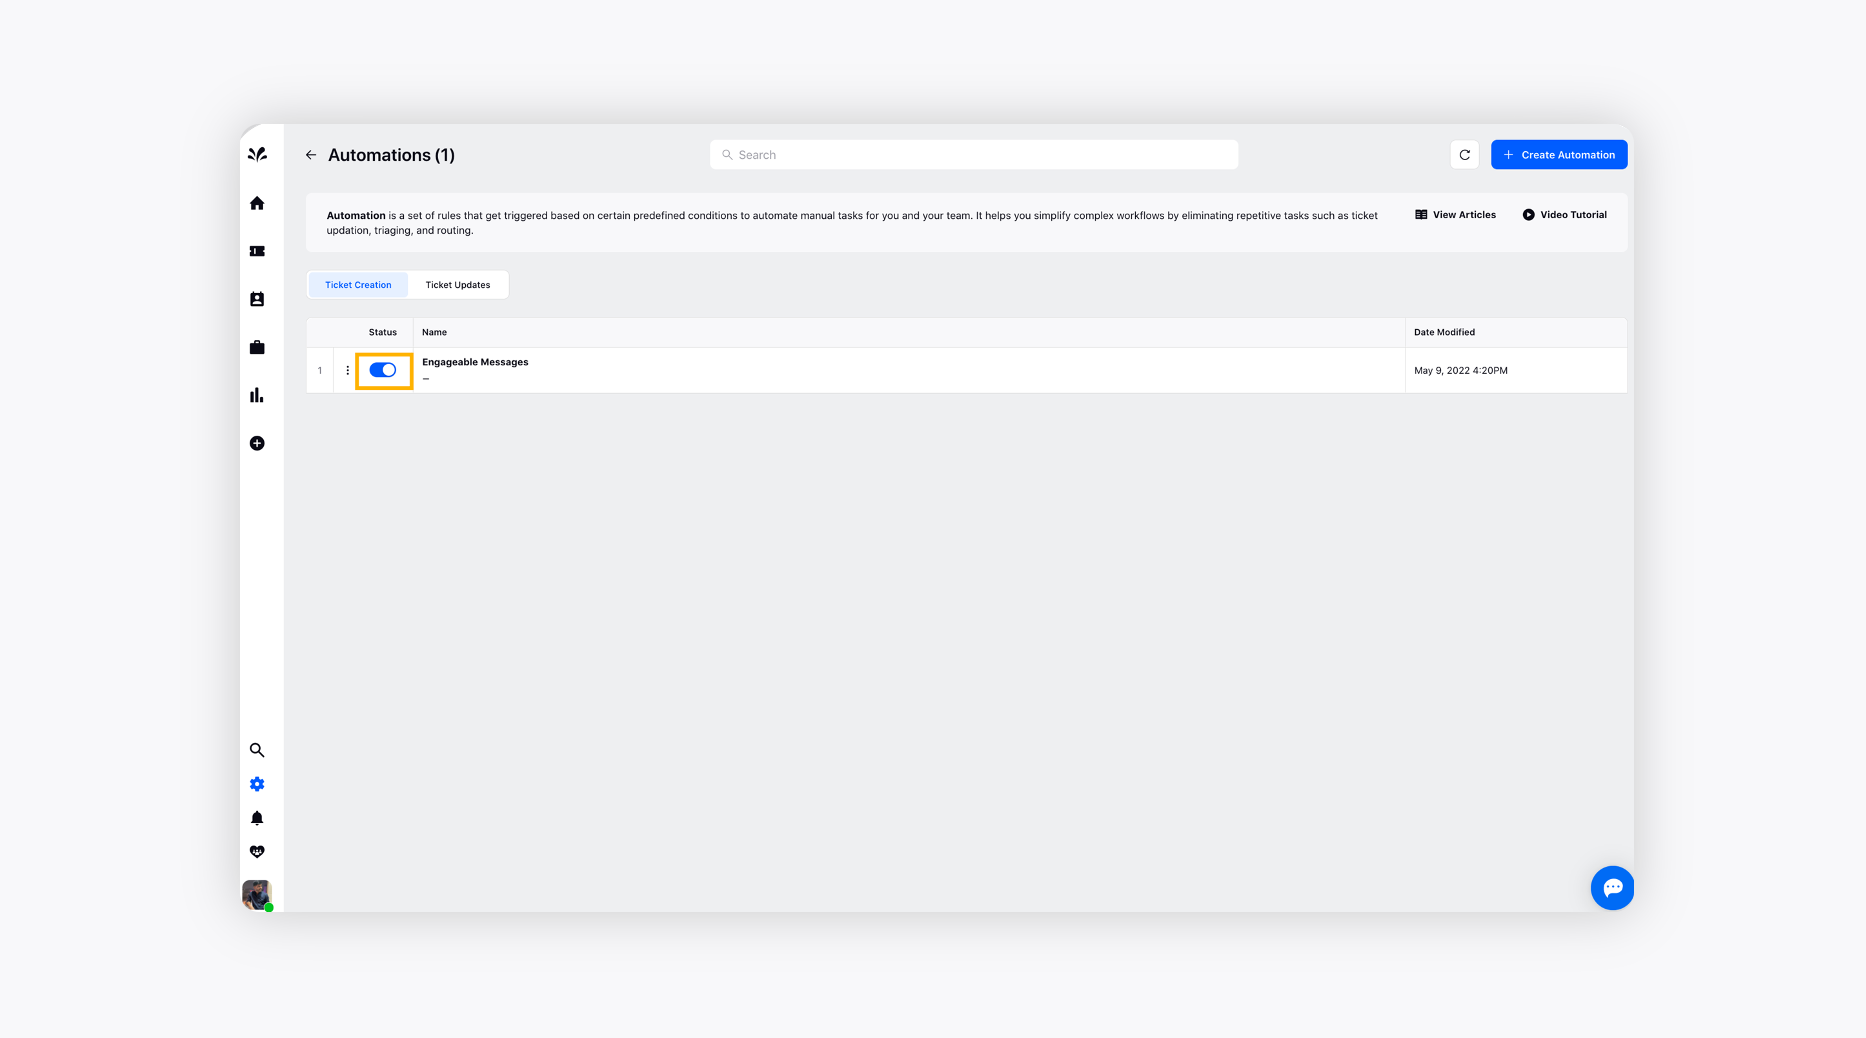
To enable/disable Automations
Log into Sprinklr. Click the Settings icon on the left Navigation Bar.
On the Settings window, select Automations under Workflow.
On the Automations window, toggle on/off the Status alongside the desired automation to Enable/Disable particular automation.
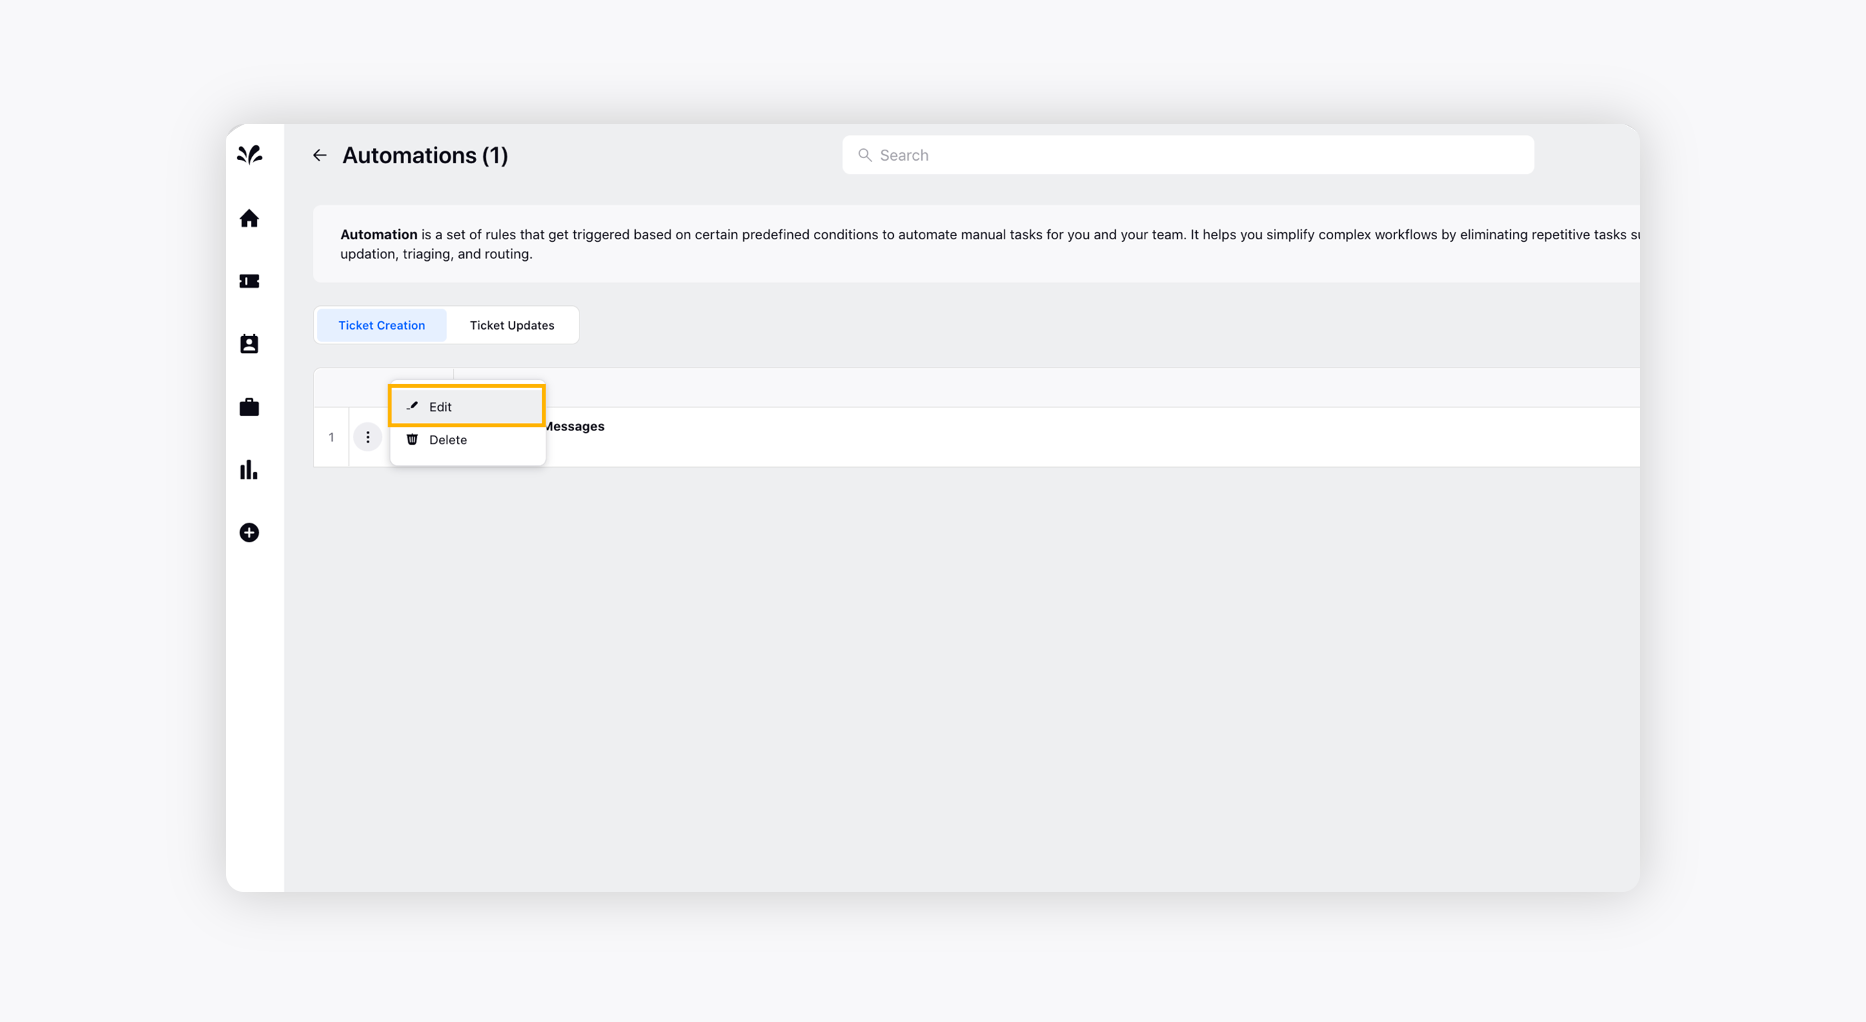
To edit existing Automations
Log into Sprinklr. Click the Settings icon on the left Navigation Bar.
On the Settings window, select Automations under Workflow.
Hover over the Vertical Ellipsis icon alongside the desired automation and click Edit to make the desired changes to pre-existing automation.
Make the desired changes on the Automation Builder window and click Save in the bottom right corner.
To delete existing Automations
Log into Sprinklr. Click the Settings icon on the left Navigation Bar.
On the Settings window, select Automations under Workflow.
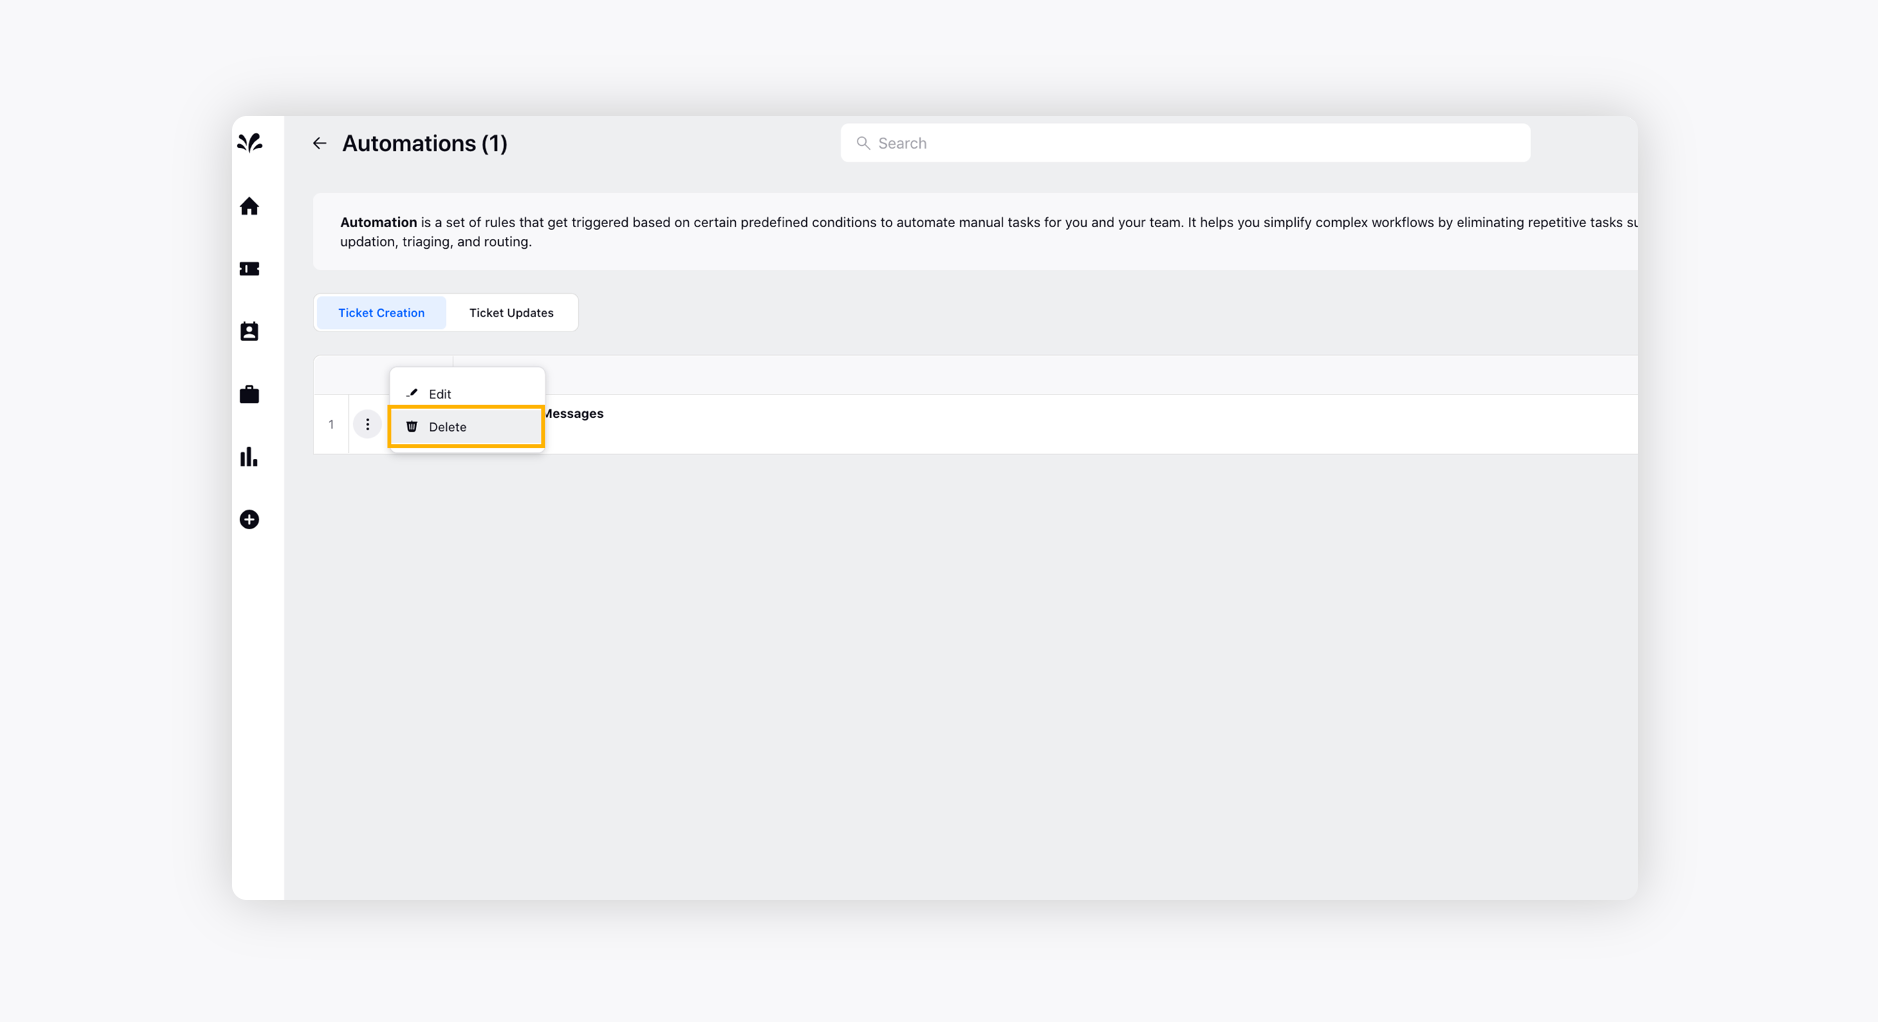
Hover over the Vertical Ellipsis icon alongside the desired automation and click Delete.
On the Delete Automation pop-up window, click Delete to confirm. It will permanently delete your automation.