
Creating a custom report on Sprinklr Service
Updated
Learn how to create a custom report on Sprinklr Service and make decisions that resonate with the growth of your brand/organization.
With the custom report creation capability on Sprinklr Service, you can now share and apply filters on the customer reports as per the business requirements.
To create a Custom Report on Sprinklr Service
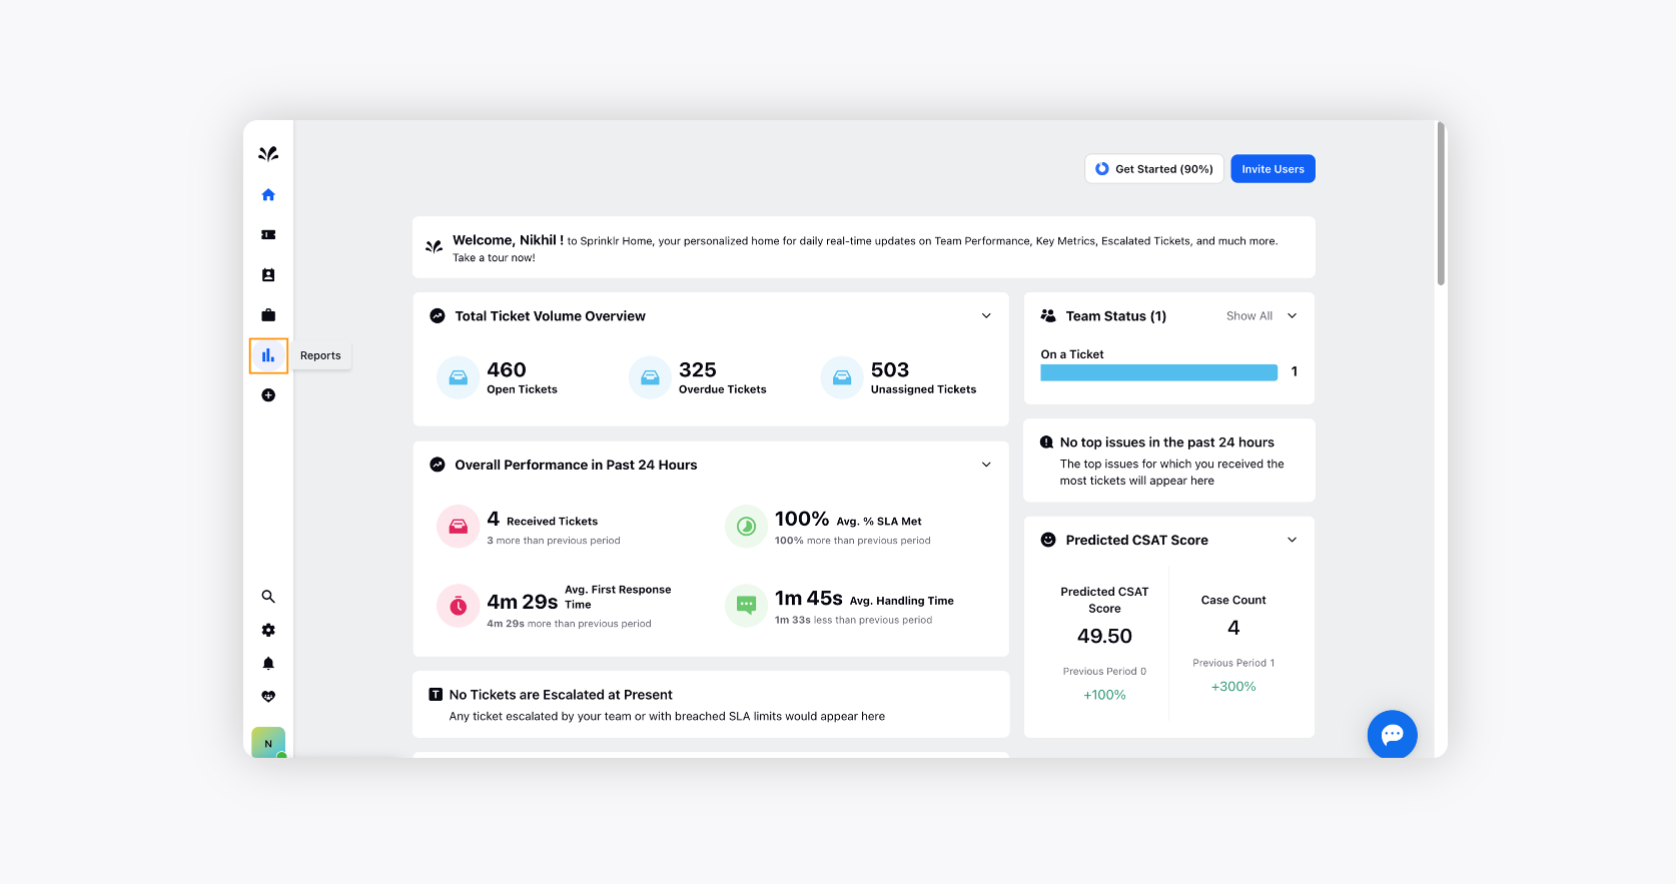
Log into Sprinklr Service. Click the Reports icon on the left pane of the Care Console.
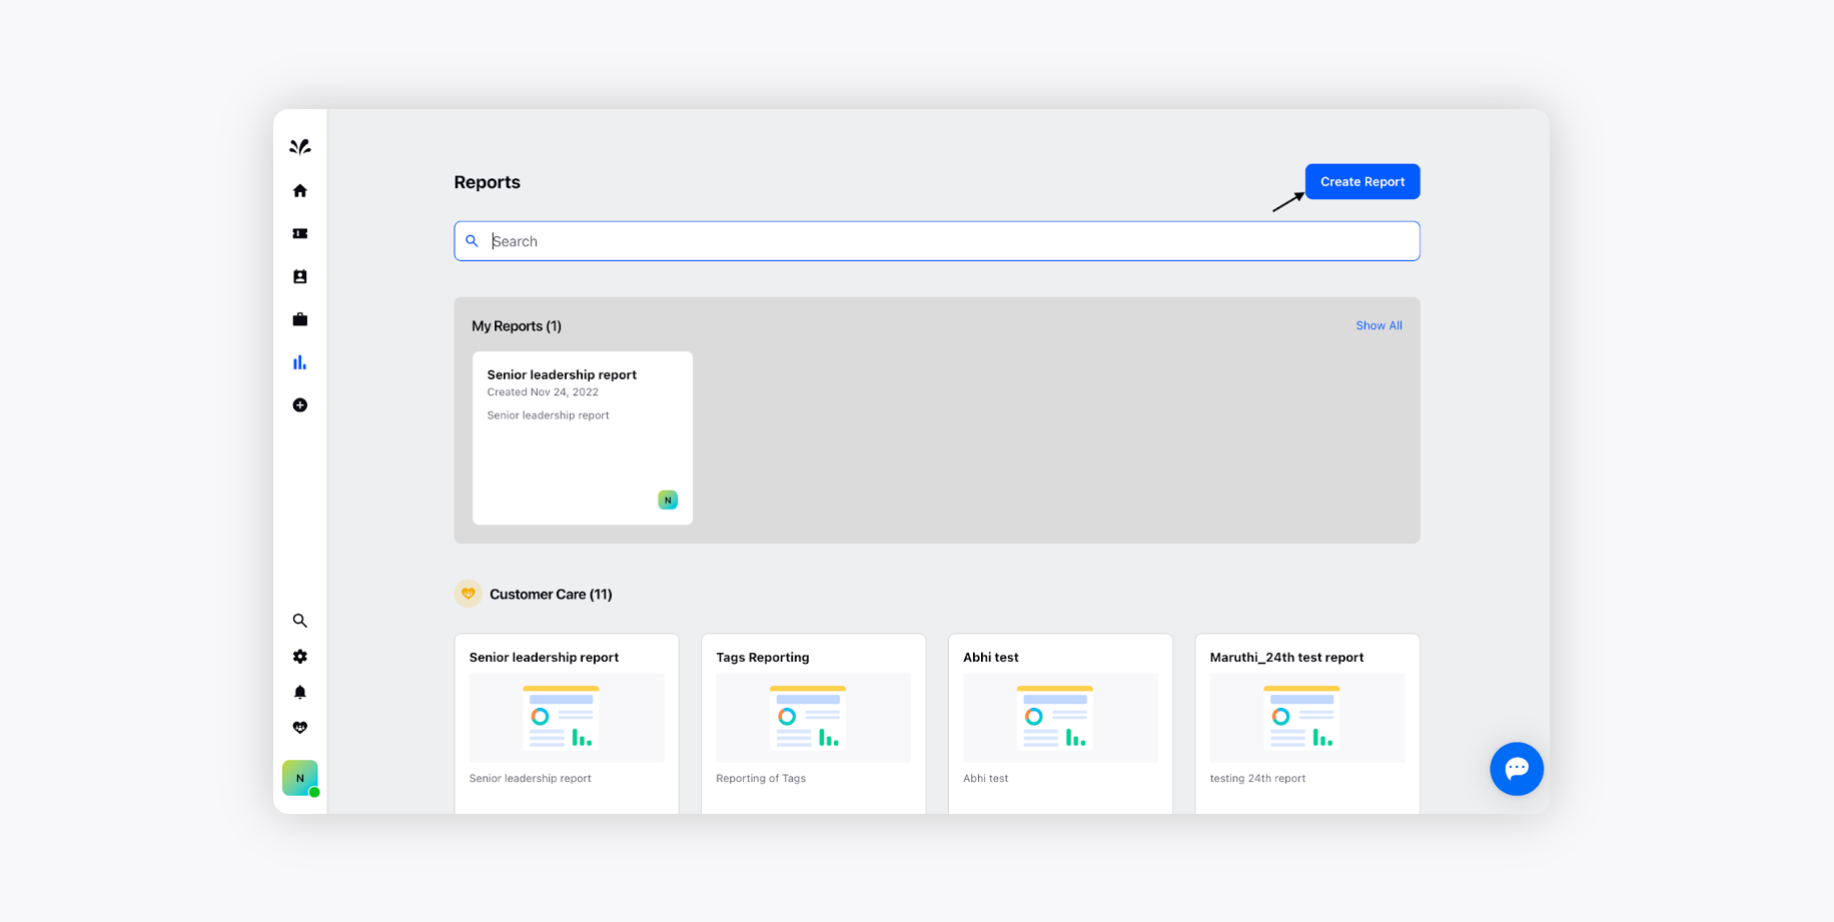
Click Create Report in the top right corner to create a new custom report.
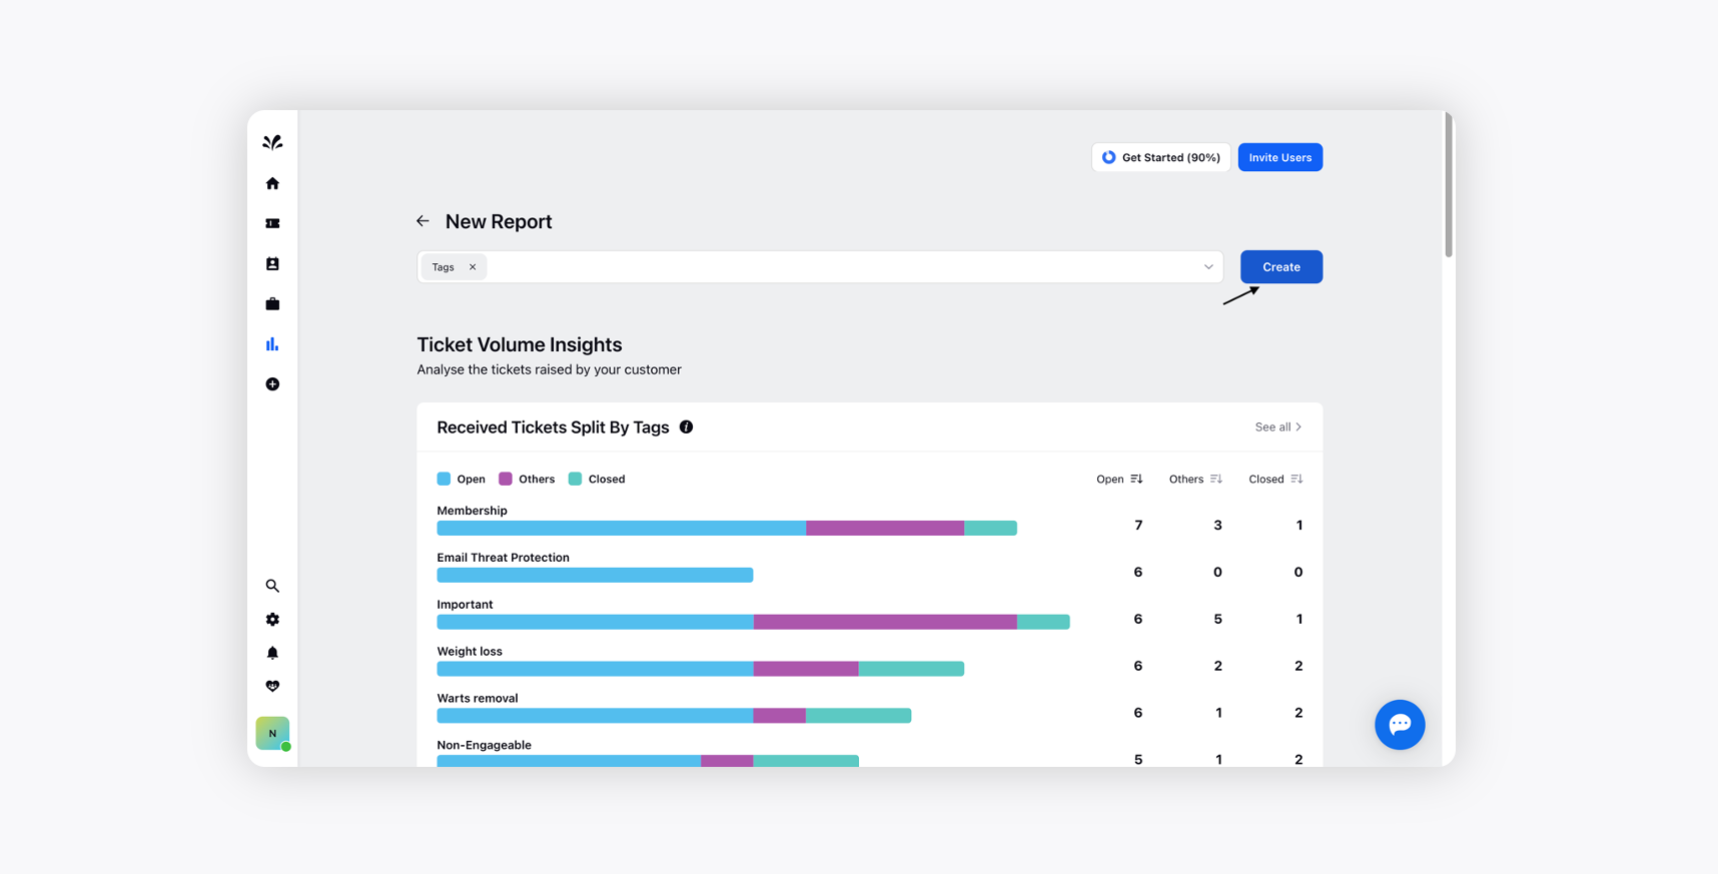
Choose any of the ticket fields in the search bar around which you want to build a custom report. Please note the users can choose one or more ticket fields to create a report.

Click Create on the right and fill in the required details like Title and Description.
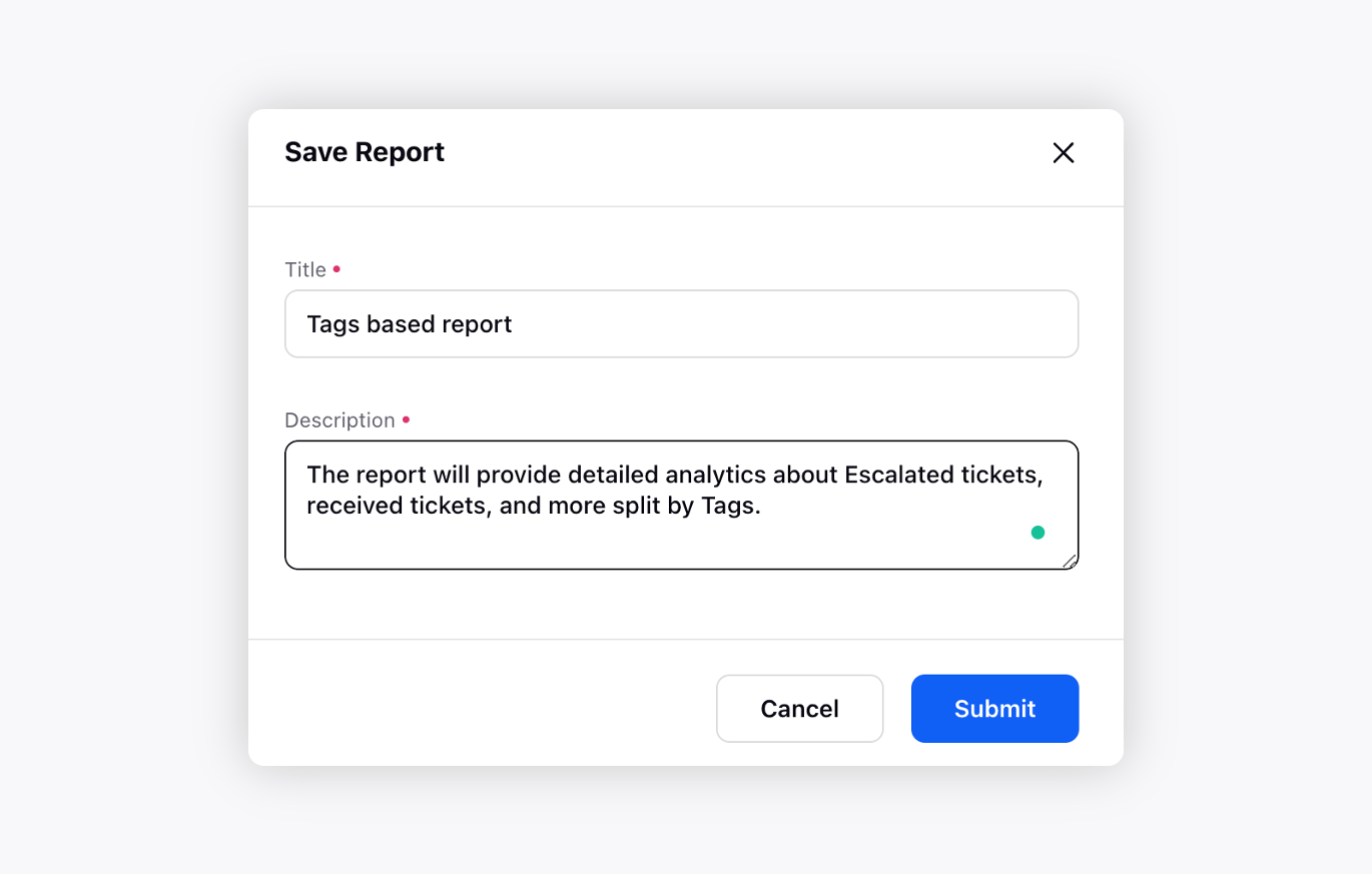
Click Submit, and after that, the custom report will be auto-generated.
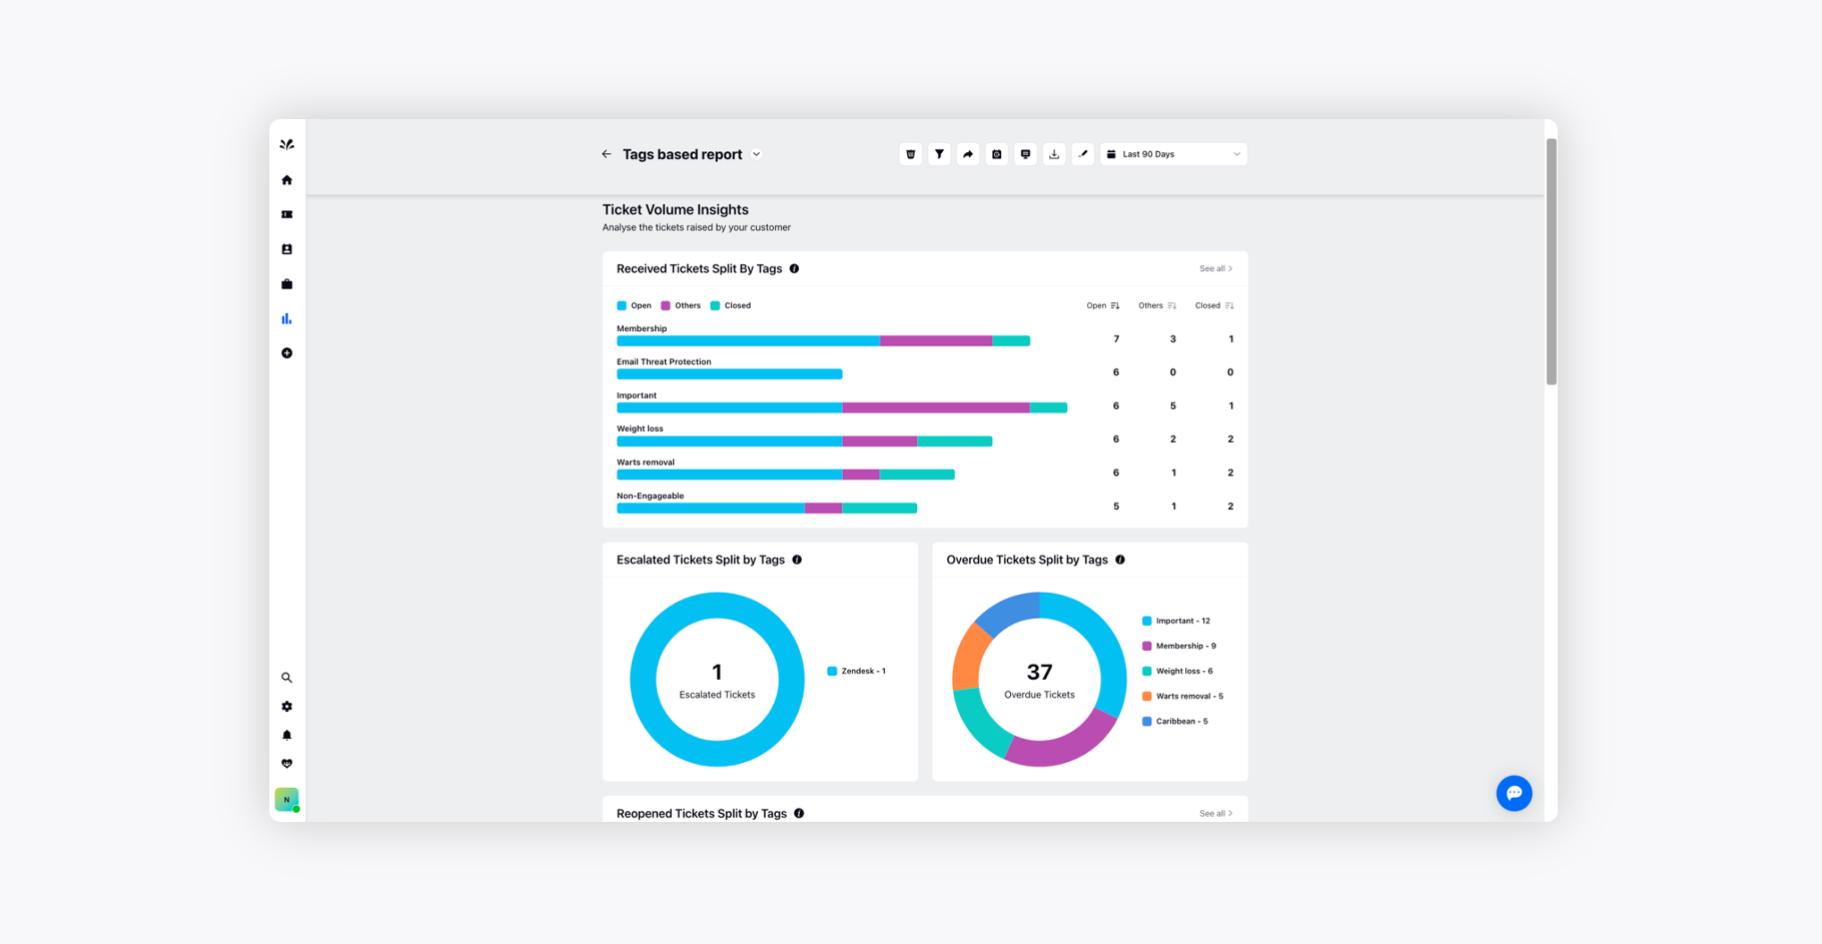
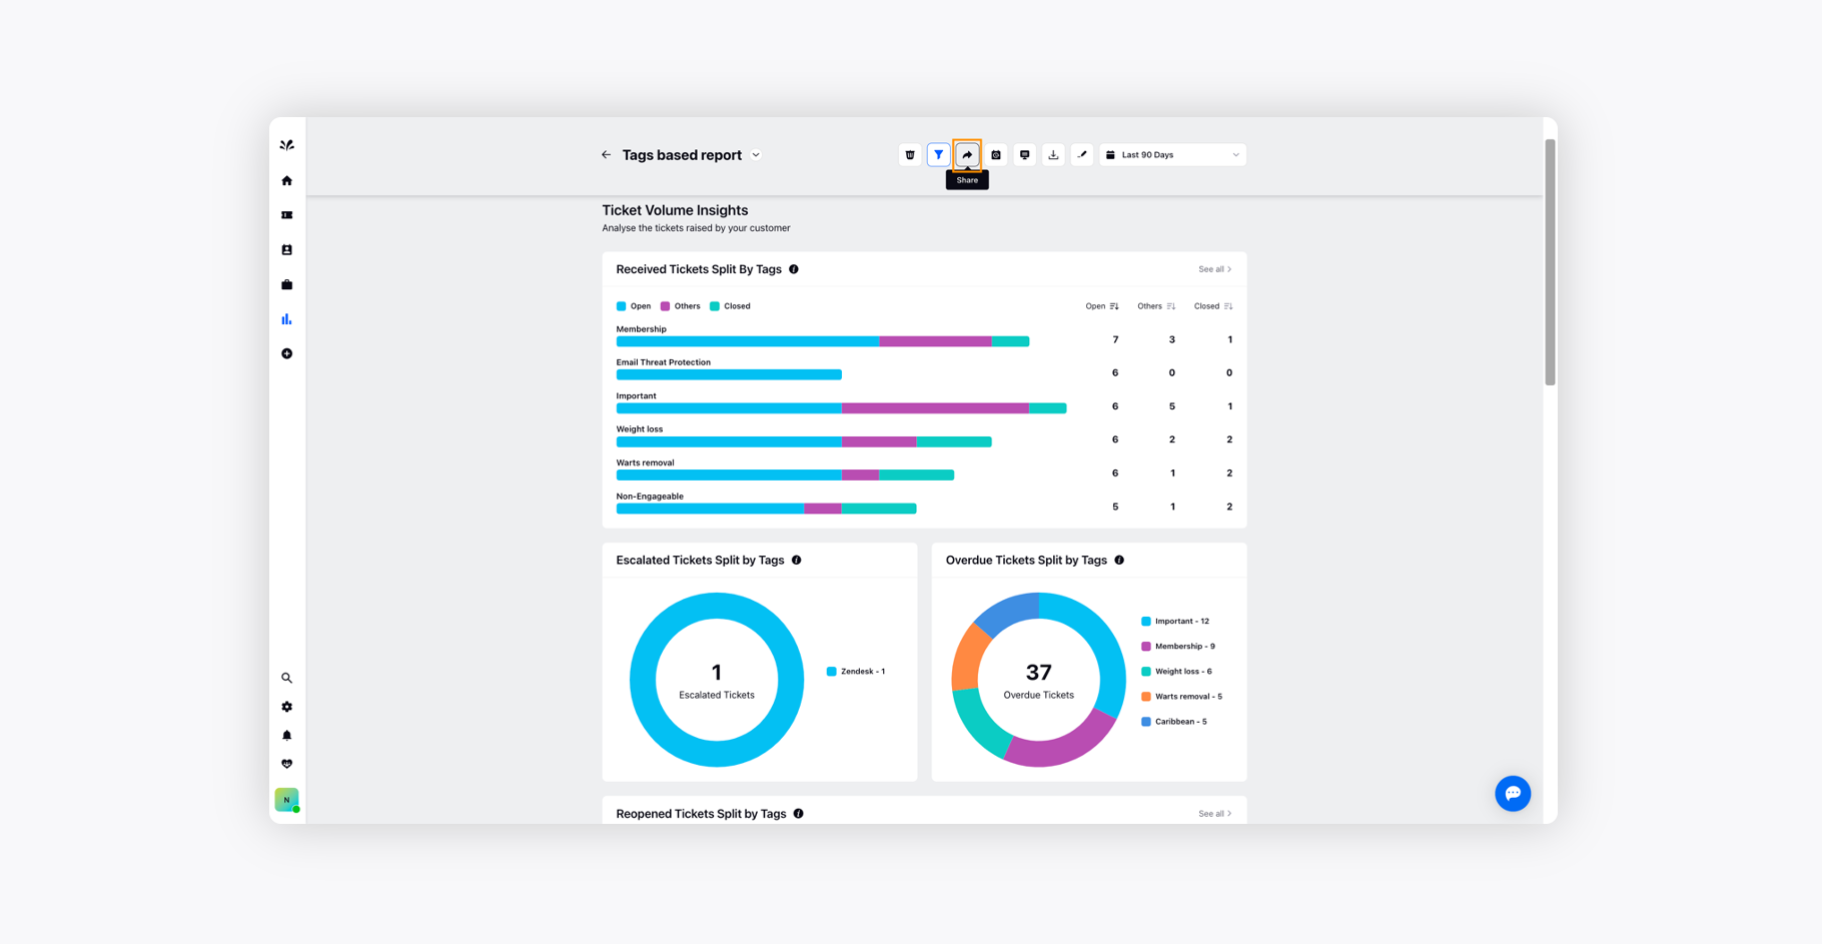
You can share the custom report you created with the intended user by hovering over the Share icon at the top.
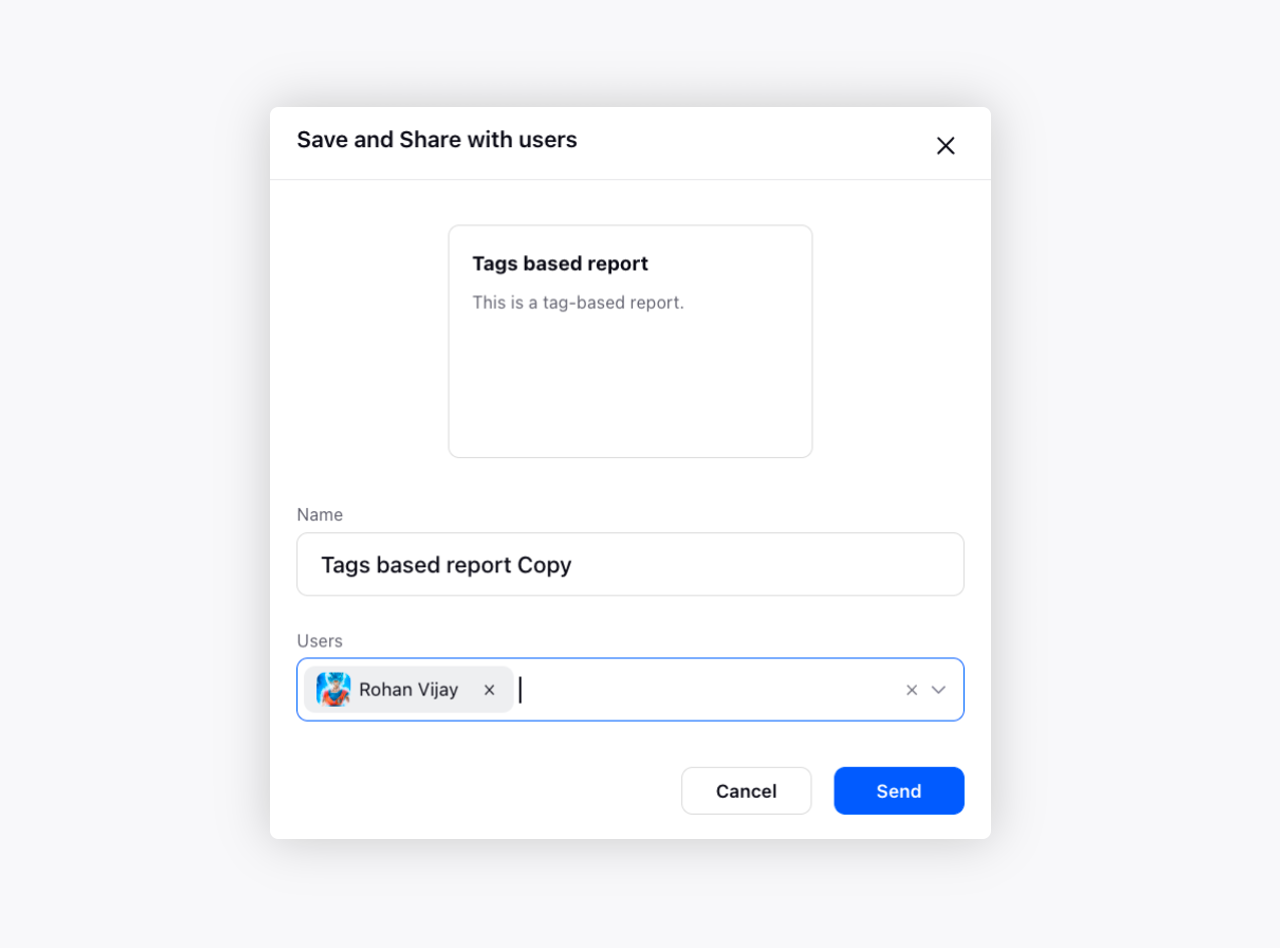
Choose the intended user and click Send at the bottom.
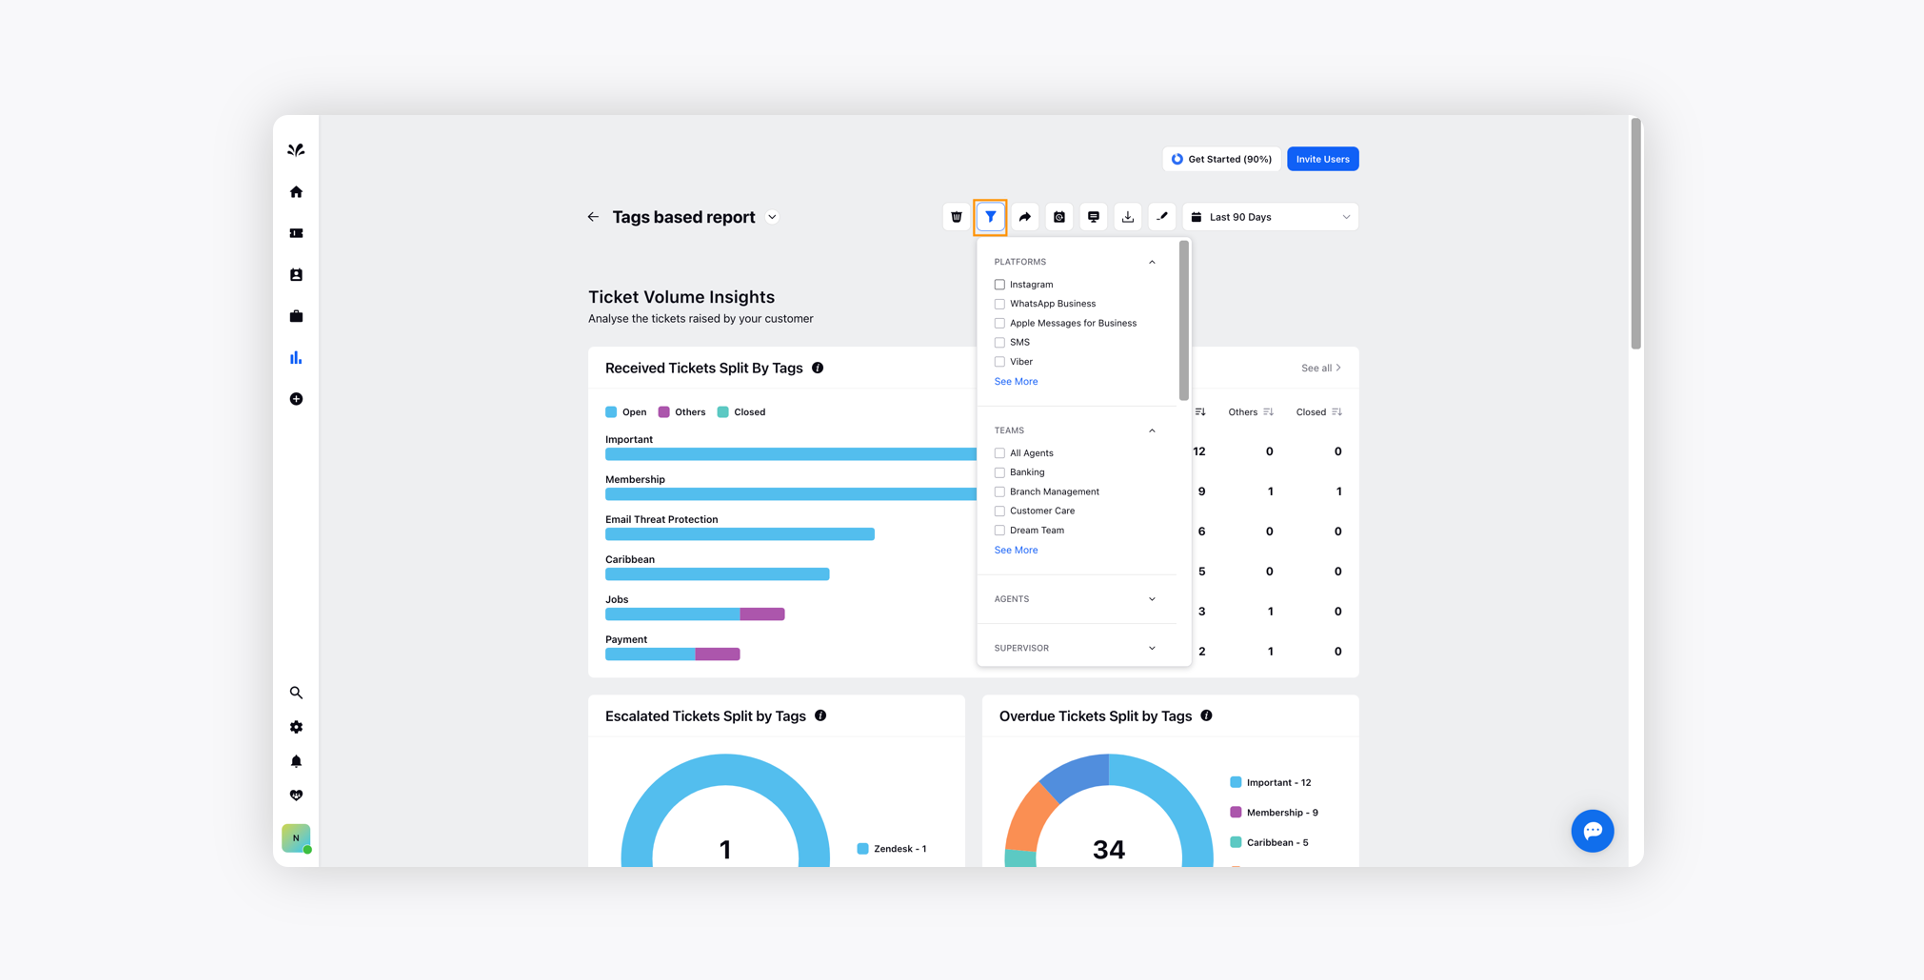
Besides that, you can apply filters as per the business requirement on the custom report as well.
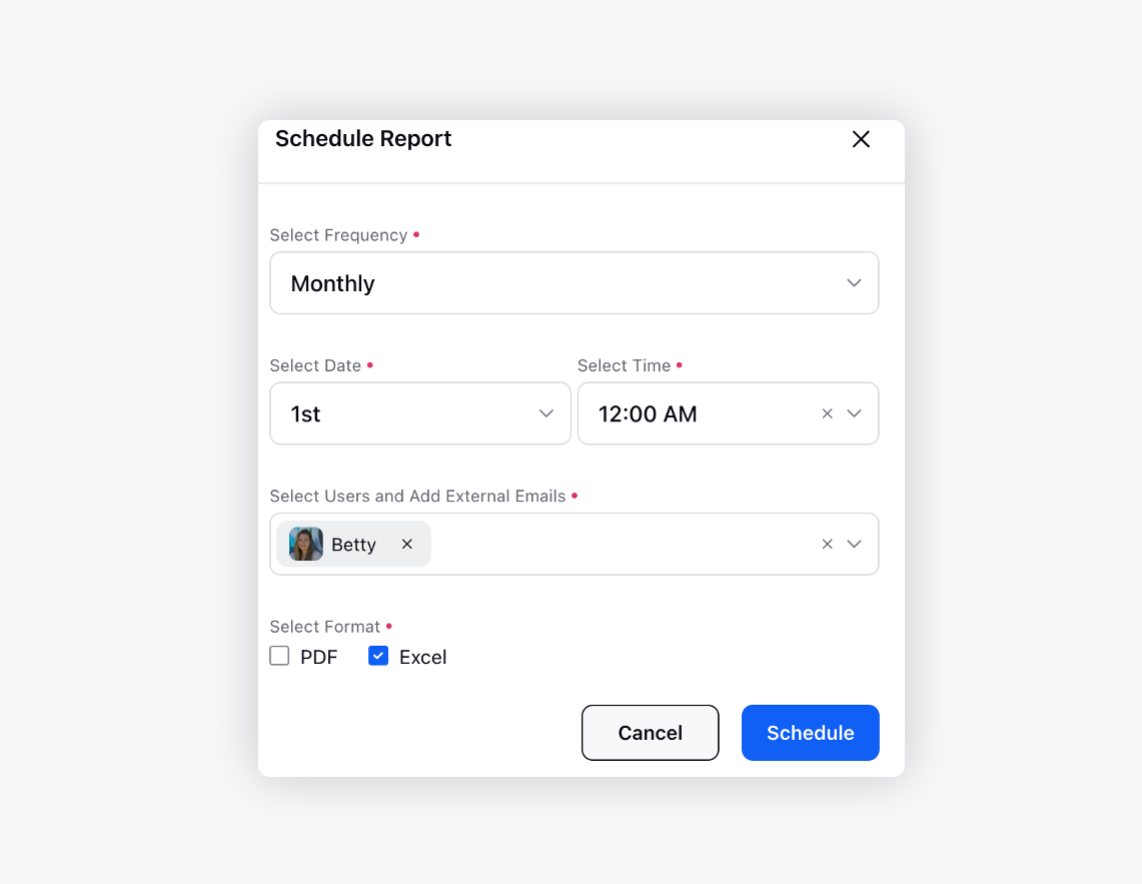
You can schedule a custom report by hovering over the Schedule icon.
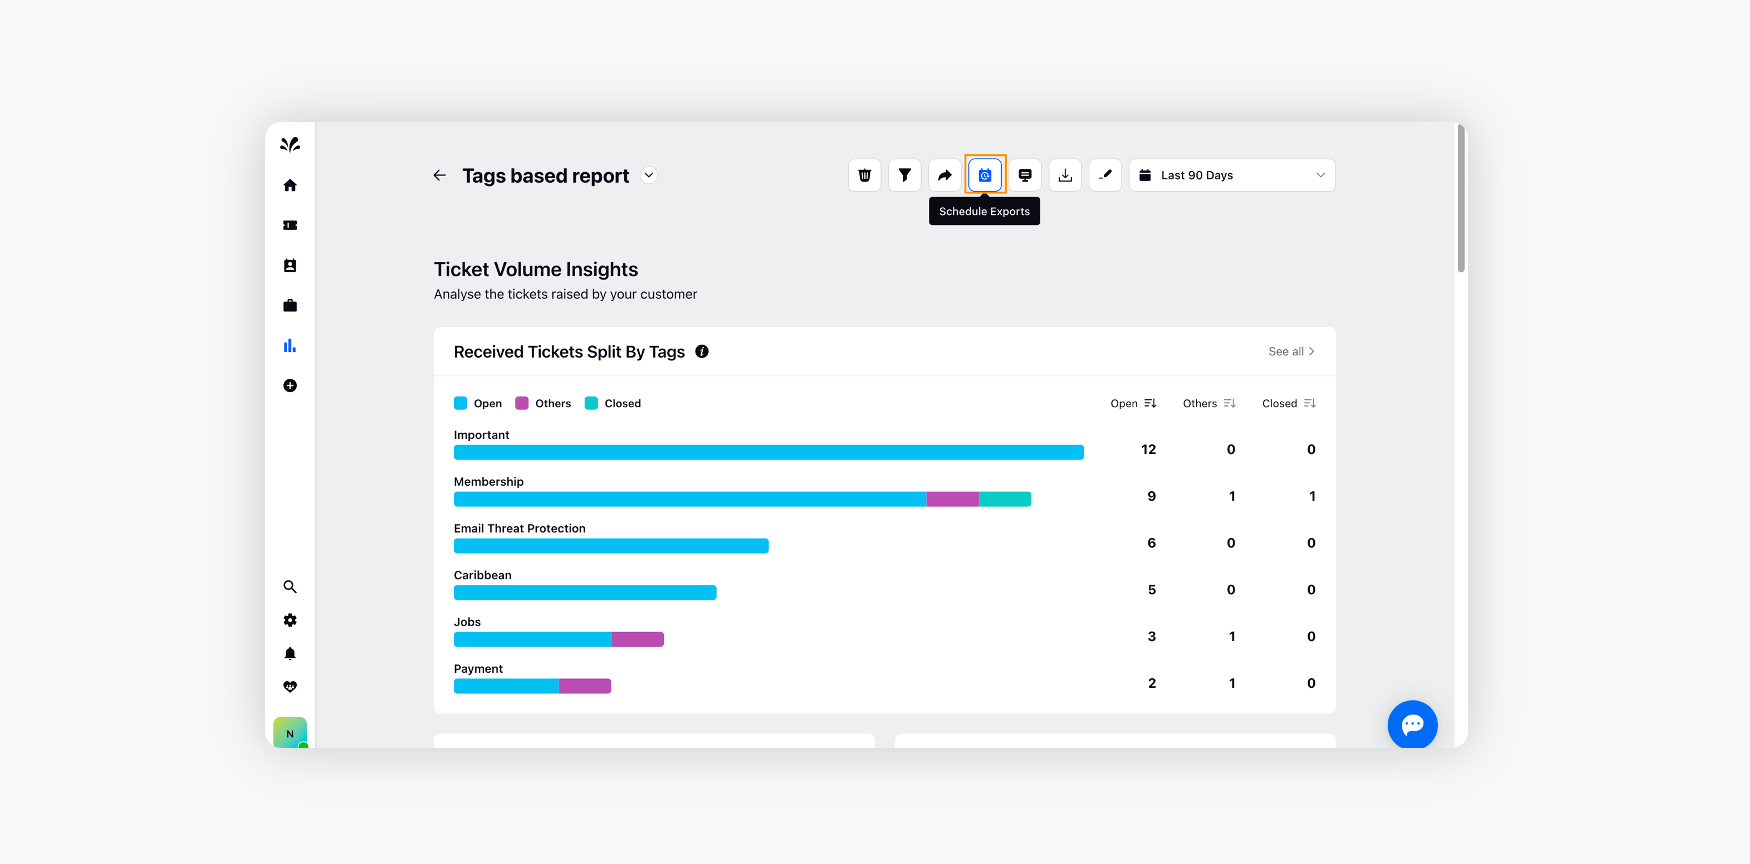
Select the desired frequency, date, time, users, external emails, and the desired format on the Schedule Report window. Click Schedule at the bottom after filling in all the details.
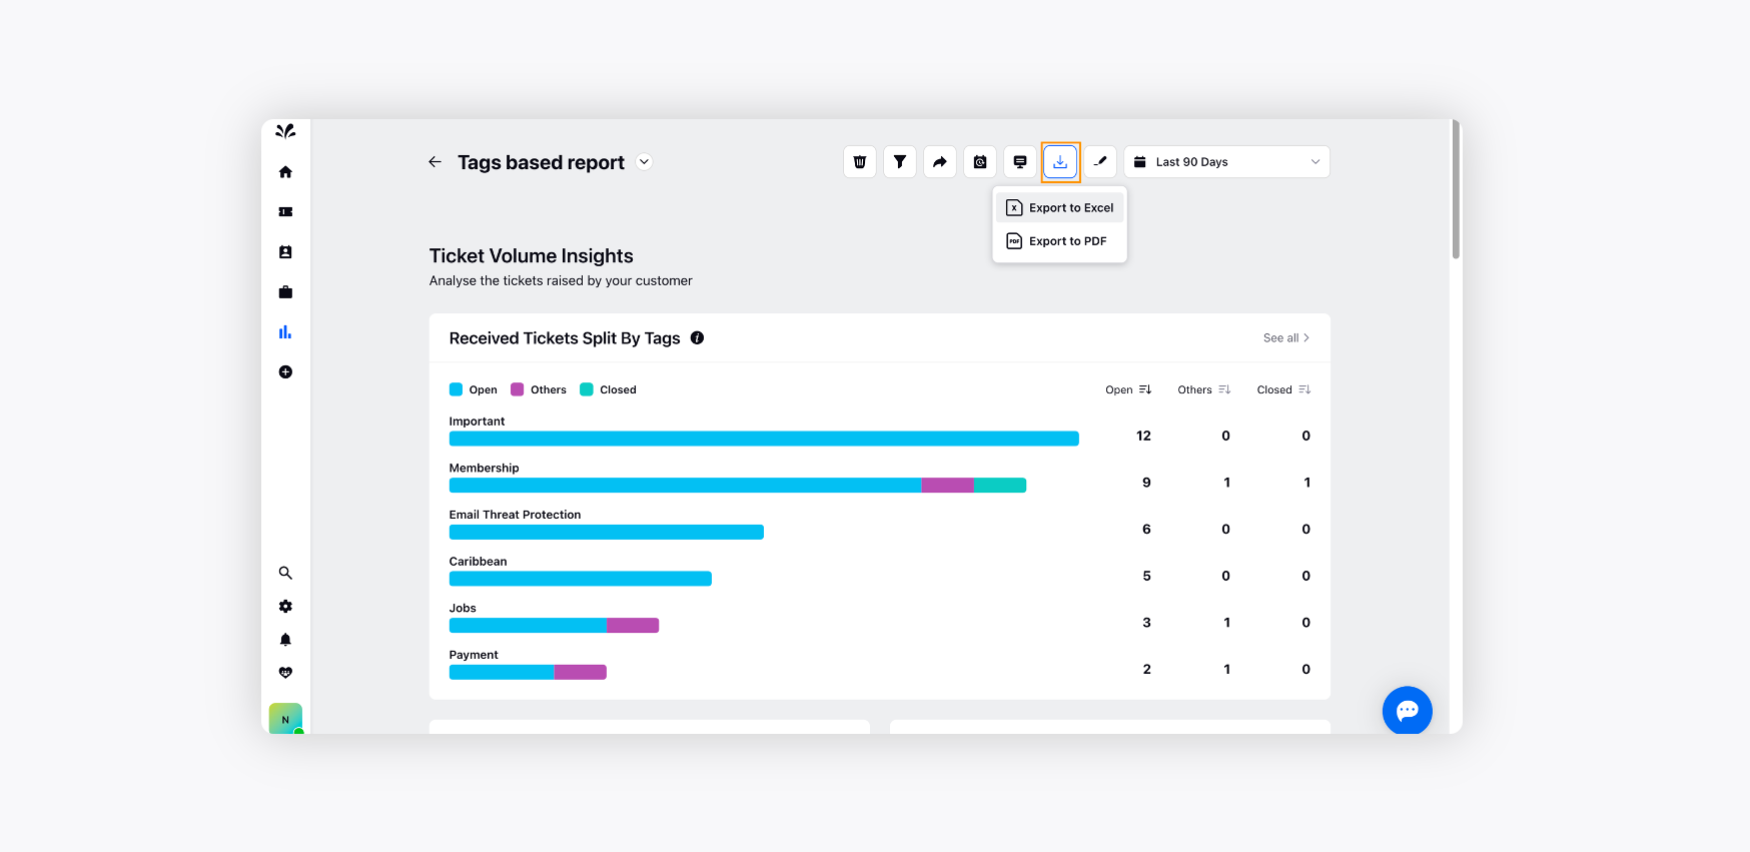
You can download the custom report in Excel or PDF format.
You can edit the custom report as well by adding additional ticket fields apart from the fields already chosen.
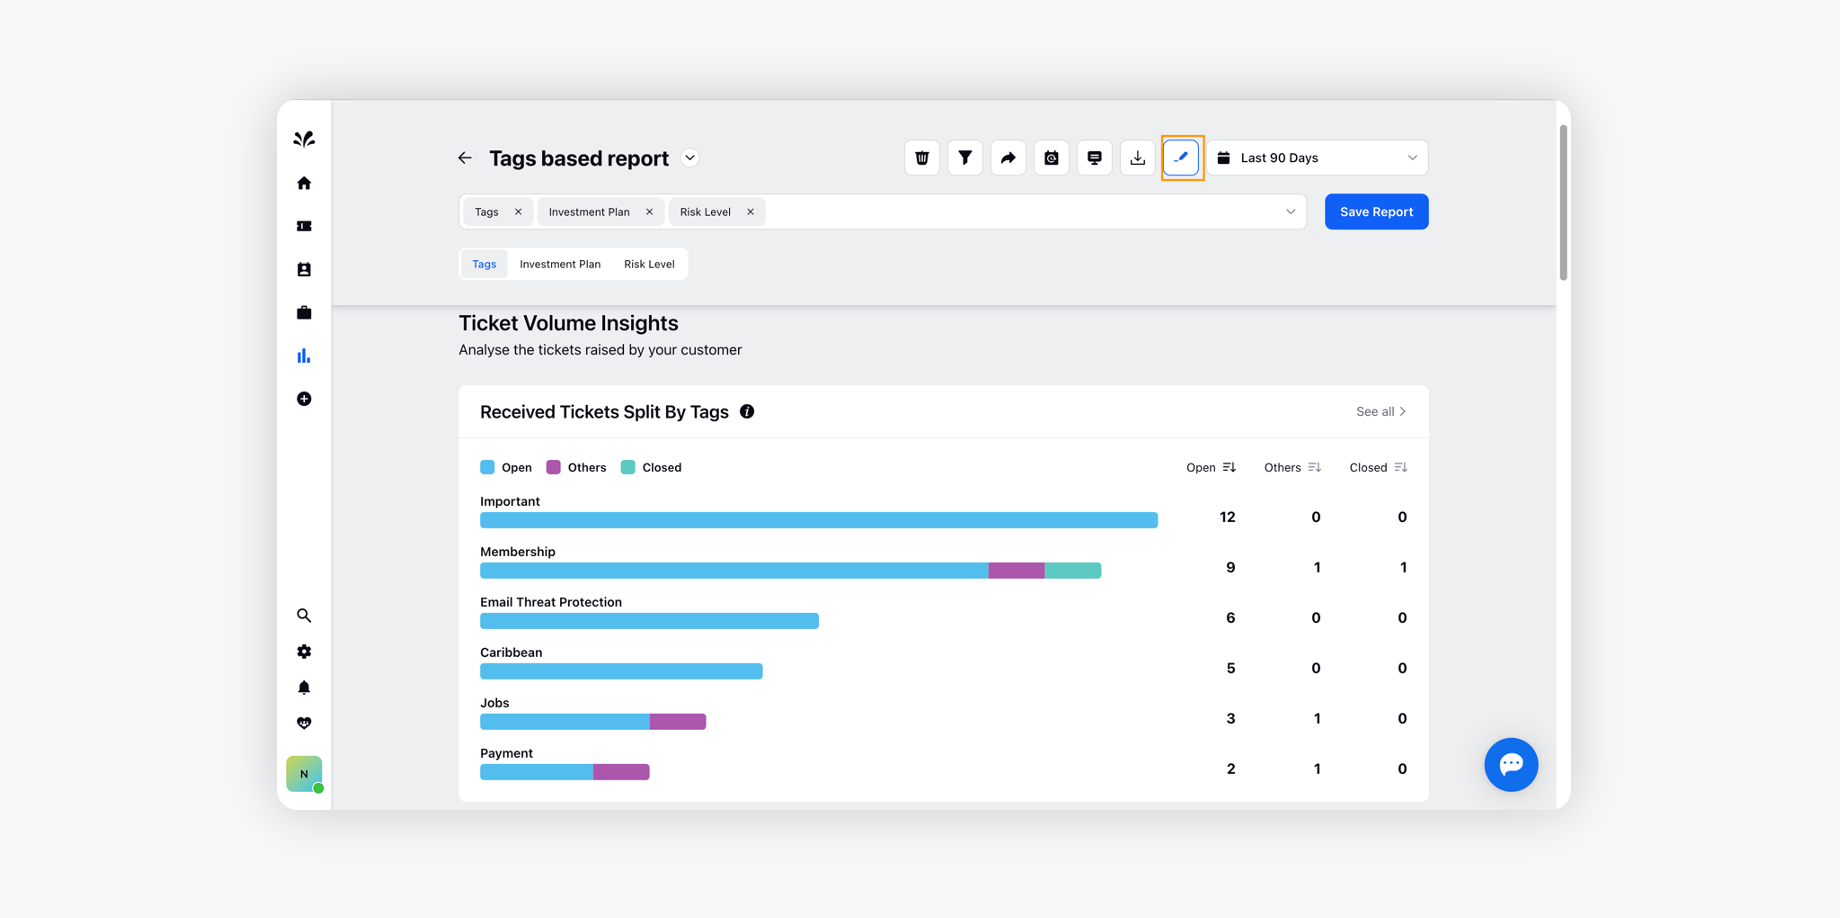
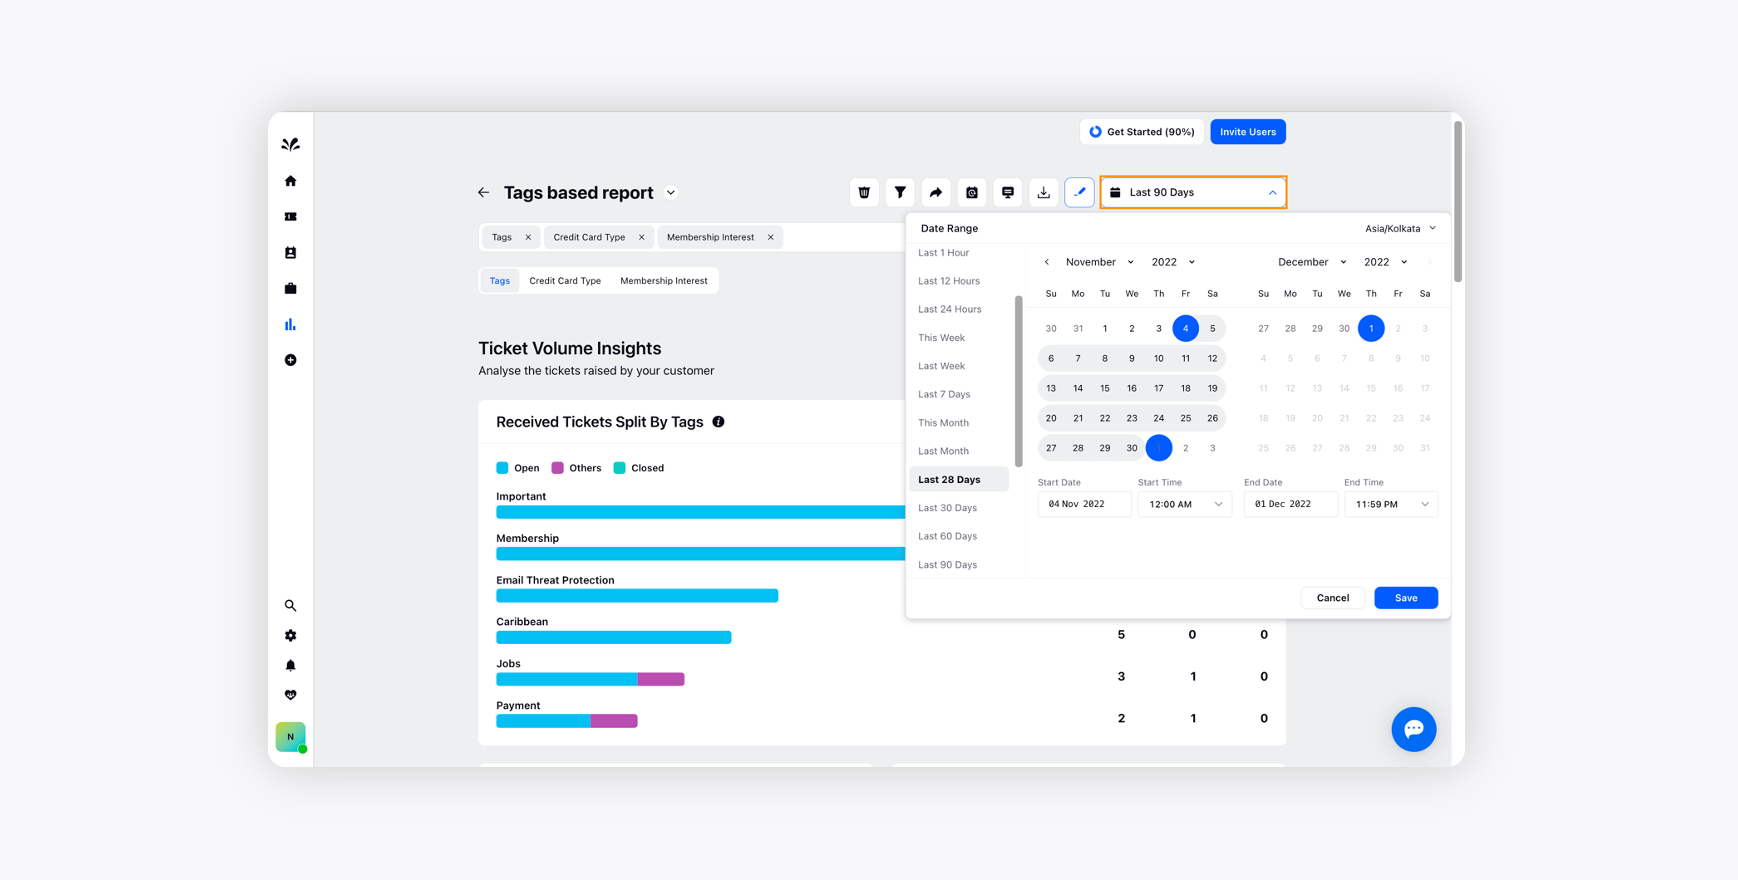
You can provide a time range to populate the report as well. Select the date and time range per the business requirement and click Save.
For more details on creating a custom report, click the link here.