
Add Custom Domain to build customer trust and grow business
Updated
Learn how to create your own custom domain, personalise the login page, and enable SAML login on Sprinklr Advanced.
Personalise your domain and login page on Sprinklr Advanced. You now get .
What is a Custom Domain?
Custom Domain helps a brand to host their Sprinklr Advanced support portal with a personalised and brand coherent URL. You can choose your domain with your brand name like acmecosmetics.com and use that to login to your Sprinklr Advanced support portal. You can also personalise the Login page by uploading your own images and choosing Brand colours. Enabling a Custom Domain also helps you to enable SSO with SAML login for enhanced security and faster authentications and eliminates your agent's need to remember multiple credentials.
How to enable Custom Domain?
Navigate to Settings, and search for Security and Personalisation under Account.
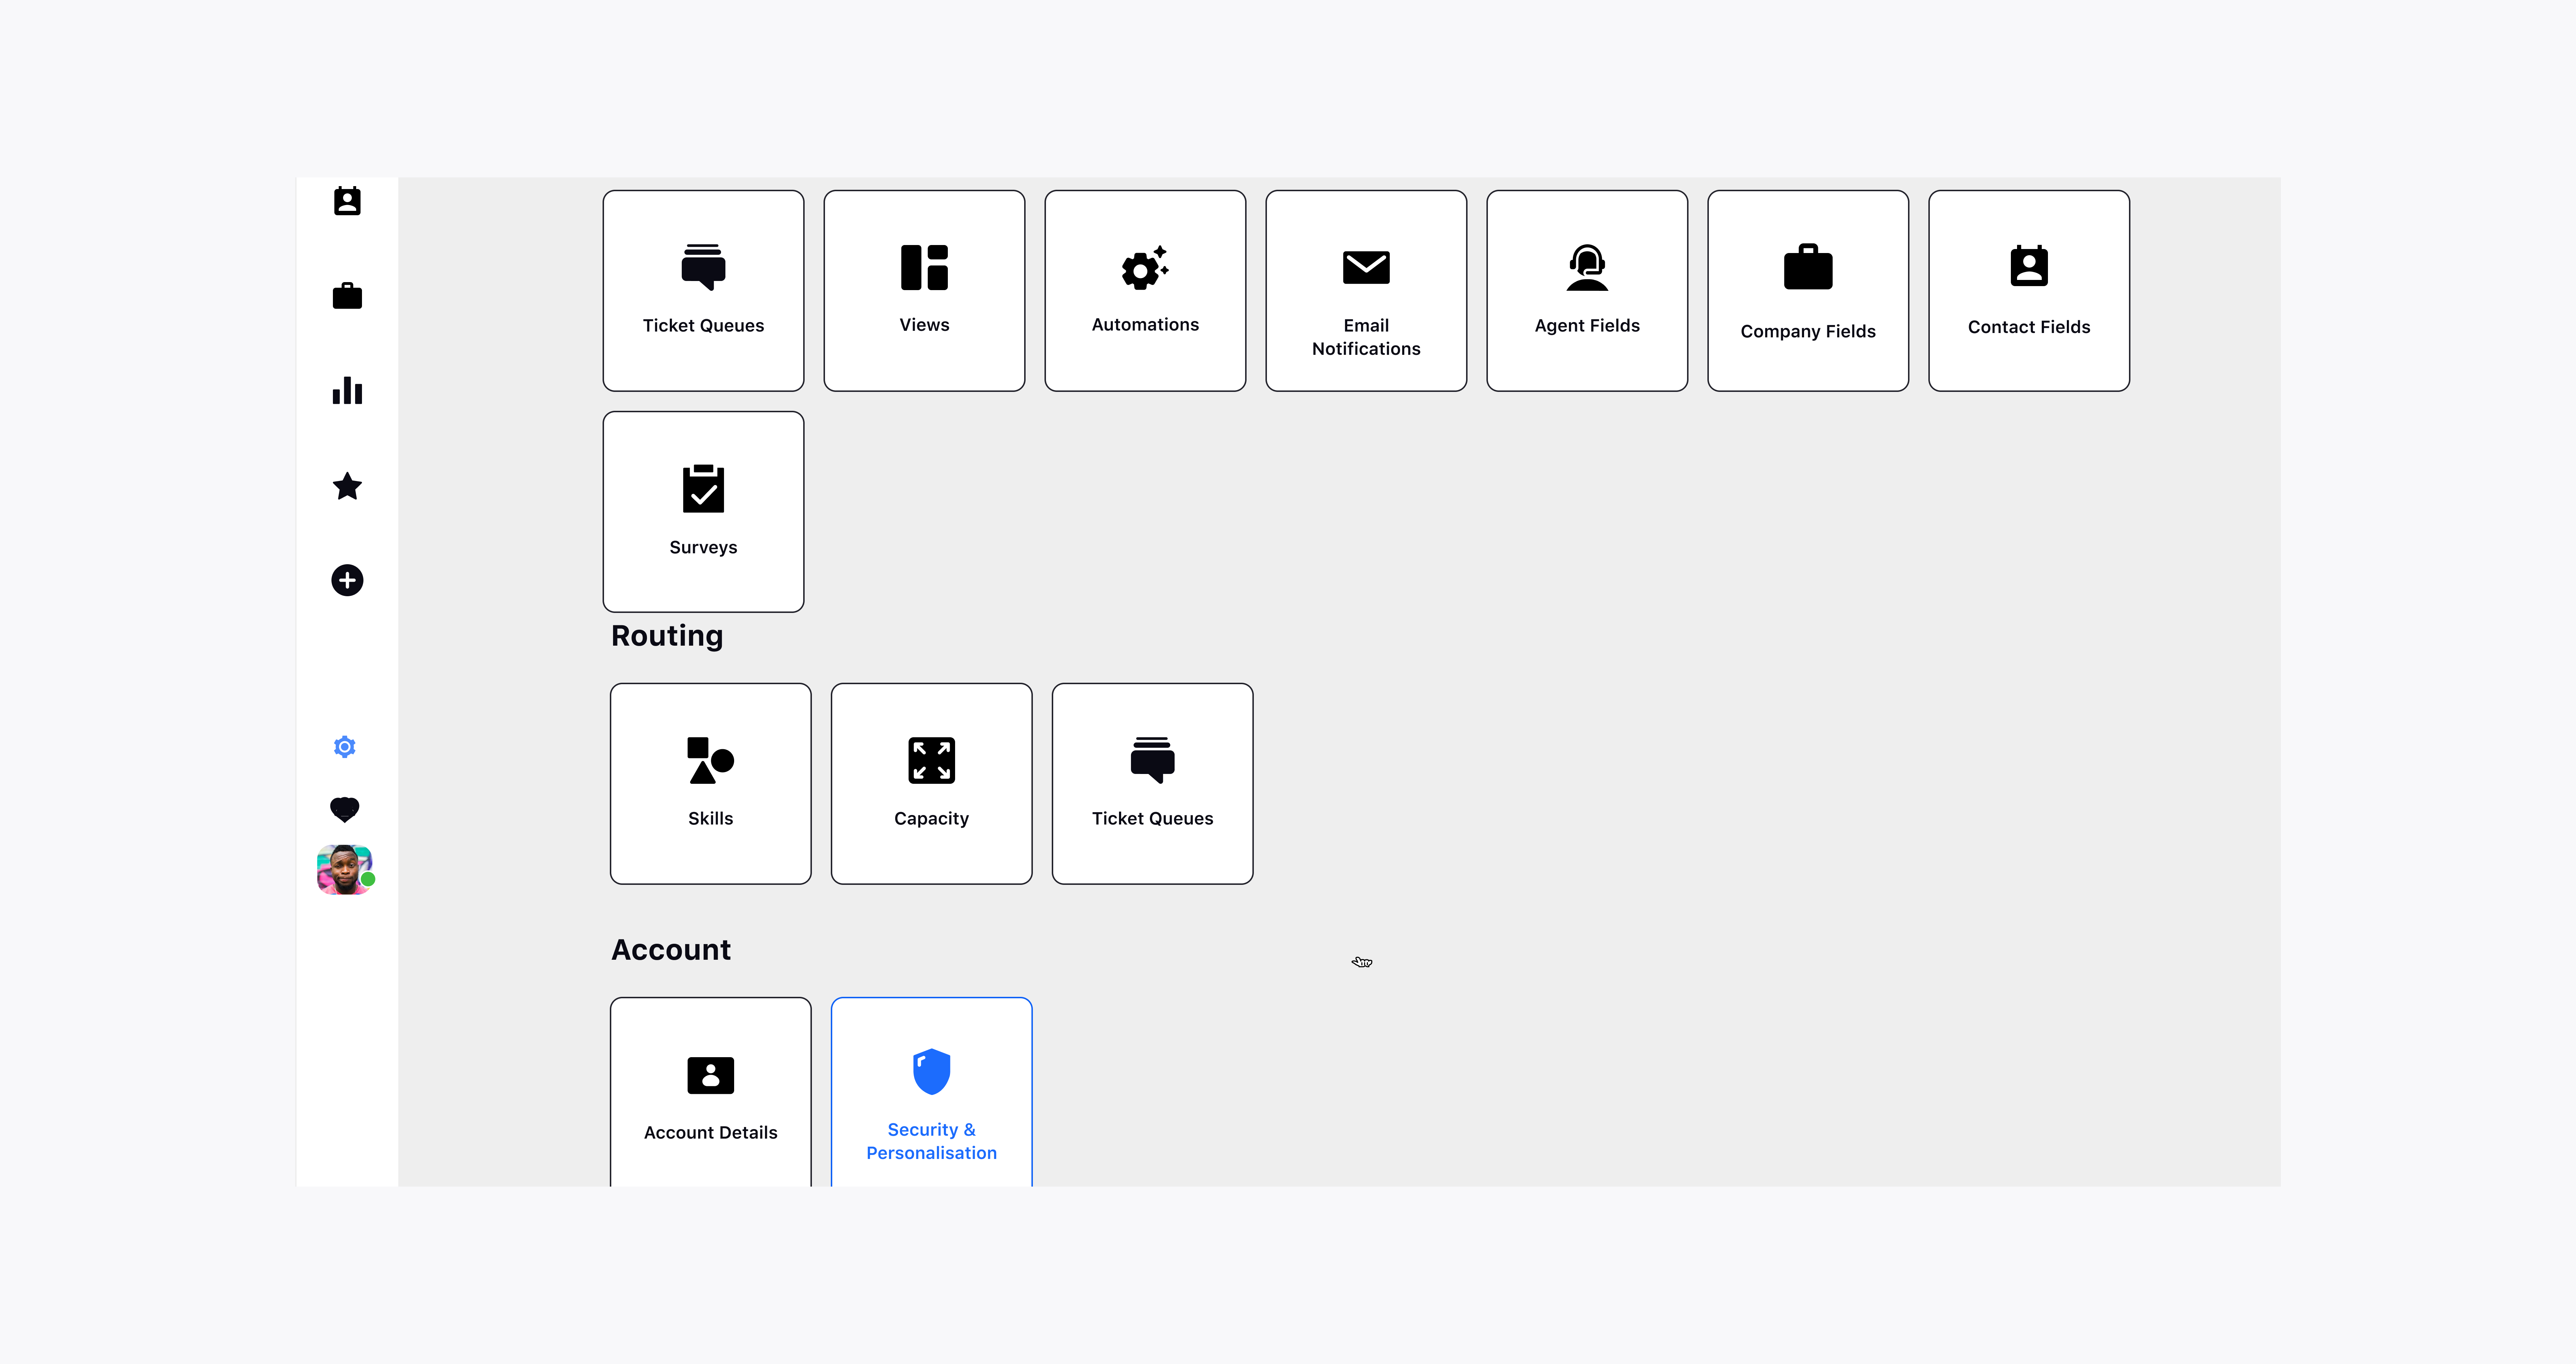
Here, you'll see three options : Custom Domain, Personalised Login page, and SSO with SAML. Toggle On to add your Custom Domain to start using the securities features and enter the desired domain.
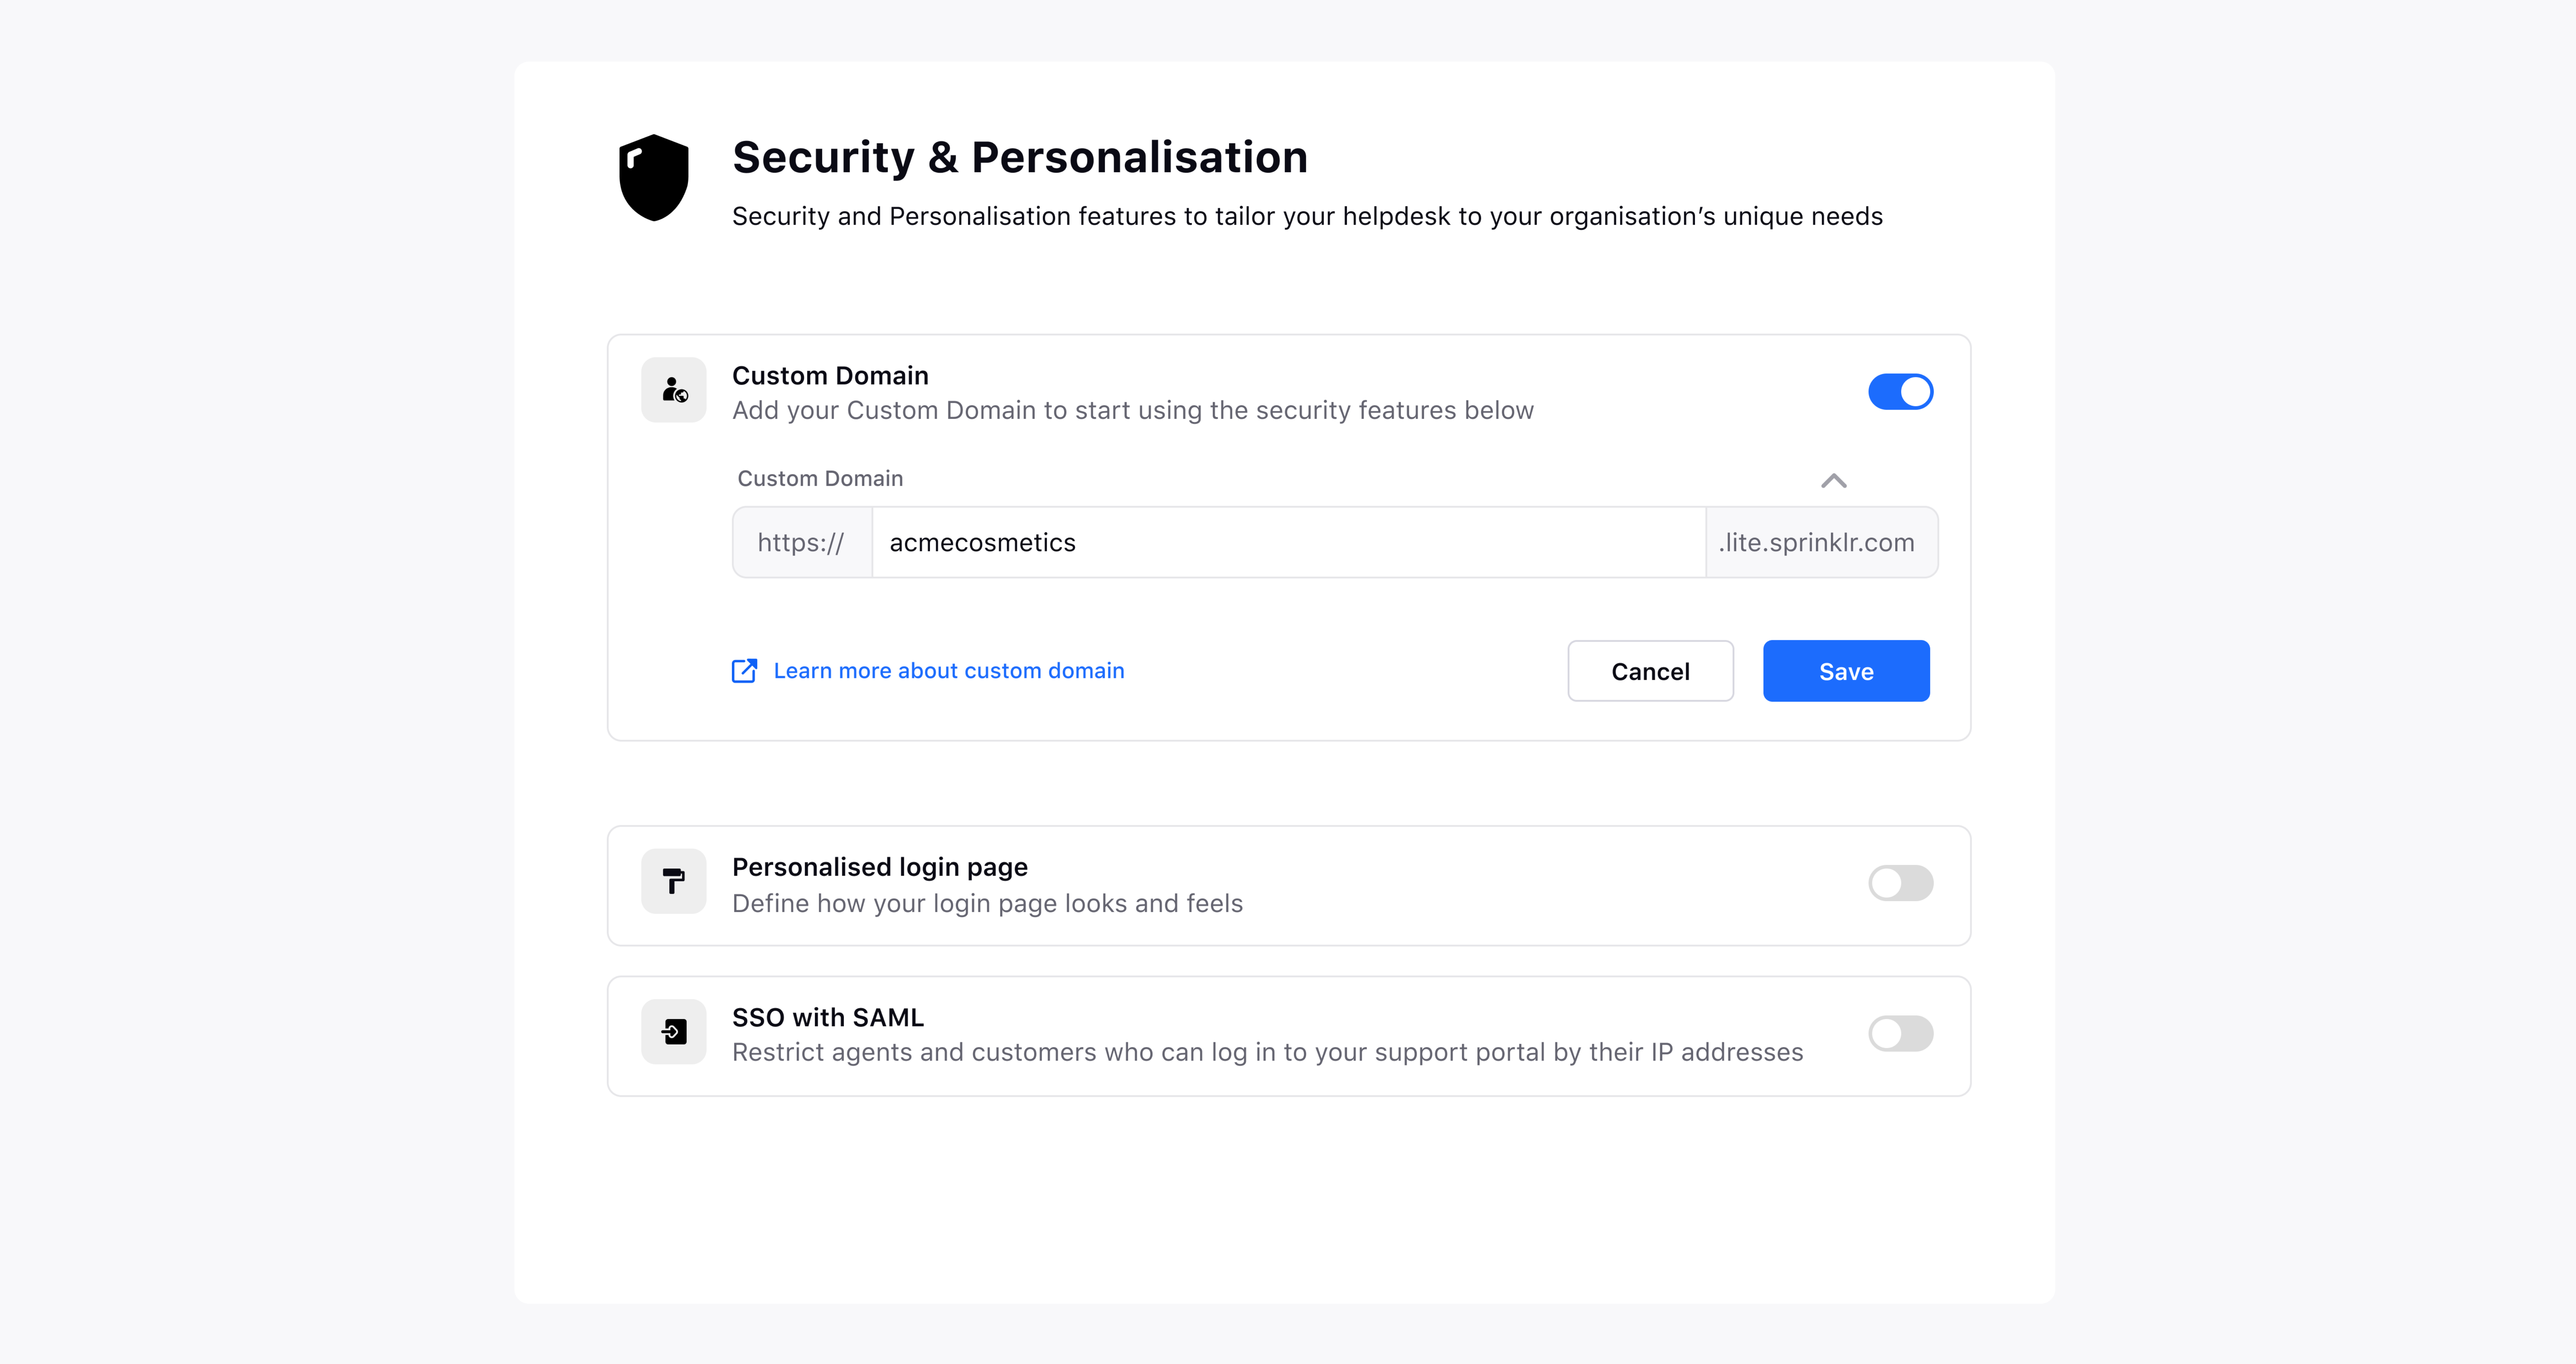
Click on Save to create this custom domain.
Once created, you will be able to login to your Sprinklr Advanced platform through the newly created custom domain.
How to personalise Login Page ?
You can personalise your login page and change the look and feel of the login page only when the Custom Domain is enabled.
Setup the Custom Domain first to enable this option
Choose the desired Logo , Primary Colour and Banner Image of the login page
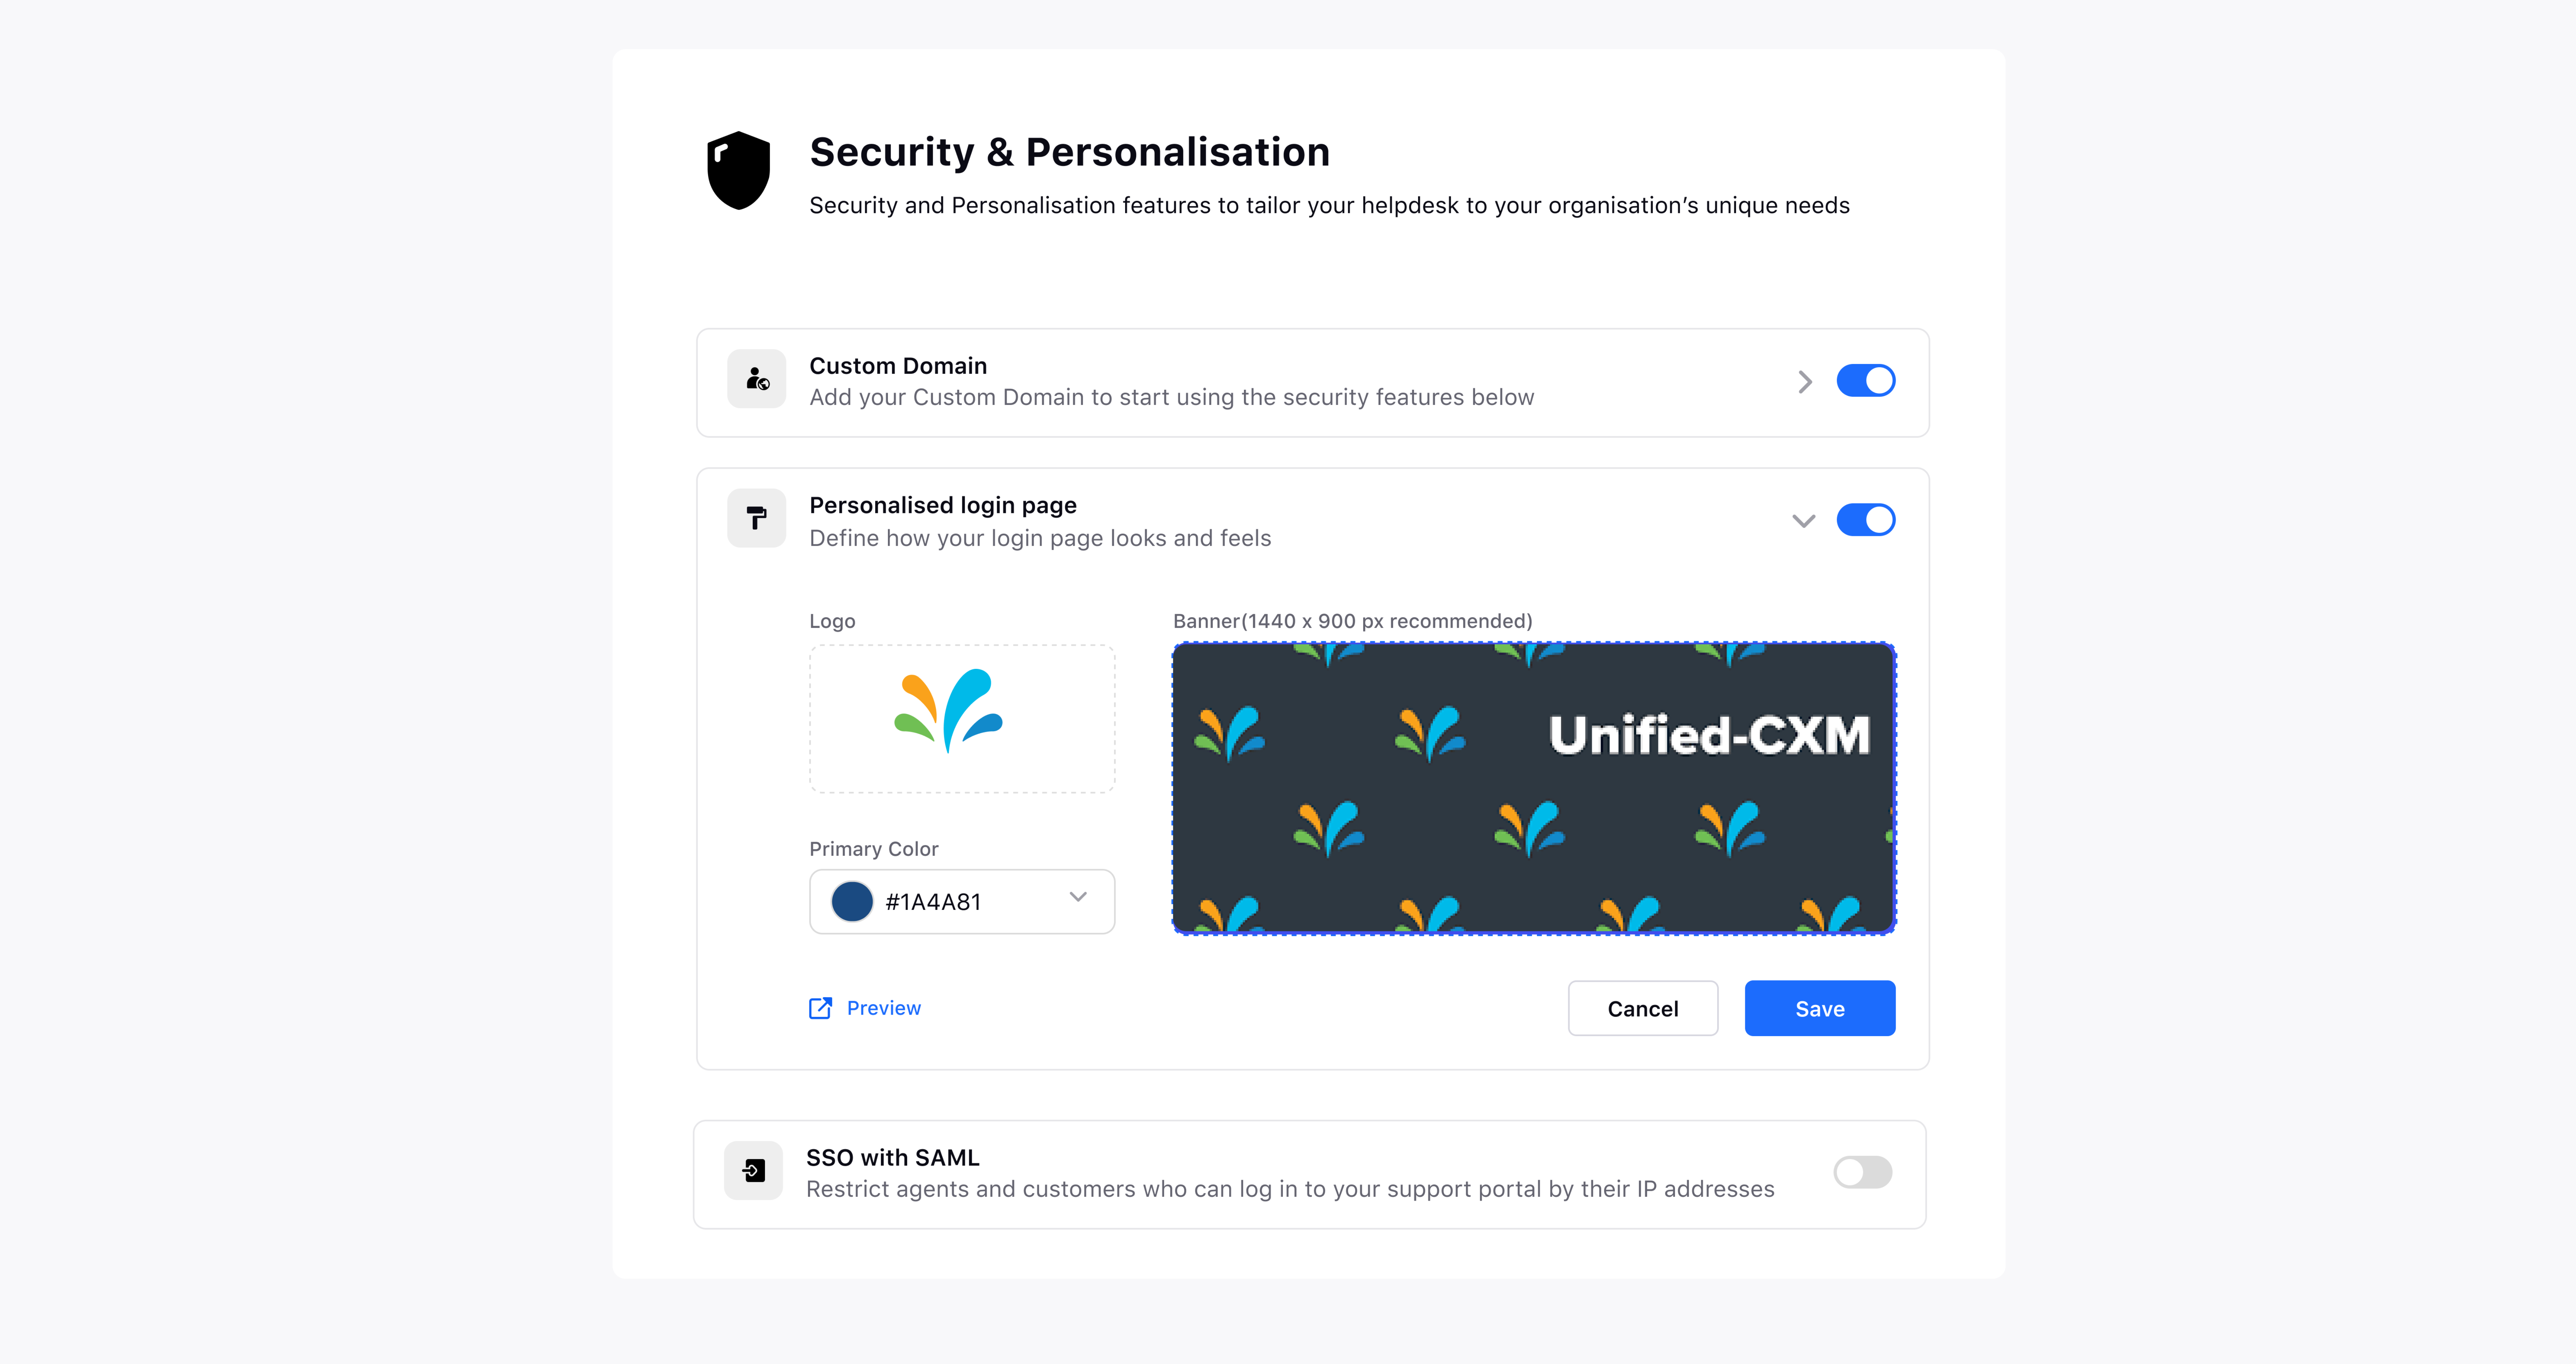
You can also Preview the same by clicking on the Preview icon.
Click Save once the desired changes have been made.
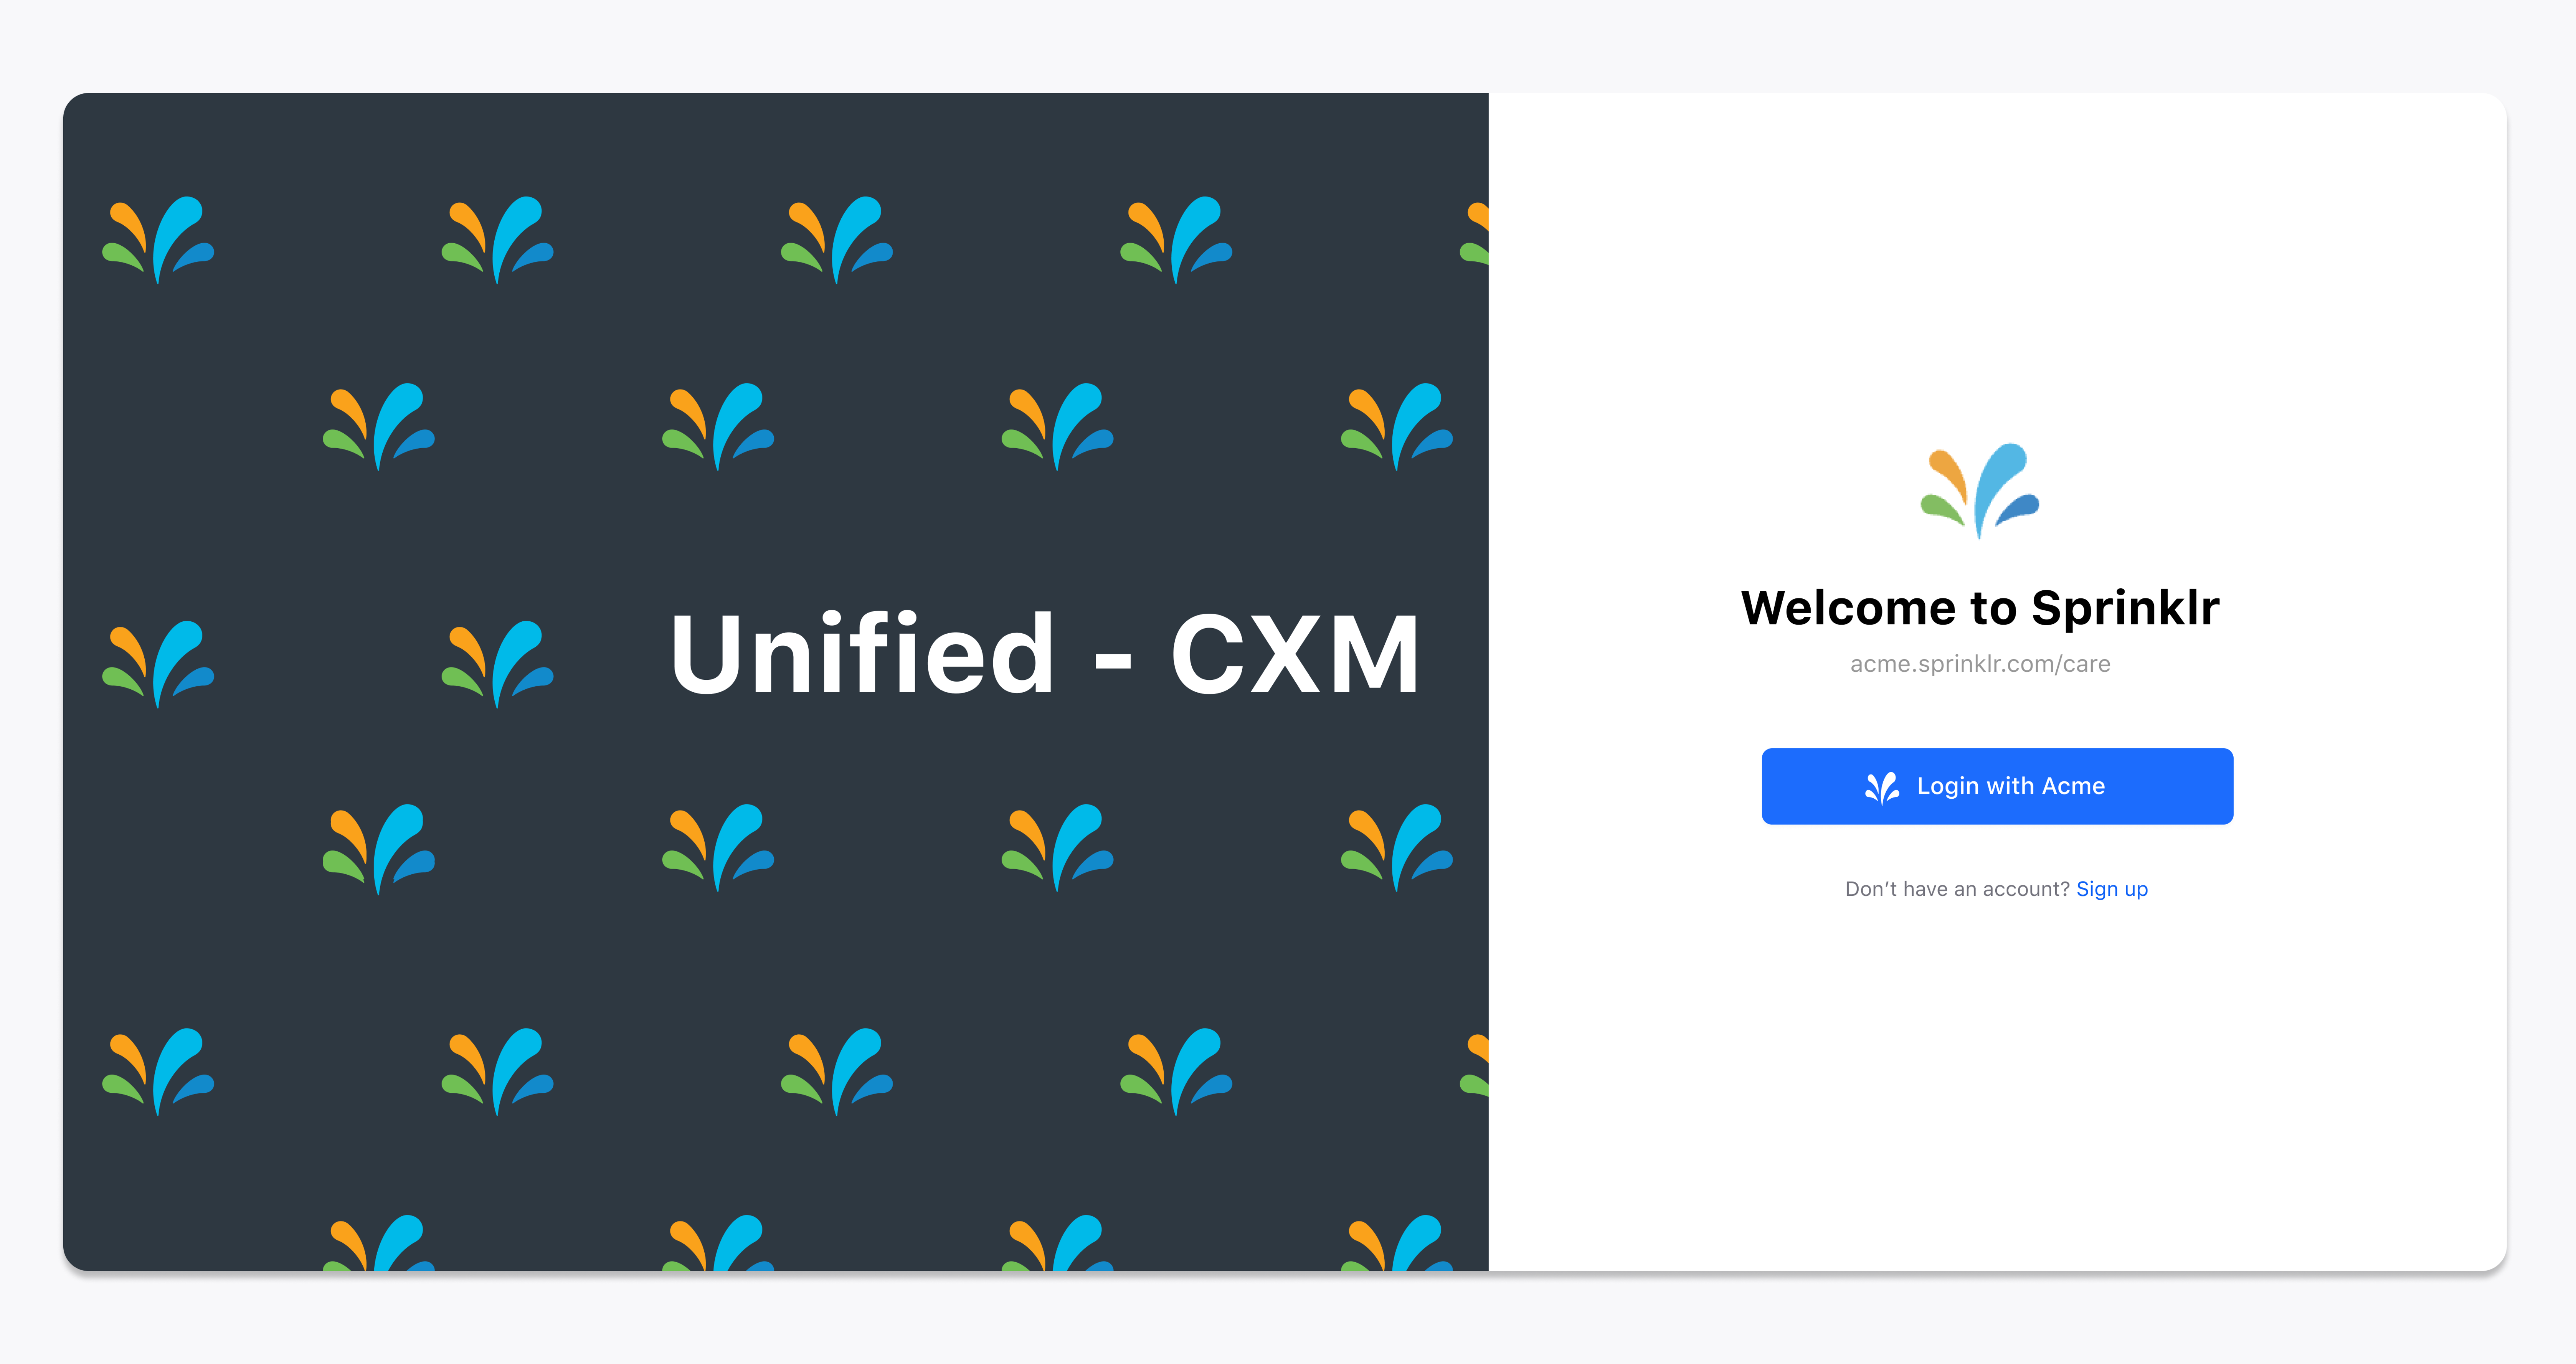
Now whenever you login to your Custom Domain, you will be able to see your Personalised Login page
How to enable SSO with SAML ?
You can enable SSO with SAML login once you have enabled your Custom Domain.
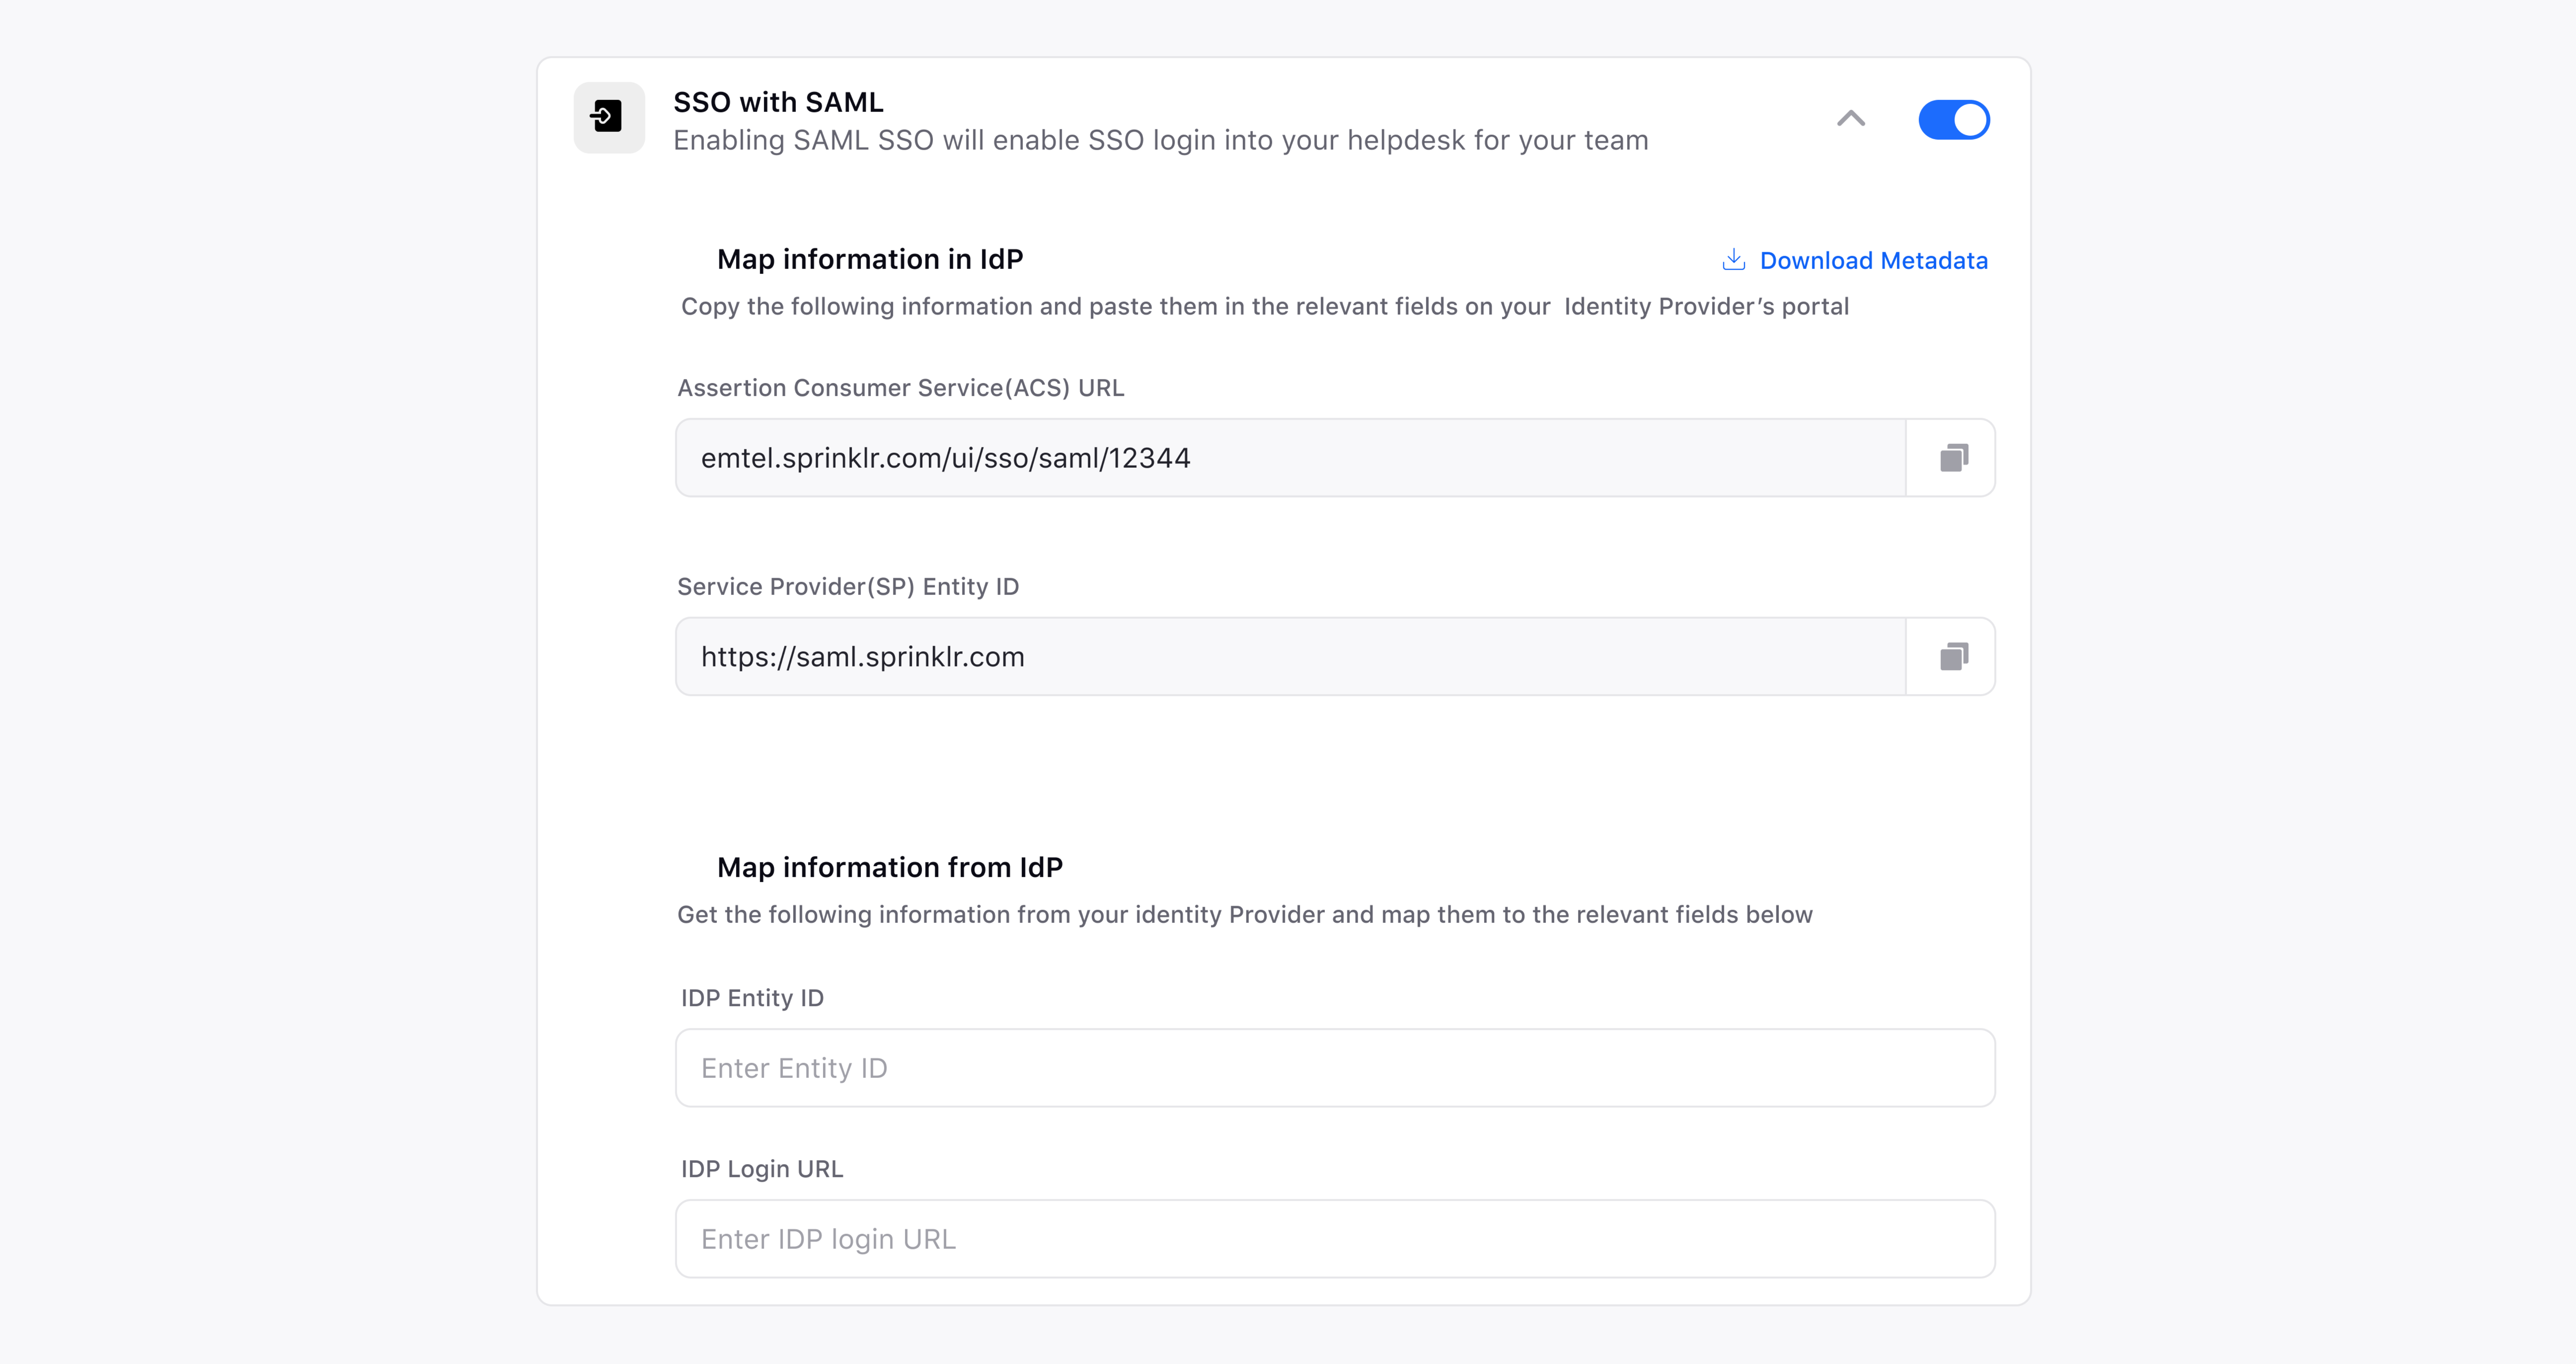
Toggle On to view options for SSO with SAML login.
Use the pre-configured Map information in IdP in your SAML provider to setup your SSO Login.
Map information in IdP can be fetched from the configuration/settings page of your SAML provider.
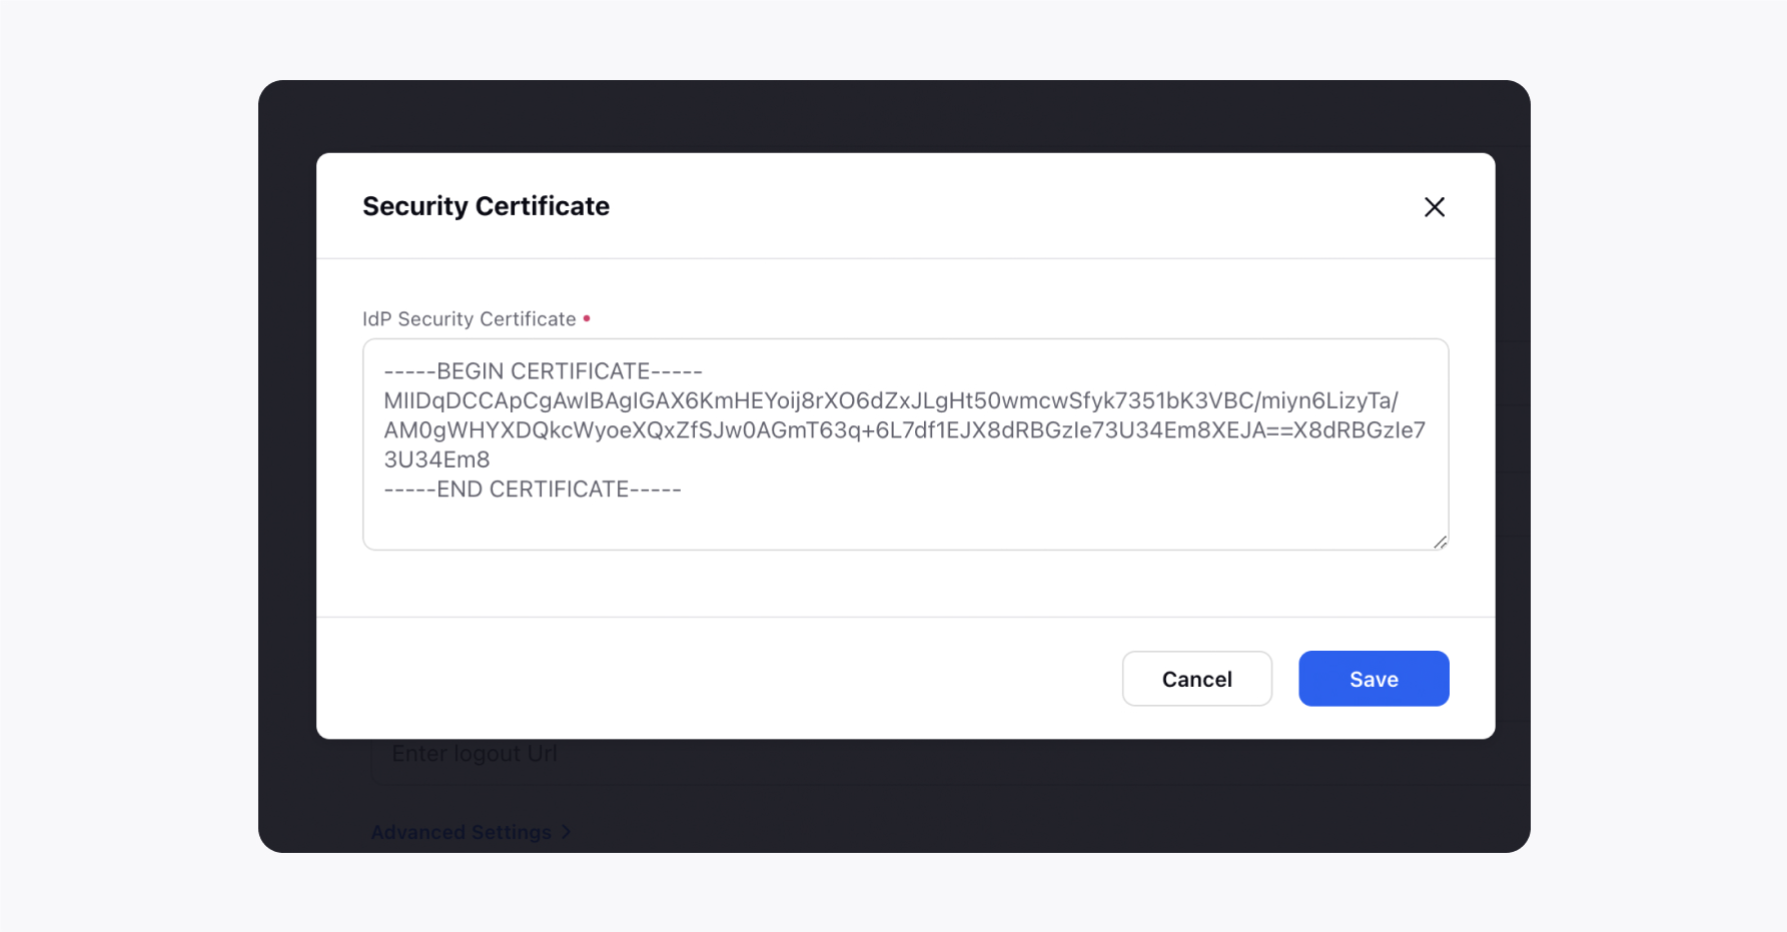
Once, all the details are retrieved from the SAML provider, you will receive a Security Certificate. Download it and copy the details in the Add Certificate section.
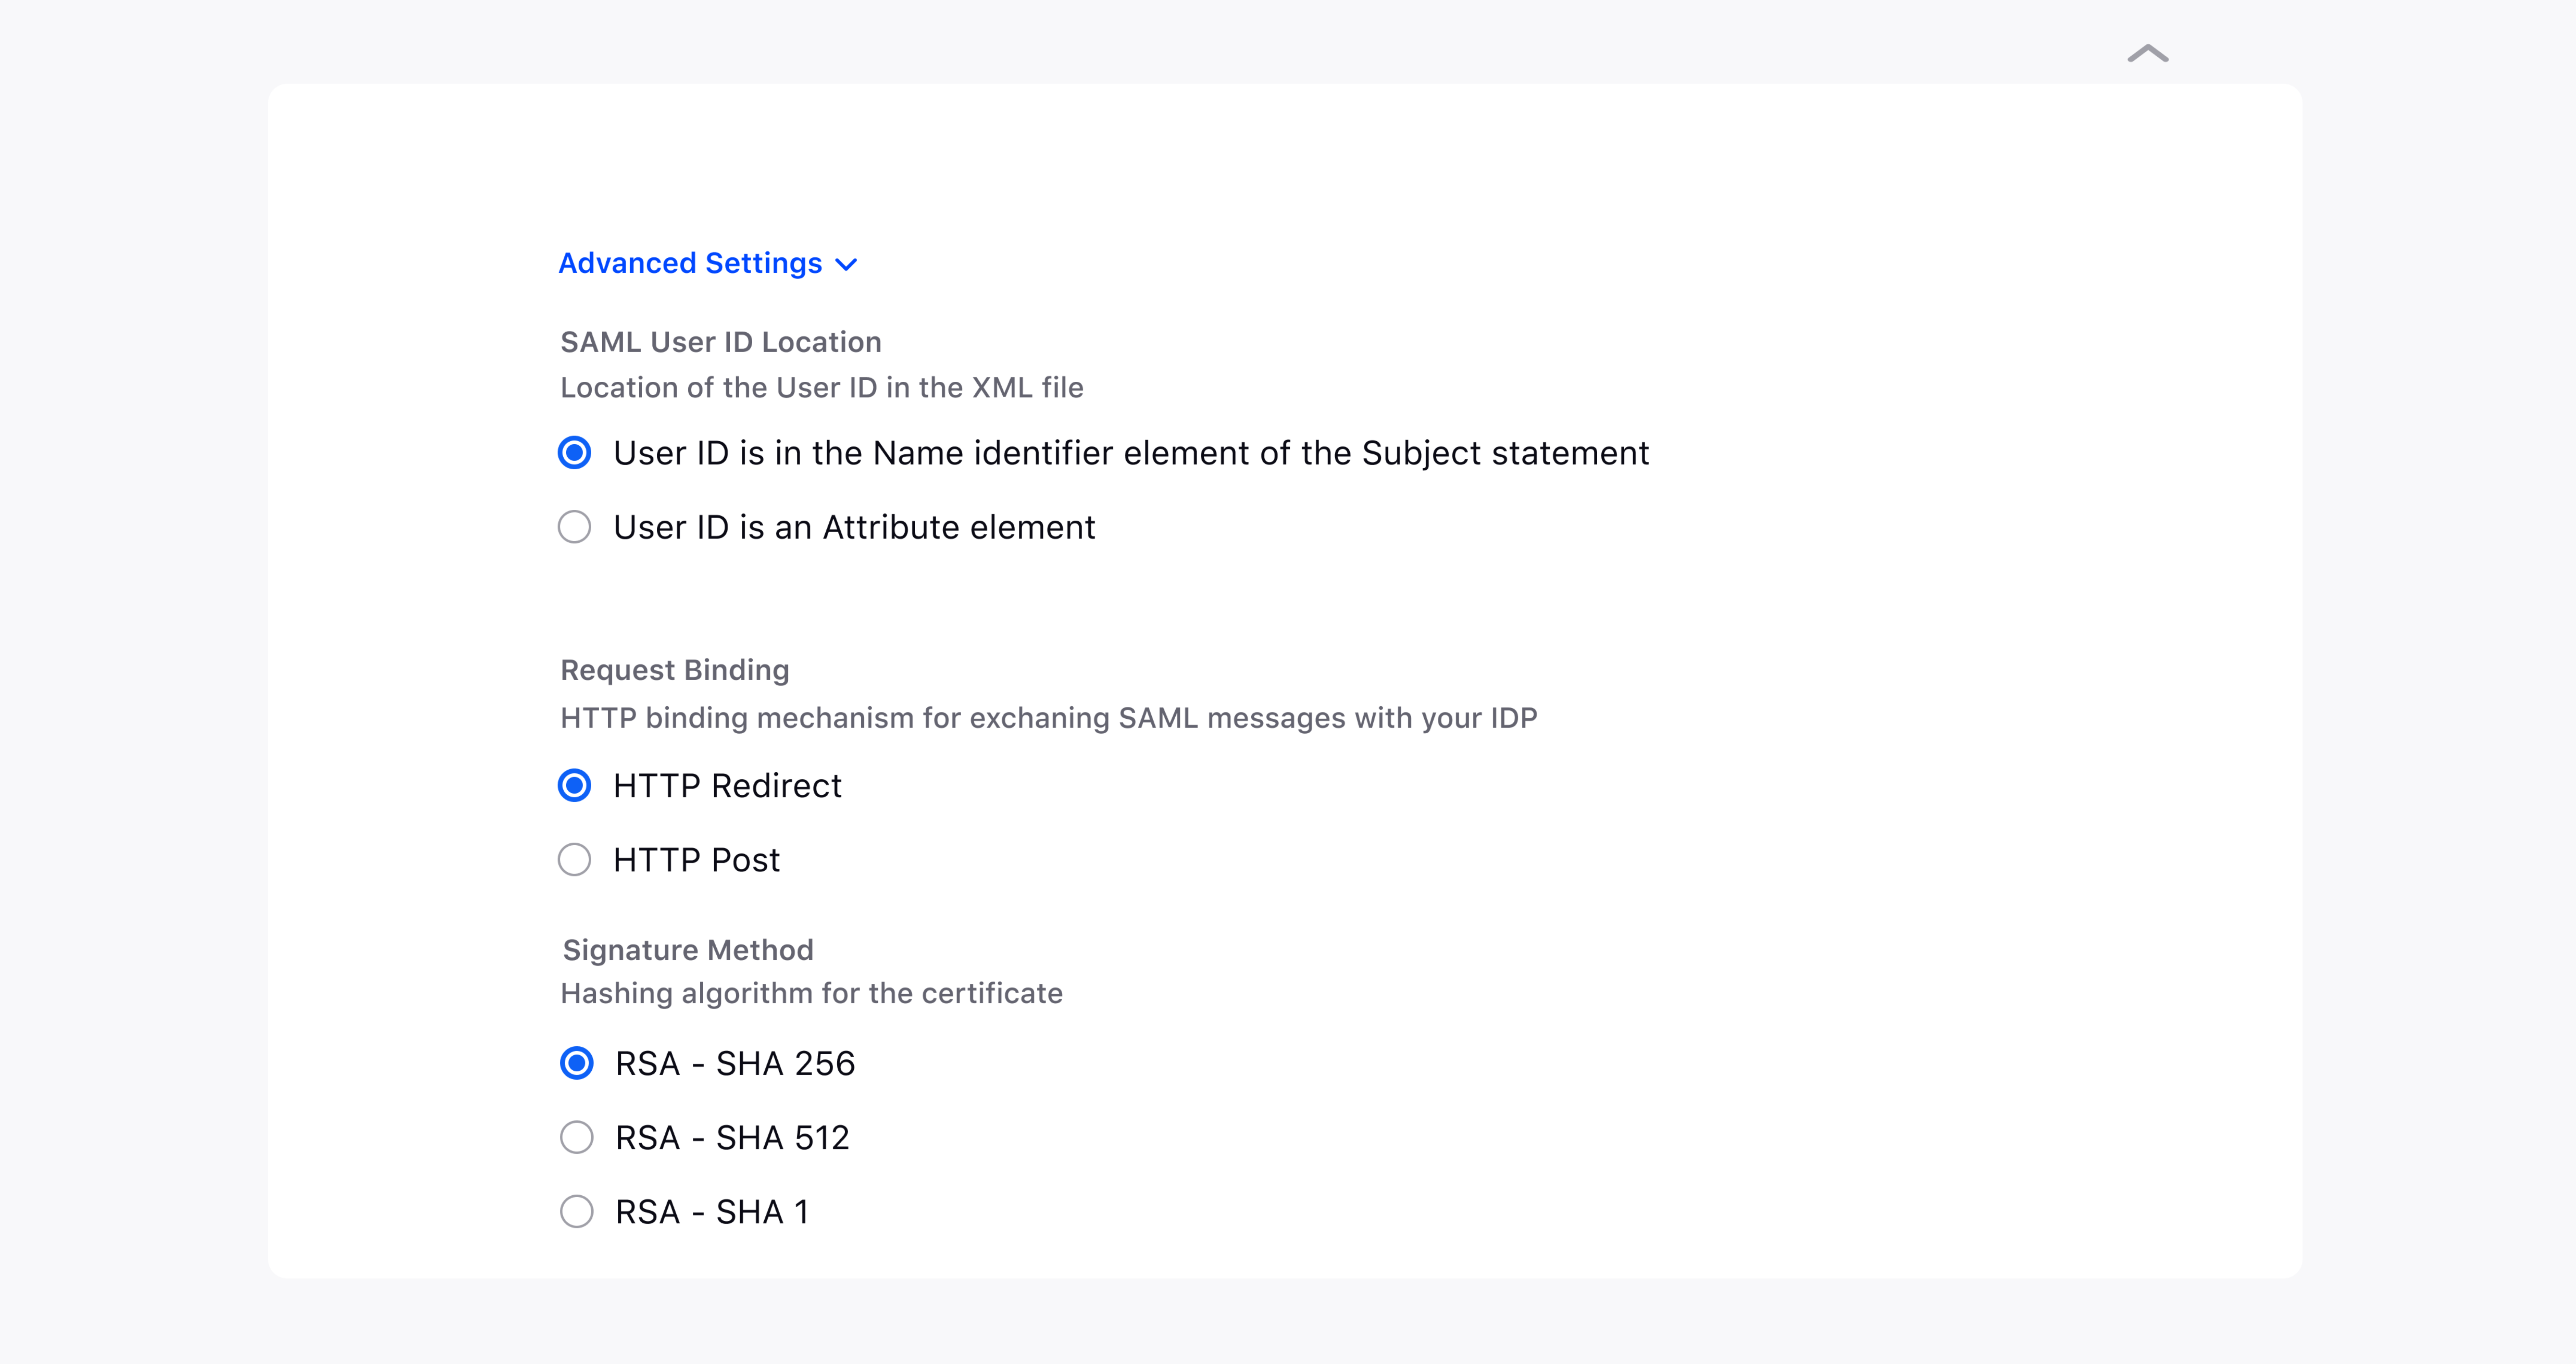
Now, click on Advanced Settings to configure details such as Request Binding, Signature Method, SAML User ID location, and the Button Label as well. If you do not wish to change these , you can use the pre-filled default settings given by Sprinklr.
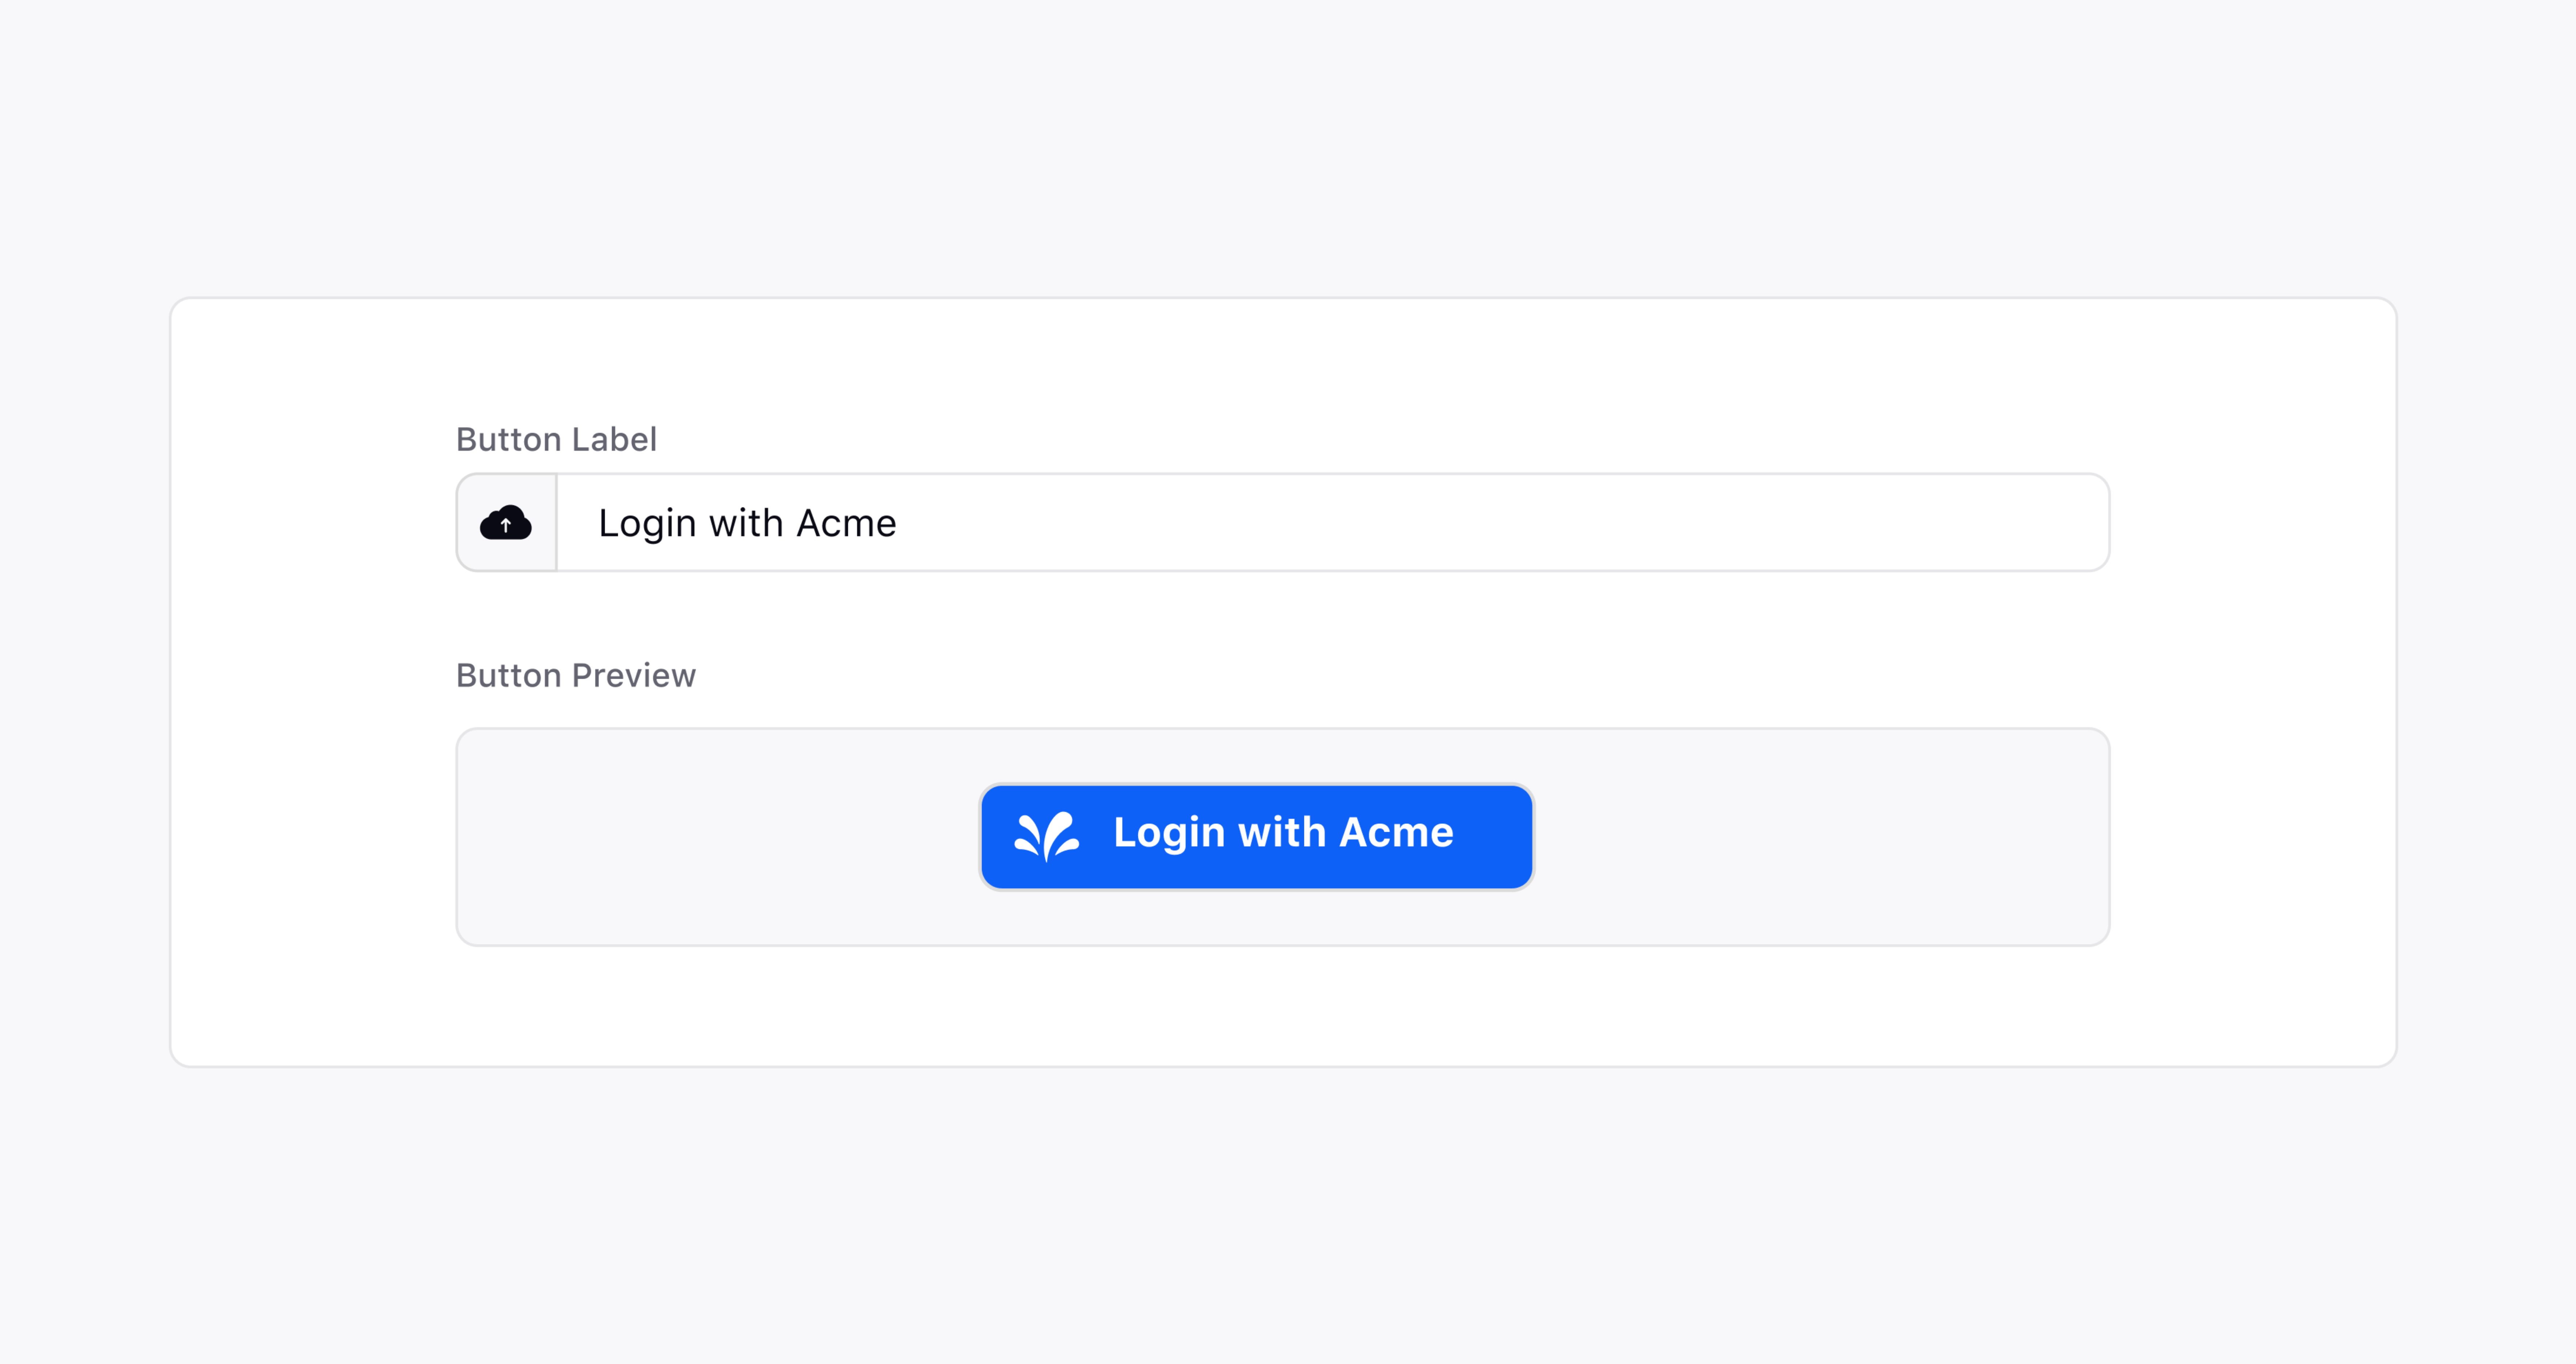
You can also customise the login button by changing the Label.
Now, let's log in to the system using SAML login. Enter your Custom Domain url, it will take you to your personalised login page.
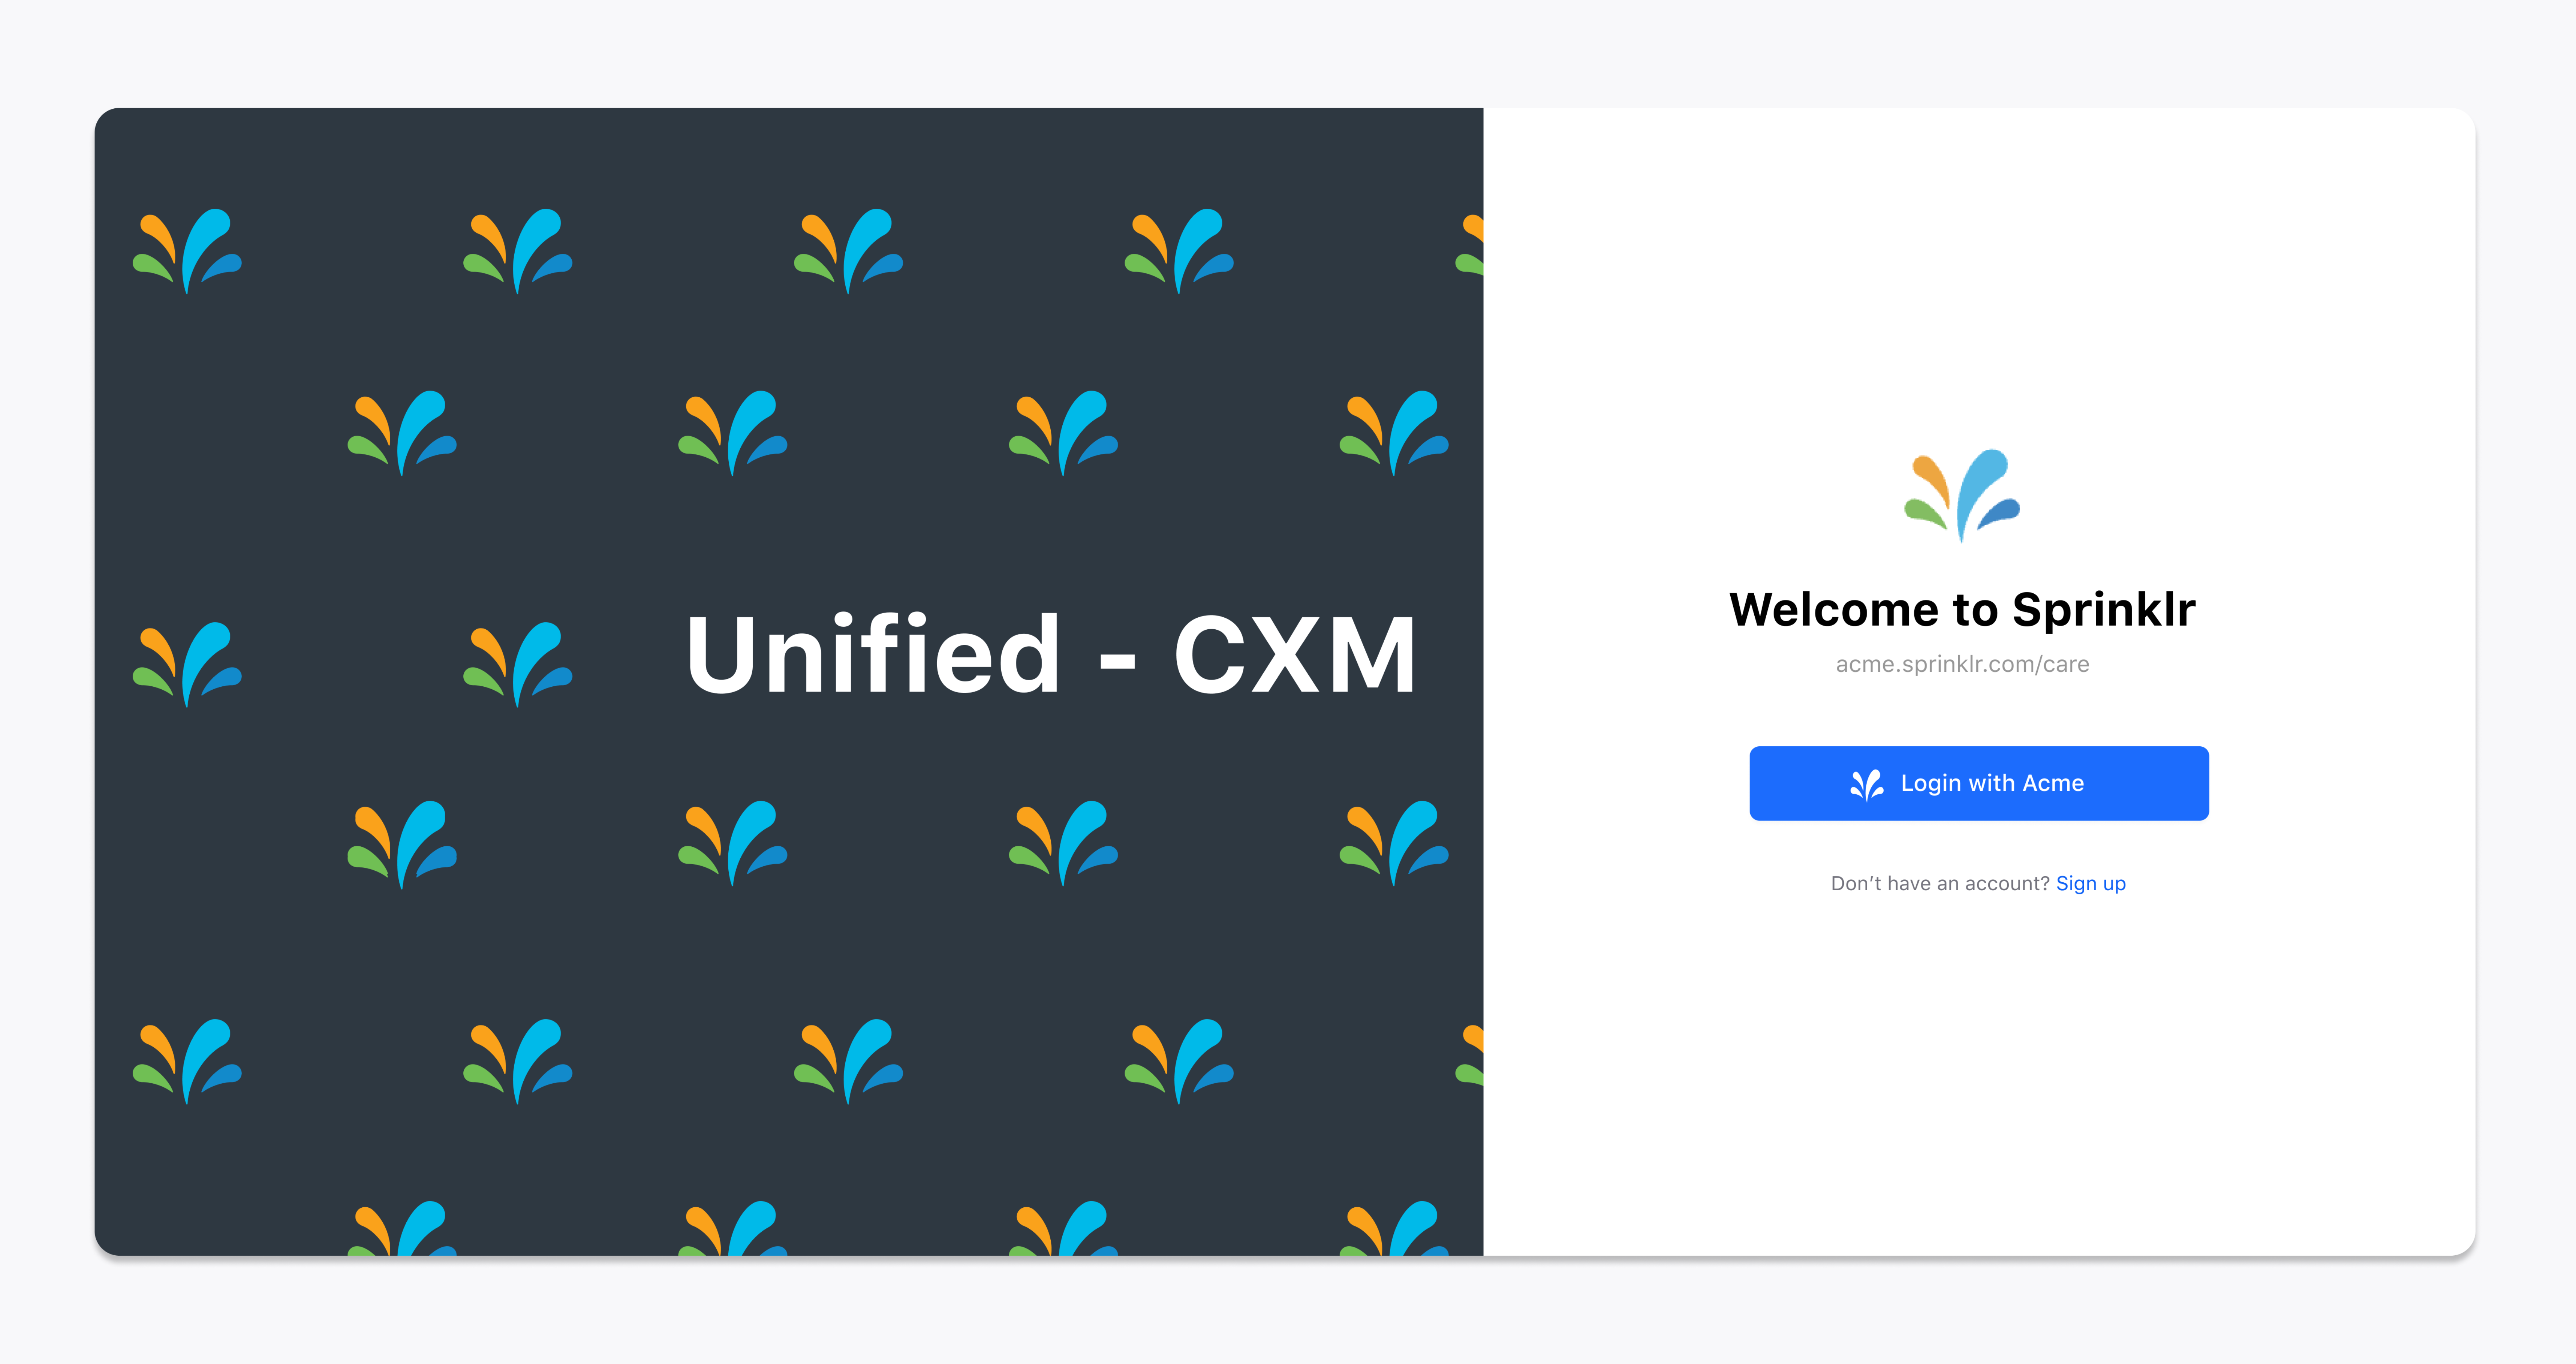
Click "Login with Acme" and it will take you to SAML provider's login page. Once the authentication is approved, you will be logged in to your system.