Add a Facebook account to Sprinklr Self-serve to manage customer queries on your brand’s page
deactivate facebook page
edit the existing facebook page
delete an existing account
change to default account
add a facebook account and page
facebook
add a facebook account
add facebook page
add fb account
ticket creation rules
configure ticket creation rules
Updated
12 days ago
, by Sprinklr Self-Serve Help Center
Respond to all your Facebook customer queries on your brand’s page and provide on-point solutions via a single, easy-to-use platform.
Adding Facebook company pages to Sprinklr Self-serve lets you manage and provide a complete resolution to all the queries received by your support teams. Sprinklr Self-serve will help you automatically convert all the wall posts, comments, and private messages received via your page into tickets.
You can also set up various conditions to filter out tickets relevant to your products to provide on-point solutions. For example, suppose you wish to convert only those messages into tickets related to technical issues. In that case, you can set the Keyword condition to track and convert those messages into tickets.
To add a Facebook account and page
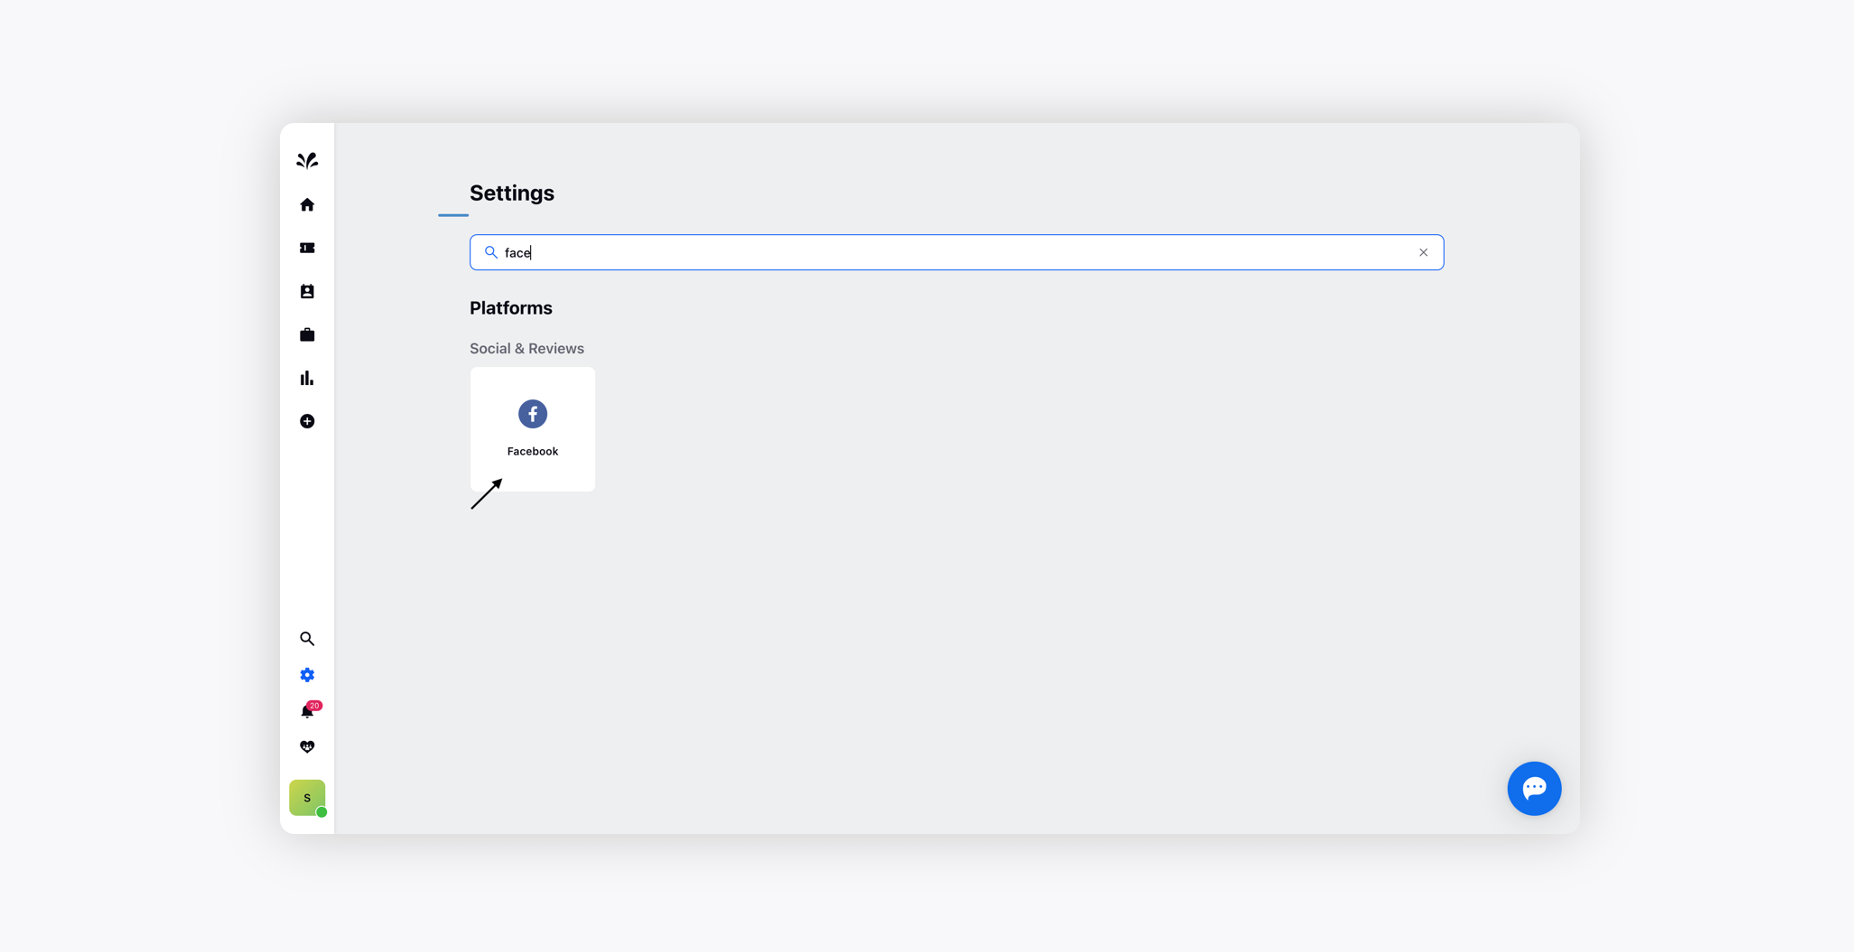
Log into Sprinklr Self-serve as Admin. Click the Settings icon on the left Navigation Bar.
On the Settings window, select Facebook under Social & Reviews.
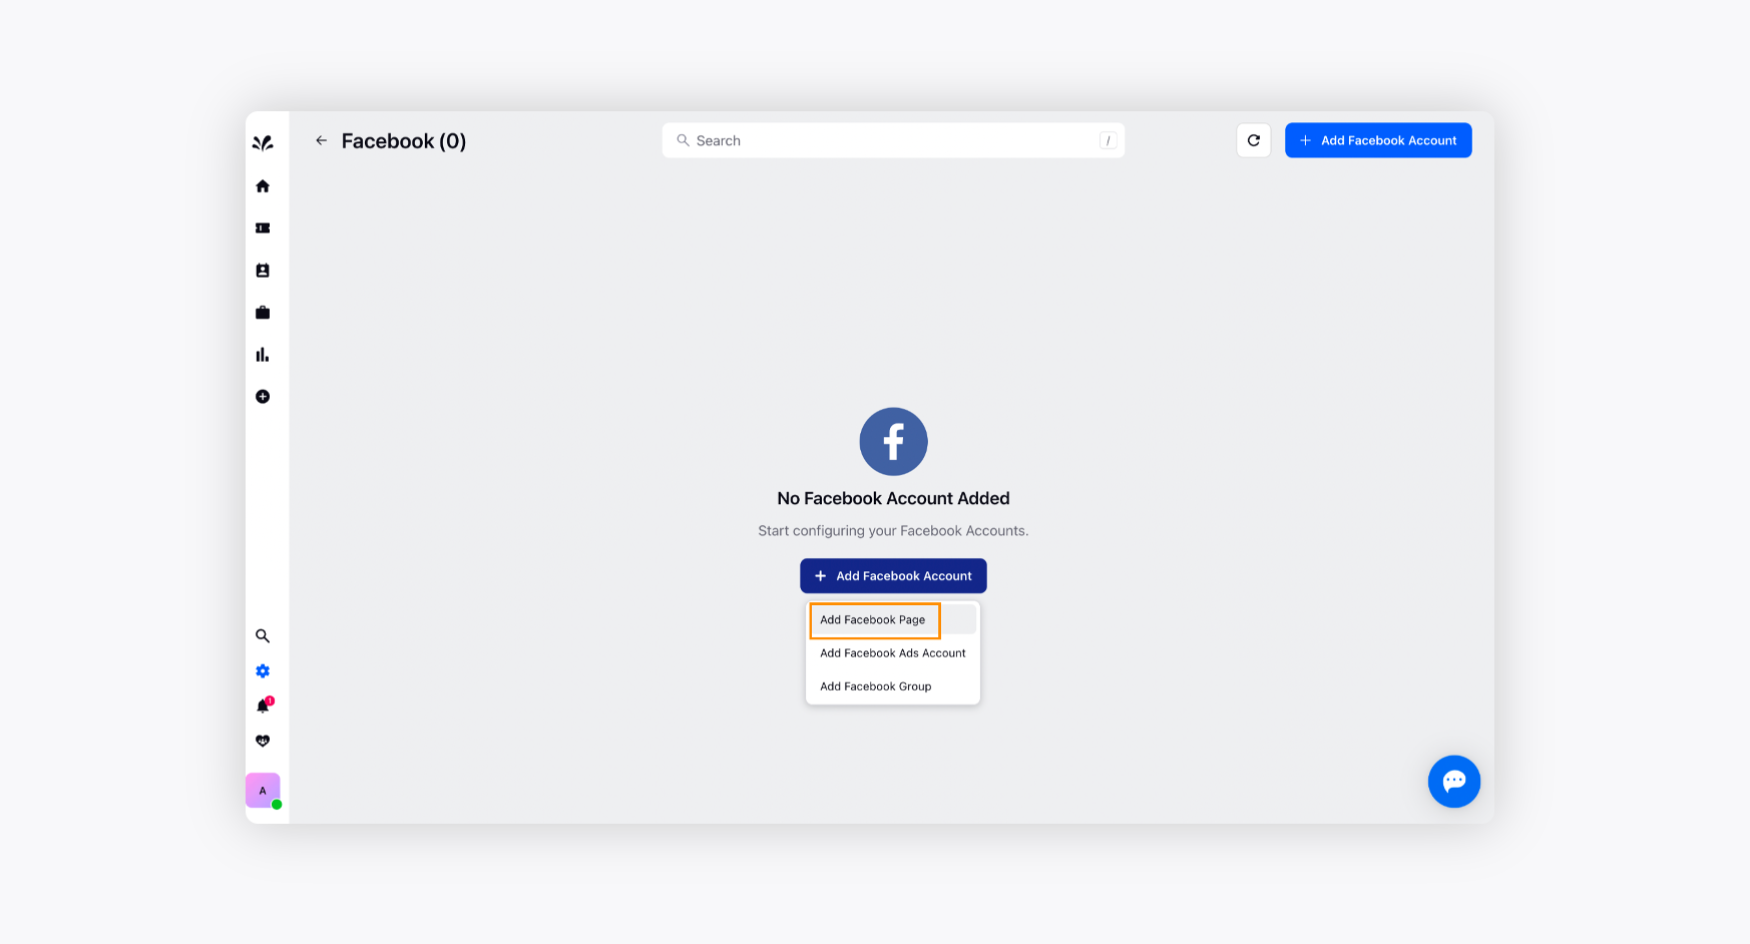
Click Add Facebook Page in the top right corner of the Facebook window.
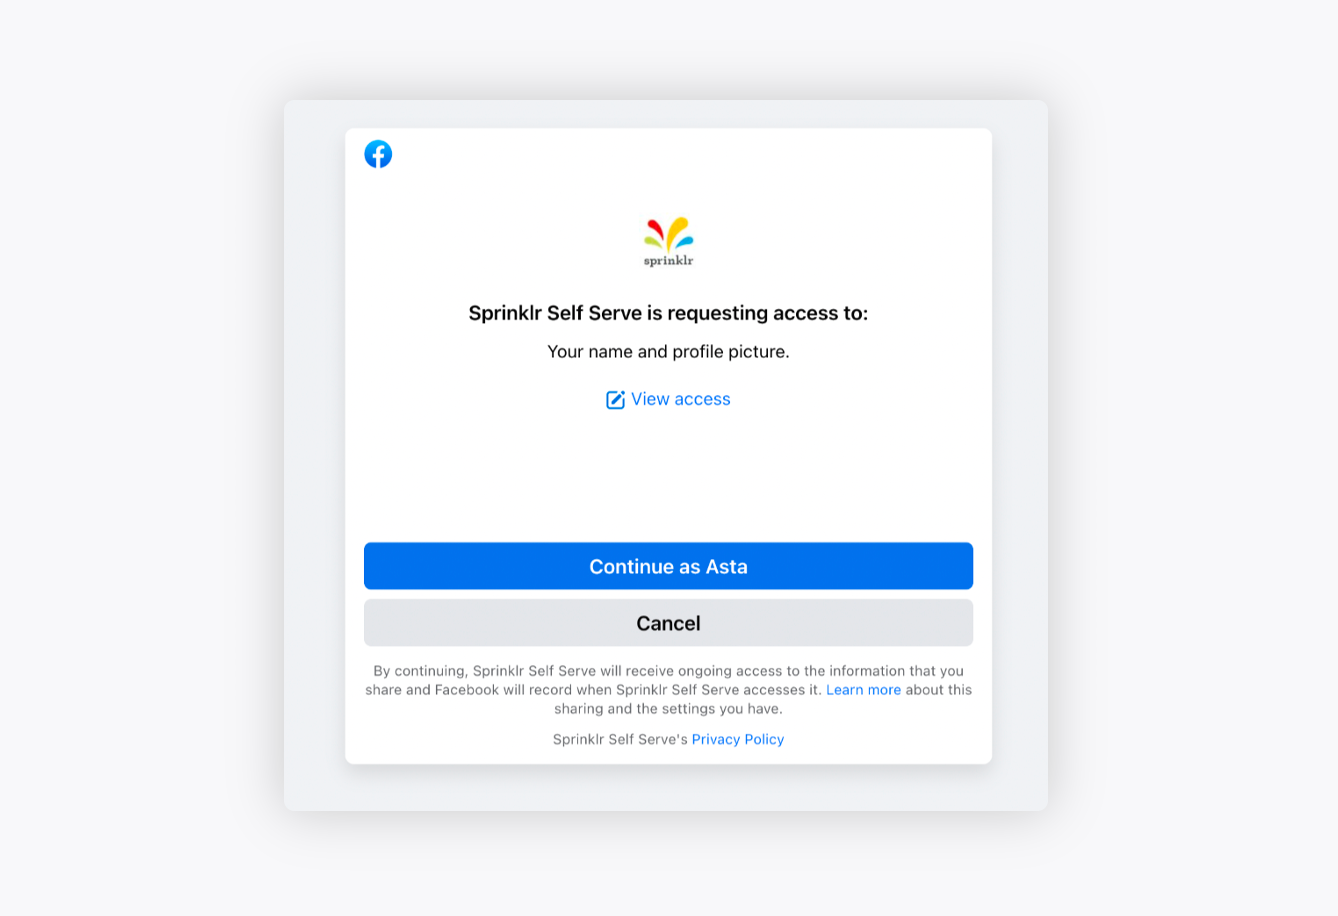
You will be redirected to the Facebook Login page, where you will need to provide your login credentials. Click Continue.
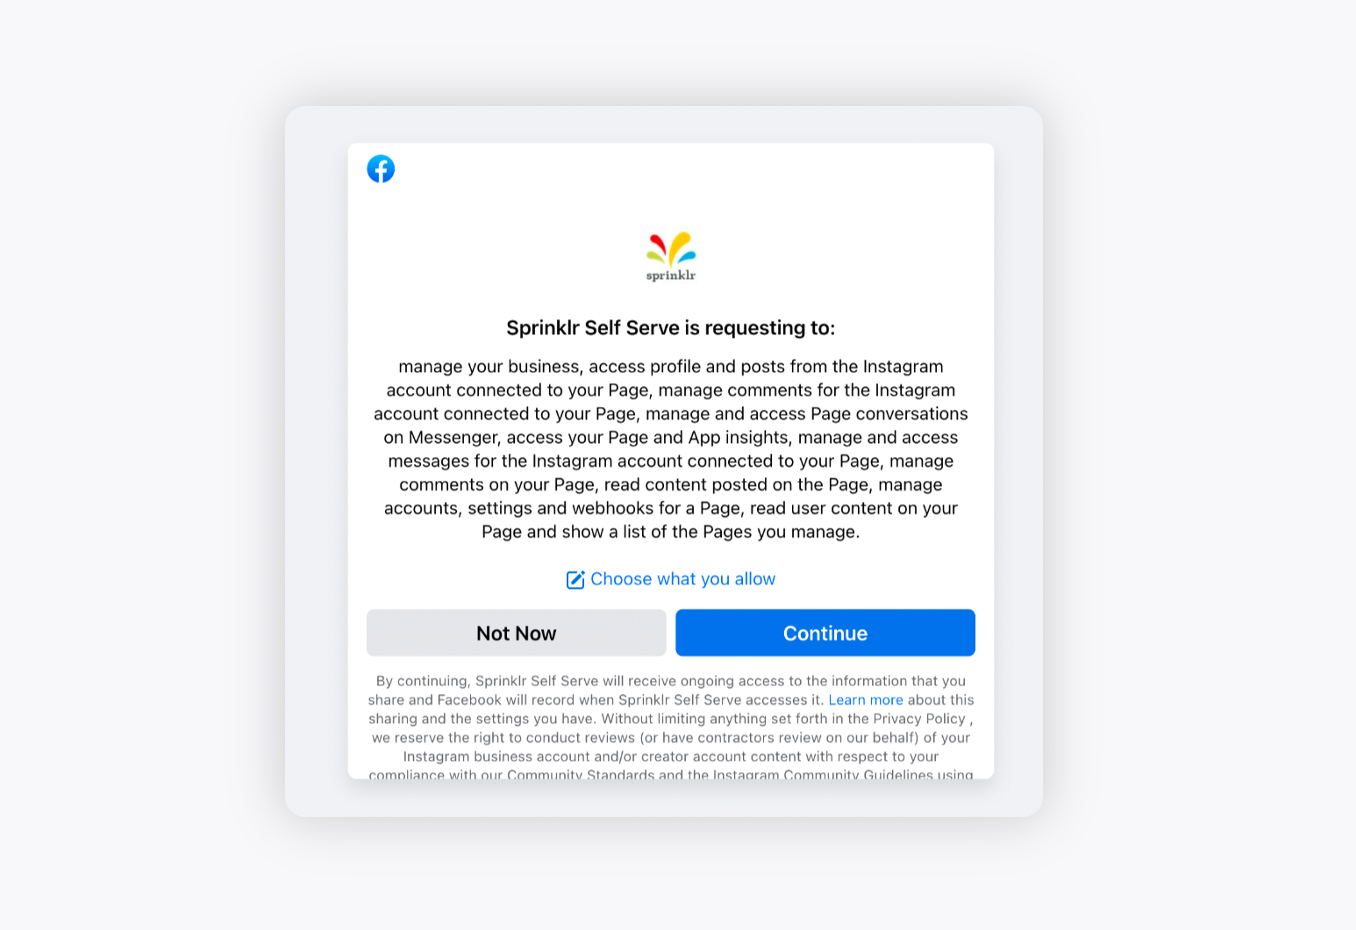
Again, click Continue.
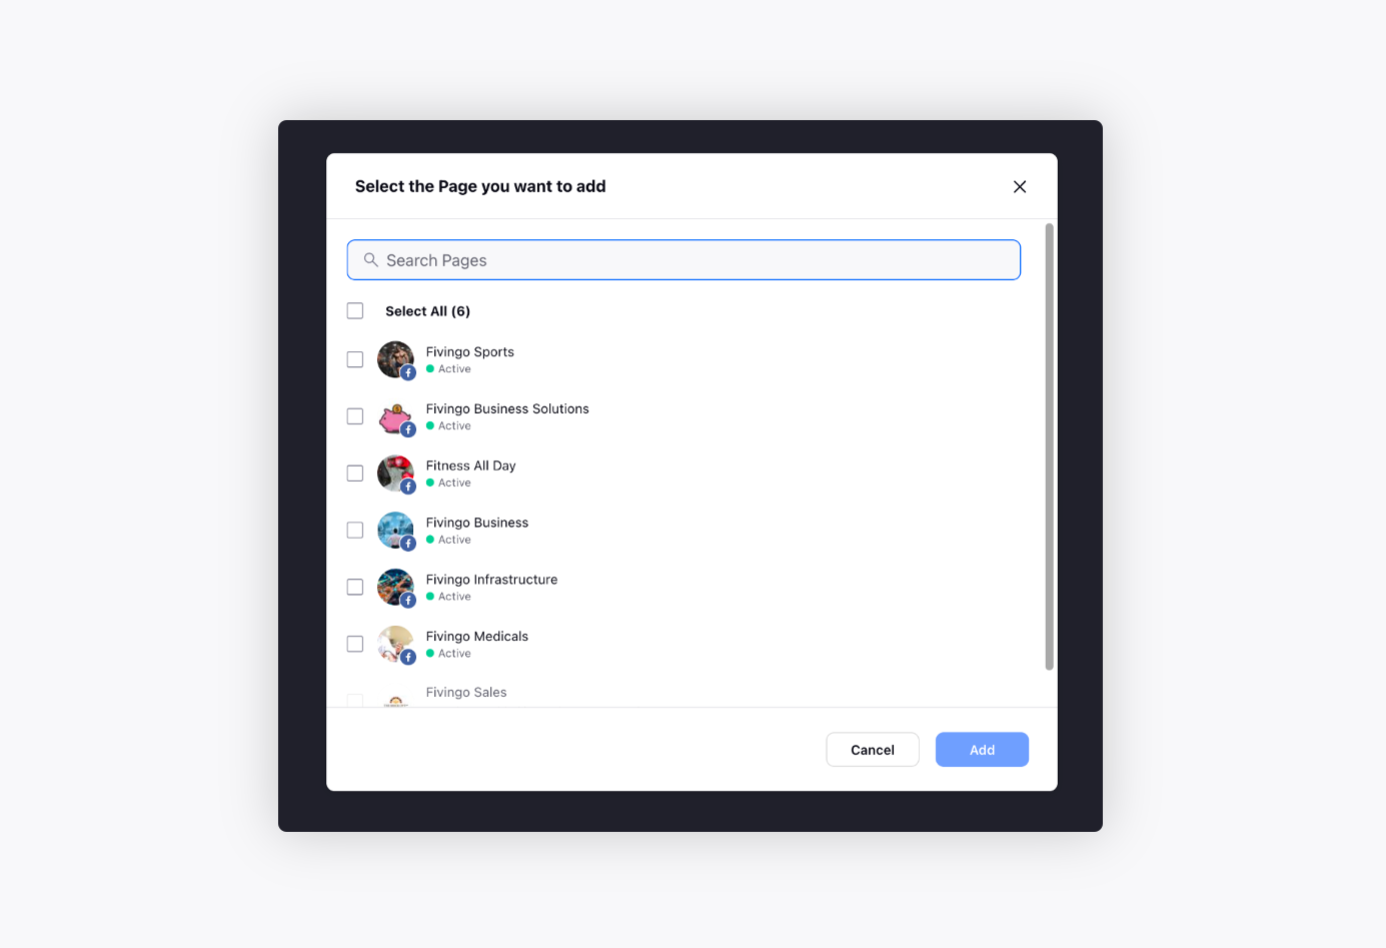
Select the Facebook Pages associated with your account that you would like to add to Sprinklr Self-serve.
The Facebook page has been added. After adding your Facebook page, you will be required to set ticket creation rules for upcoming tickets.
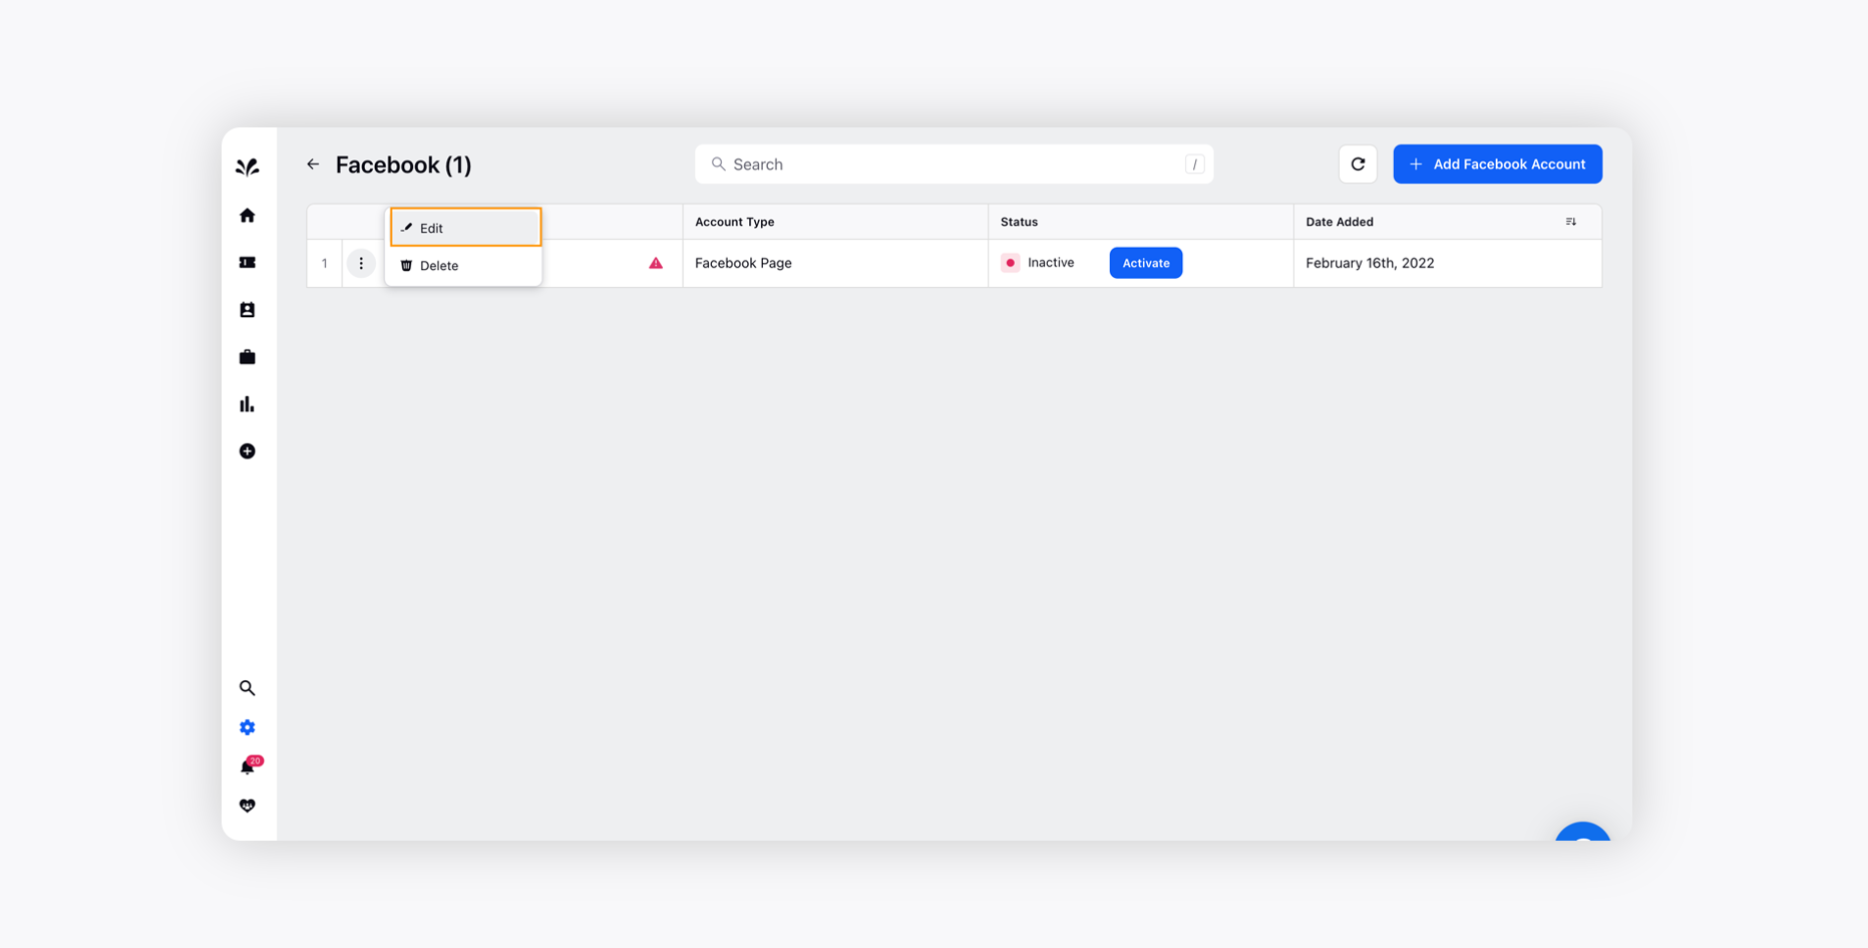
Hover over the Vertical Ellipsis icon alongside the desired Facebook Page and click Edit. You will be redirected to the Page Settings window, where you can configure your ticket creation rules. For more information, see Configure Ticket Creation Rules.
Once done, click Save in the bottom right corner.
To configure ticket creation rules
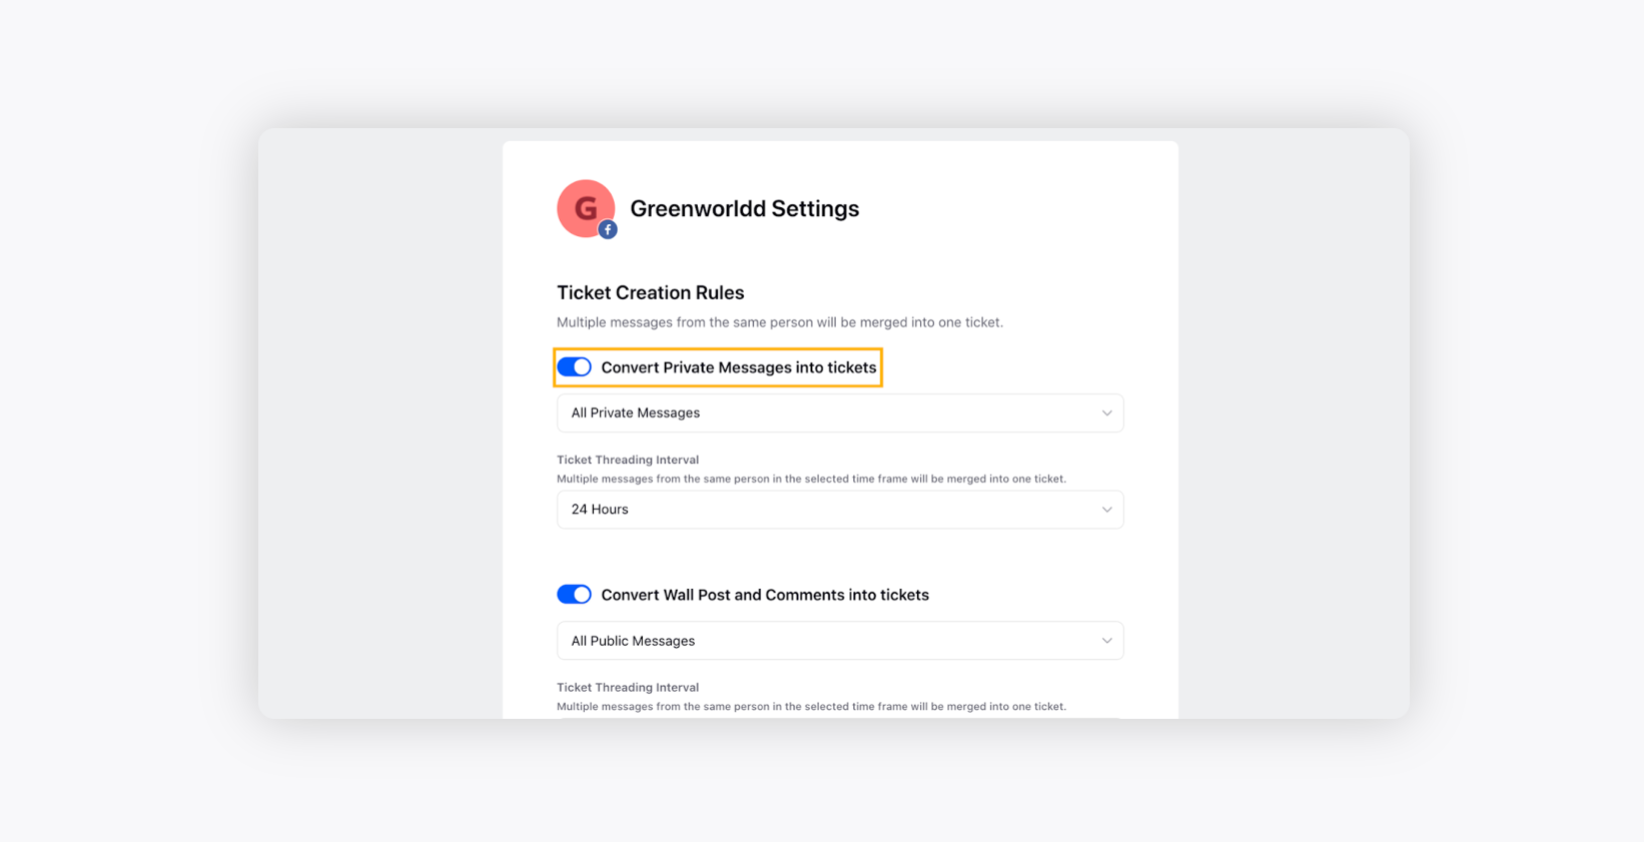
Rule 1. Convert Private Messages into Tickets
Rules
Description
All Private Messages
Converts any private messages initiated by any visitors on your page into tickets. You can reply to these tickets directly from the portal, and they will reach the sender as messages. The interaction will be the same as having a private conversation on Facebook Messenger with your customers.
All Engageable Private Messages
Converts only engageable messages identified by Sprinklr AI into tickets. Sprinklr employs the industry’s most Self-serve AI and machine learning to pull engageable messages out of the noise and convert them into tickets.
Filtered Private Messages
Allows you to set conditions to define the rules to segregate the tickets.
For example, if you wish to convert only those messages into tickets with the keyword “Refund” in them, you can set the “Keyword” condition, i.e., Keyword contains Refund.
Ticket Threading Interval
Helps you thread multiple wall posts, comments, or private messages received from the same customer within a particular time frame into one ticket.
For example, if you set the interval to 24 hours, the ticket threading option will merge the same customer’s private messages within 24 hours into a single ticket.
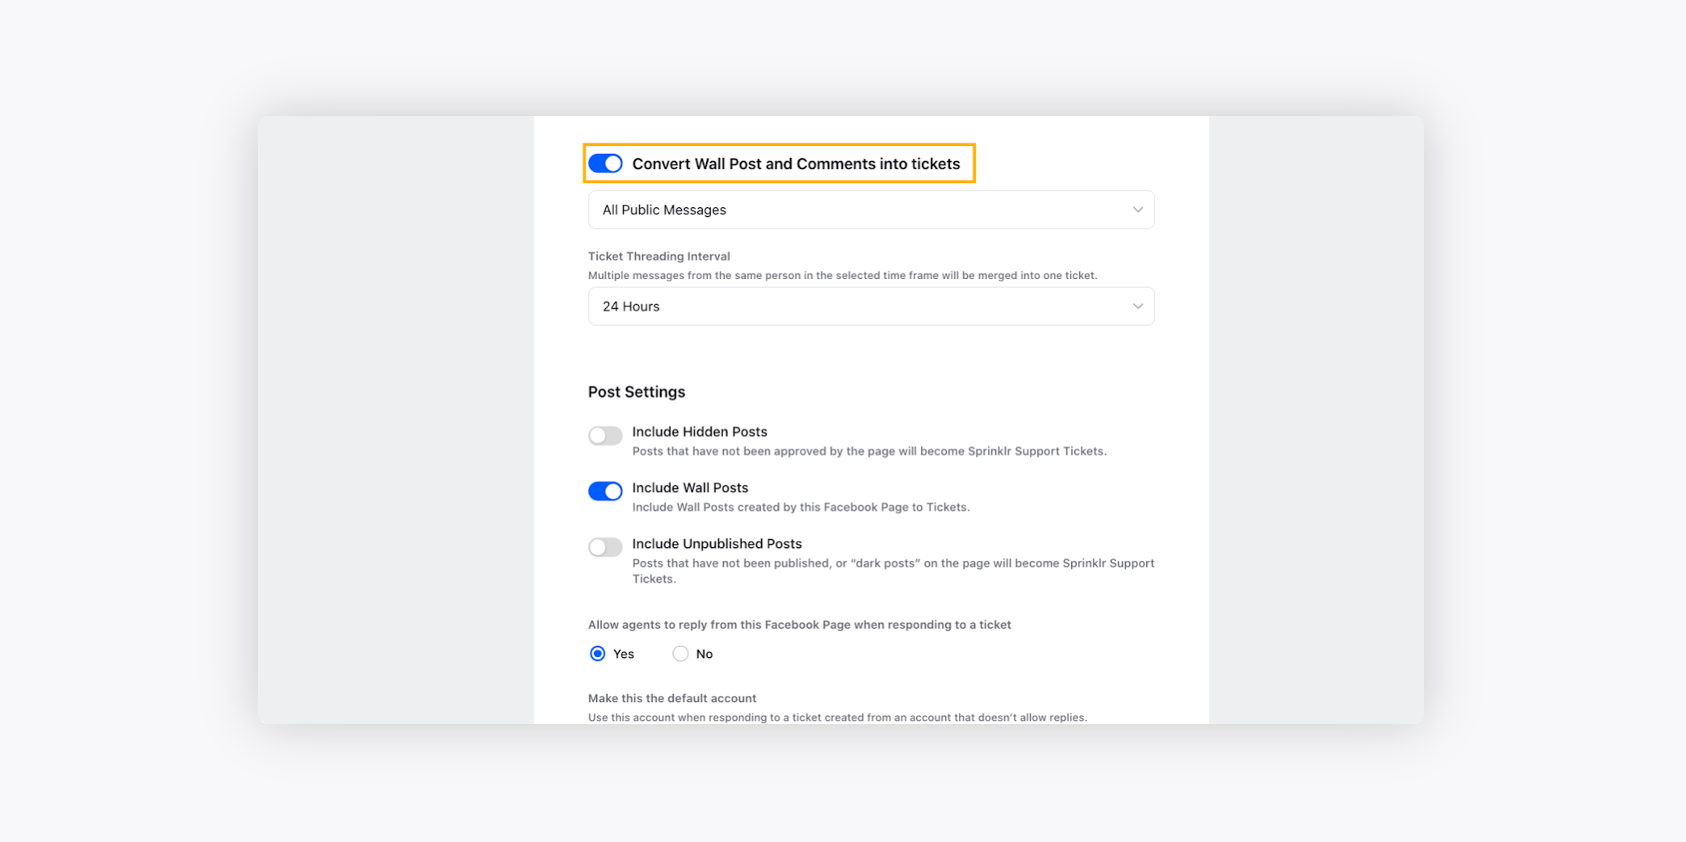
Rule 2. Convert Wall Posts and Comments into Tickets
Rules
Description
All Public Messages
Converts all the public messages, i.e., posts or comments received on your page, into tickets. You can reply to these tickets directly from the portal, and they will reach the commenter as replies. The interaction will be the same as responding to a comment on a Facebook page.
All Engageable Public Messages
Converts all engageable posts and comments identified by Sprinklr AI into tickets.
Sprinklr employs the industry’s most Self-serve AI and machine learning to pull engageable wall posts and comments out of the noise and convert them into tickets.
Filtered Public Messages
Allows you to set conditions to define the rules to segregate the public posts or comments into tickets.
For example, suppose you want to convert customers' comments whose follower count is more than 3000 into a ticket, you can set the condition “FollowersCountgreater than3000.”
Ticket Threading Rule
Helps you thread multiple posts and comments received from the same customer within a particular time frame into one ticket.
For example, if you set the interval to 24 hours, the ticket threading option will merge the same customer’s wall posts and comments within 24 hours into a single ticket.
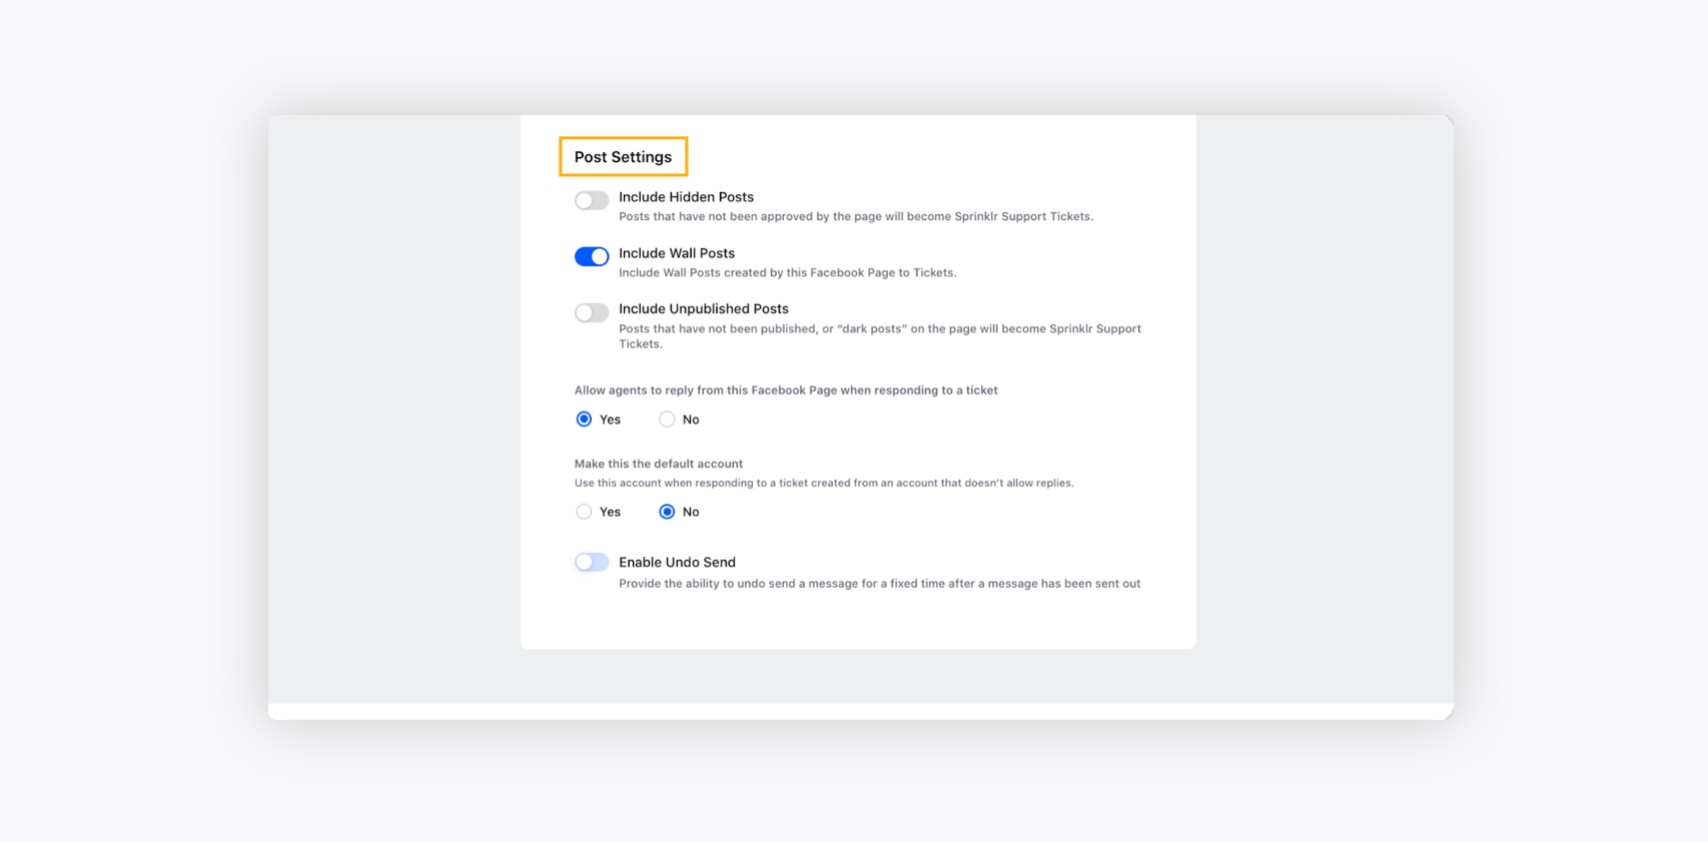
Step 3. Post Settings
Settings
Description
Include Hidden Posts
Enable this setting if you want to create tickets for the posts and comments received on the posts hidden on your brand’s page.
Include Wall Posts
If you enable this option, all the wall posts created by the Facebook page you are using will be converted into support tickets.
Include Unpublished Posts
Enable this option if you want to create tickets for posts that are not published or “dark posts” on your brand's page.
Allow agents to reply from this Facebook Page when responding to a ticket
This option will enable you to reply to customers using the same page you are setting ticket creation rules for.
Make this the default account
Select Yes if you want to use this account when responding to a ticket created from an account that doesn’t allow replies.
Enable Undo Send
If enabled, you will have the option to undo the sent message you sent mistakenly.
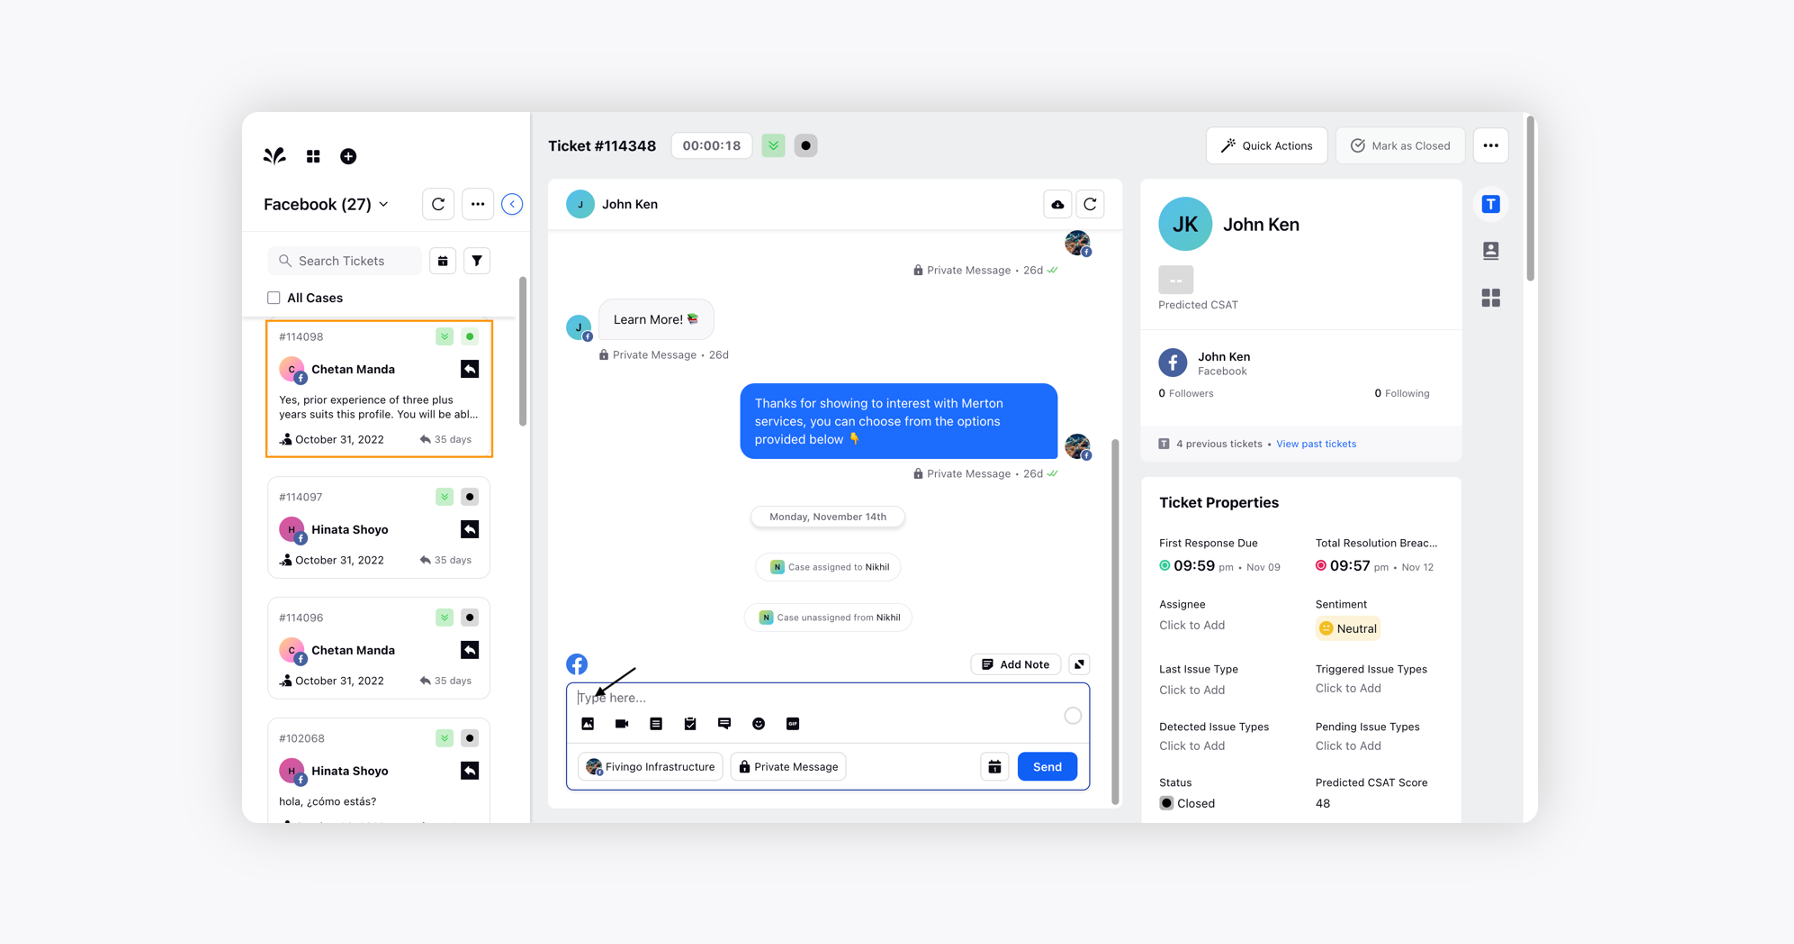
To manage Facebook tickets via Care Console
On the Sprinklr Self-serve Home window, click the Tickets icon on the left Navigation Bar.
Select the desired Facebook ticket from the Ticket Stream.
Navigate to the Reply Editor to start a conversation with your customer.
Note:
You can Hide/Unhide Facebook customer replies via Care Console. Once hidden, the comments, posts, or replies will only be visible to customers.
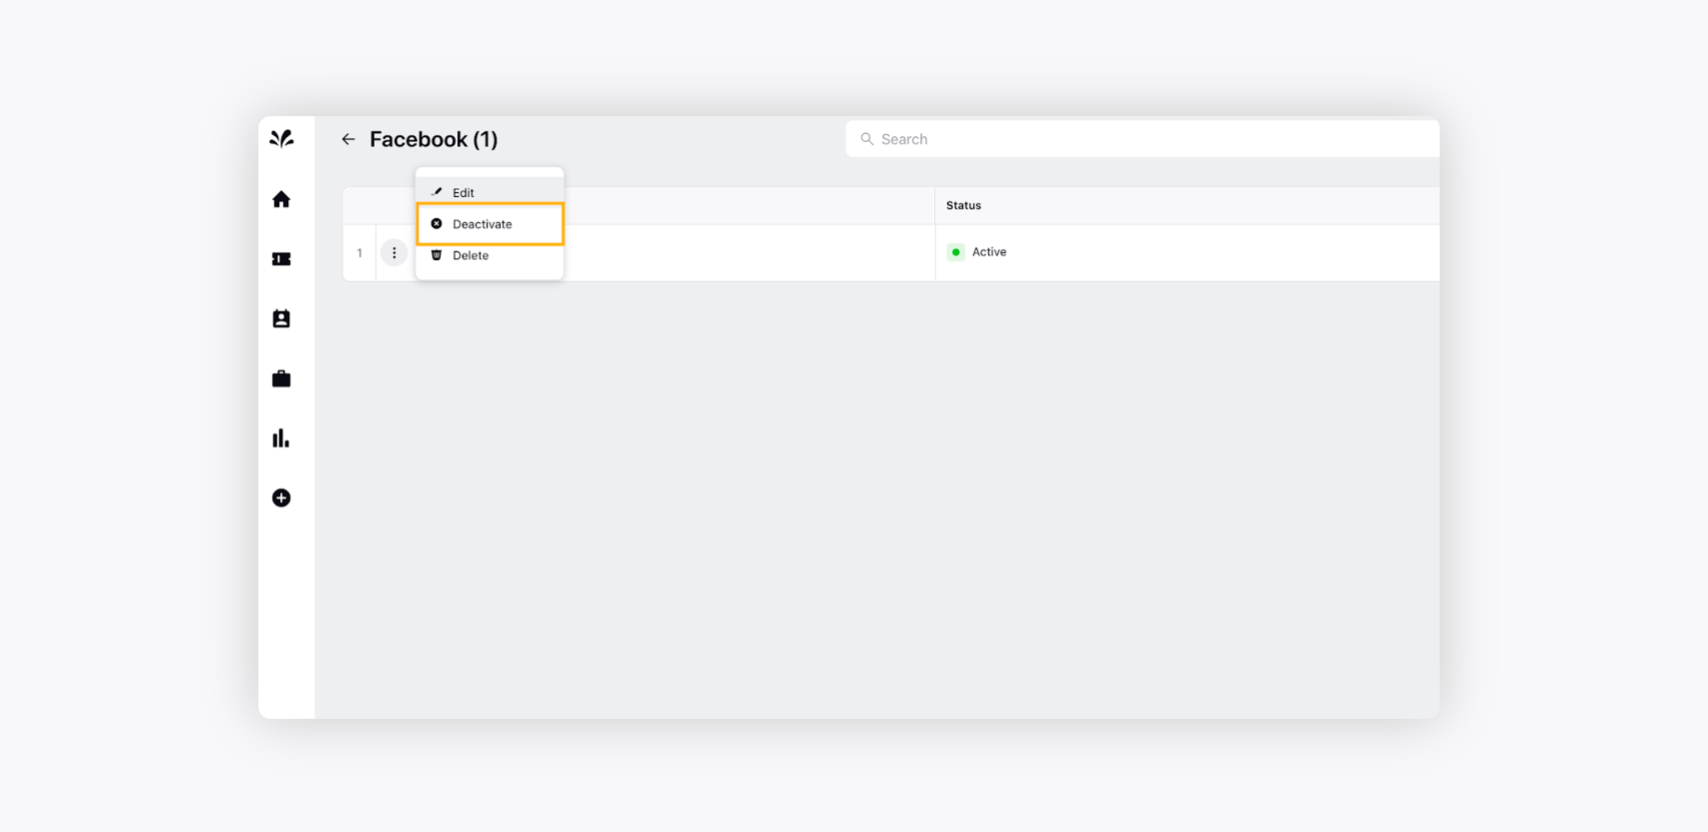
To deactivate a Facebook page
On the Facebook window, hover over the Vertical Ellipsis icon alongside the desired Facebook page and select Deactivate.
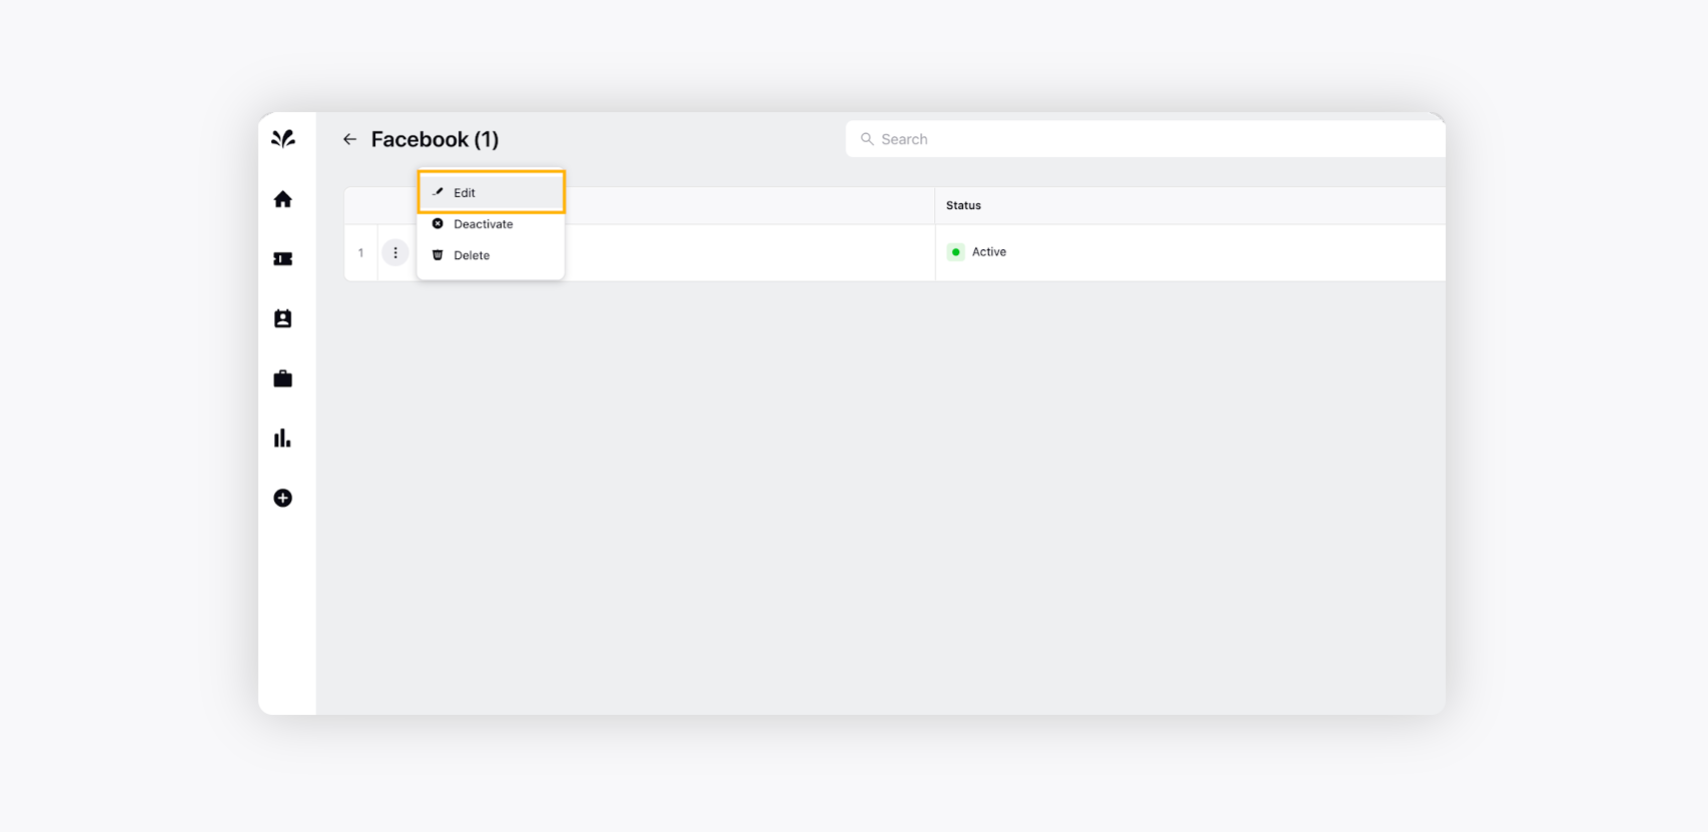
To edit ticket creation rules of an existing Facebook page
On the Facebook window, hover over the Vertical Ellipsis icon alongside the desired Facebook page and select Edit to make changes to your ticket creation rules.
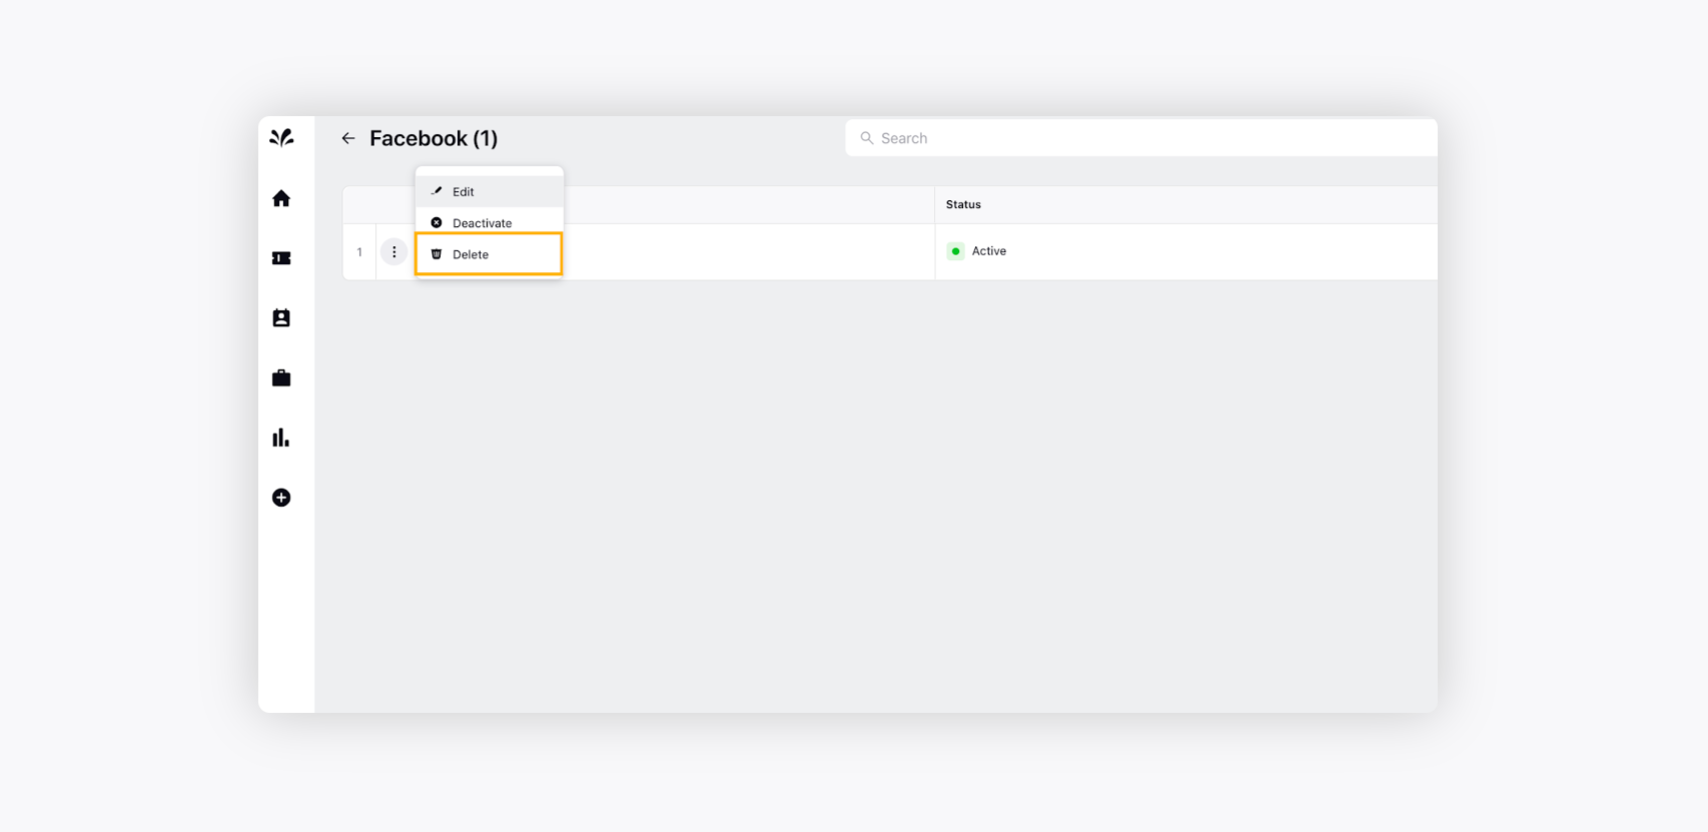
To delete an existing Facebook account
Hover over the Vertical Ellipsis icon alongside the desired Facebook page and click Delete.
Click Delete on the Delete Facebook Page confirmation pop-up window.