
Add Facebook Page to Sprinklr
Updated
Sprinklr lets you manage and provide a complete resolution to all the queries received by your support teams. Sprinklr will help you automatically convert all the wall posts, comments, and private messages received via your page into tickets.
You can also set up various conditions to filter out tickets relevant to your products to provide on-point solutions.
In this article, you will learn about how to add a Facebook Page in Sprinklr.
Note: Any Facebook page will be treated as a company page within Sprinklr.
A social account can only be added to a single Workspace. To add the same account in different workspaces, admins are required to share that social account with other workspaces
To Add a Facebook Page Account to Sprinklr
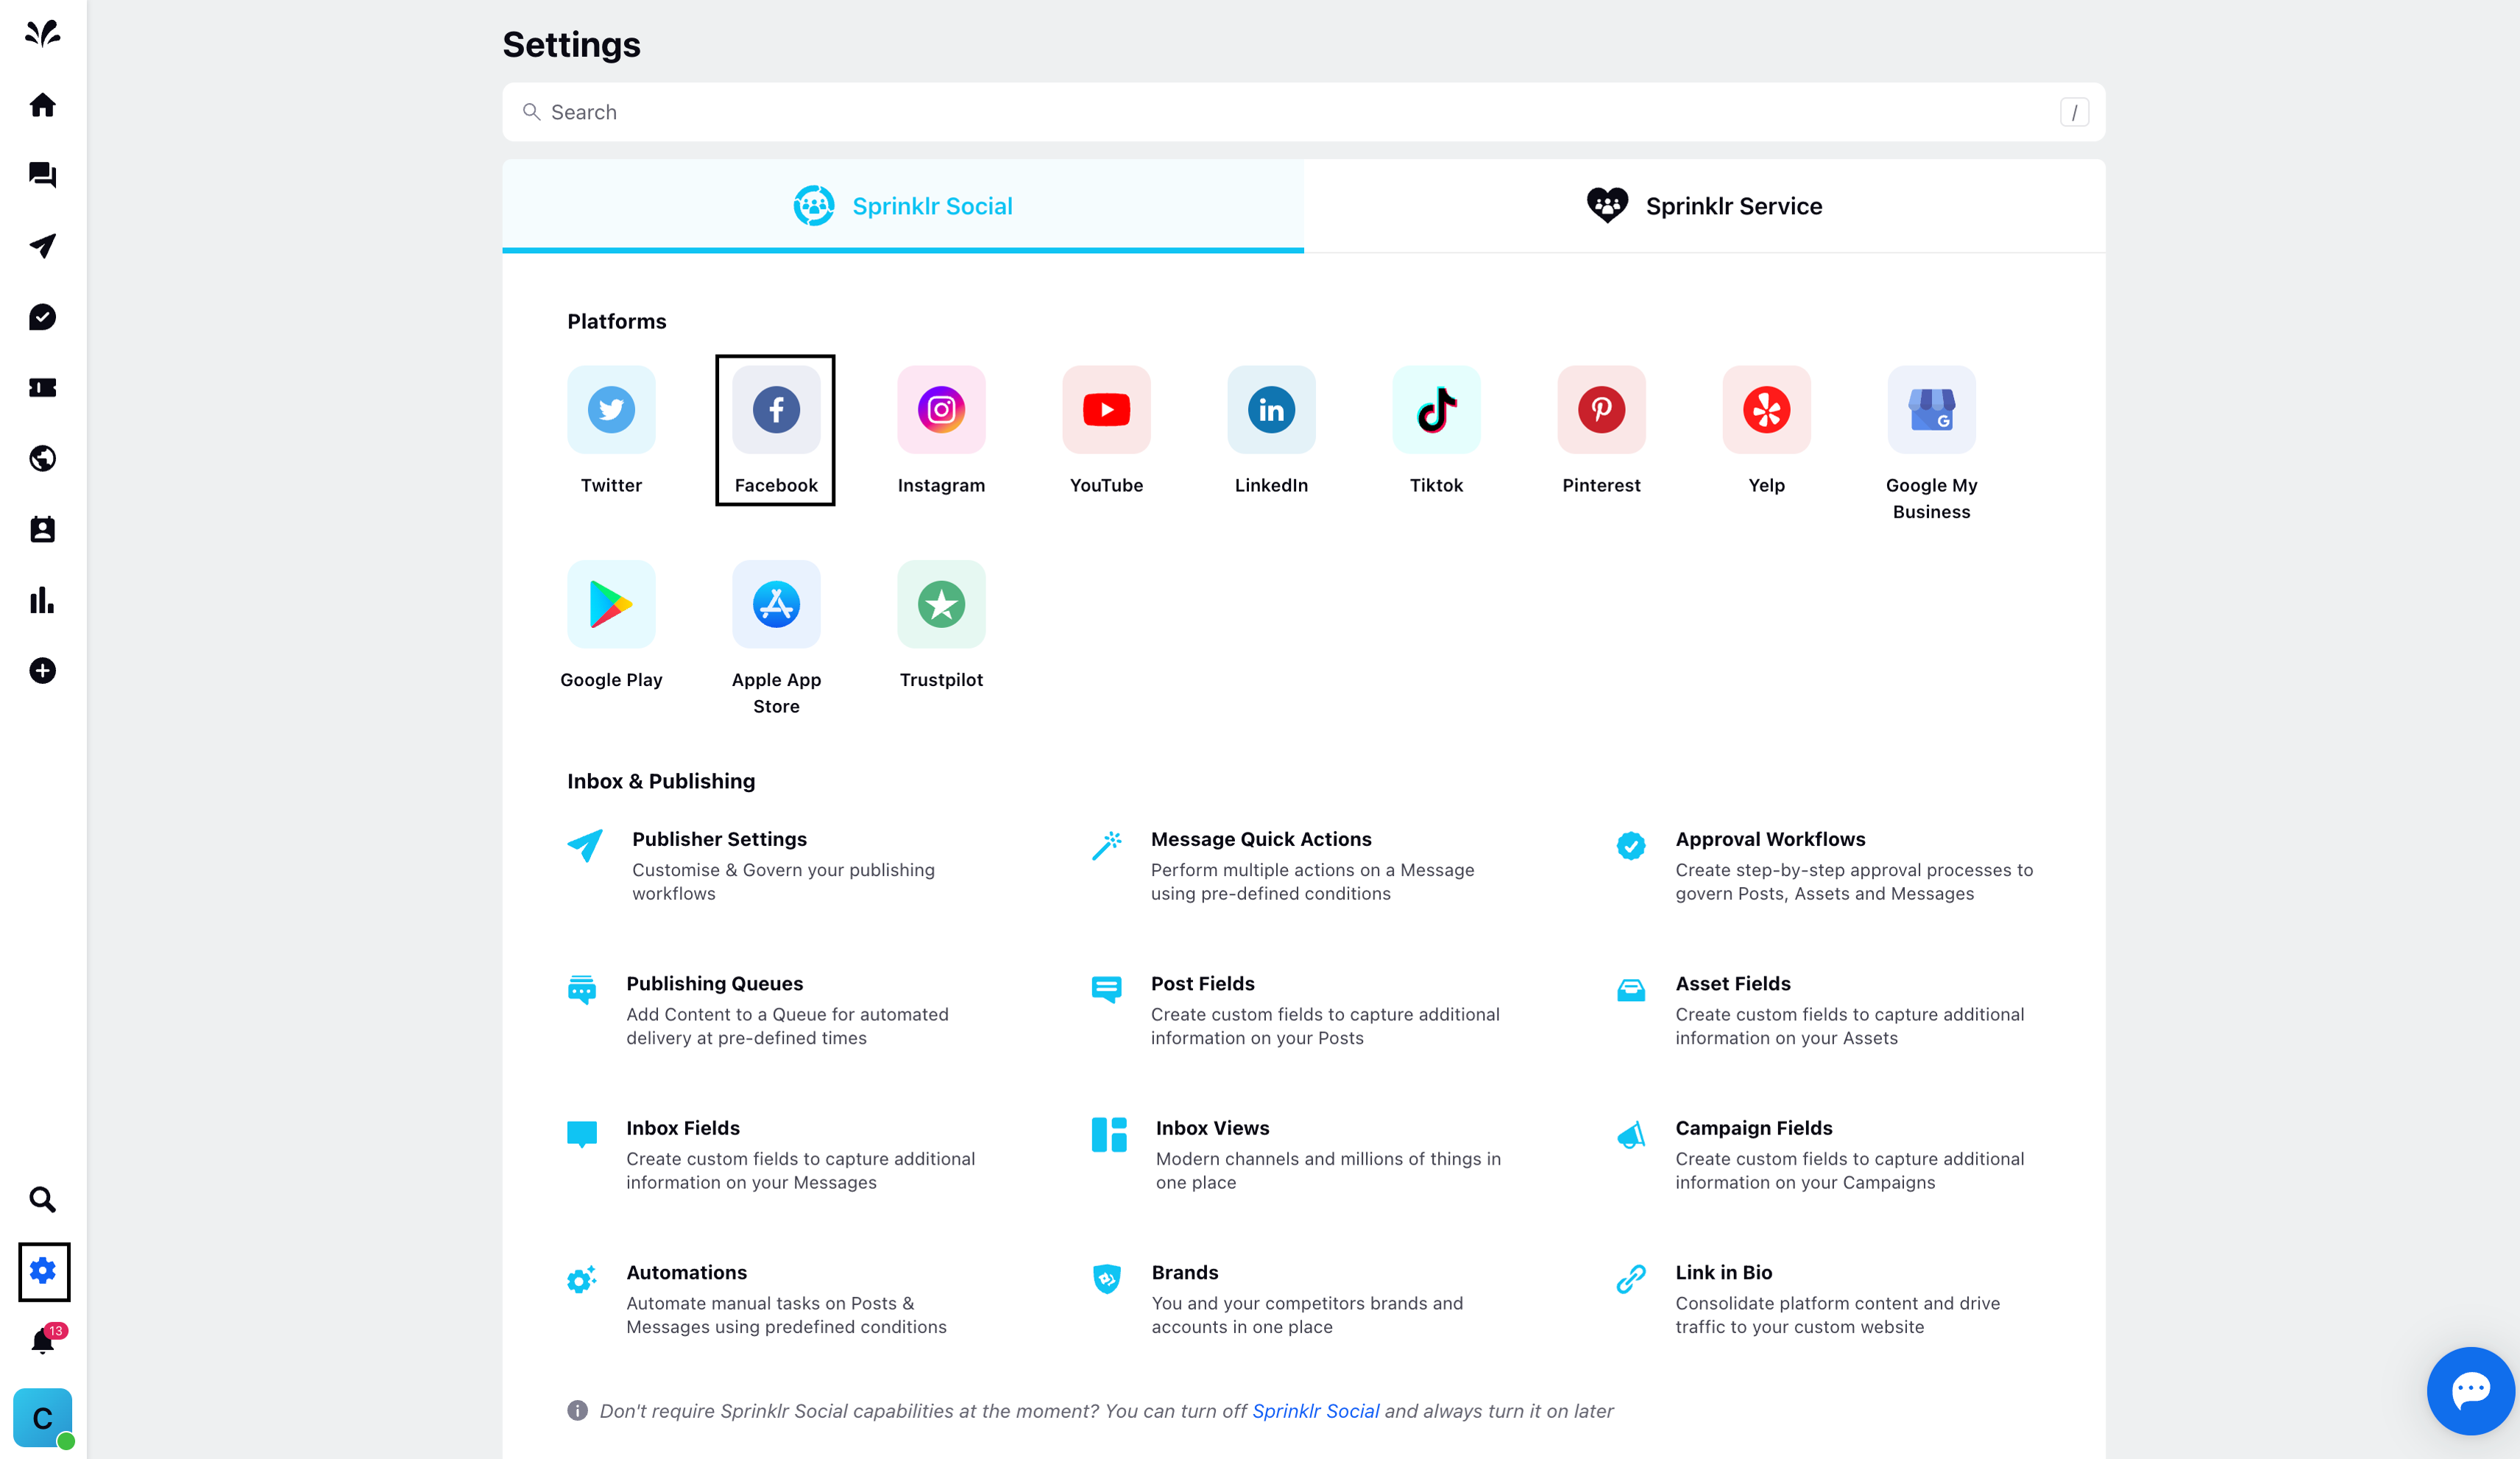
Go to the Home page. Click the Settings icon on the left pane and click the Facebook channel under Social.

Now, click the + icon and select Add Facebook Page from the top right corner
Now, provide your Facebook credentials like username and password to log in into Facebook account.
Once the Facebook account has been set up. It will ask for the desired Facebook page you want to add. Choose the desired page and then click Add at the bottom. The desired Facebook page will be added into Sprinklr.
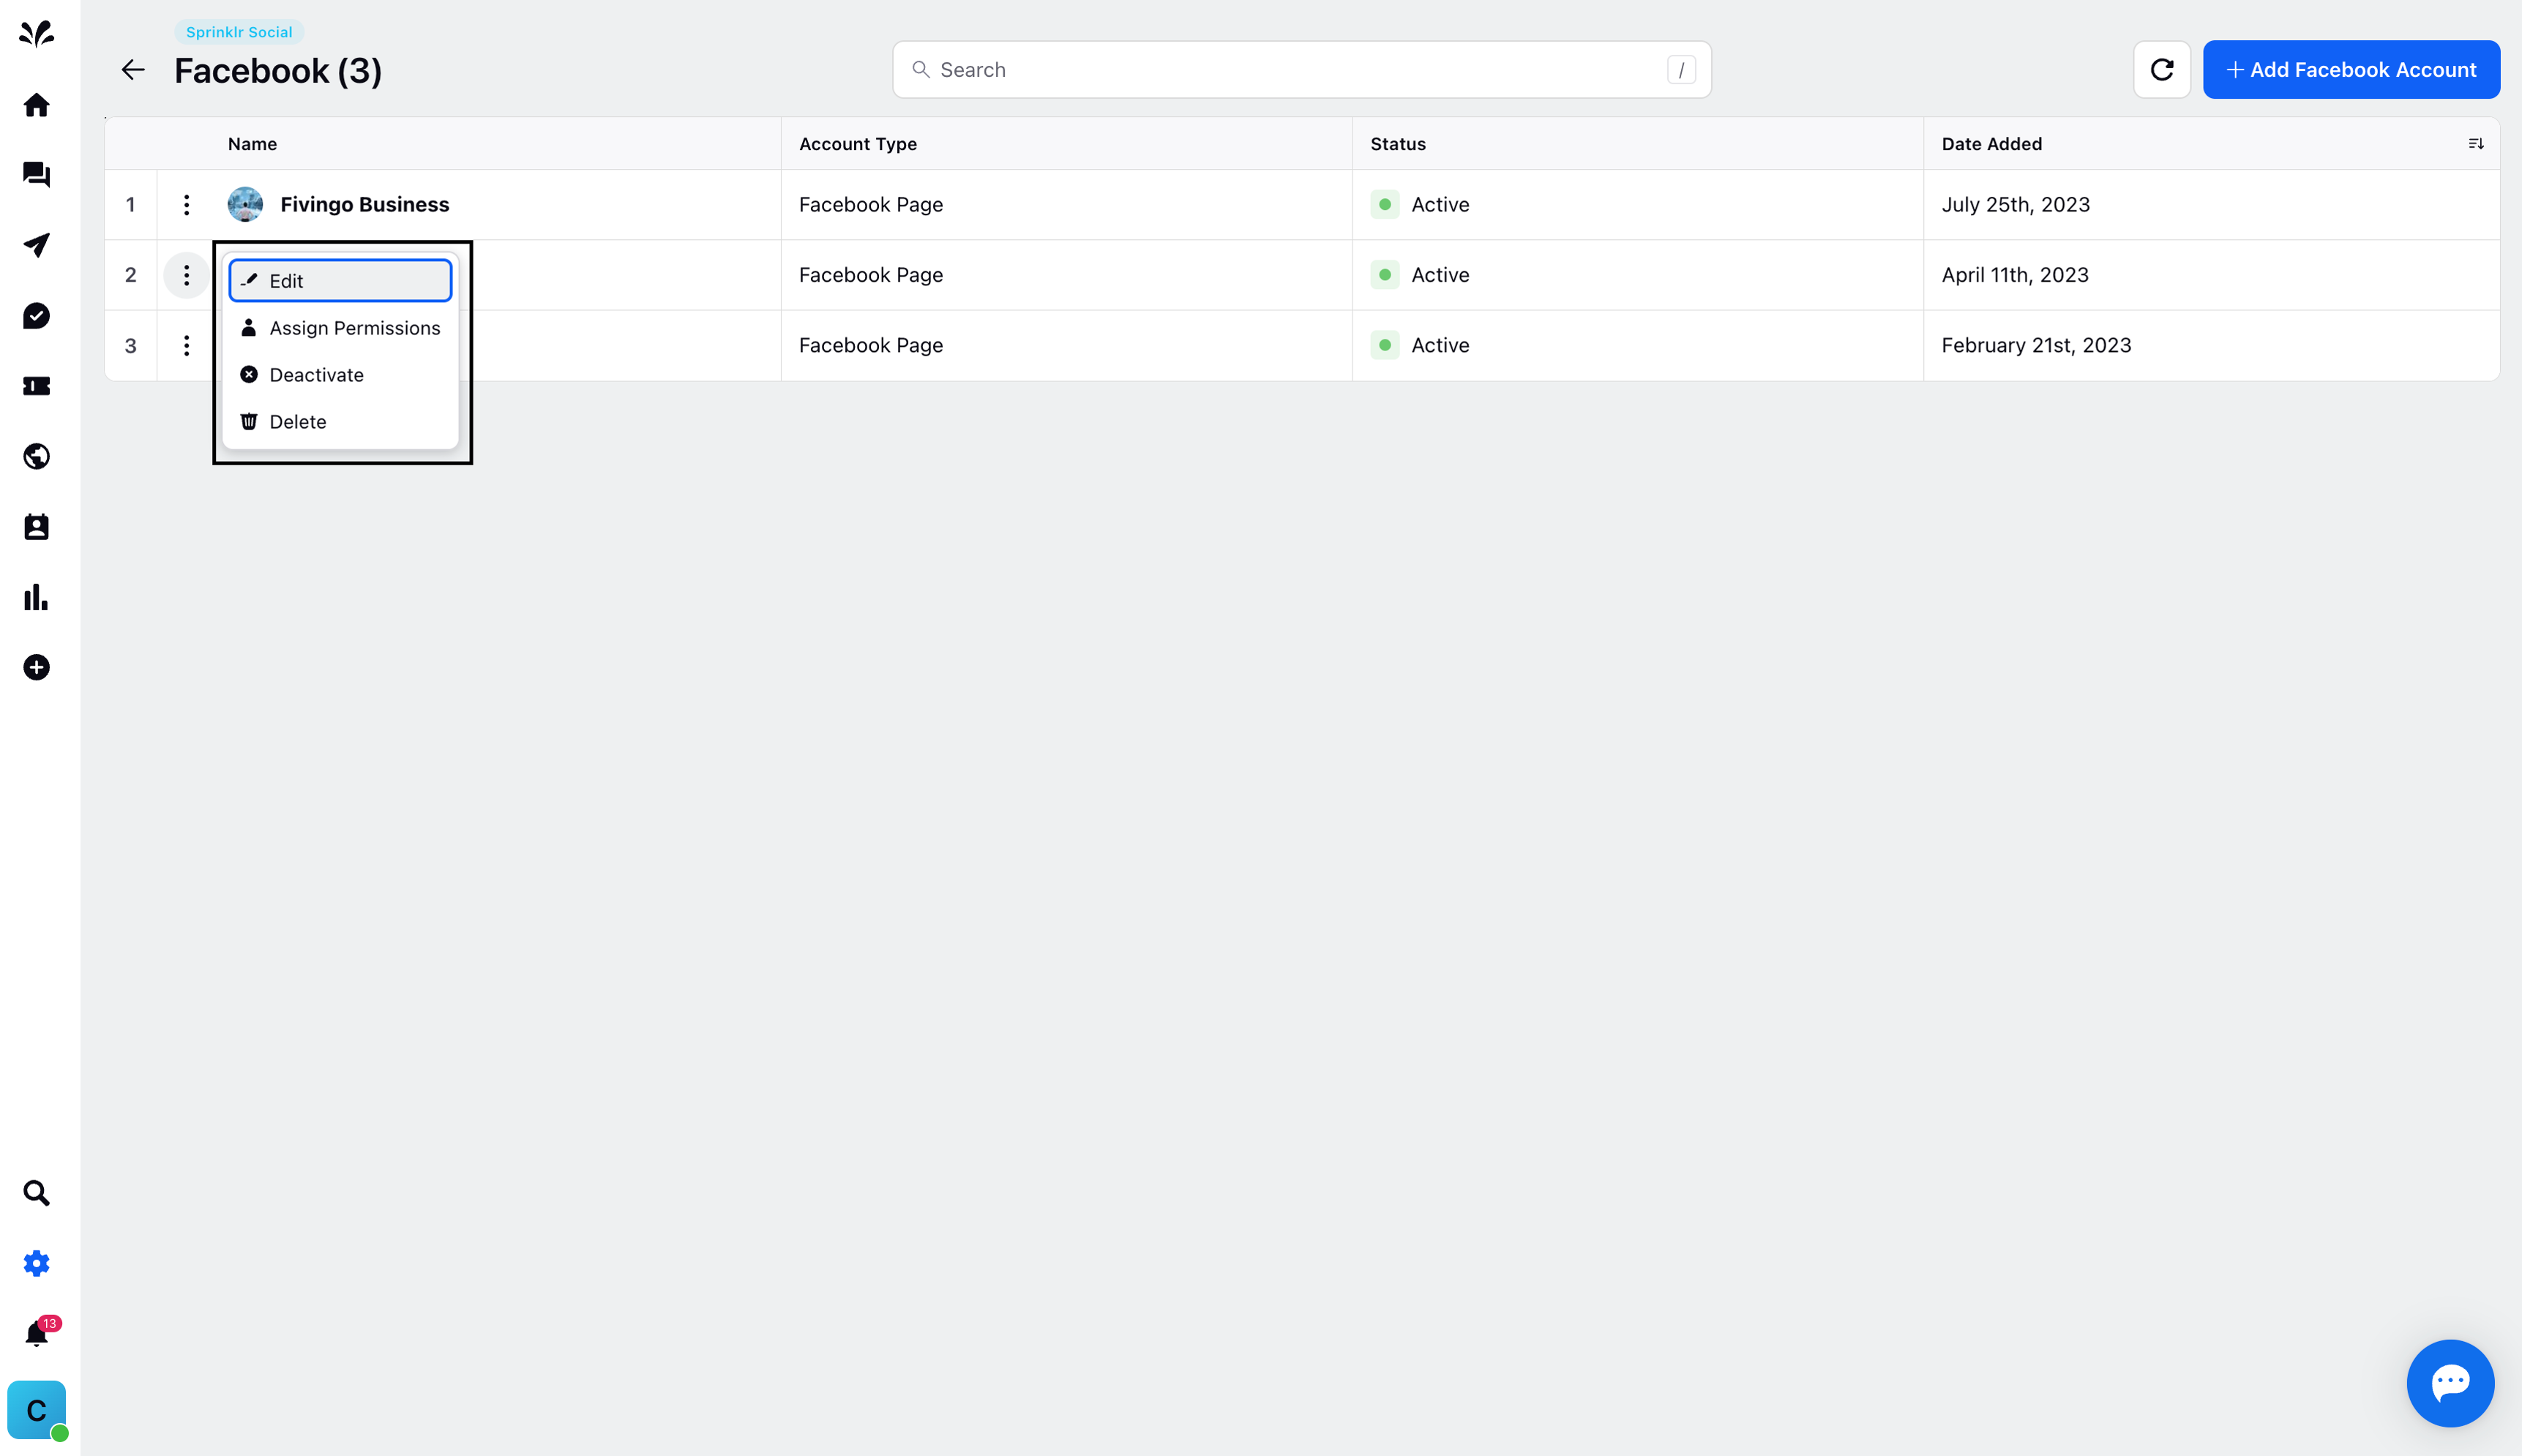
Once the Facebook page has been added click on the Options icon and select Edit.
You will see two types of Settings. One is Publishing Settings which is known as Social Settings and another is Ticket Creation Rules which is known as Customer Care Settings.


Allow Publishing from this account: Toggle On to allow users to publish outbound posts from this account. If disabled, this account will not be available in the publisher for users to plan outbound posts and all scheduled posts will not be published.
Allow replies from this account: Toggle On to allow users to reply to inbound messages in Inbox from this account. If disabled, this account will not be available for users to reply to fan messages.
Click Save at the bottom.
Congratulation your Facebook account has successfully been added to Sprinklr platform
How to Deactivate, Reactivate and Delete a Facebook Account
Once you add your Facebook account to Sprinklr platform you can find your account in Facebook Social Settings. Click on Settings and in Sprinklr Social section click on the Facebook icon.
Here you can find three dots beside your Facebook account. Click on 'Deactivate'
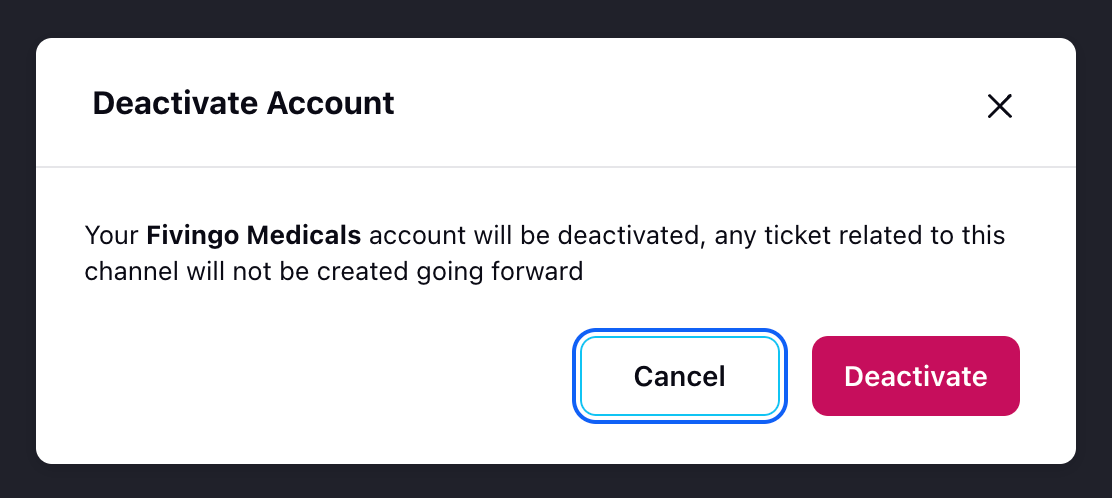
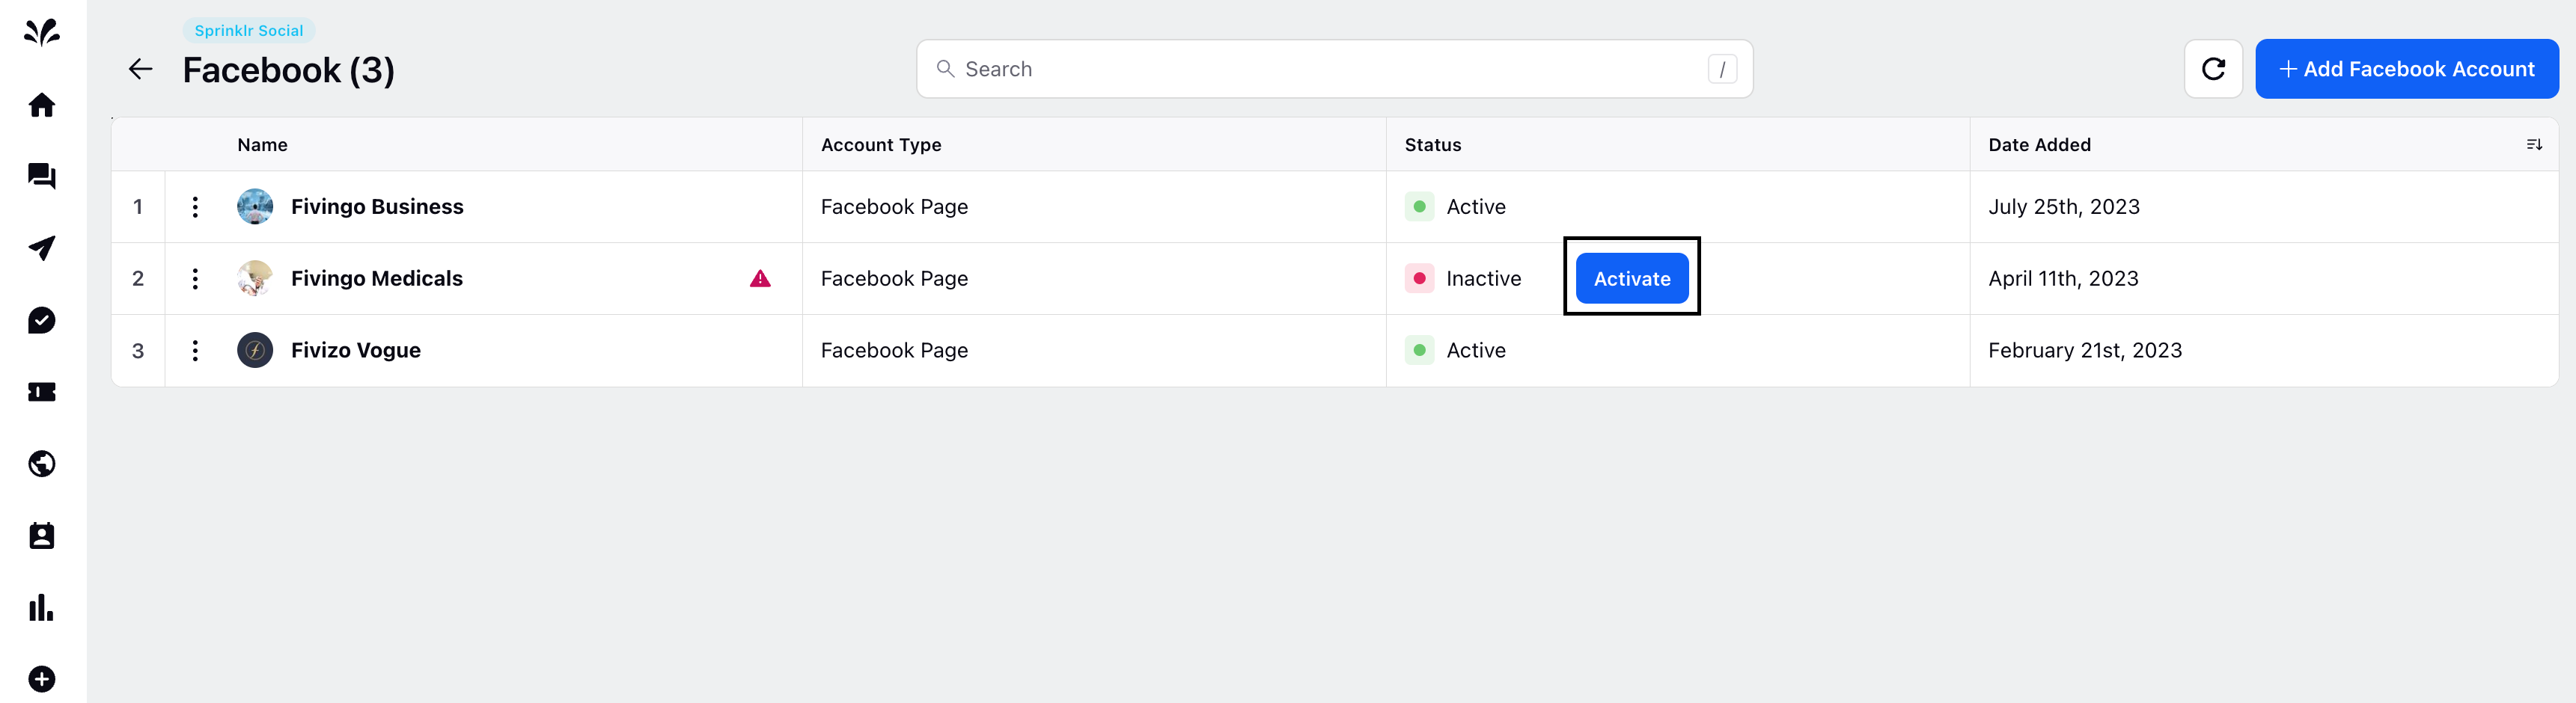
Click on 'Deactivate'. Once after deactivating the status changed to 'Inactive'
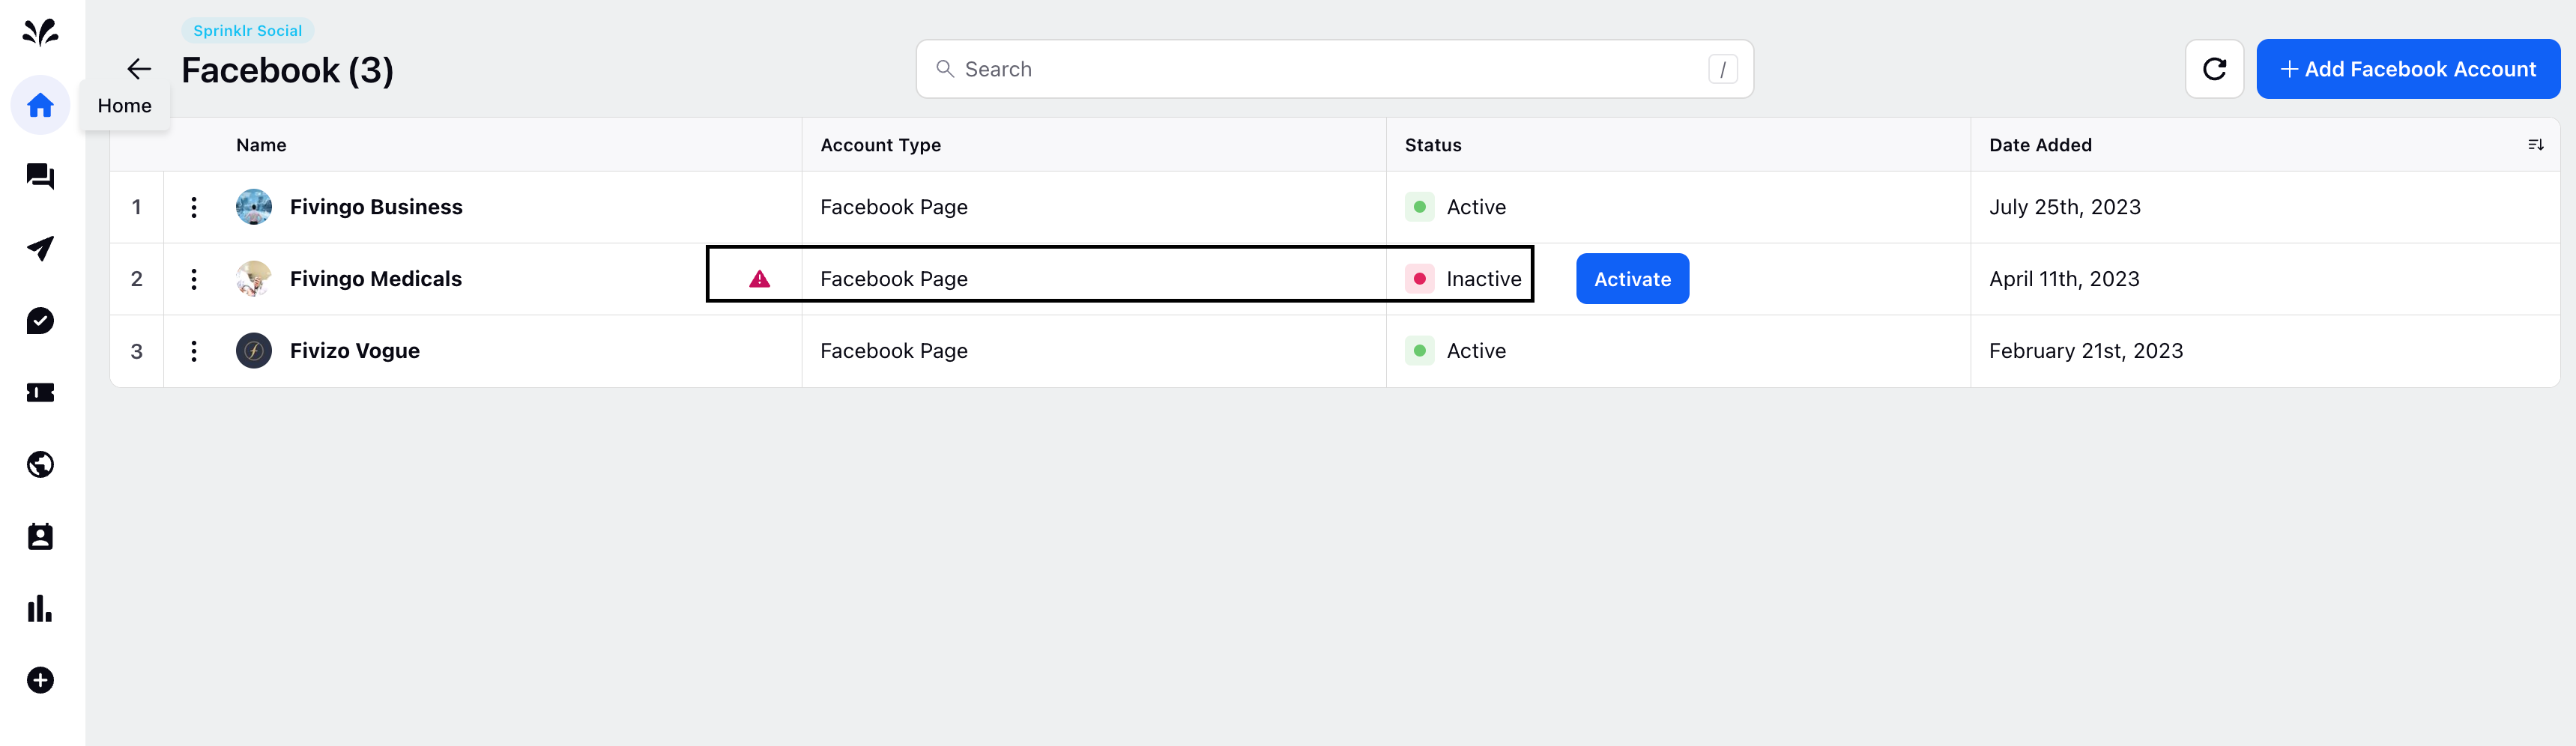
If you wish to Reactivate your account, then click on 'Activate'
If you wish to Delete your Facebook account, then click on 'Delete' from the dropdown.
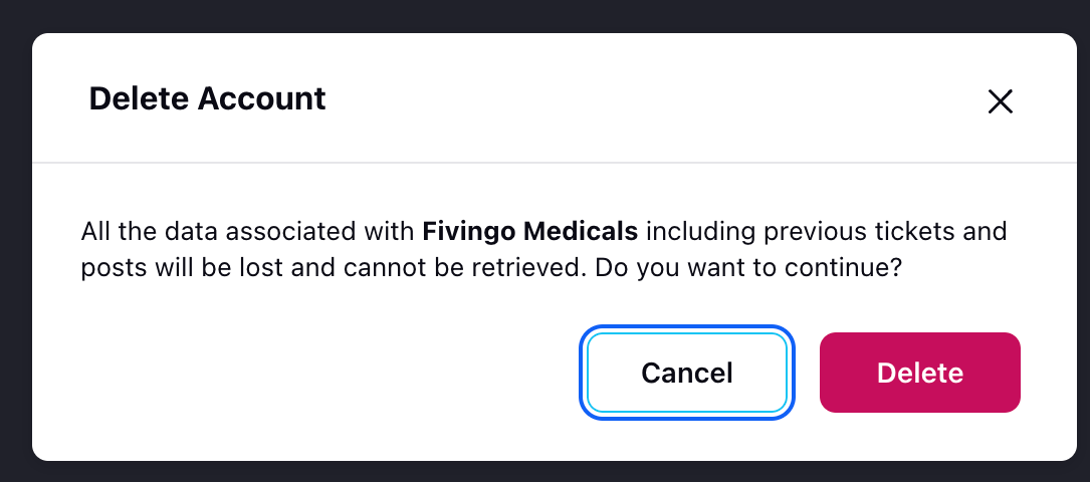
Click on Delete to delete your Facebook account from Sprinklr platform.