
Mark tickets as spam to avoid receiving any malicious content
Updated
How can you move unwarranted tickets from the ticket trail in the spam folder if the email content is harmful or suspicious in nature.
You can mark tickets that contain malicious attachments or suspicious messages as Spam along with the Contacts who sent the email in Care Console. This will help you save time by identifying important tickets and providing their resolutions at the quickest.
To mark tickets as Spam
On the Sprinklr Advanced Home window, click the Tickets icon in the left navigation pane.
Navigate to the tickets view by searching any of the tickets from the dropdown on the extreme left.
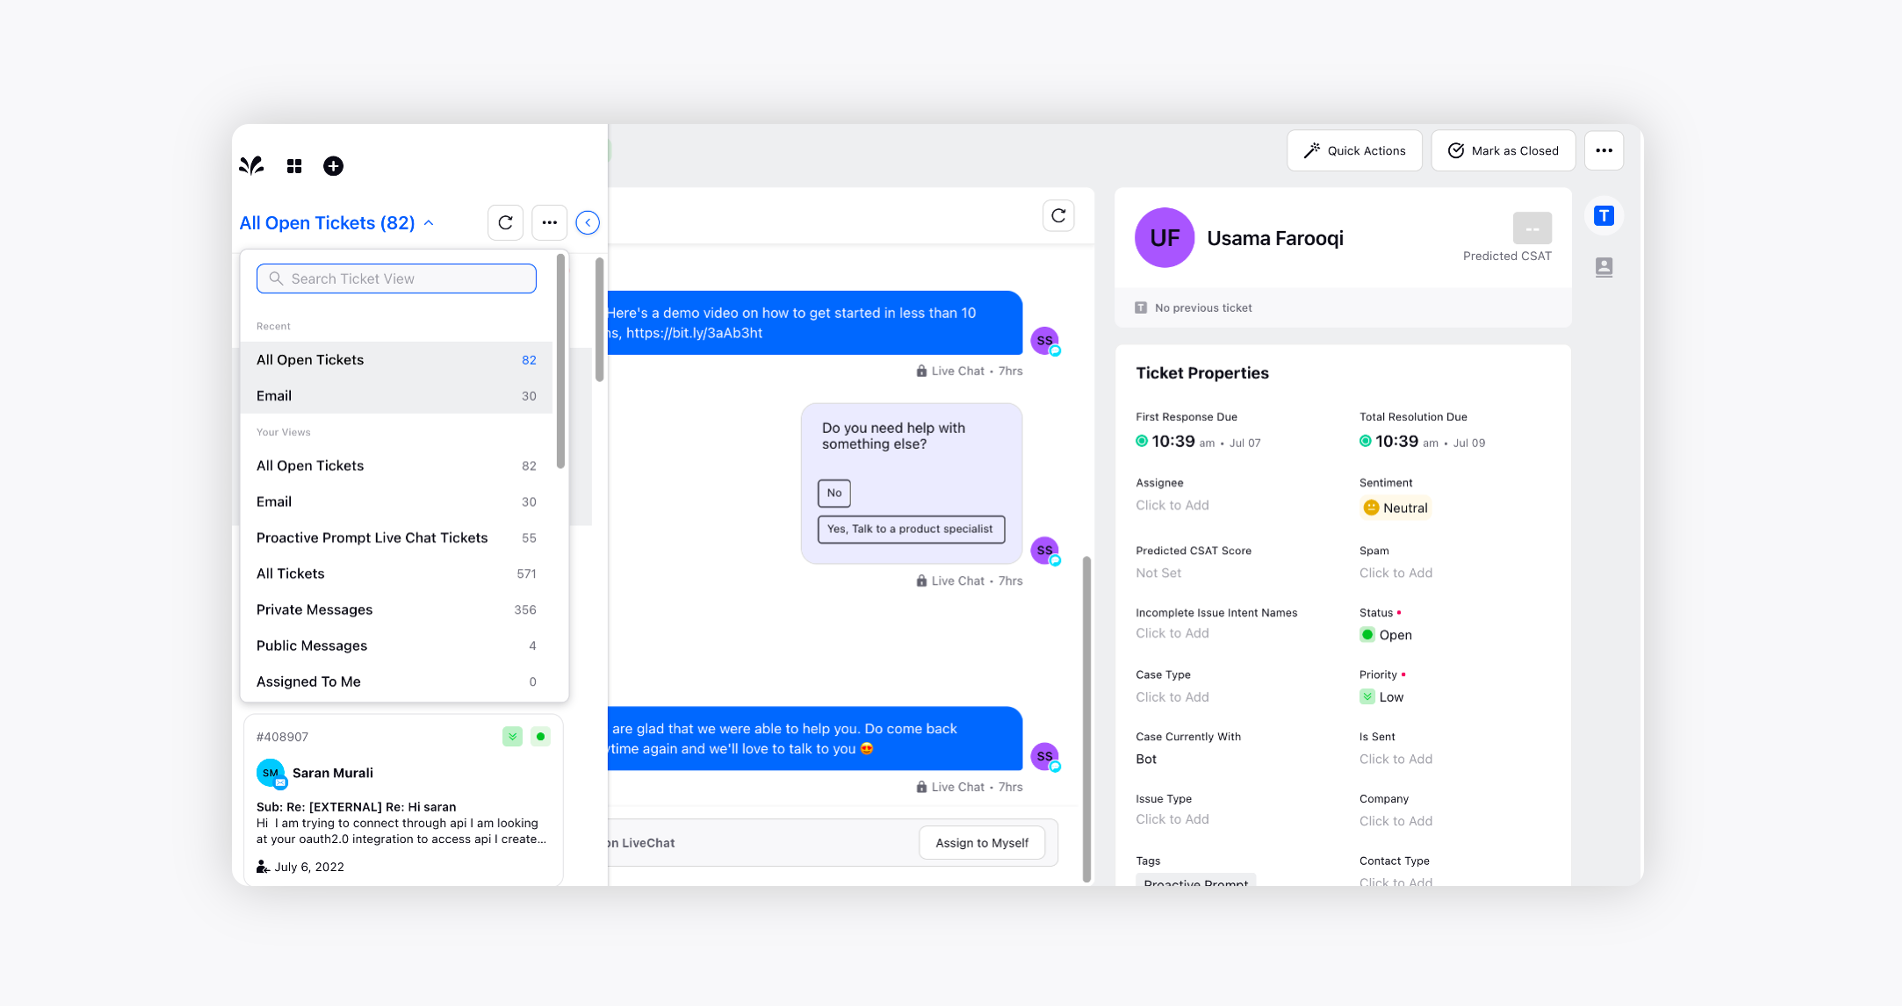
Select the desired ticket from the Ticket Trail.
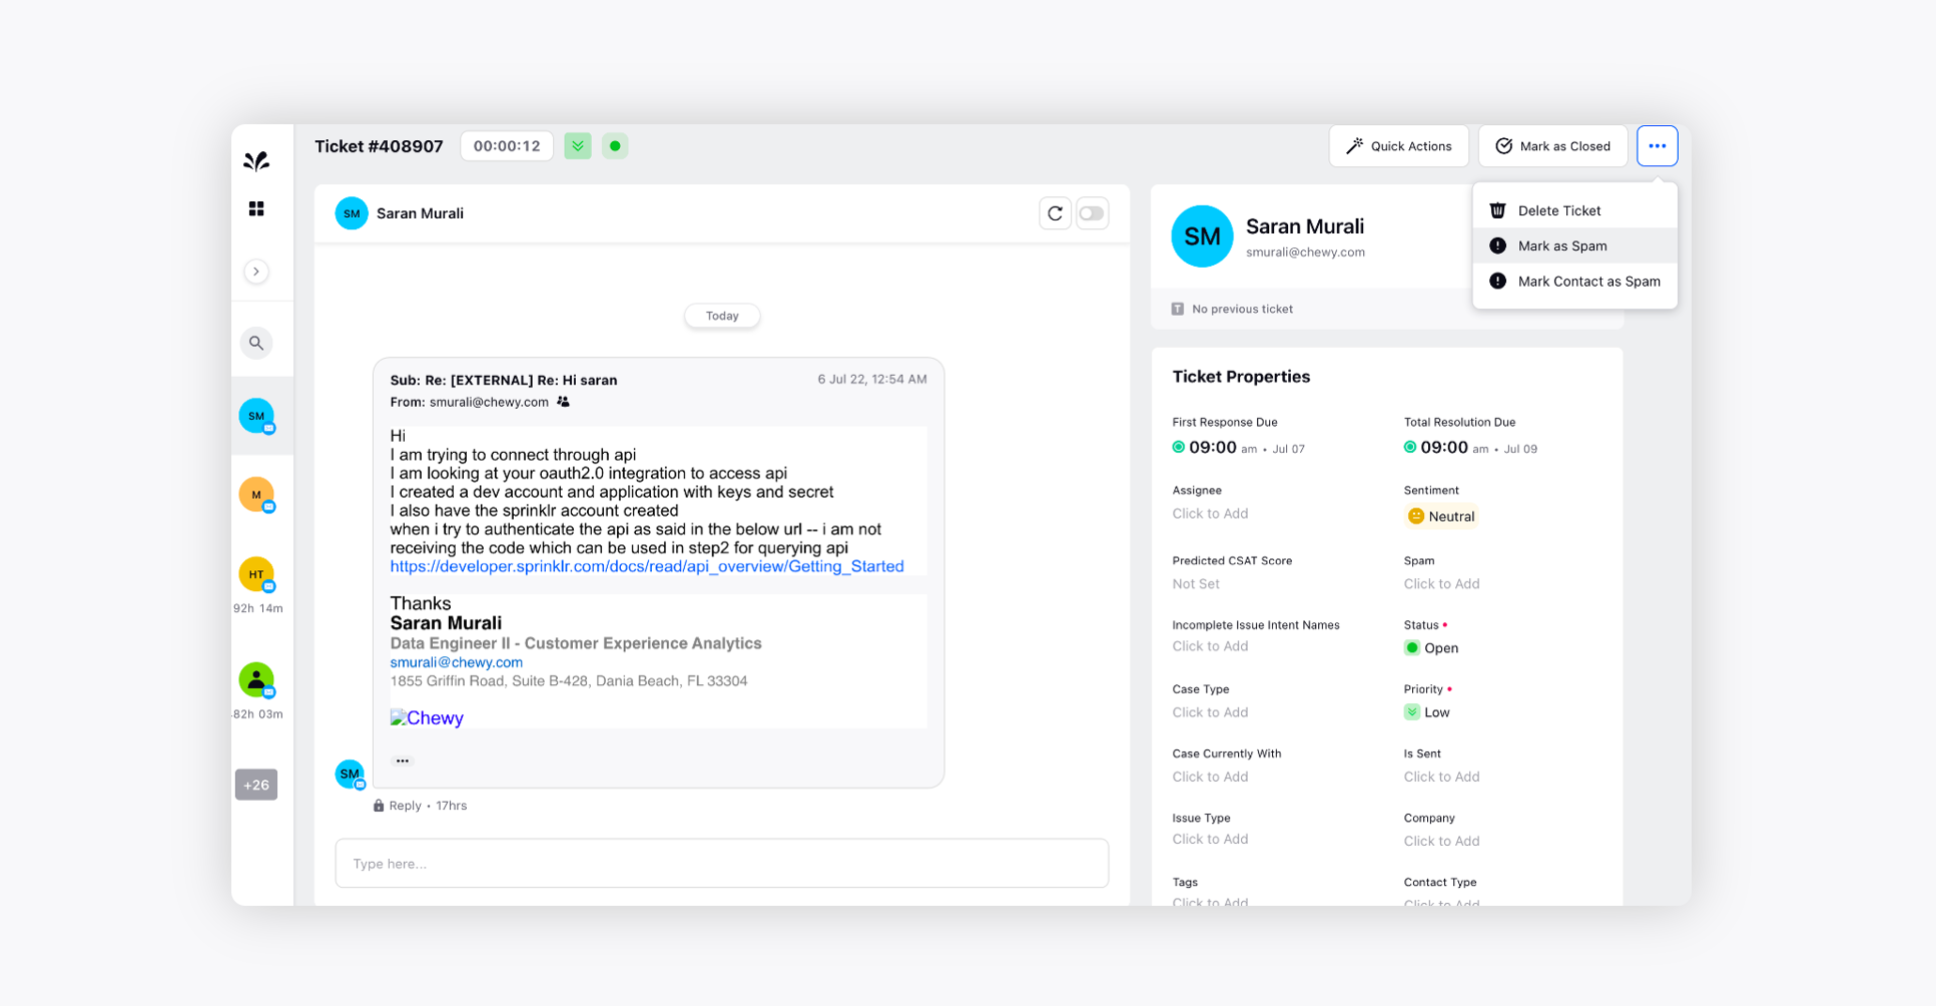
Click the Options icon in the top right corner and choose the following actions:
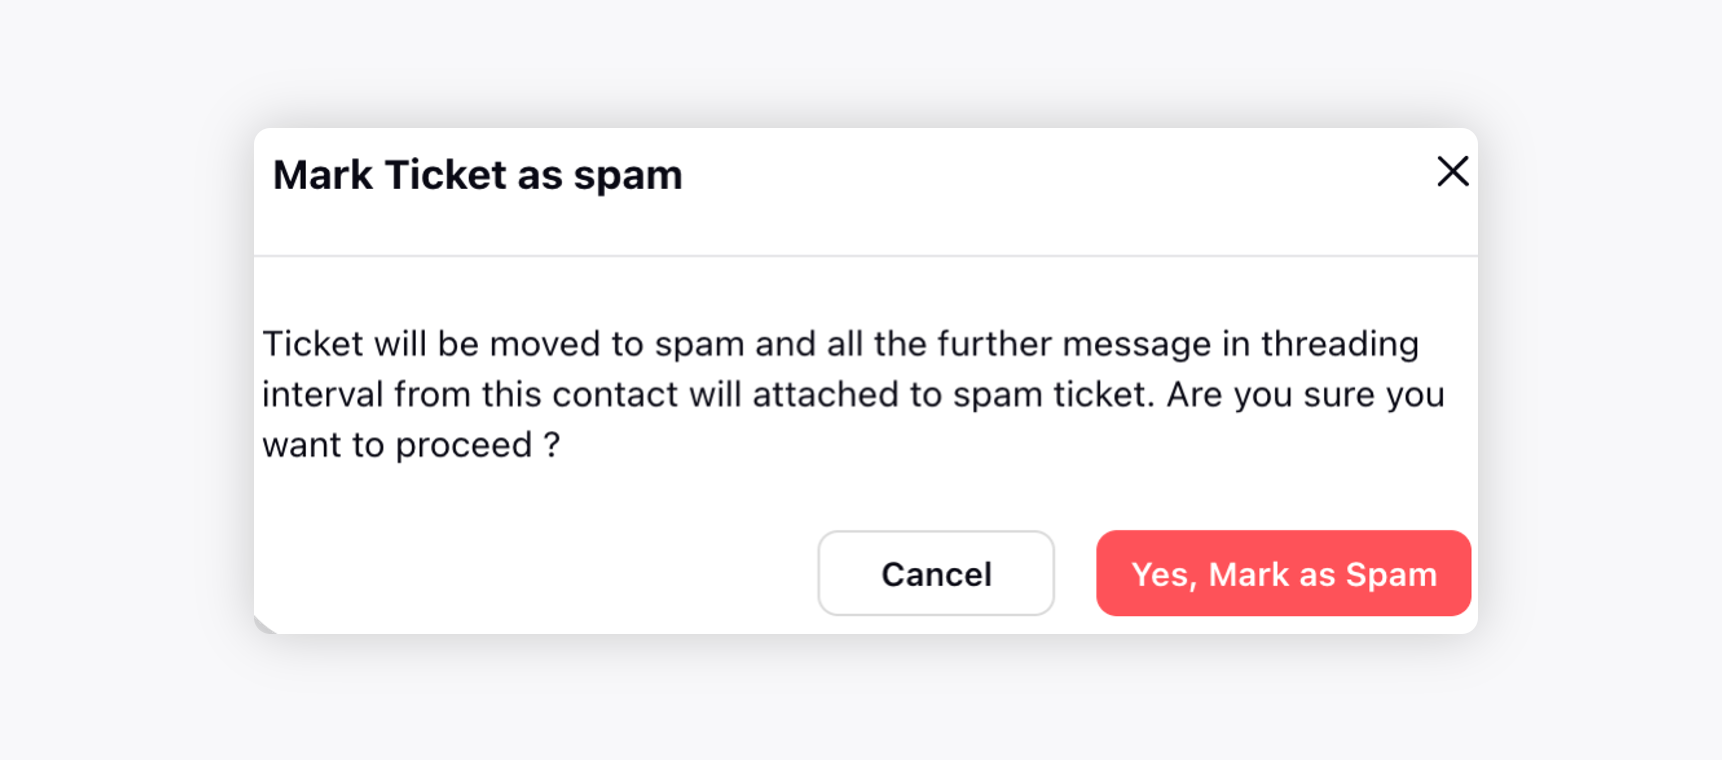
Mark as Spam - If you select this option, the ticket will be marked as spam and moved to the Spam folder.
On the Mark Ticket as spam window, click on "Yes, Mark as Spam".
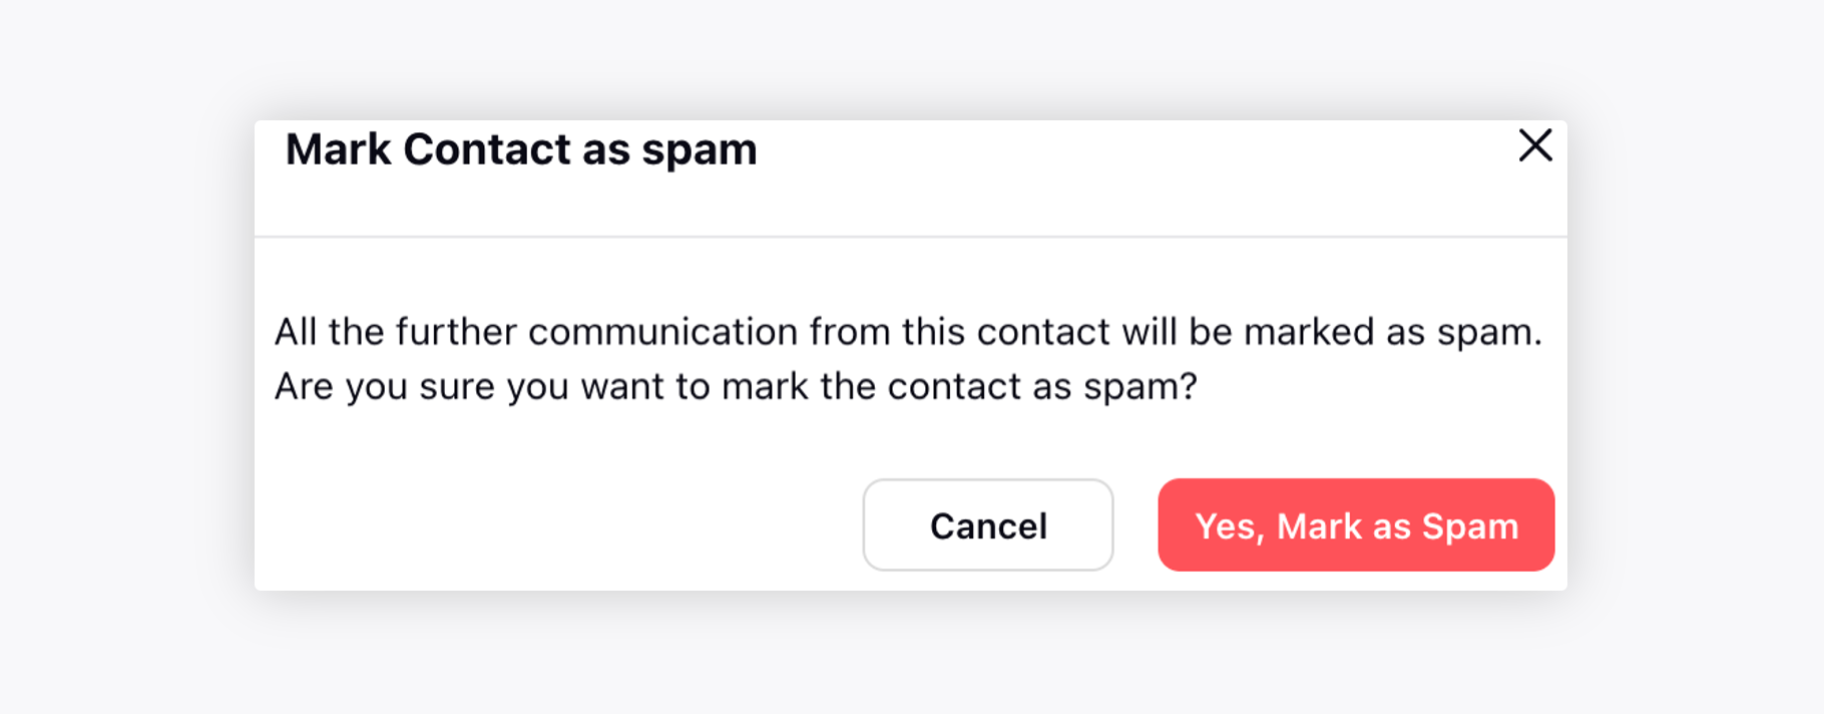
Mark Contact as Spam - If you select this option, the sender will be Marked Contact as Spam, and you will not receive any ticket from that sender in the future.

On the Mark Contact as Spam pop-up window, select Yes, Mark as Spam.
To Mark tickets as spam in bulk
You can mark emails as Spam in bulk by following the steps below:
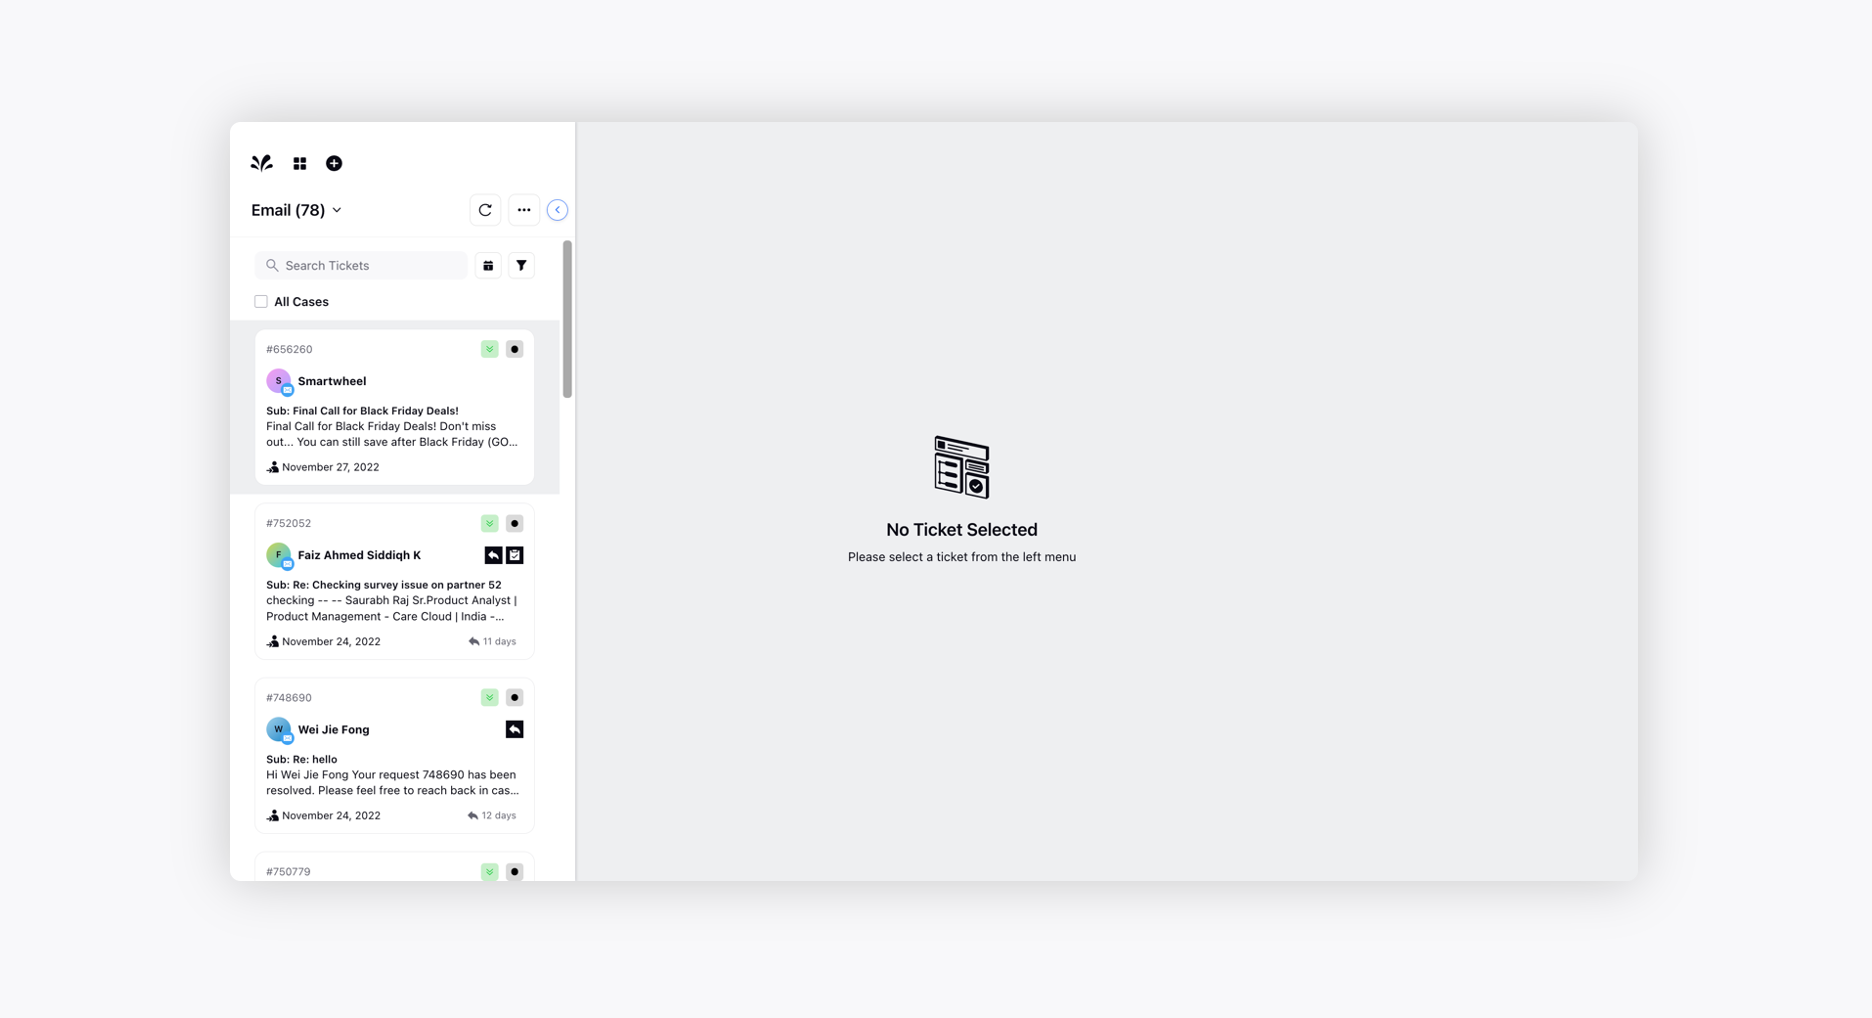
On the Sprinklr Advanced Home window, click the Tickets icon in the left navigation pane.
Navigate to the tickets view.

On the Care Console window, check the box alongside the tickets you want to mark spam from the ticket stream on the left. You can check the box alongside All Cases below the search bar to spam all the tickets.
Select Mark as Spam from the options in the Floating Pane.
On the Mark Tickets as Spam pop-up window, click Mark as Spam at the bottom to finalize your action. It will spam all the selected tickets.
