Understanding Ticket Stream
Updated
Learn how to change the view of the tickets received with various options on who the ticket is assigned to, its status, and more.
Ticket Stream View and Pin Ticket Stream
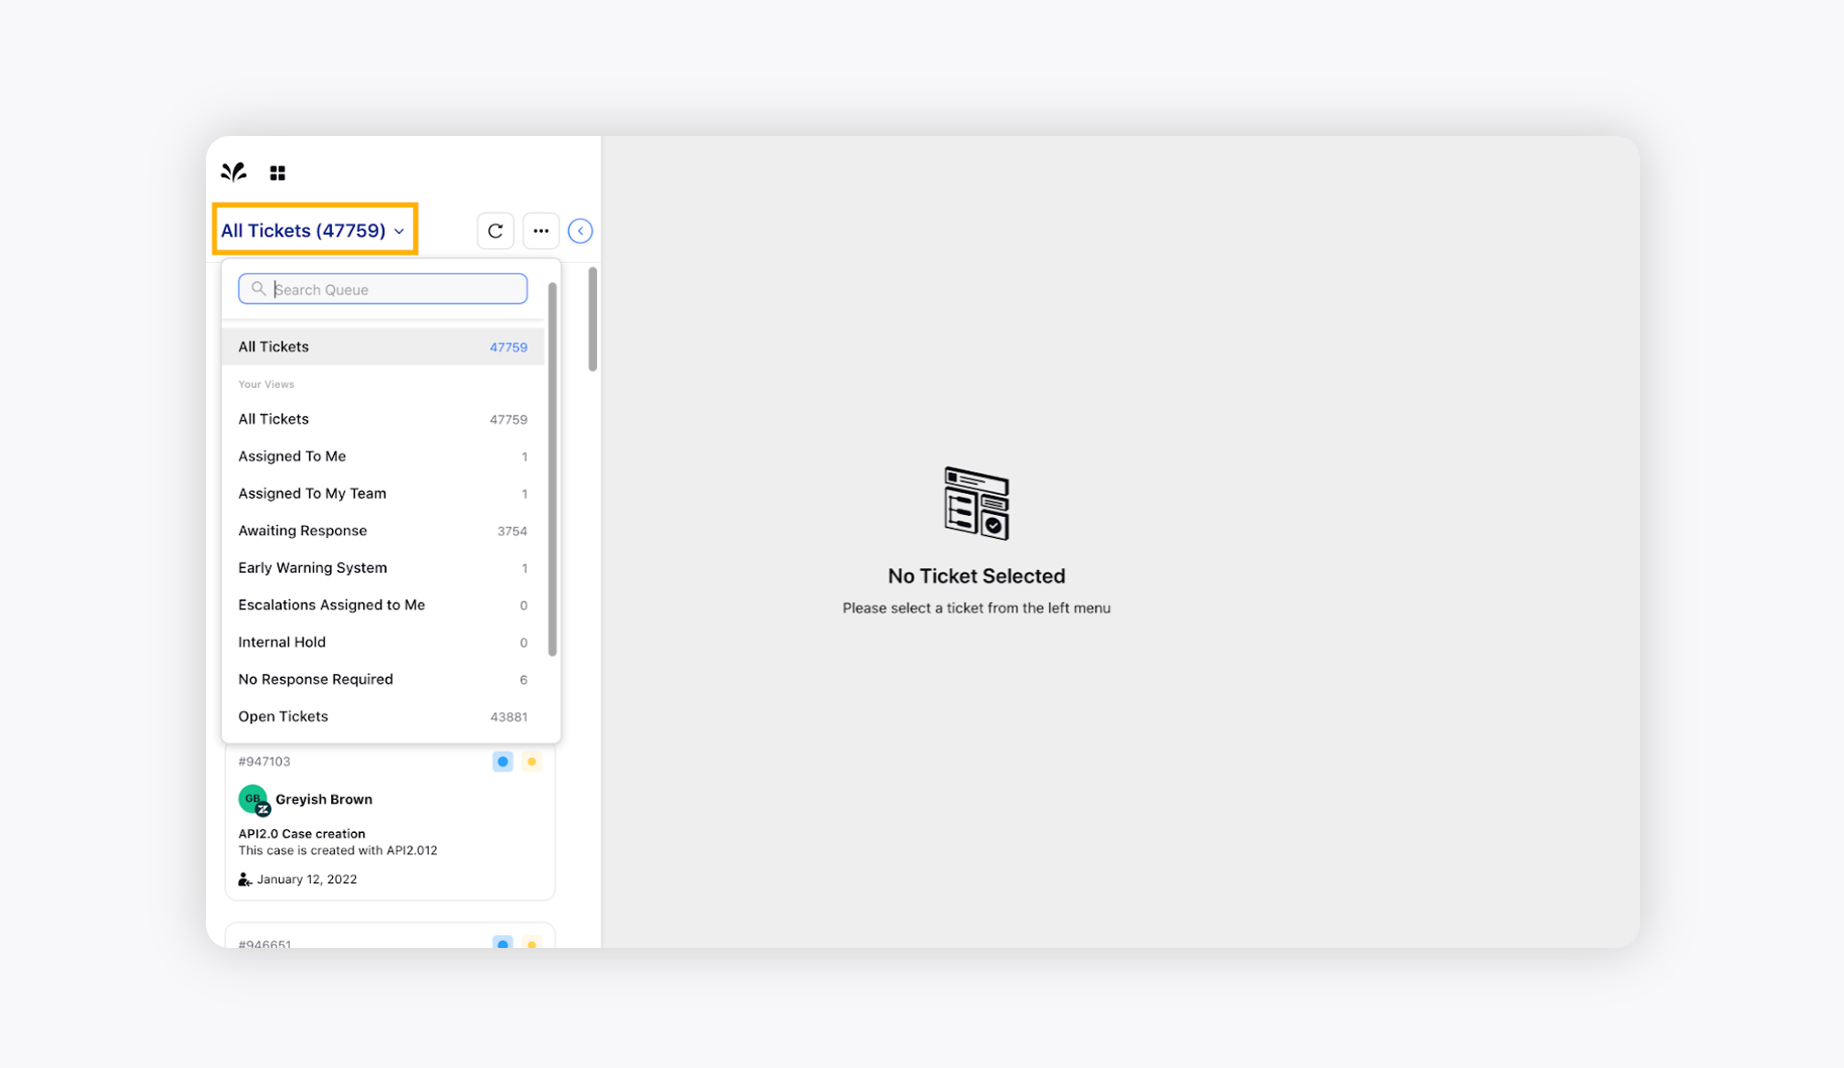
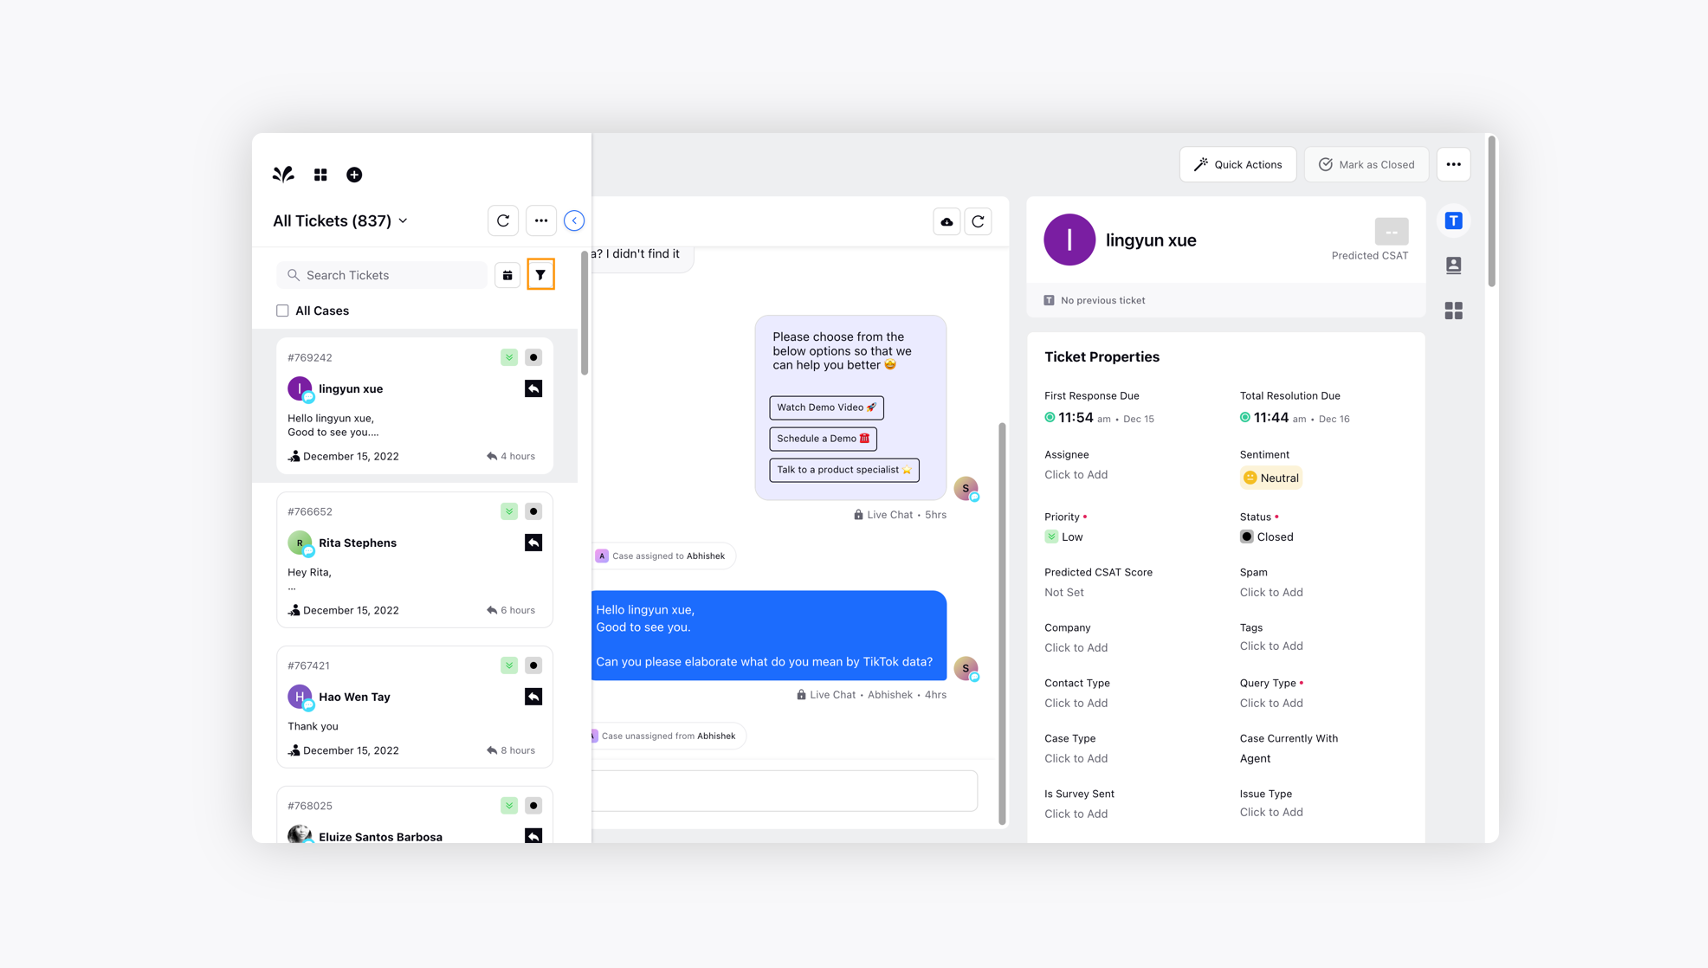
In the Care Console, by default, the Ticket Stream displays all the received tickets irrespective of their status, platform, assignment, priority etc. You have the ability to change the view depending on various options based on who the ticket is assigned to, its status, and more by selecting the View of your choice from the dropdown as shown below, else if you want a View that is not present in the list, then you can create one from the Settings section as well.
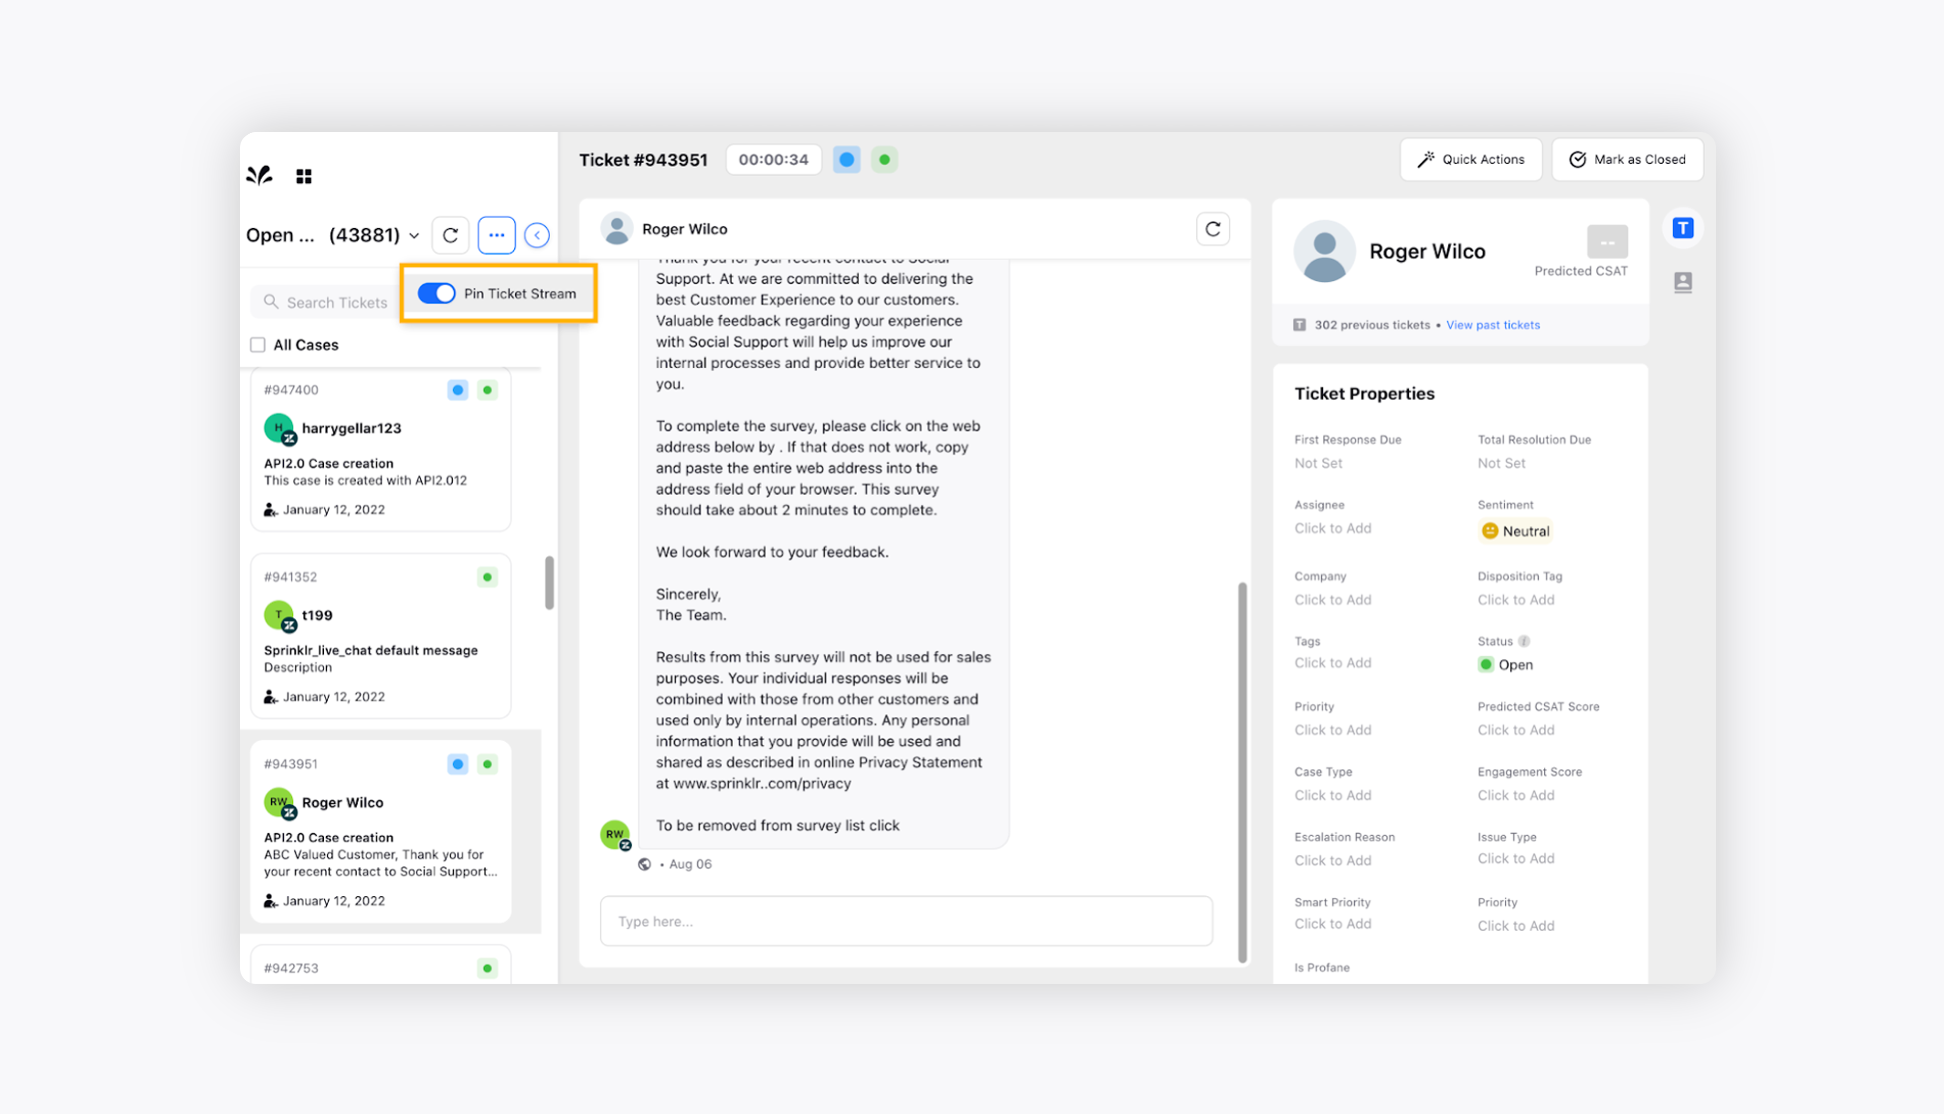
Pin Ticket Stream - Click the ellipsis icon and enable the Pin Ticket Stream toggle to pin the Ticket Stream within the agent console. Pinning the ticket stream will prevent it from collapsing and also provide you with the ability to go through all the tickets at once.
Ticket filtering and sorting
The Tickets Stream allows you to filter tickets based on different properties. This will provide you with a view where you can easily select the ticket that you want to work on. You can filter tickets based on the status, priority, case type, profile type, company, tags, escalation, etc.
Sort By - You can use Sort By functionality to organise your tickets in a particular order allowing for tickets and associated information to be found easier. For example, the Case Creation Time may be used to sort tickets in ascending/descending order.

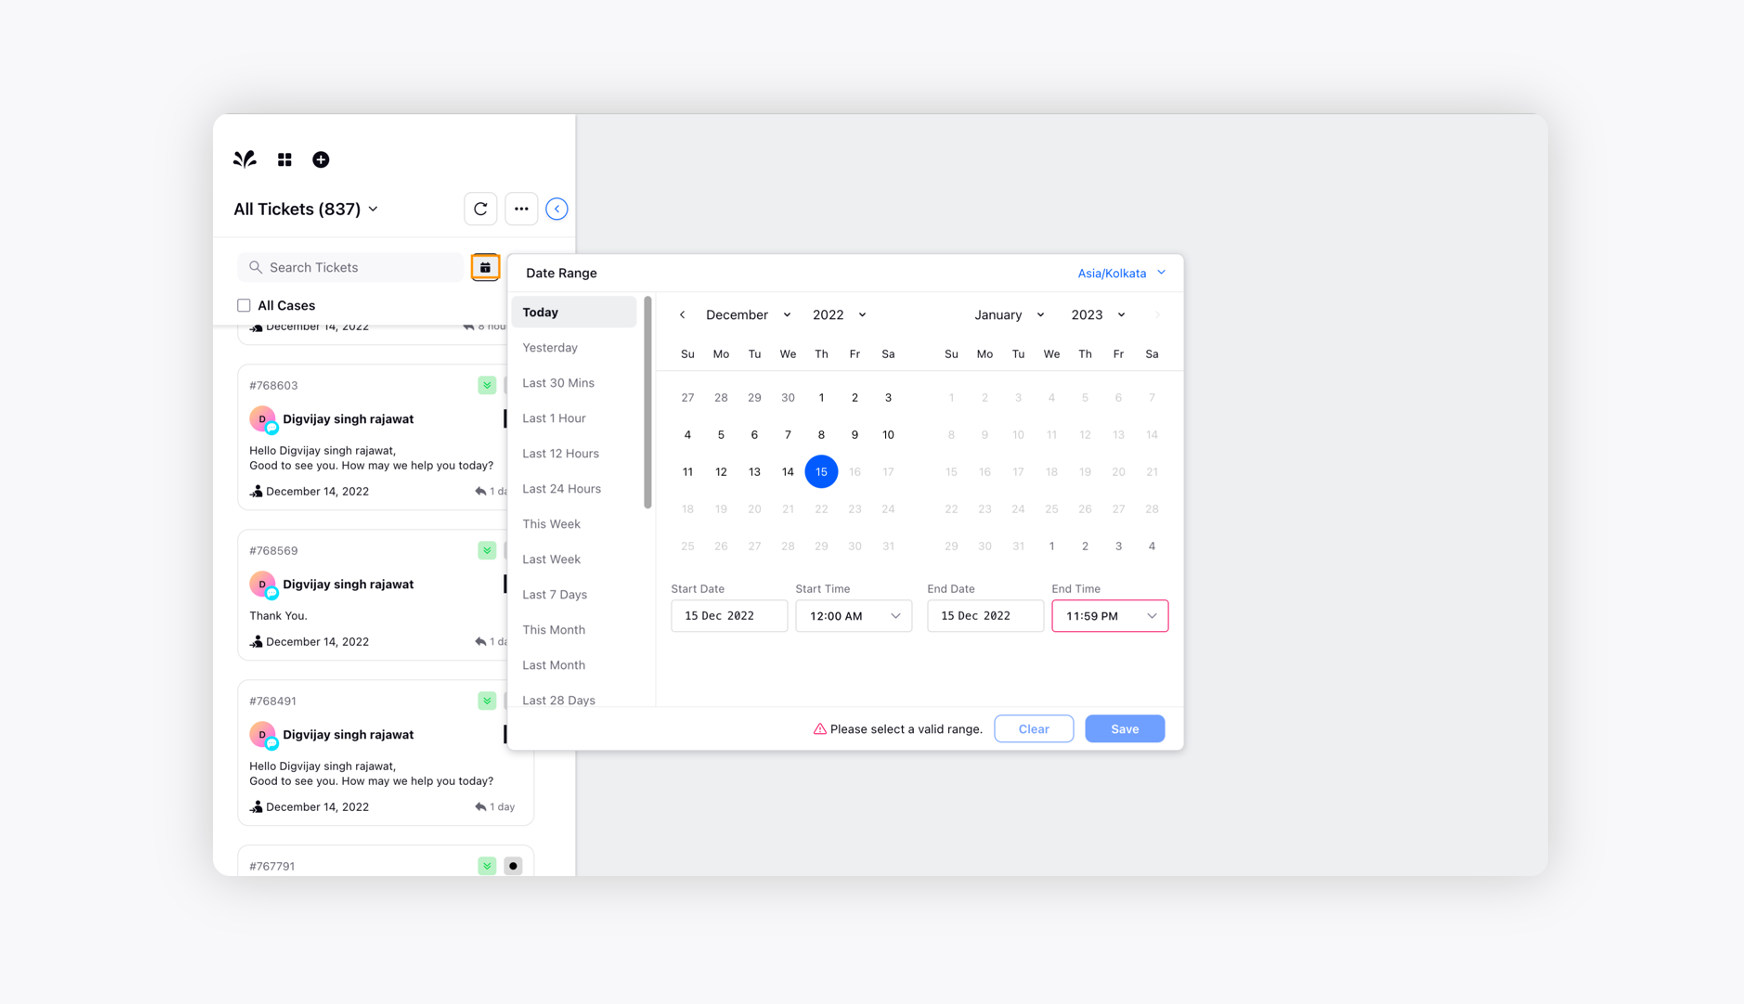
Tickets filtering based on Date Range
In the Care Console, you can use the Date Range to limit the results on the Ticket Stream that falls in a certain date and time range to give you a consolidated view.
Assign Tickets
If an agent receives a ticket that doesn’t fall under their expertise, they can easily assign it to other agents within the care console. This ultimately results in a better customer experience and a timely resolution.
To assign tickets to different agents, check the box alongside the desired ticket and click Assign from the Floating Pane.You can assign multiple tickets to the desired agent with the help of Assign capability.
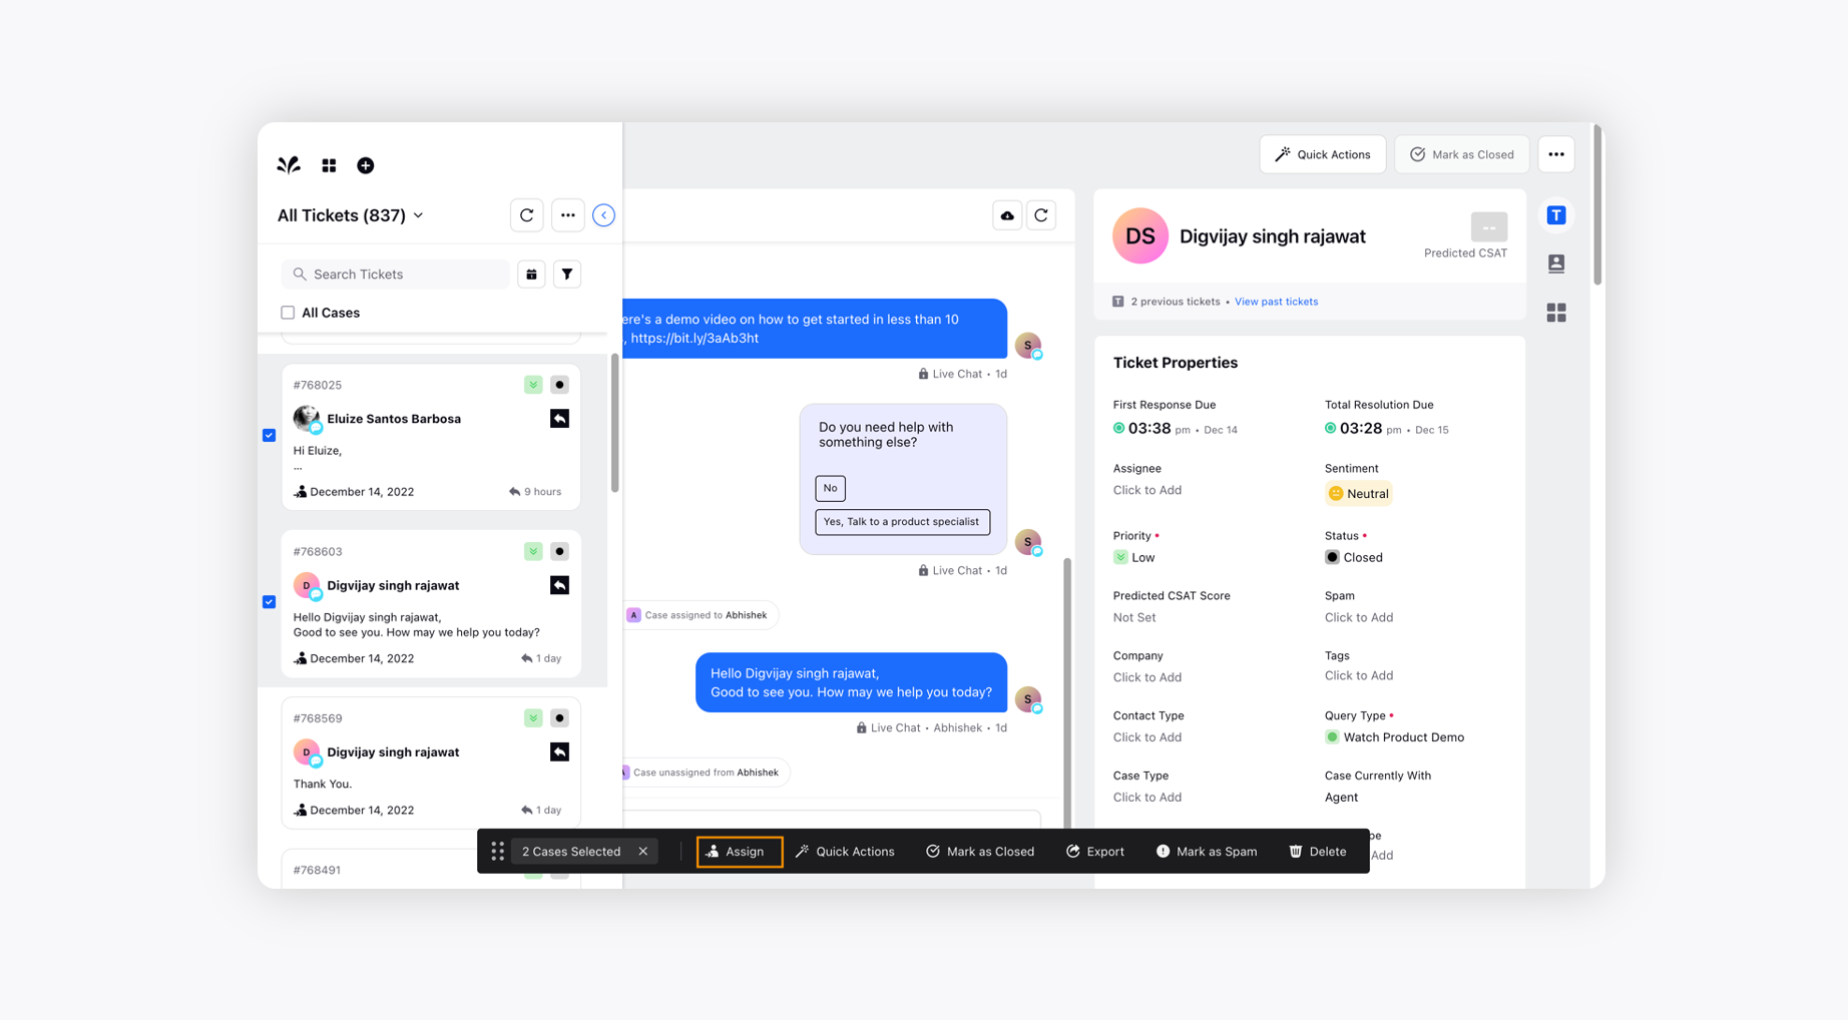
On the Assign Ticket pop-up window, select the assignee from the drop-down menu and click Assign.

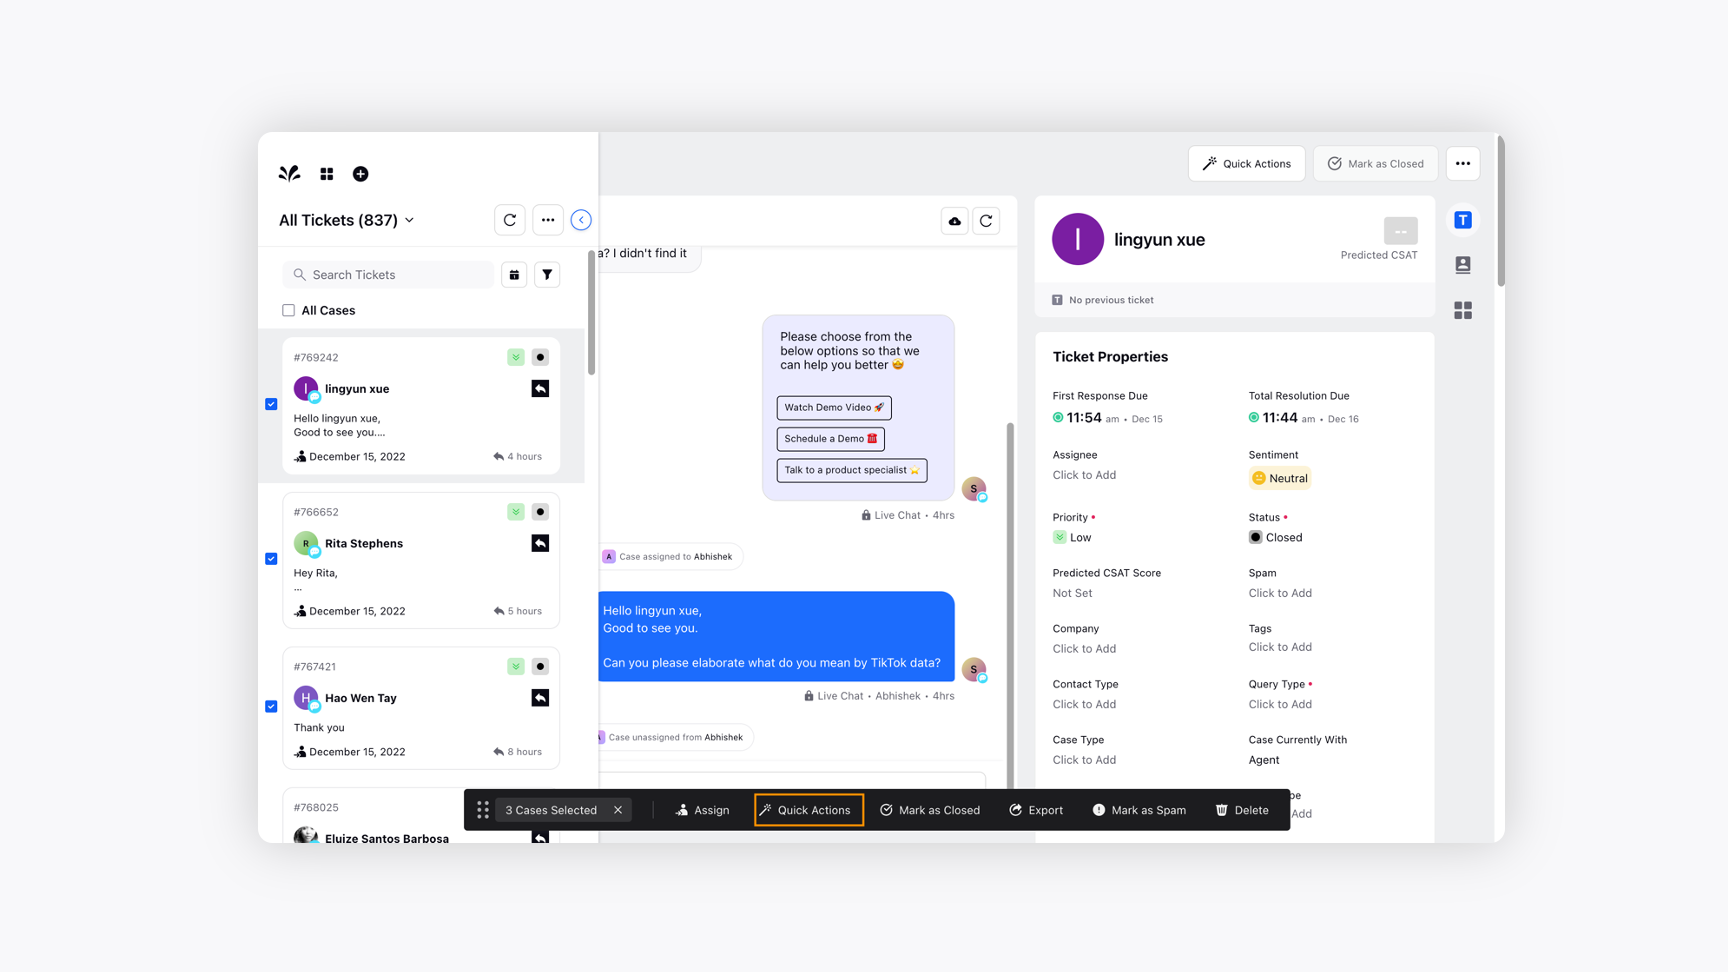
Apply Quick Actions
Quick Actions are a combination of frequently performed actions on tickets. They help you bring down multiple actions to a single click, thereby saving time and increasing work efficiency.
For example, if you need to frequently perform a set of actions on a ticket, such as changing its status, changing the assignee, and adding a note; you can create a quick action to execute them all in one click. To learn how to apply quick actions see, click here
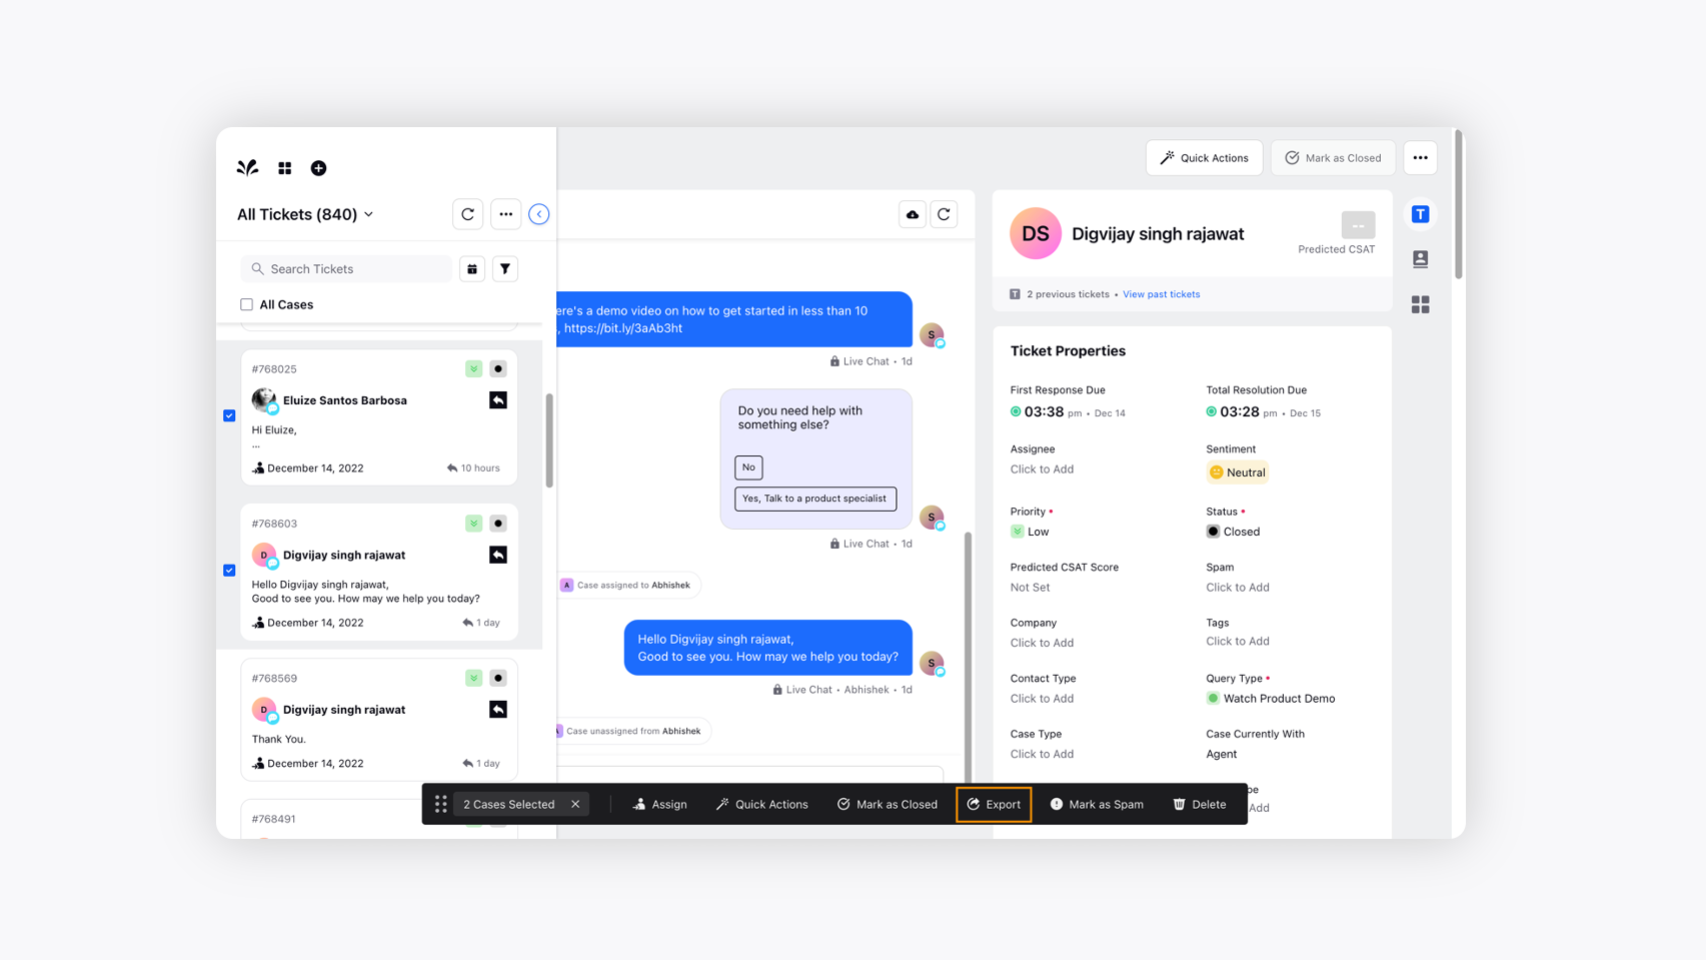
Export Ticket Fields
Export capability in Sprinklr Service allows you to create reports on received tickets and understand performance. It also helps you measure turnaround times for different teams and measure all the key performance indicators (KPIs).
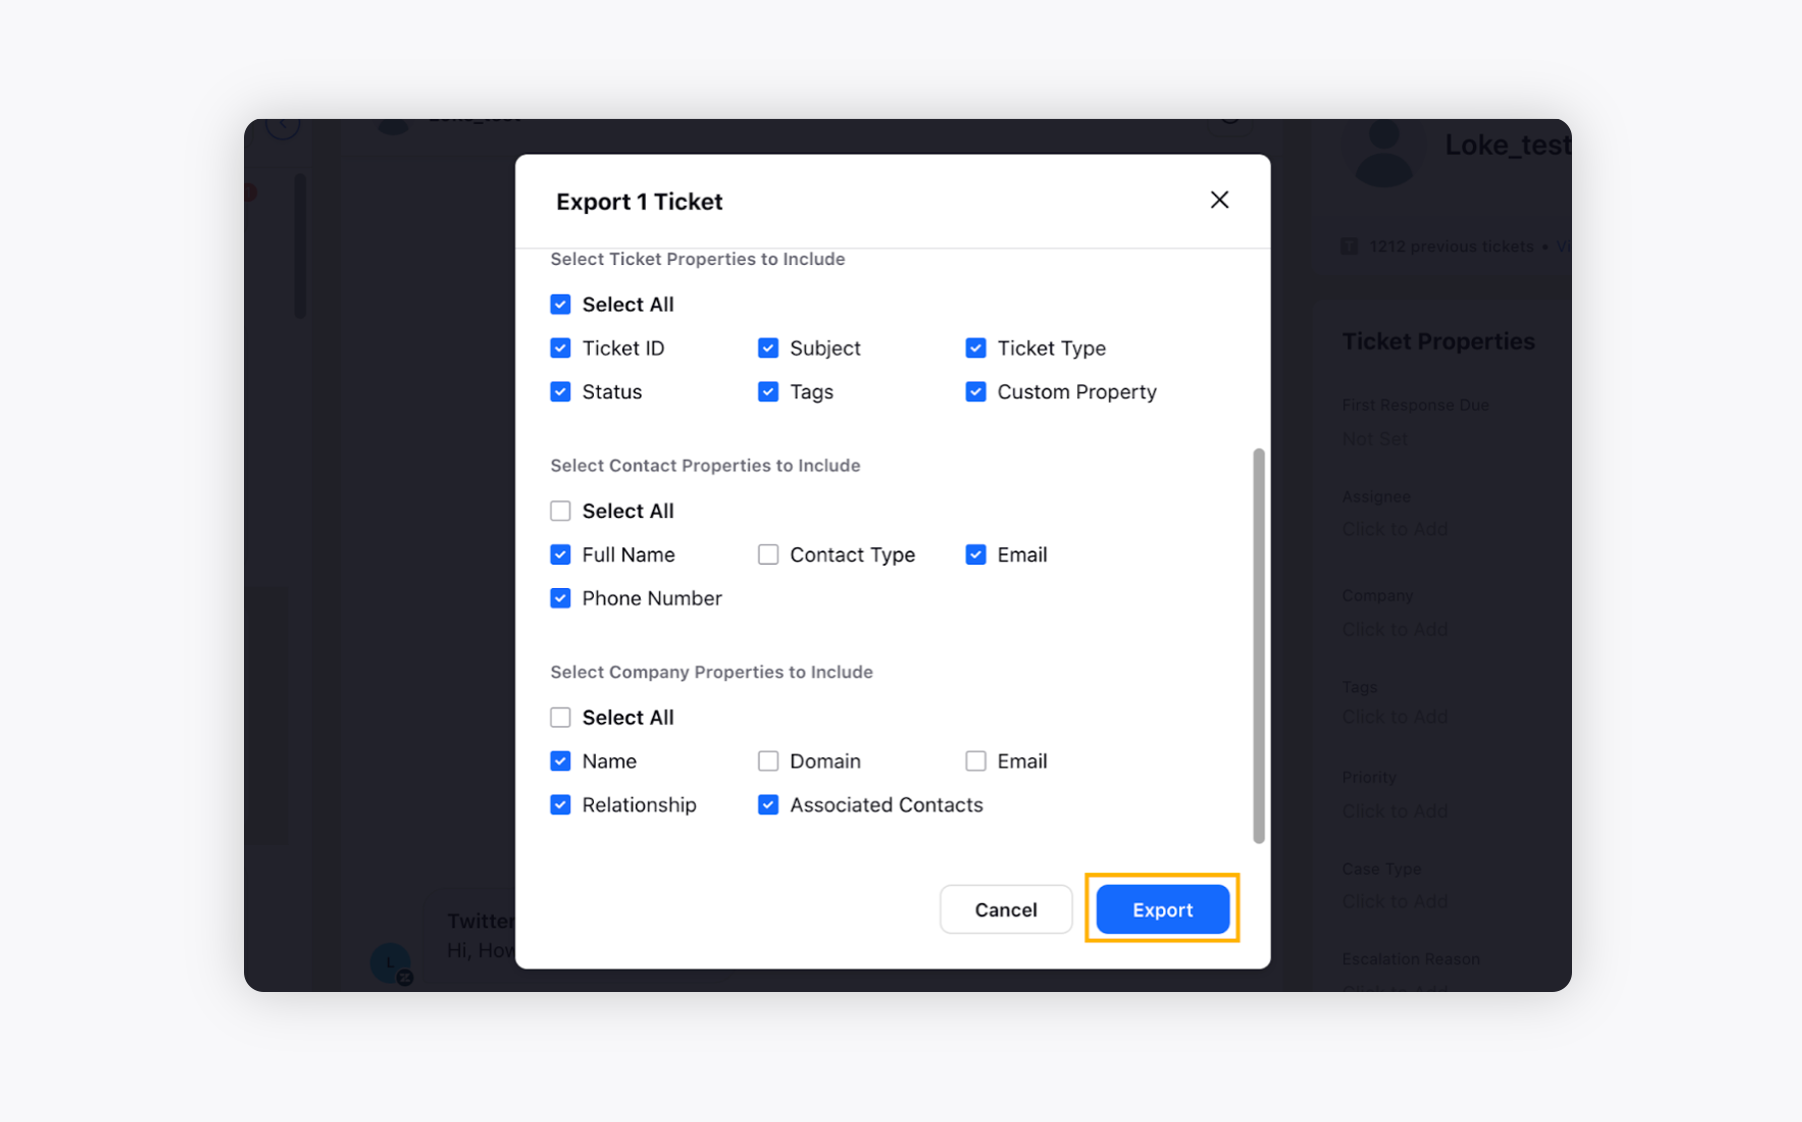
You can also export Contact and Company fields that can be used to supplement the analyses you may conduct with your analytics tools.
Select the desired Tickets and click Export in the Floating Pane.
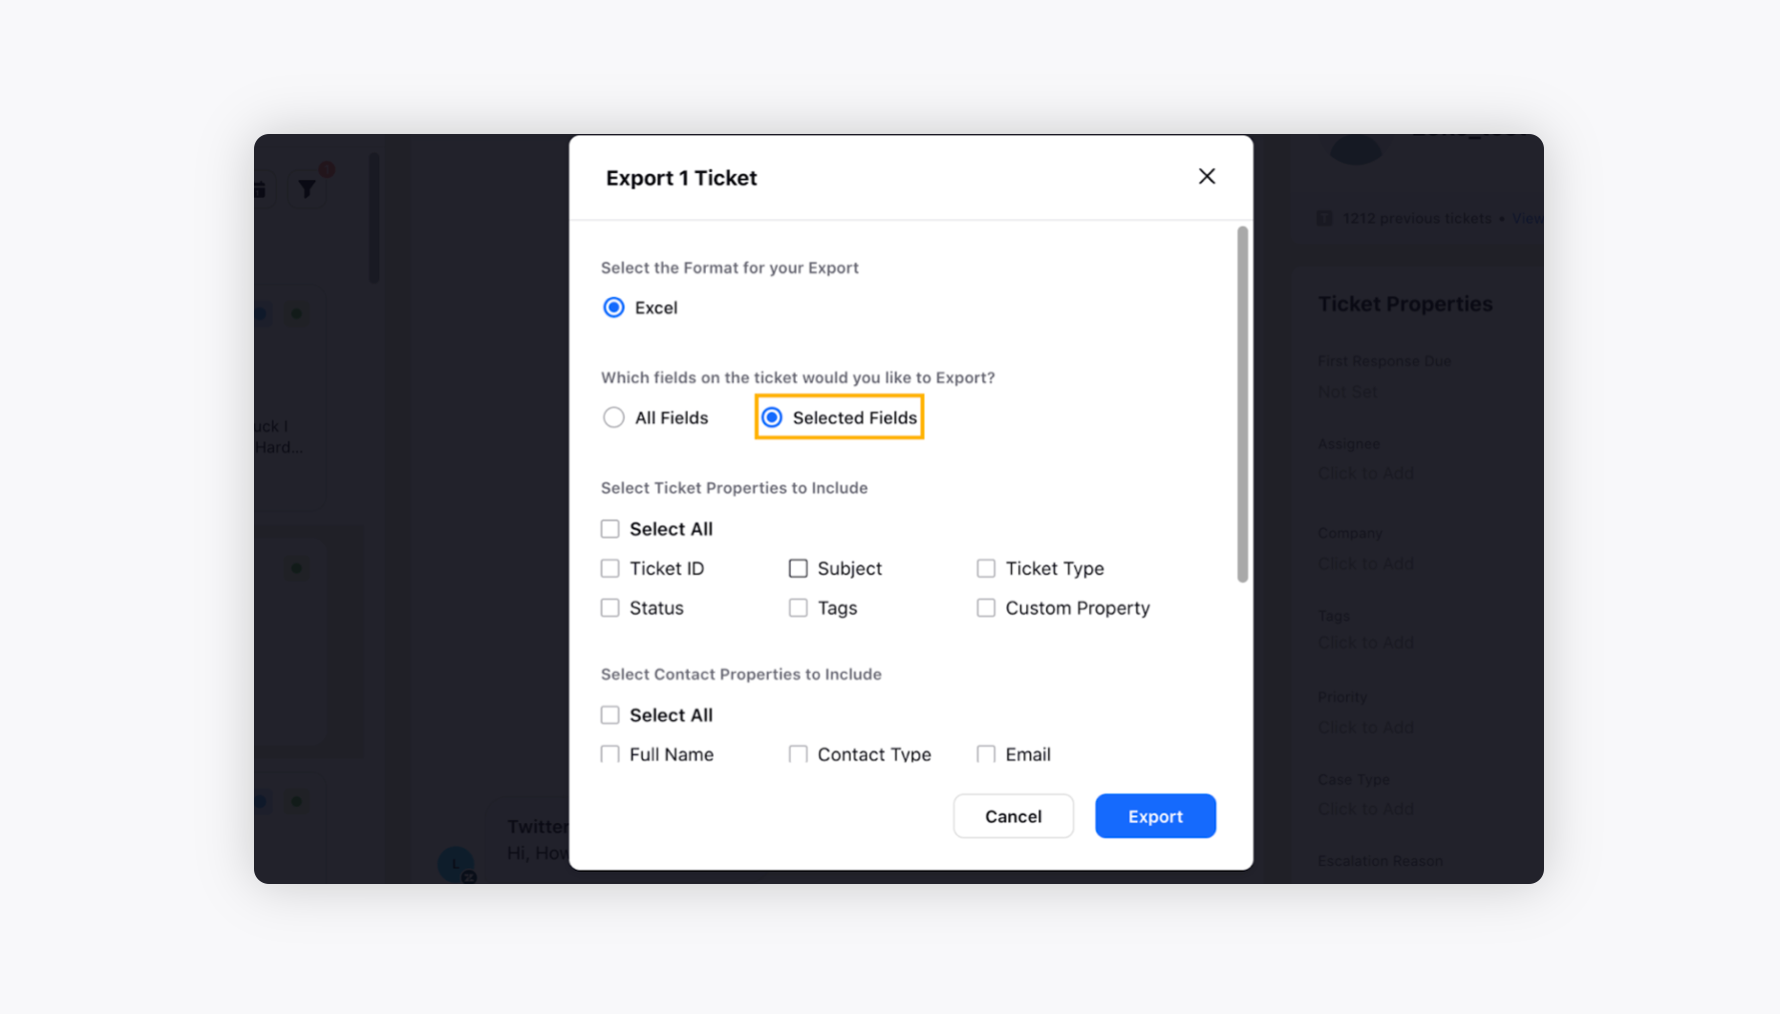
Click Selected Fields to add the desired fields to your exported data on the Export Ticket pop-up window.
Currently, you can export your ticket fields in Excel format only.
By default, all fields will be exported.
Click Export once you have selected the field that you want to export. The export will be sent to your mailbox in a few minutes.
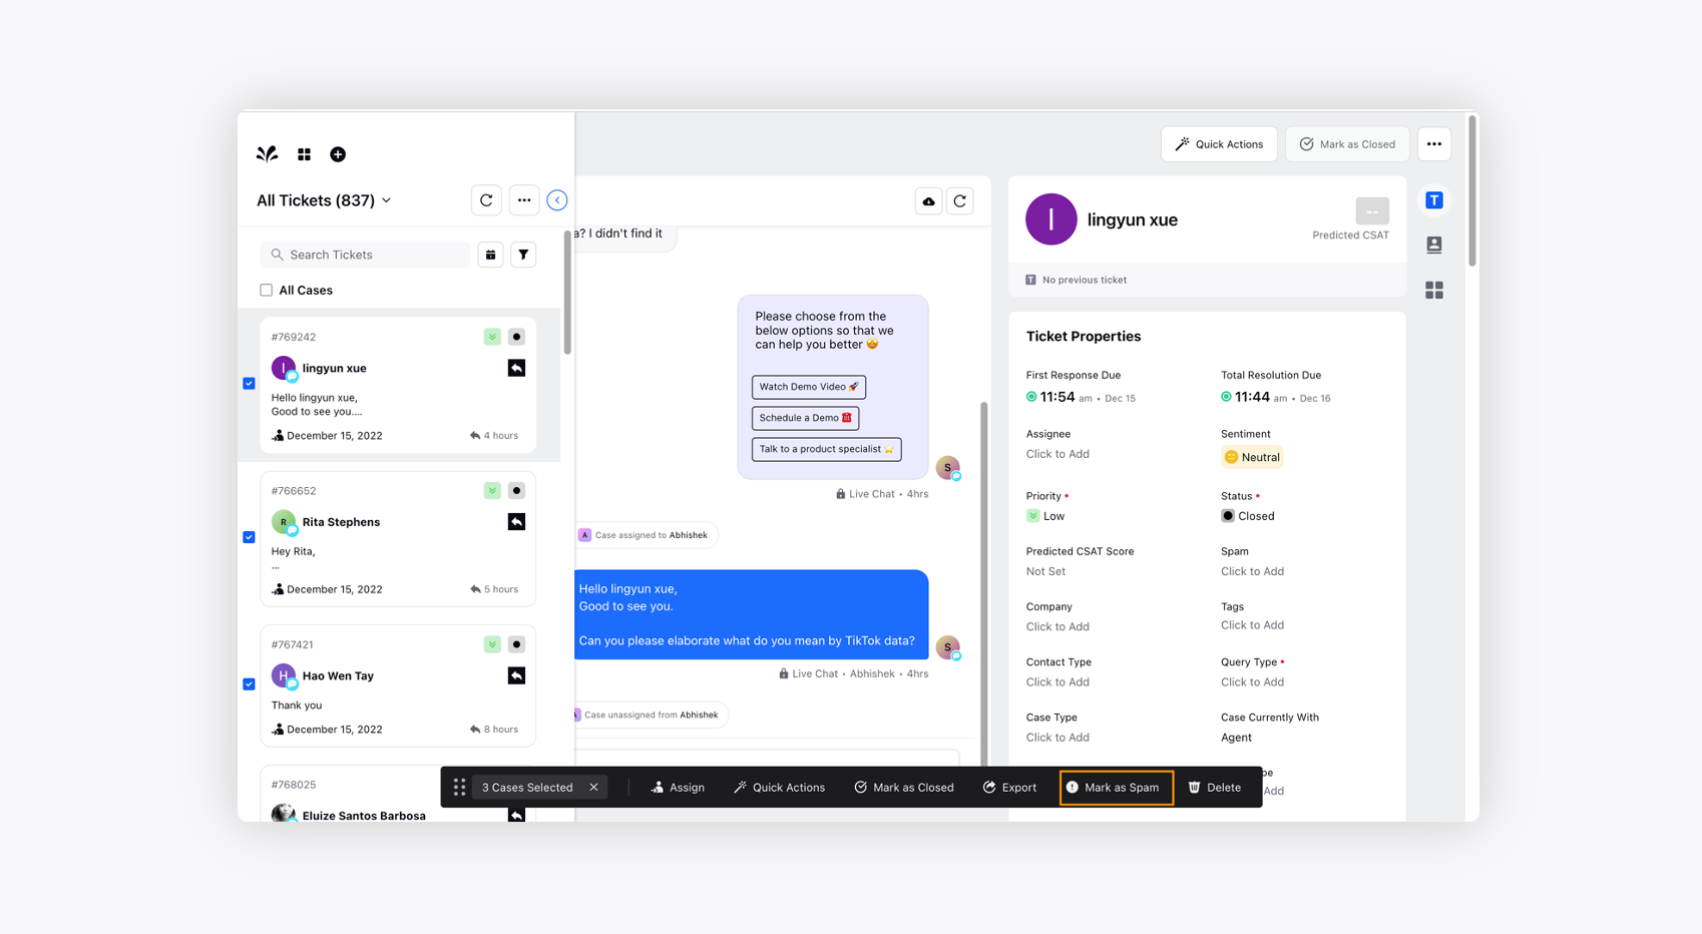
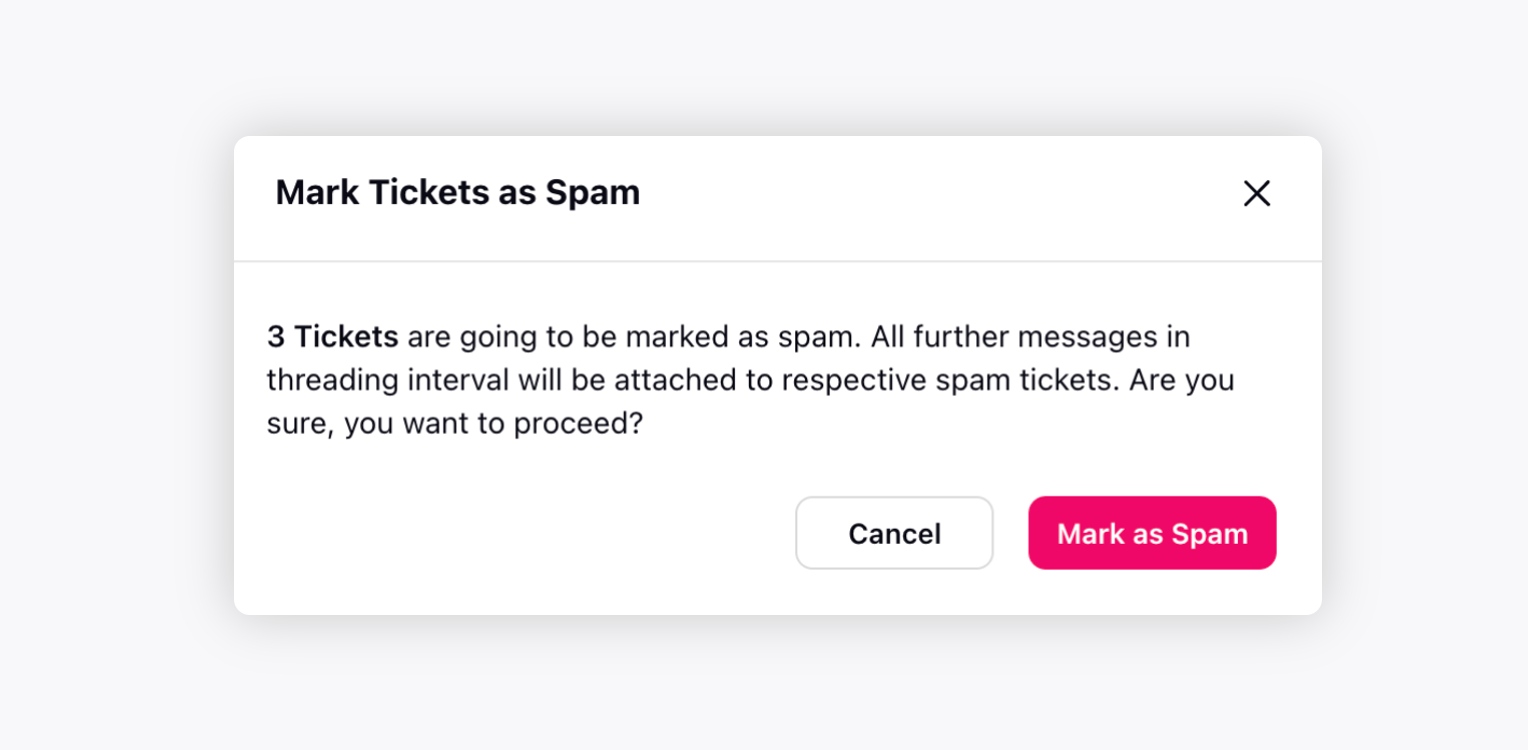
Mark as Spam
The tickets selected as Marked as Spam will go to the spam folder.
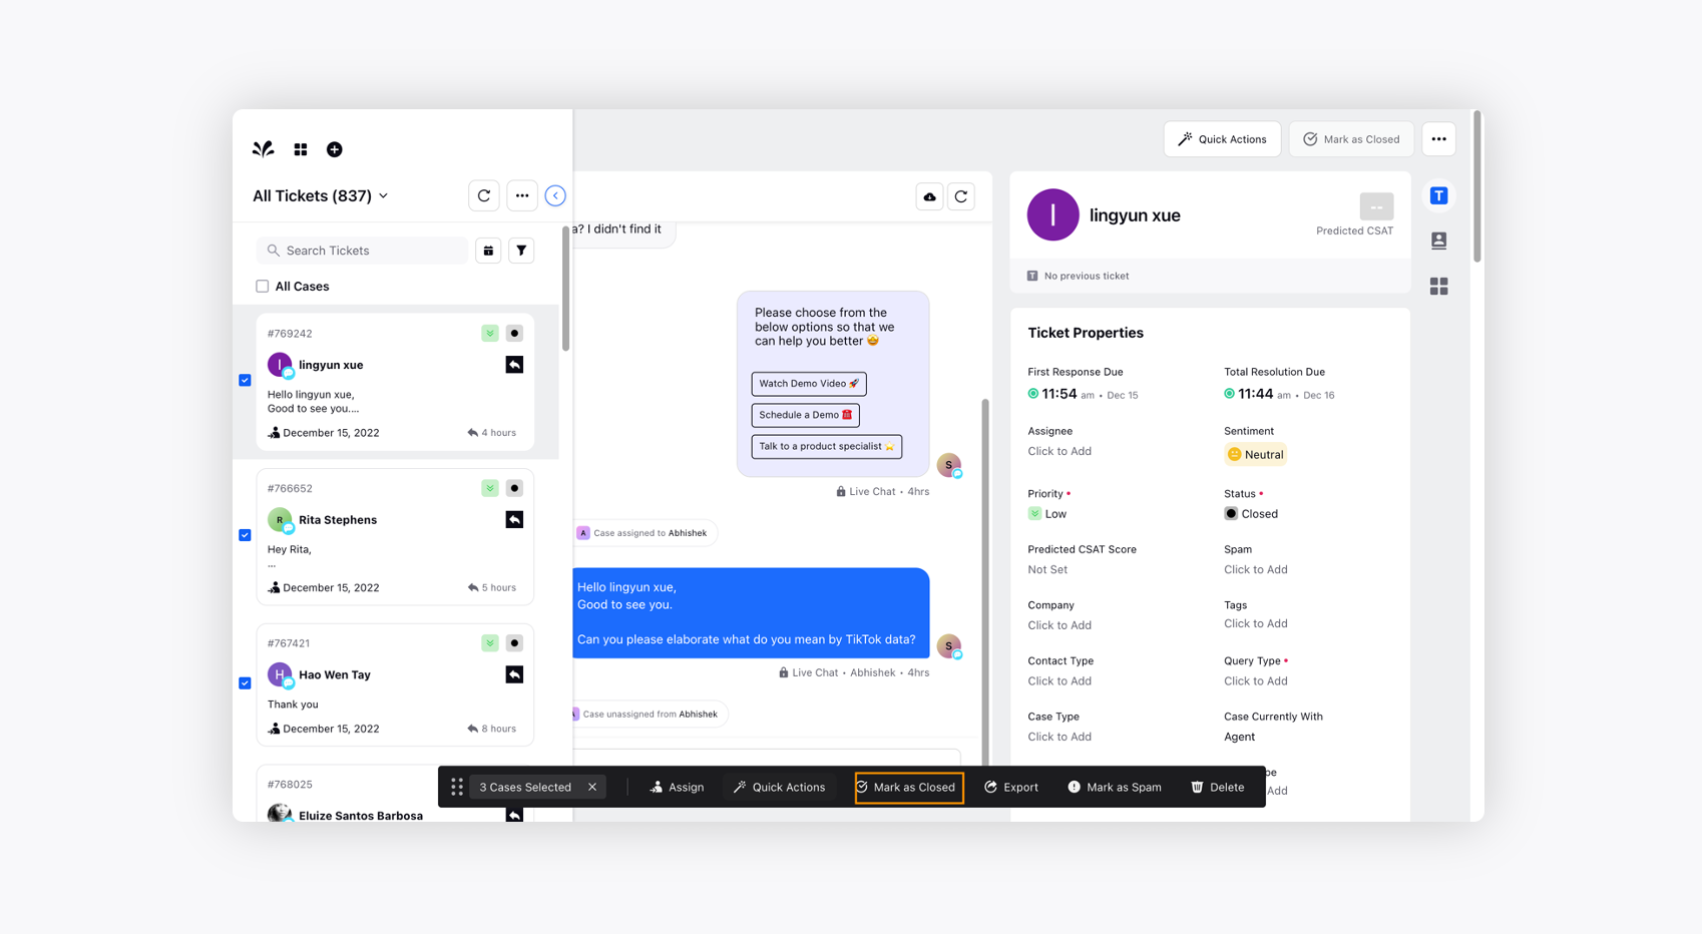
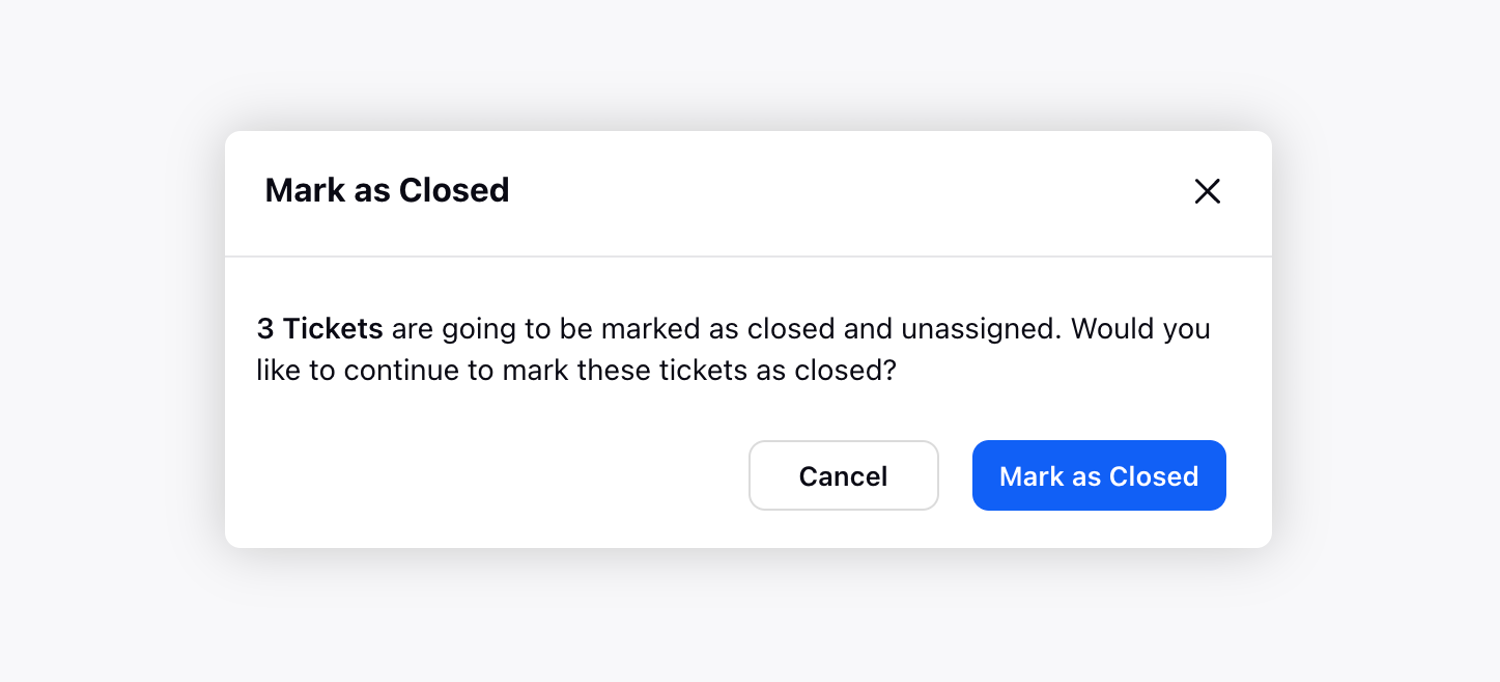
Mark as Closed
The tickets selected as Marked as Closed will be unassigned and will be closed.