
Using Quick Actions in Care Console
Updated
Learn how Quick Actions in Care Console reduces multiple clicks on routine actions to a single click - saving the agent's time and increasing productivity manifold.
Quick Actions are a combination of frequently performed actions on tickets that you can execute with a single click. They are also known as Macros which helps you and your agents bring down multiple repetitive actions to a single click, saving time and increasing work efficiency.
For example, if you need to frequently perform a set of actions on a ticket, such as changing its status, changing the assignee, and adding a note, you can create a Quick Action to execute them all in one click.
Before you begin
Learn how to create a Quick Action. See, Quick Actions.
How to use Quick Actions in the Care Console
On the Sprinklr Service Home window, click on the Tickets icon in the left navigation pane.
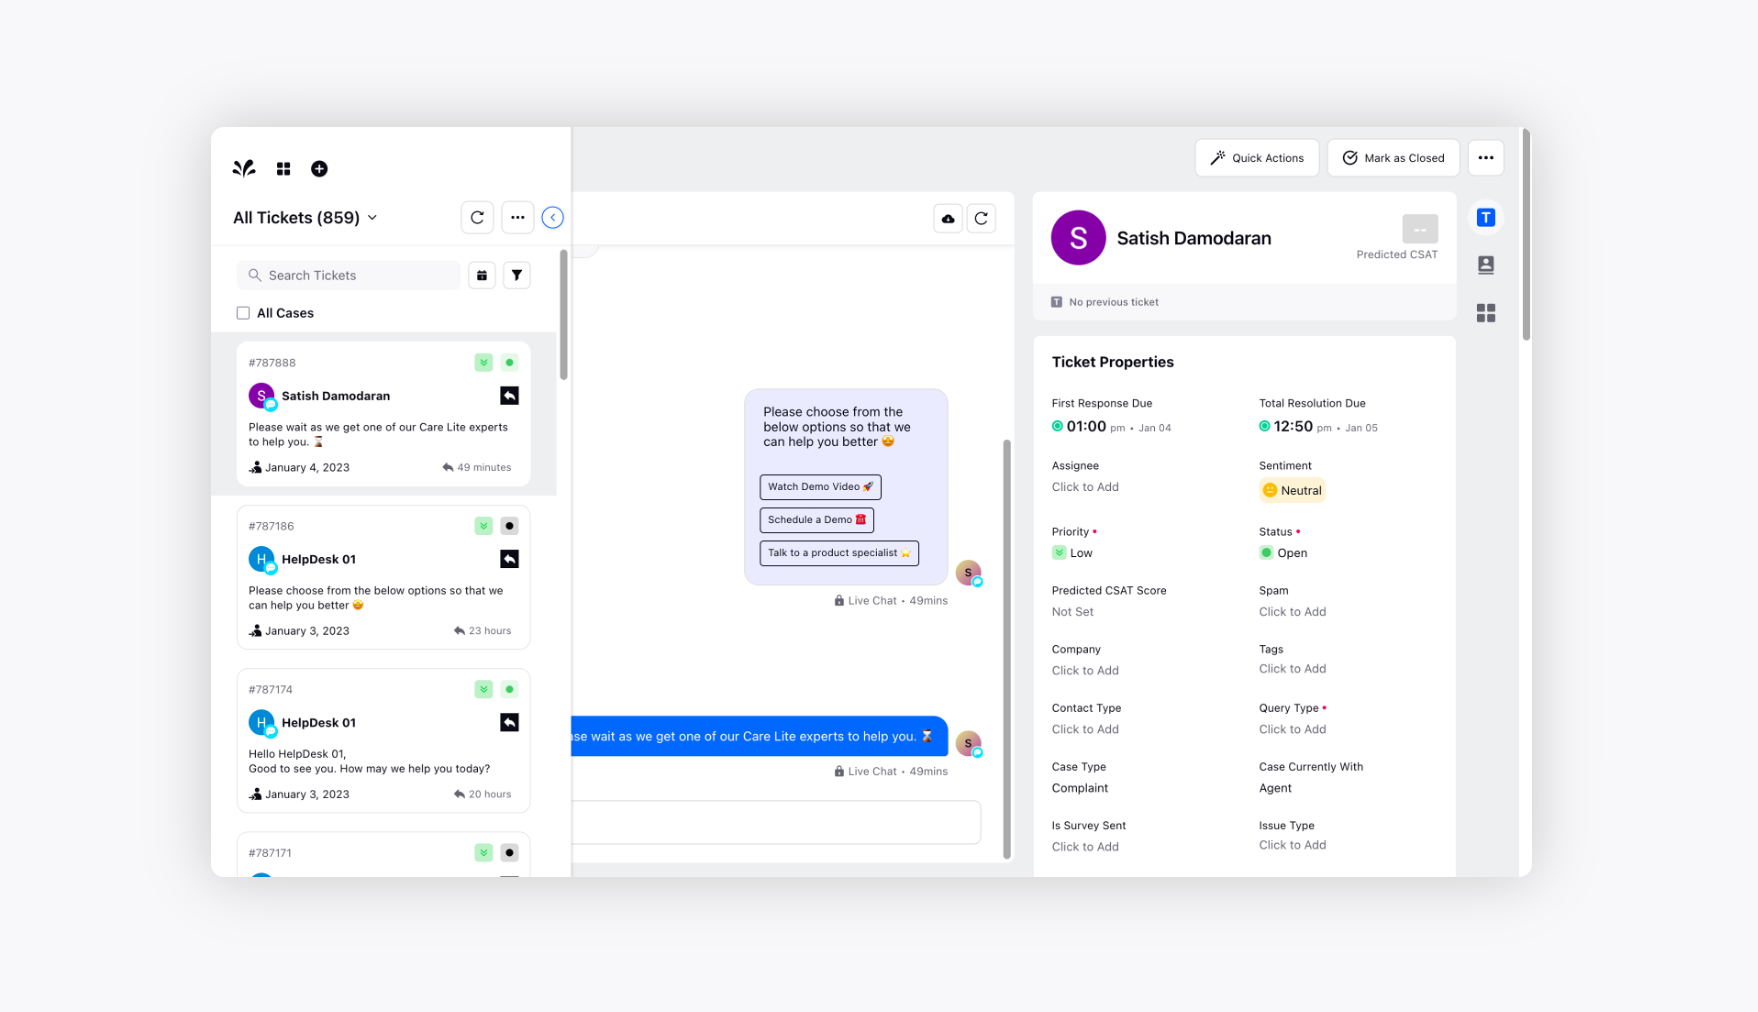
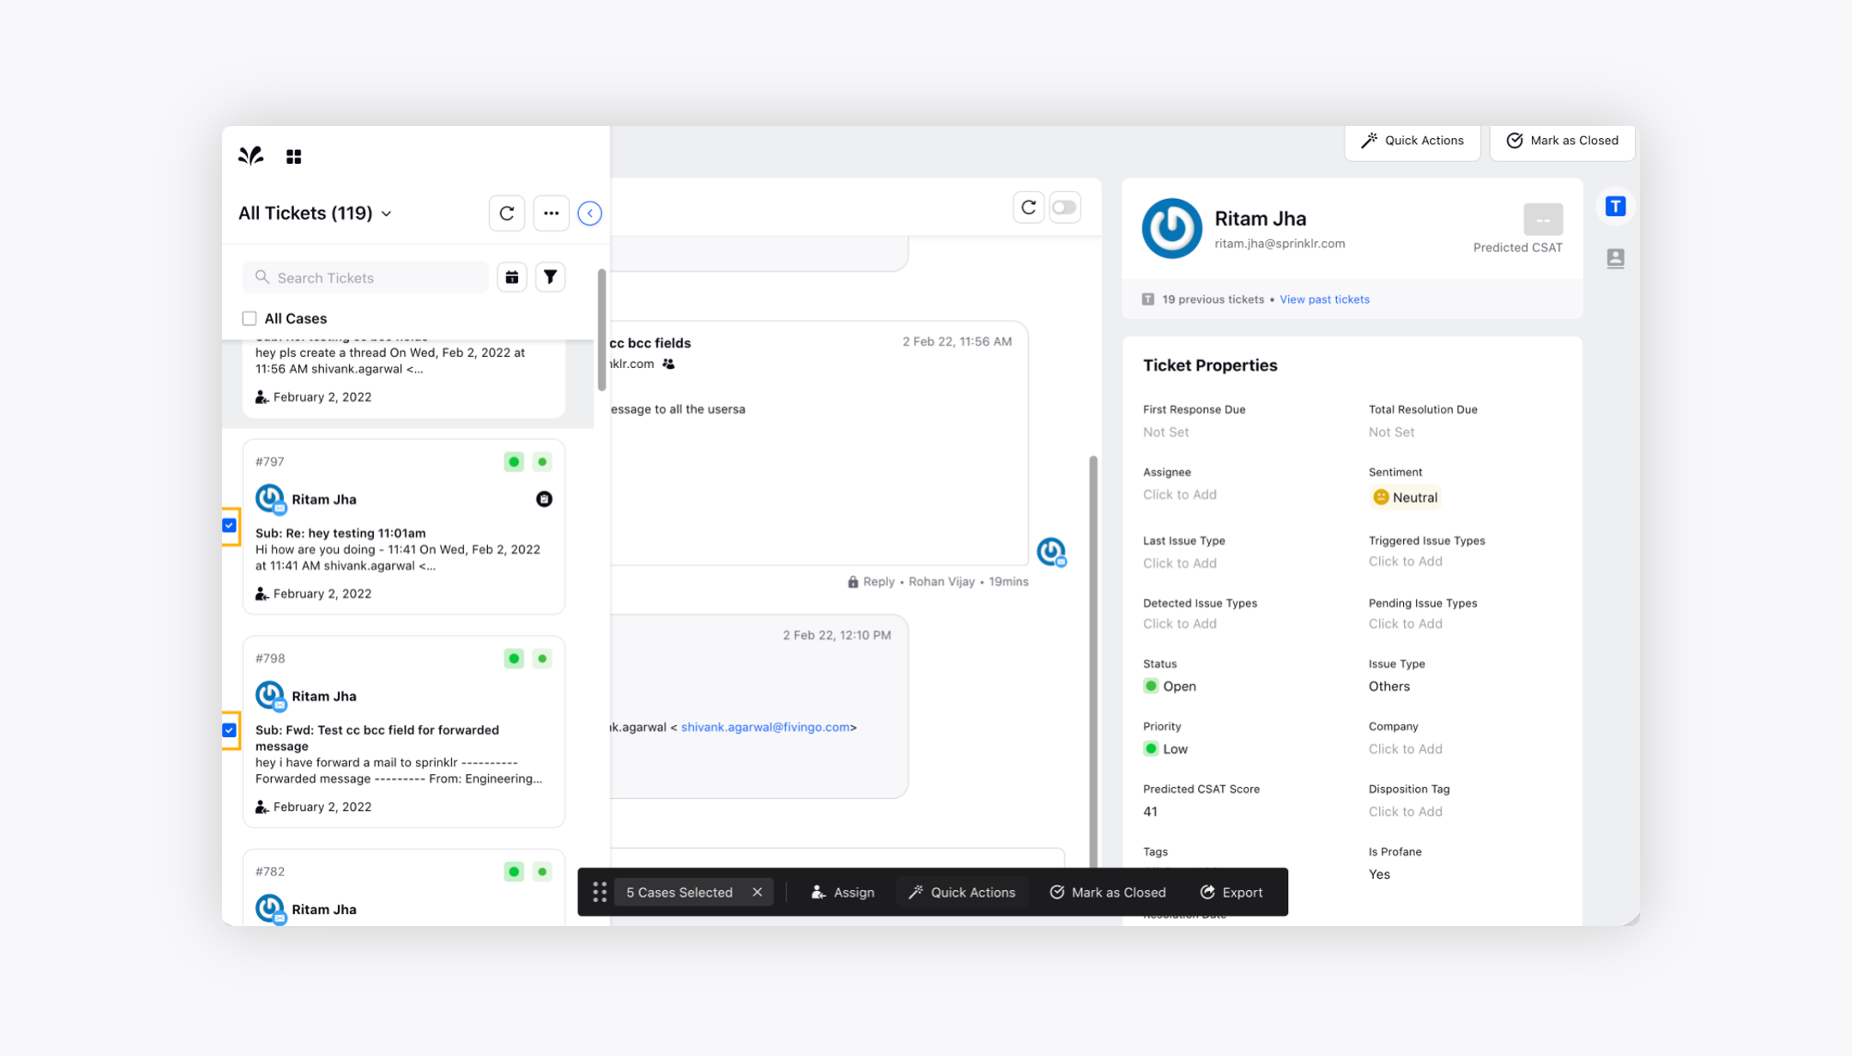
On the Sprinklr Self-Serve window, select the tickets that you want to respond to from the Ticket stream on the left.
Once you have selected the ticket, click Quick Actions in the top right corner.
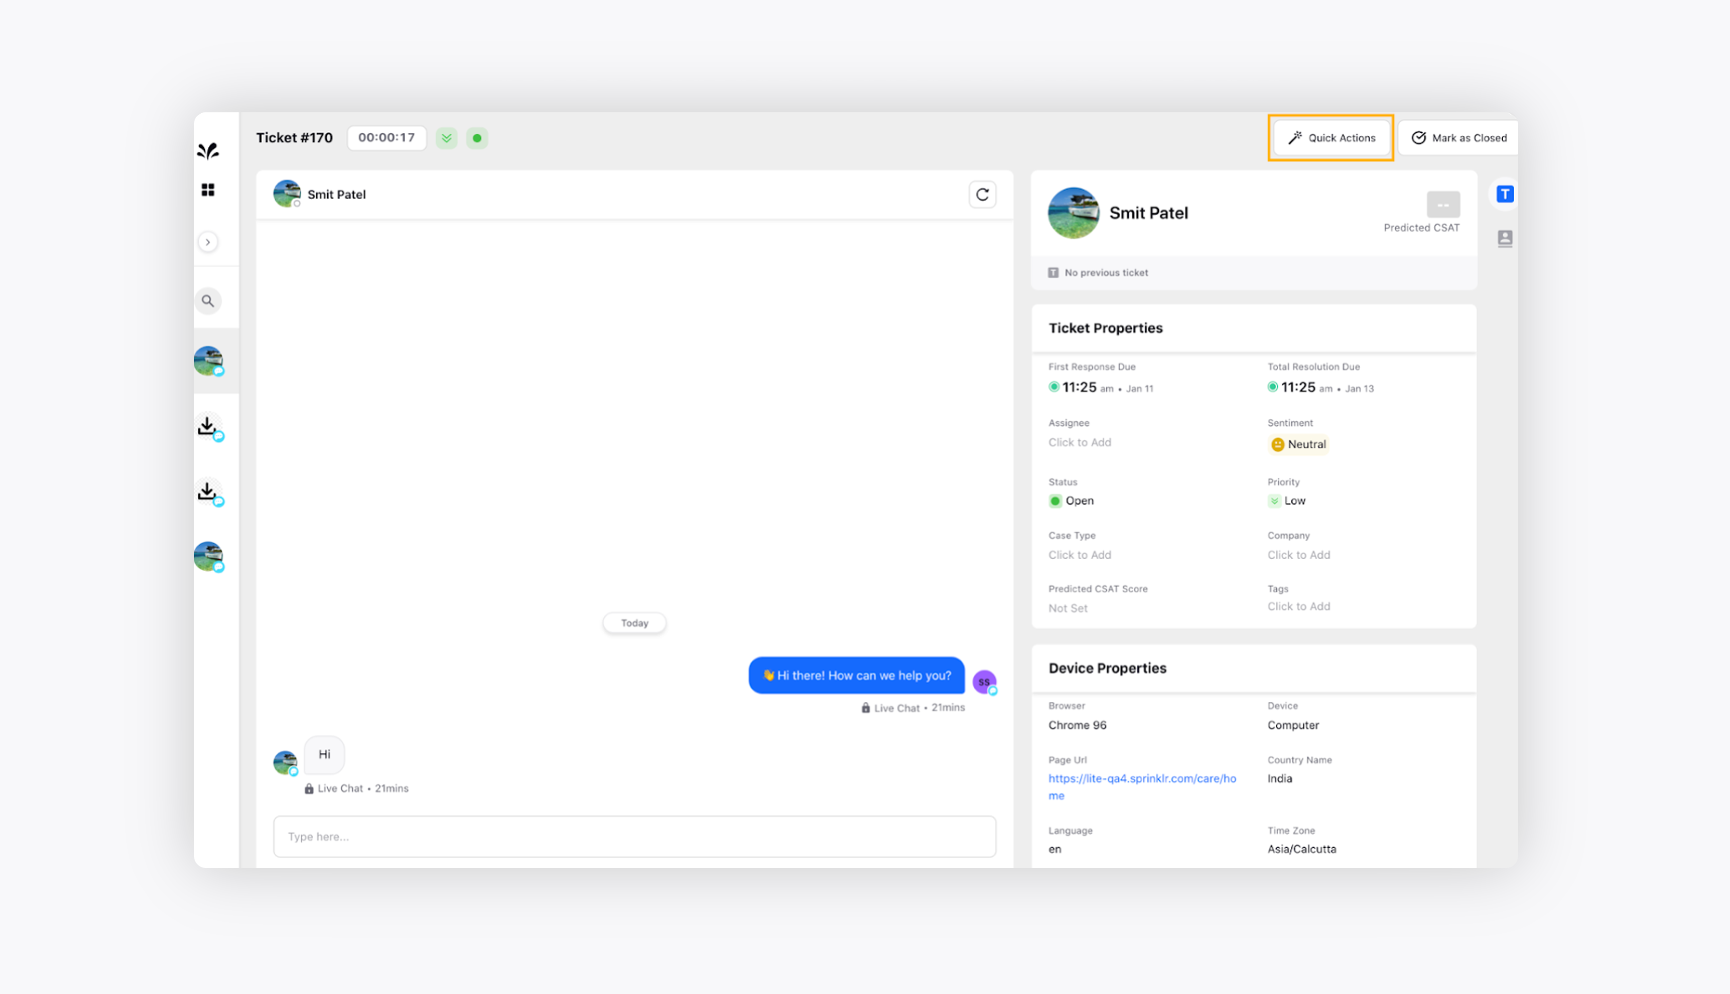
Select the Quick Action that you want to apply to your ticket.
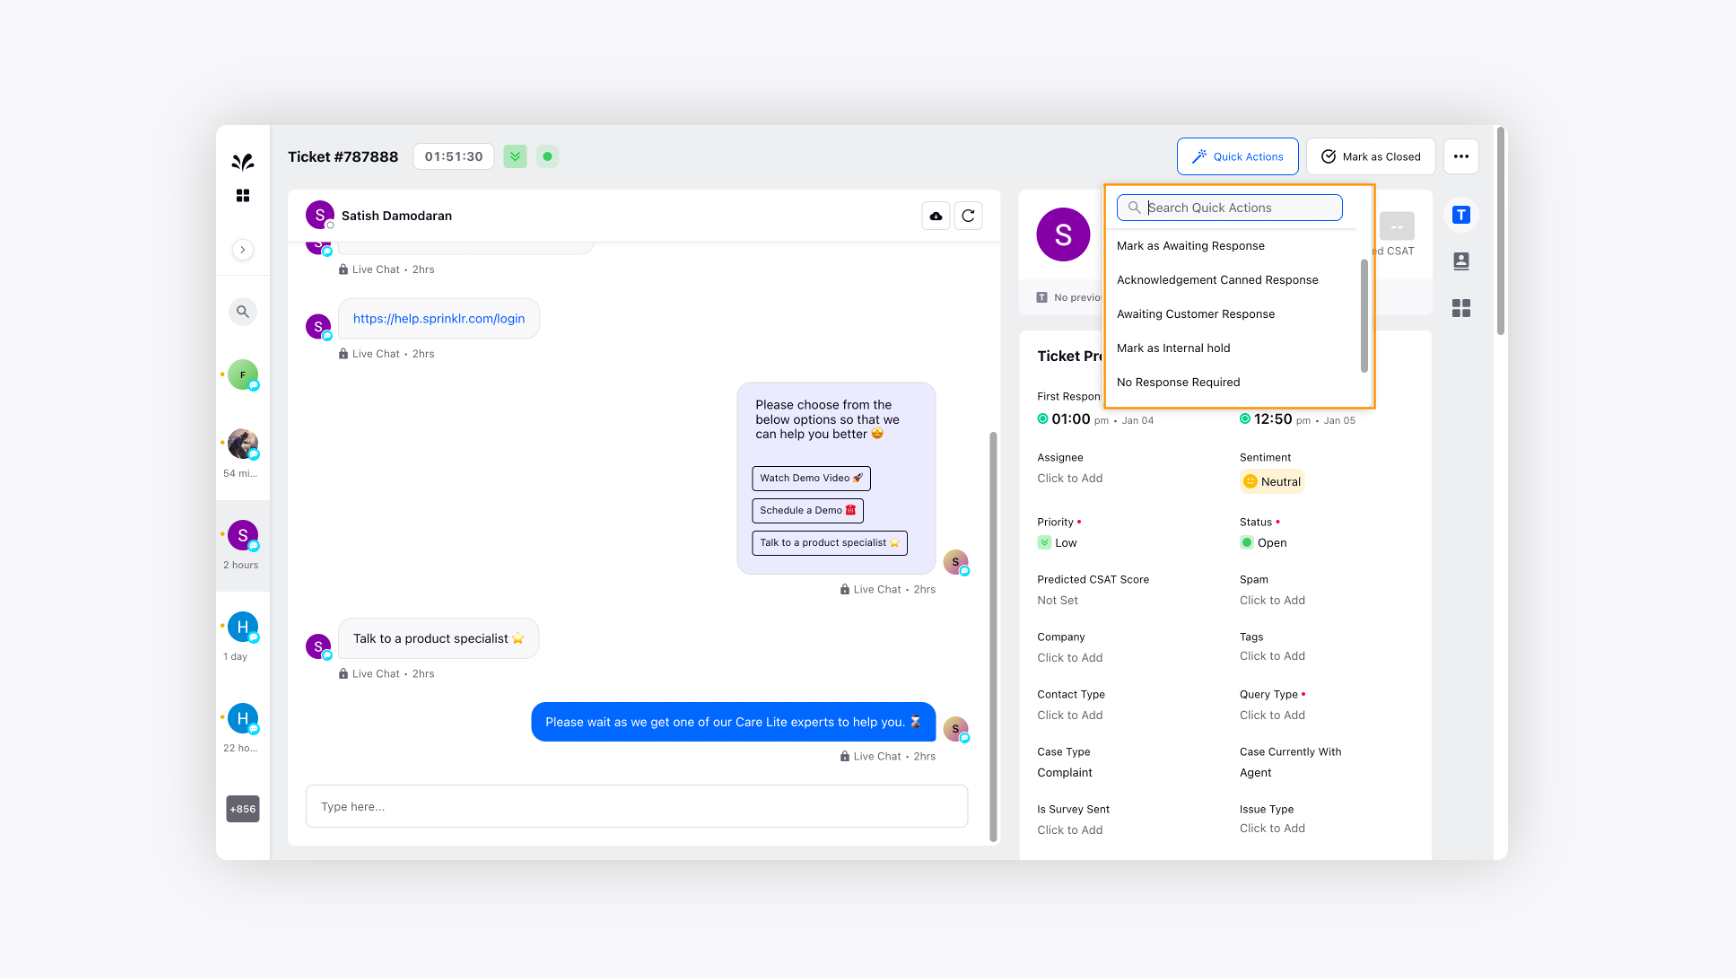
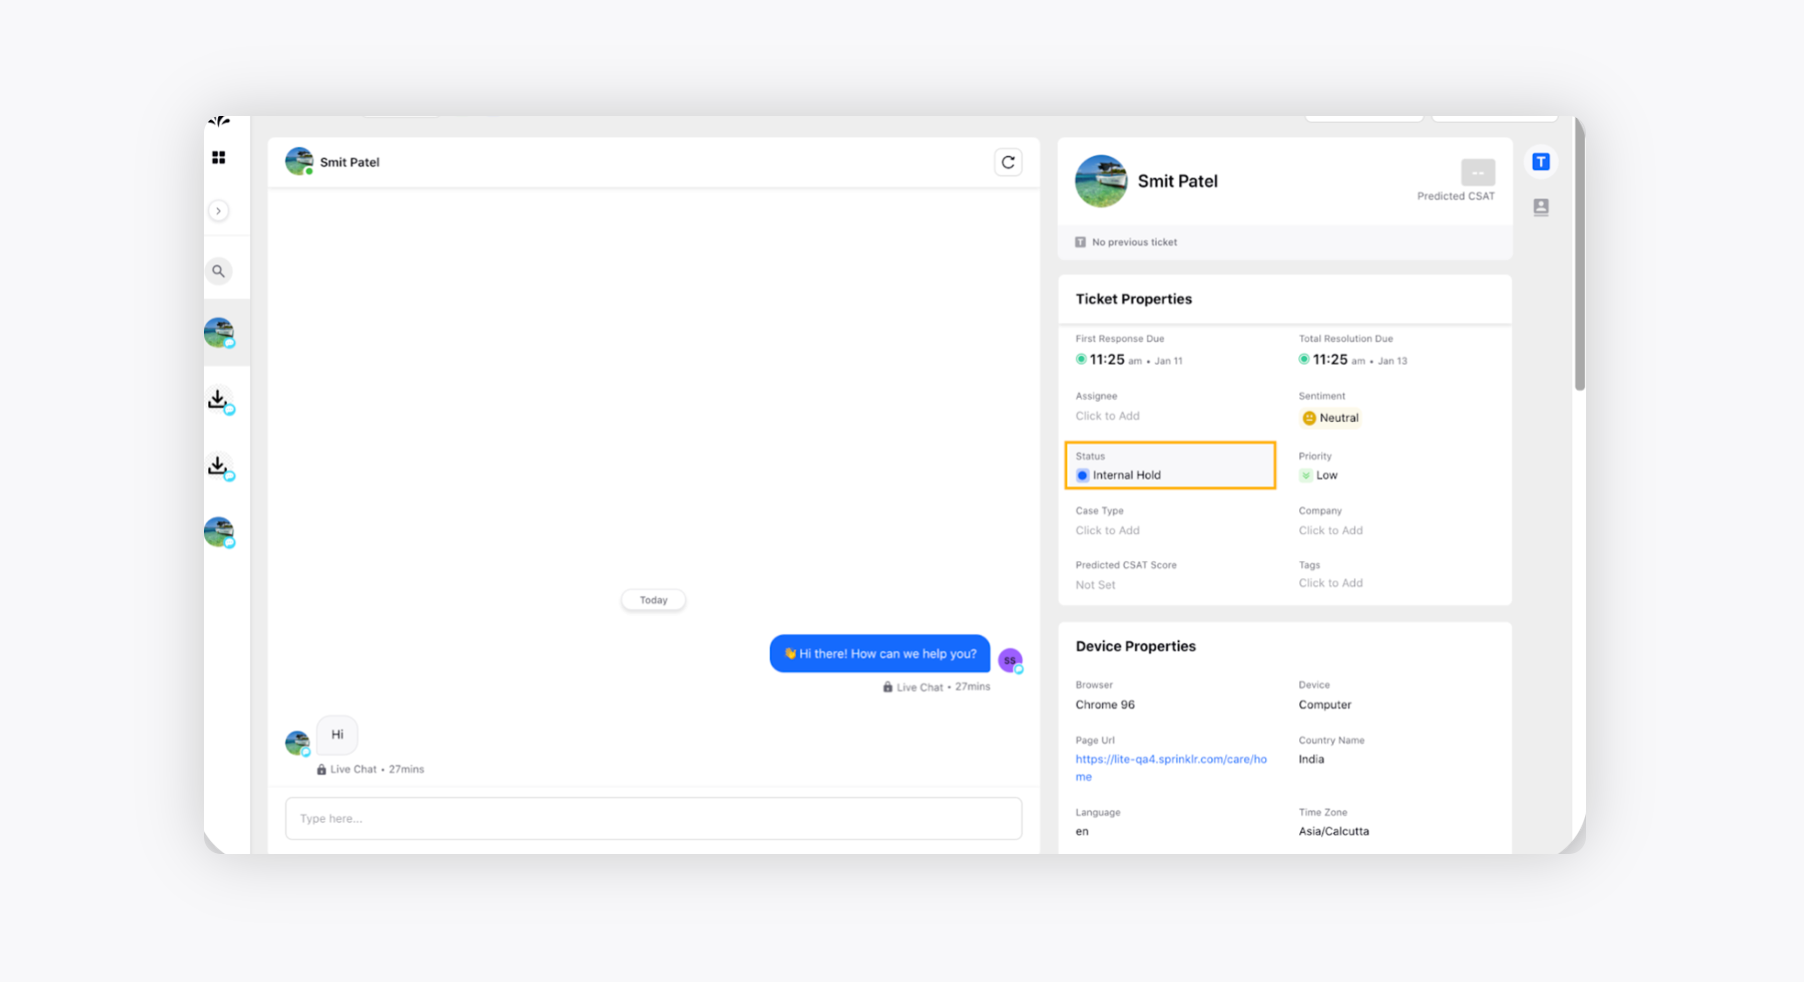
For example, suppose you want to change the status of your ticket from Open to Mark as an internal hold since there is no information about the customer’s issue, and you want to discuss it with your supervisor. In that case, you can go ahead and select appropriate quick action to fulfill your task. Quick action will immediately be applied to the ticket and changes its status.
To apply Quick Actions on multiple Tickets
On the Sprinklr Service Home window, click on the Tickets icon in the left navigation pane.
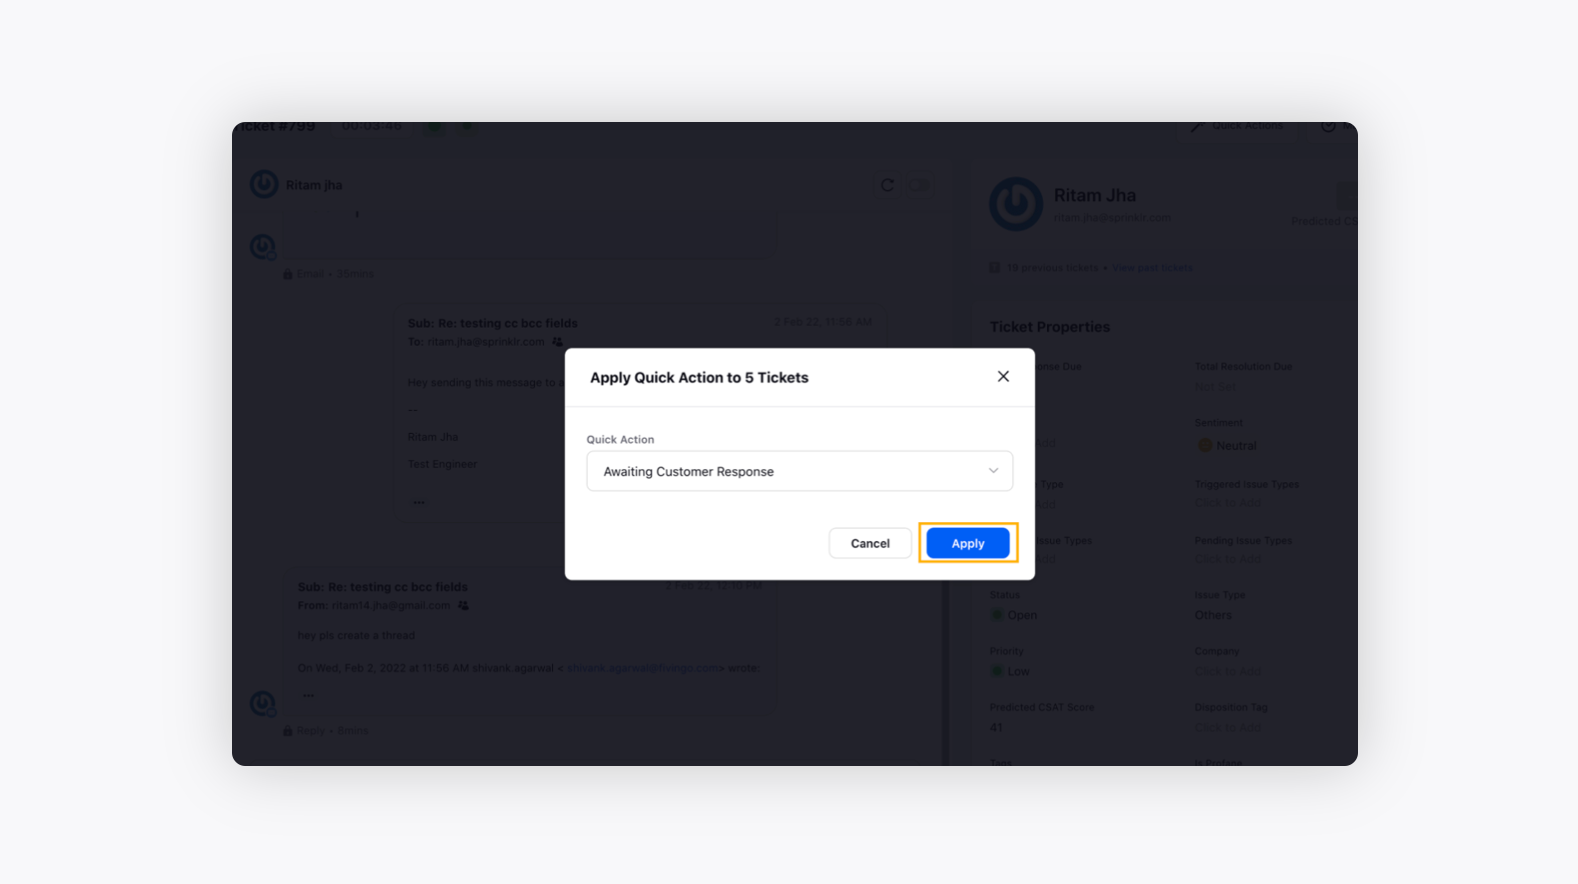
On the Care Console window, check the box alongside the tickets you want to apply quick action to from the ticket stream on the left. You can check the box alongside All Cases below the search bar to apply your quick action to all the tickets.
Select Quick Actions from the options in the Floating Pane.

On the Apply Quick Action pop-up window, select the Quick Action you want to apply from the drop-down menu. Click Apply. It will successfully apply your desired macro to all the selected tickets within a second.
Sort Quick Actions
You can now sort Quick Actions based on alphabetic order and date created. Click on the below dropdown icon next to Date Created and sort Quick actions in ascending or descending order.
Editable Quick Action
Editable quick action enables you to modify fields while spontaneously working on tickets. It aids agents bring down multiple repetitive actions to a single click - saving time and increasing work efficiency.
To enable Editable Quick Action
Go to the home page of Sprinklr Service and click Settings from the left pane. Go to Ticket Quick Actions under Sprinklr Service.
Create Quick Actions page will appear. If you are creating a new Quick Action, provide a suitable name, description, and define the set of actions you want to trigger.
Now, toggle On the Editable Quick Action and define the set of actions that you want to trigger. You can also select the users who should be able to use the quick action.
Now, go to the ticket section from the left pane. The list of All tickets will appear. Now, choose any of the tickets on which you require to apply the editable quick action.
Now, go to the Quick Action button in the top right corner. You will view the list of quick actions in the dropdown. The quick actions which have a pen icon are editable quick actions. Click on the editable Quick Action that you have just created.
Editable Quick Action will appear. In this case, you can modify the fields such as message, status, or tags. Once the fields are modified, you can click on Editable Quick Action.
Now, when’ll go back to the ticket, you will see the updated fields in the Ticket Properties.
You can edit the existing Quick Action as well. Go to the Ticket Quick Action page and choose any one of the Quick Actions.
Click on the 3 dots icon and click the Edit option.
It will redirect you to the Edit Quick Action page. Here, you can change the name, description, and actions. Apart from that, you can toggle on Editable Quick Action and define the necessary action. You can modify the users who will be able to use the Quick Action.