
Configure Forwarding for Domain Providers apart from Gmail and Microsoft
Updated
While creating your account within Sprinklr, you will be provided with an email address similar to this - (name)@Domainname.sprinklr.com. Once you get this email, you can share it with your customers and ask them to send their issues to this address. Emails sent to this address automatically become a ticket in Sprinklr and the sender becomes the requester.
In this article, you will learn about:
To add a support Email
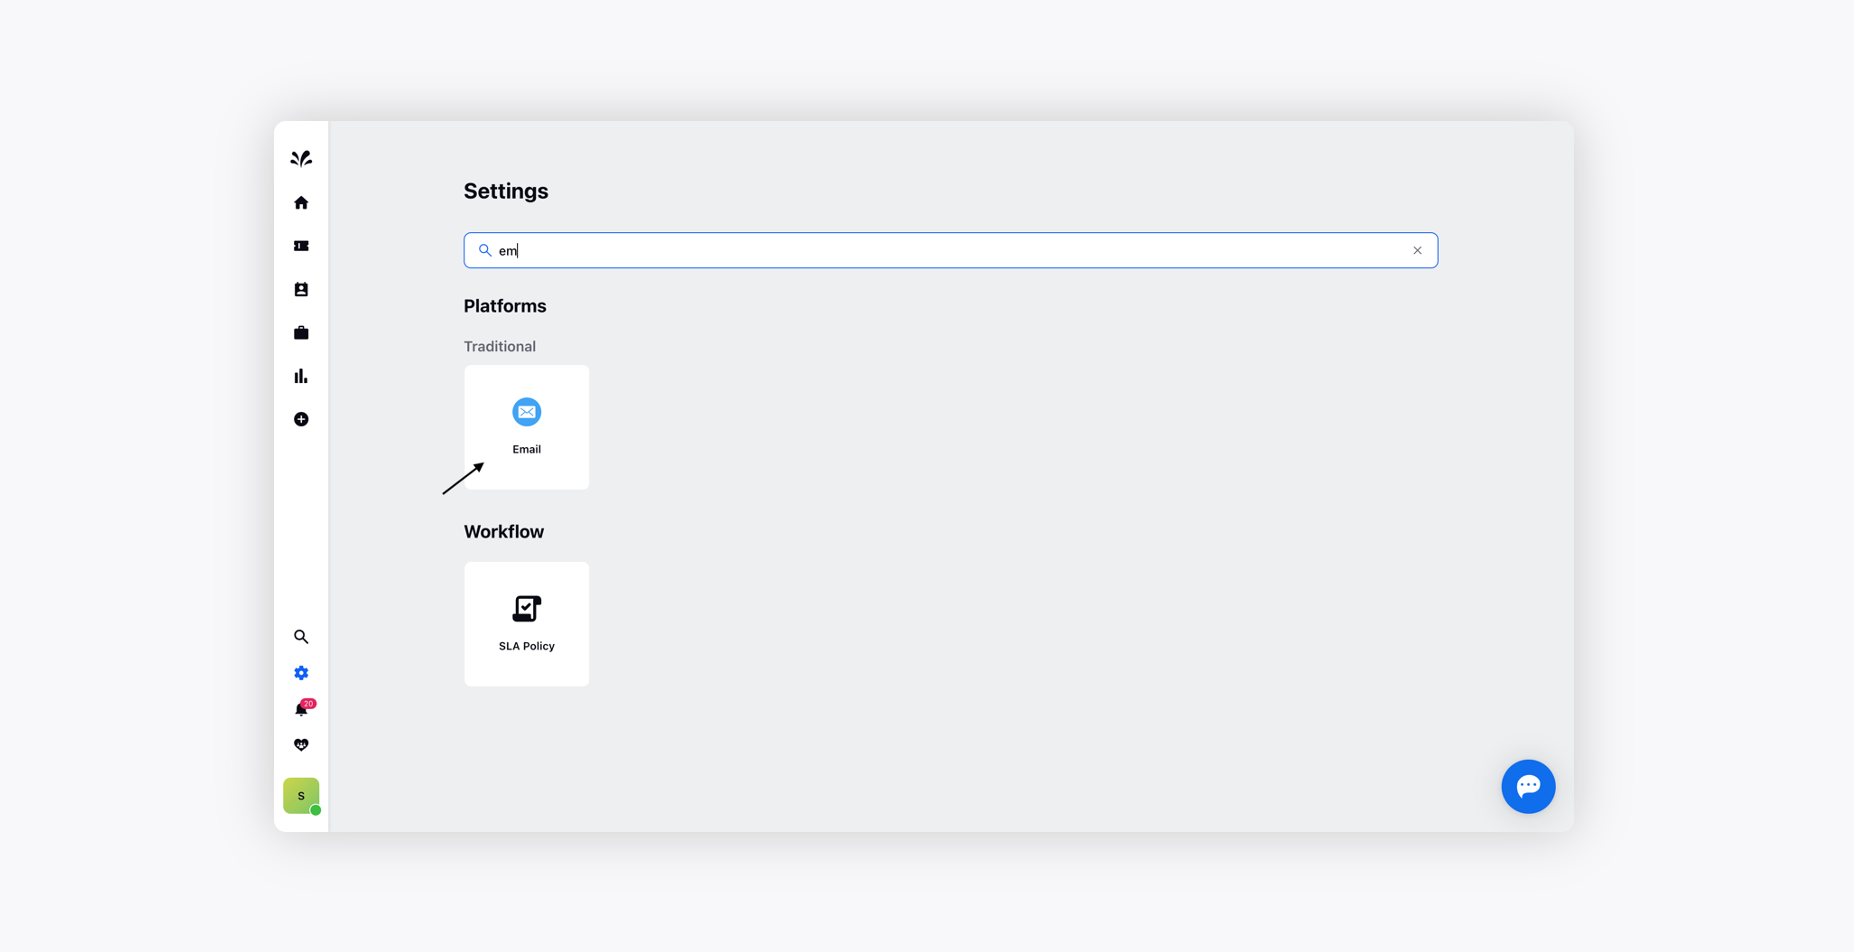
Log in to Sprinklr. Click the Settings icon on the left navigation bar. On the Settings window, select Email under Traditional.
On the Email window, click Add New Email in the top right corner.
On the Connect External Email Address window, enter the Name of the account that will be used in ticket replies.
Under the Your Existing Support Email field, enter the existing support email that you would like to connect to Sprinklr.
Select Sprinklr Server within the Server section and click Setup in the bottom right corner. You can either activate your support email right away or later based on your needs. If you wish to activate your support email later then click Finish Later.
You will be redirected to the Email window from where you can activate your email by clicking Activate alongside the status of the email within the Status column and following the given activation steps.
To activate and verify Email Forwarding
Once you have added a support email address to your account, you will have to verify and set up forwarding rules in your mailbox. Follow the below steps to activate your support email address:
Copy the Sprinklr forwarding address generated for the email in Forwarding Setup.
Open a new tab in your browser and sign in to your account.
You would have to set up a Forwarding Rule from within the Settings Tab of your support mailbox.
Once you have completed the above step, you need to verify the email address you have added as a forwarding email.
Again, go back to the Sprinklr window and click Verify to verify your email forwarding. An email will be sent to your support email address to check if it has received a test Sprinklr ticket. You will receive a prompt stating a successful verification.
Click Done in the bottom right corner.
To add Bcc Email
You can add the email addresses of your top management as Bcc to keep them in the loop and let them know about what is going on in your support without adding them as agents. Follow the steps below to add their email address as Bcc:
Log in as an admin to your Sprinklr account.
Log in to Sprinklr. Click the Settings icon on the left navigation bar. On the Settings window, select Email under Traditional.
On the Email window, click Configure in the top right corner.
On the Email Configuration window, click Configure alongside Configure Automatic Bcc Email.
Enter the email address(s) you want to add a Bcc.
Click Save.