
Understanding After Call Work
Updated
Understand what After-Call Work is, its types, and how to create a new After-Call Work on Sprinklr Advanced to recall the customer conversation by referring to notes, forms, and reports smoothly.
The list of tasks performed by the agent right after the interaction with a customer is After Call Work (ACW). This includes adding notes, updating the customer database, filling forms, and dispositions for better visibility and reporting.
Agents can see the ACW form post the call is disconnected and can use this to add case notes and call disposition. Call notes are used to add notes that can be helpful for future references, whereas call dispositions are used for reporting about the type of call.
Users can choose to make ACW forms optional or mandatory and can also add a time limit within which the form must be filled by their agents (the Time limit is available only with mandatory ACW).
Types of After-Call Work
These are the following types of After Call Work:
Optional ACW
Optional ACW provides agents with an option to skip the ACW form.
If an agent skips the ACW form, the form will be closed, and the agent will be eligible to receive the next customer call.
Mandatory ACW
Mandatory ACW cannot be skipped and has to be necessarily filled by the agent.
It is coupled with a timer - you need to fill and submit the form within the provided time limit.
An agent can choose to submit the form before the timer ends.
If the agent fails to submit the ACW forms within the prescribed time limit, the form will be closed after the timer ends and will be marked as Pending ACW. The agent will then be eligible to receive the next customer call.
An agent can check all his Pending ACW from the Ticket pane and can take action on them later.
To create a new After-Call Work
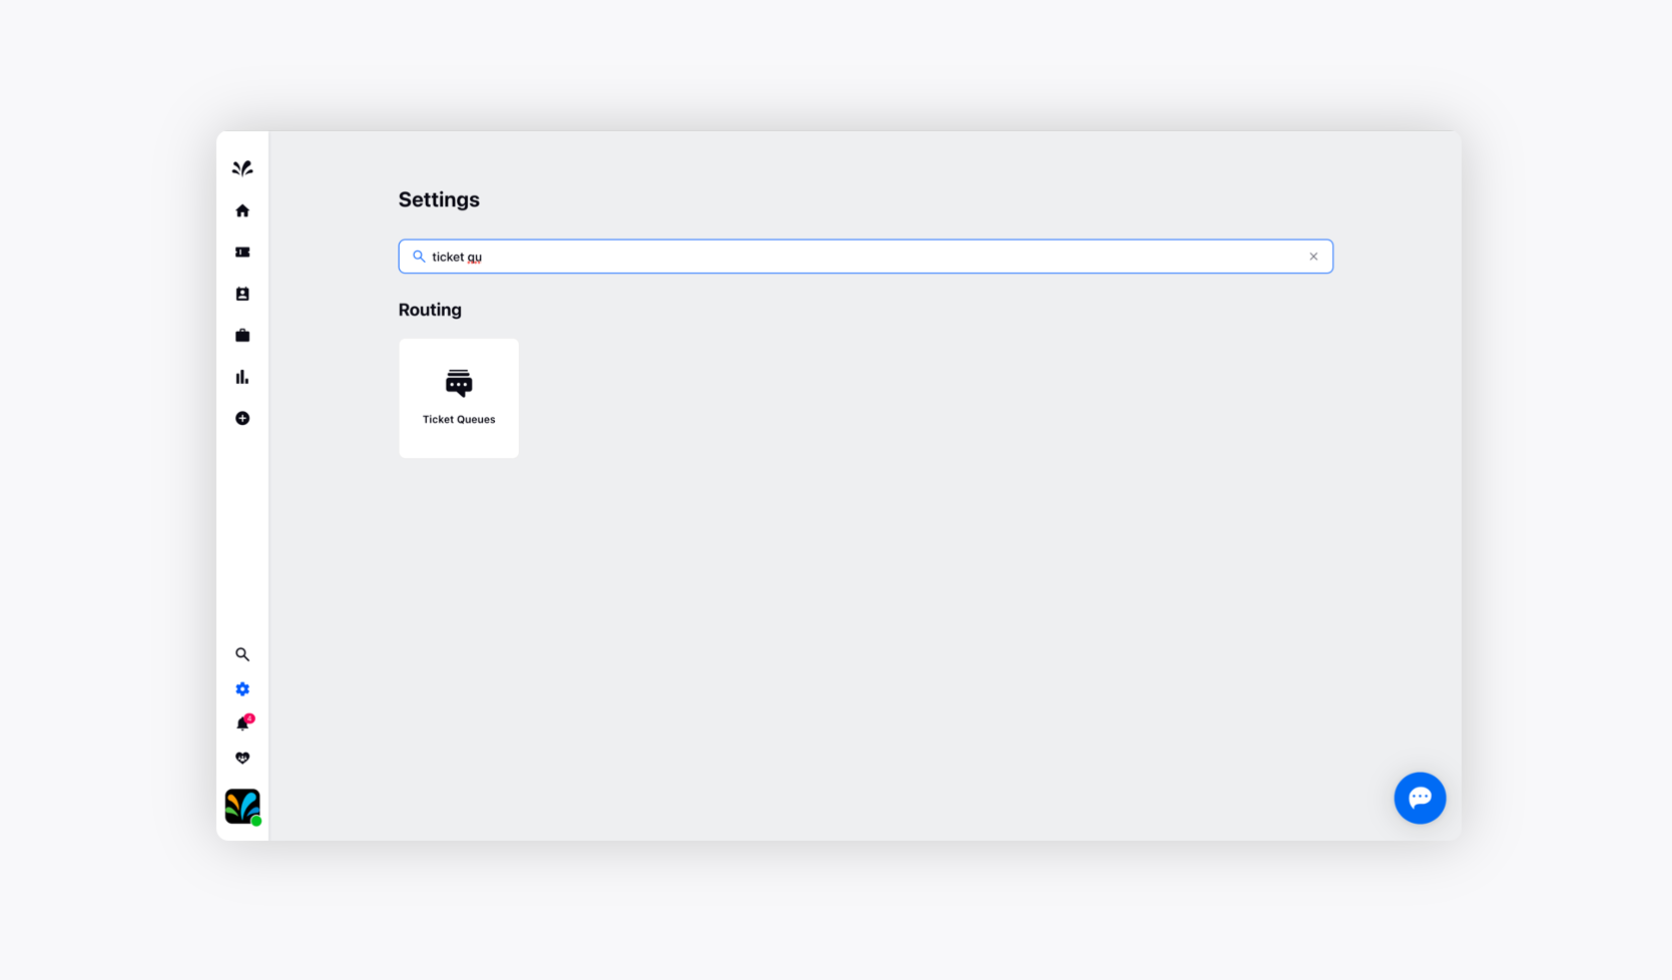
Log in to Sprinklr Advanced. Click the Settings icon on the left navigation bar. On the Settings window, select After Call Work under Voice Workflows.
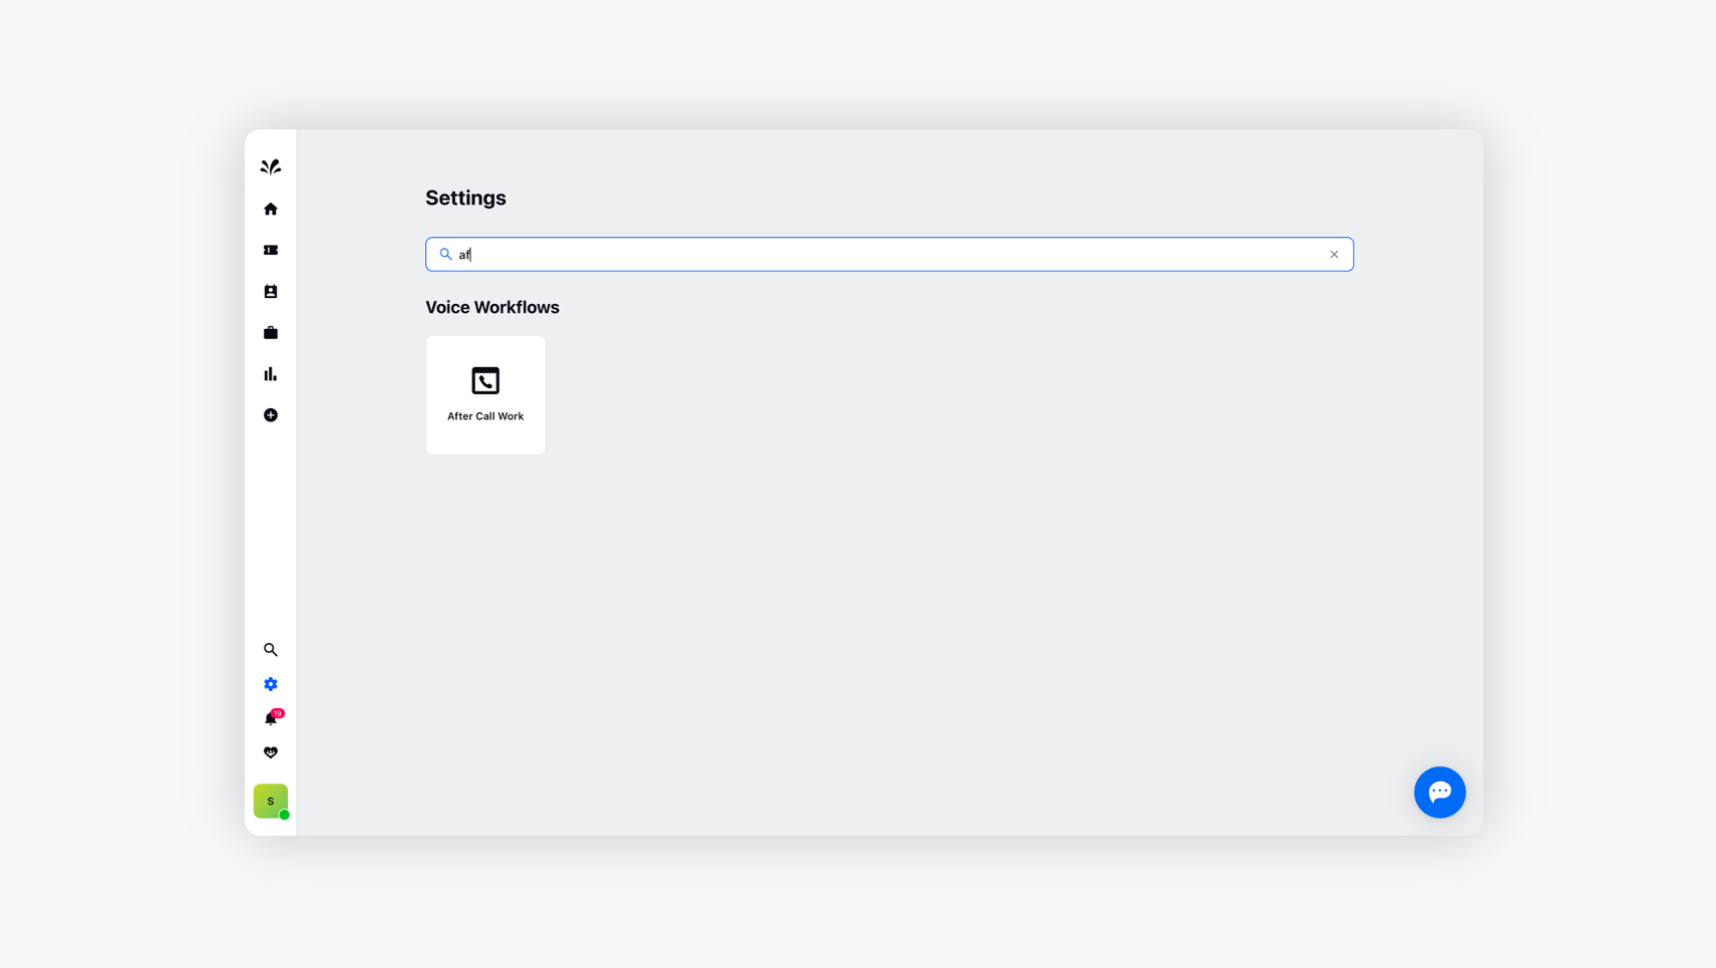
On the After Call Work window, you can see the list of all the existing ACW along with their types, i.e., optional or mandatory.
Click Create After Call Work in the top right corner to create a new After Call Work.
On the Create After Call Work window, enter a Name and a Description in the respective fields.

Under the Add Call Disposition window, provide your disposition details. The default template for Call Disposition consists of values i.e. Resolved, Escalated, Follow-up, and Spam. You can use the same or can edit them as per your business requirements.
Toggle on the Mark as Mandatory option and configure a Wait time before an agent is assigned the next call to convert your optional ACW into a mandatory ACW.
A mandatory ACW cannot be skipped and need to be filled within the defined time limit.
Click Create in the bottom right corner to save your ACW.
To edit an existing After-Call Work
Log in to Sprinklr Advanced. Click the Settings icon on the left navigation bar. On the Settings window, select After Call Work under Voice Workflows.
Hover over the Options icon alongside the desired ACW and click Edit.
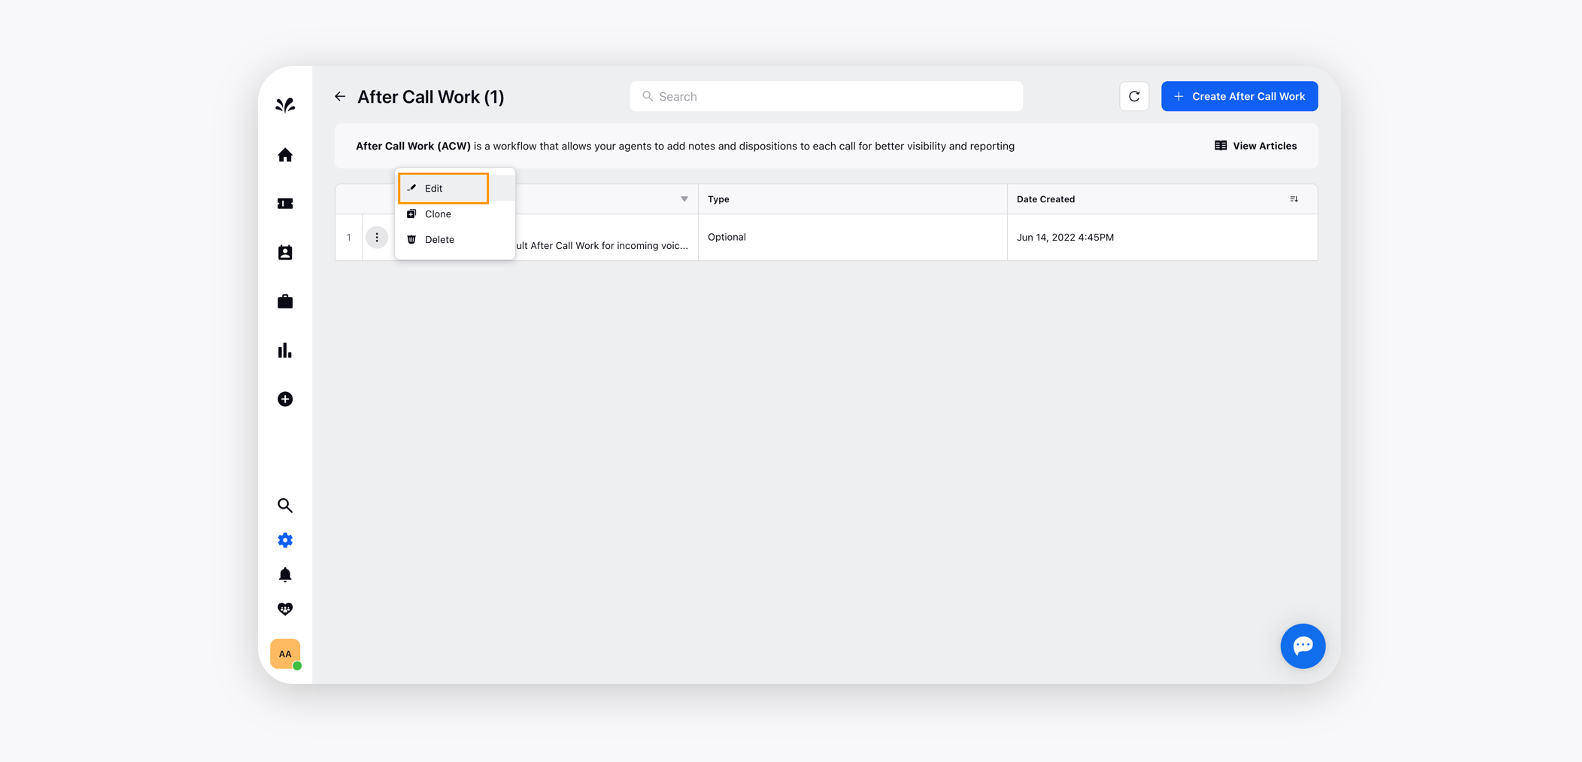
This will open the ACW in Edit mode, where you can edit the Name, Description, Call Disposition, and ACW Timer.
Click Update in the bottom right corner once done.
To clone an existing After Call Work
Log in to Sprinklr Advanced. Click the Settings icon on the left navigation bar. On the Settings window, select After Call Work under Voice Workflows.
Hover over the Options icon alongside the desired ACW and click Clone.

On the Create After Call Work window, add the After Call Work details as desired and click Create in the bottom right corner.
To delete an existing After Call Work
Log in to Sprinklr Advanced. Click the Settings icon on the left navigation bar. On the Settings window, select After Call Work under Voice Workflows.
Hover over the Options icon alongside the desired ACW and click Delete.

On the Delete pop-up window, click Delete to confirm. It will permanently delete your ACW.
How to use After Call Work in Care Console?
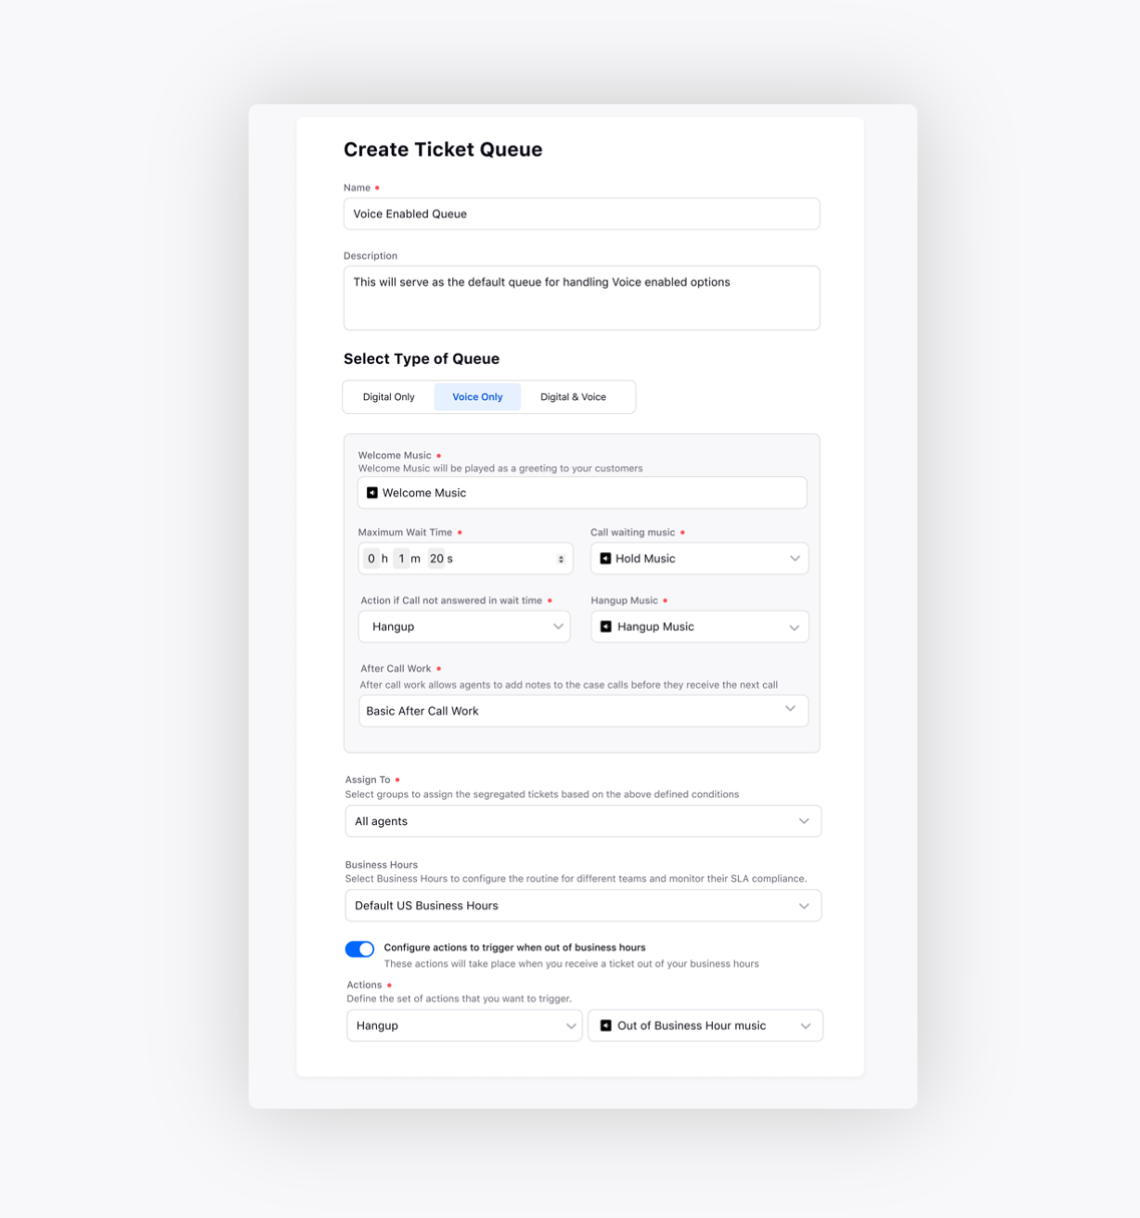
Once the After Call Work has been created, it needs to be attached to the Voice Queue.
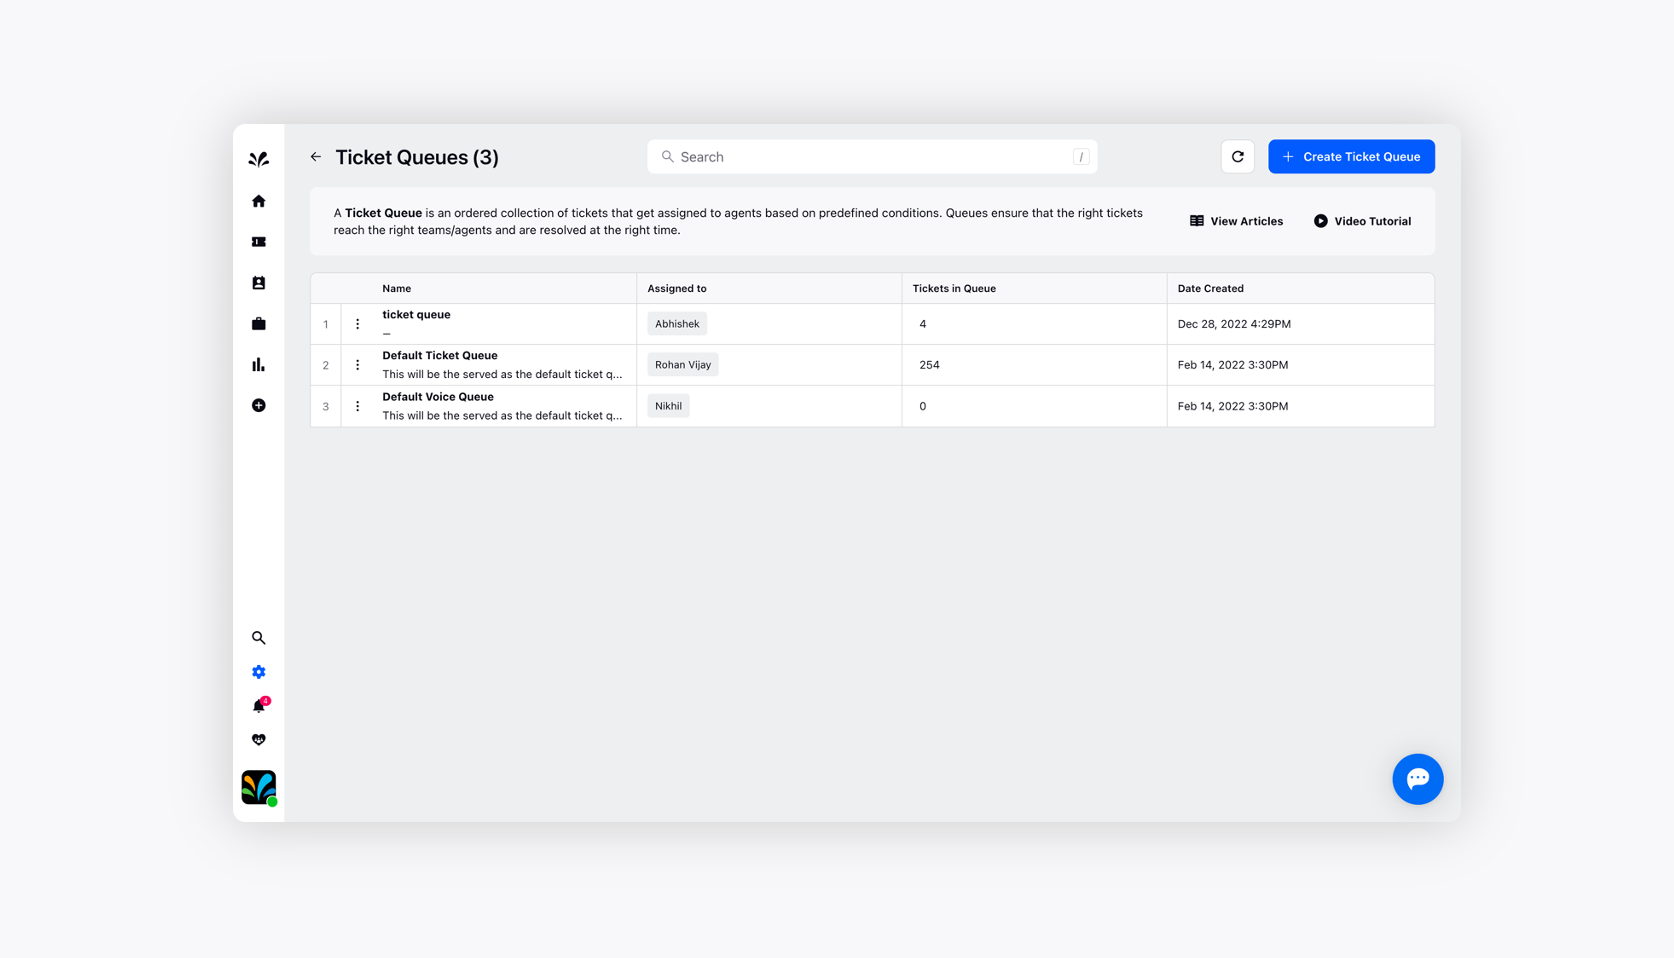
For this, navigate to Settings, click Ticket Routing within Routing.
Select Voice Only under Queue Type. Provide the ticket queue Name, Description, Voice Only details, the person whom the ticket queue should be assigned, business hours. Toggle On if you want to configure actions to trigger when out of business hour.
After finishing a Voice Call, After Call work window will pop-up on the bottom right of the screen.

This will display the name, timer (if applicable) and mandatory fields to the Agents.
Notes can be added directly to the ticket by adding Notes in the After Call Work (ACW) screen.
Fill in the mandatory fields and click Submit Work to submit the After Call Work.