
Understanding Interactive Voice Response (IVR)
Updated
How IVR can help Contact Centers to route customers to the right agents who have the relevant skillset, improving CSAT and faster resolution speed.
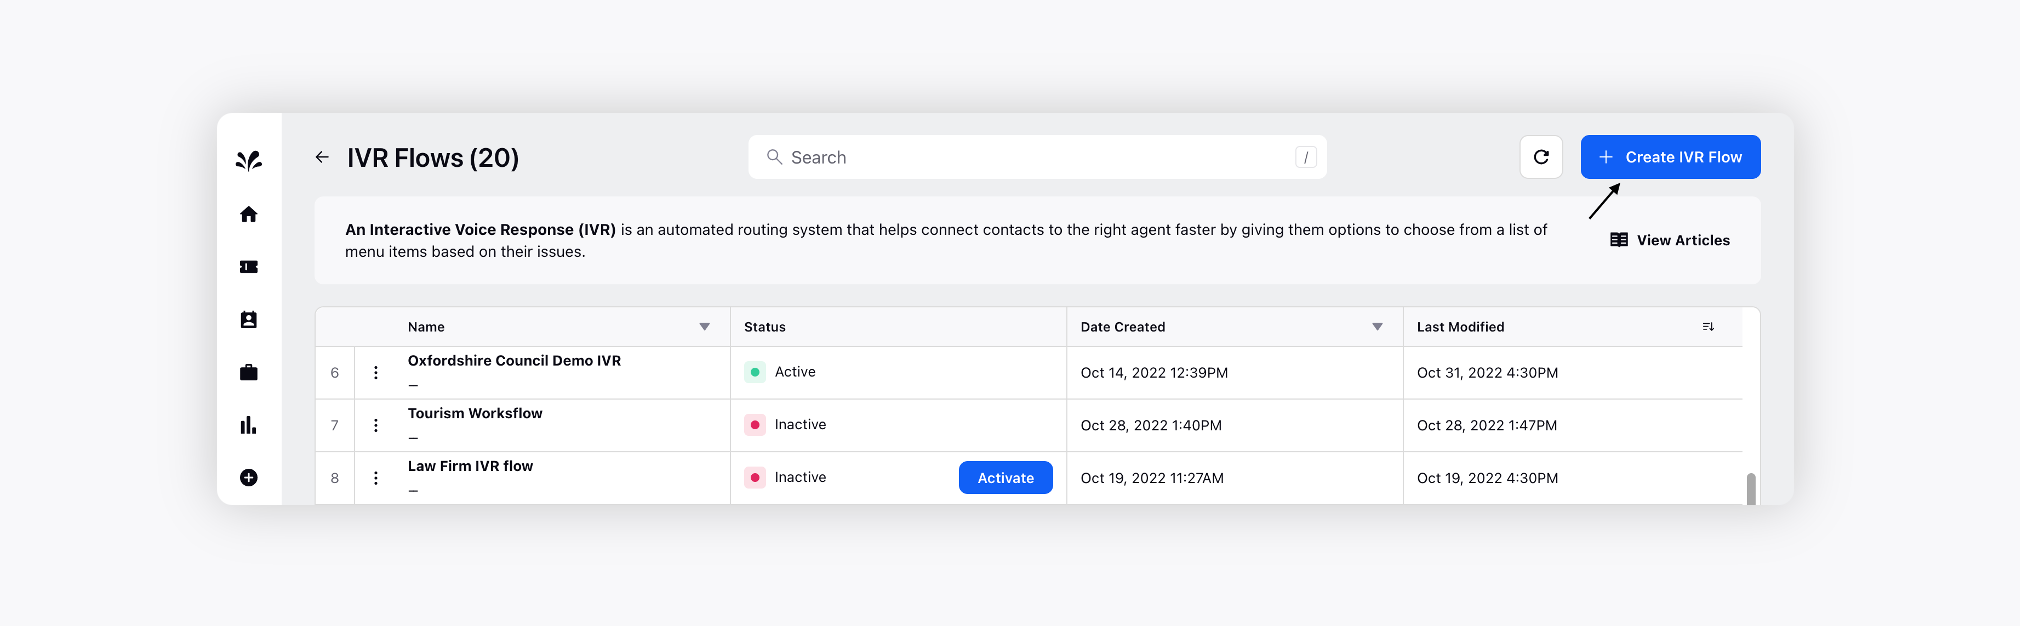
An Interactive Voice Response (IVR) is an automated routing system that helps connect contacts to the right agent faster by giving them options to choose from a list of menu items based on their issues.
IVRs help improves CSAT and achieves faster resolution speed by routing a call to the right team.
Prompts like Press 1 for Credit cards, Press 2 for Debit cards, etc. during a call to customer support is an examples of IVR.
To create a new IVR
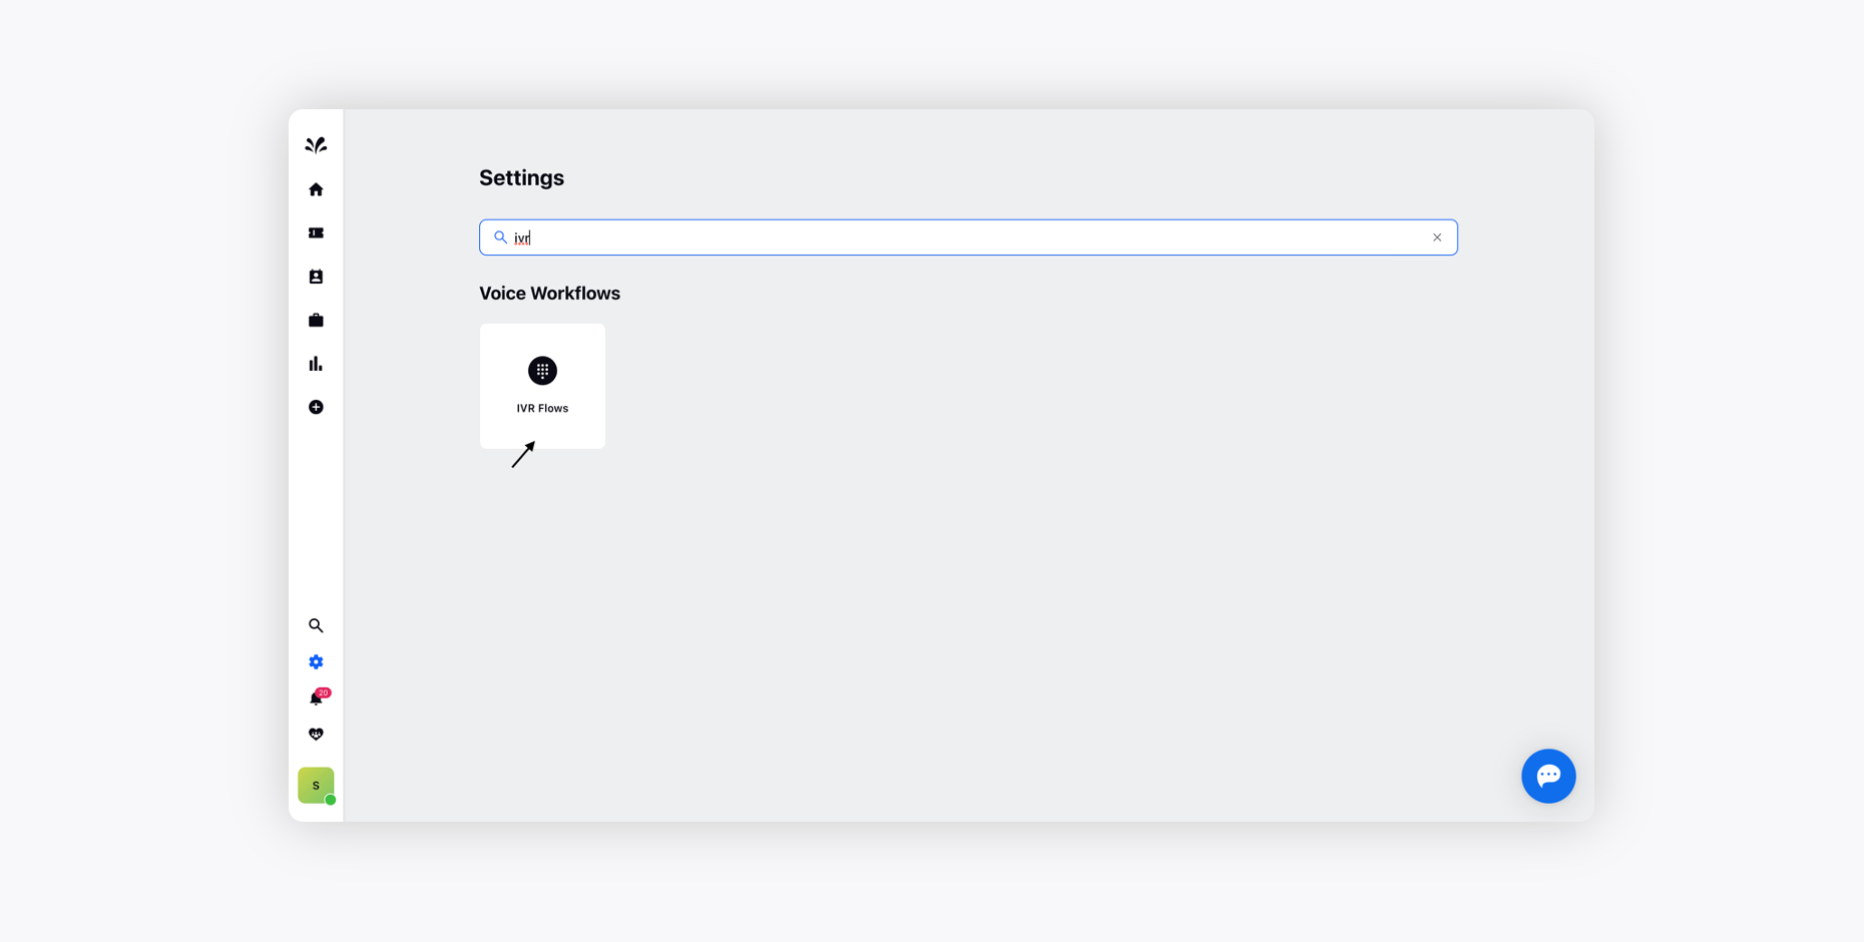
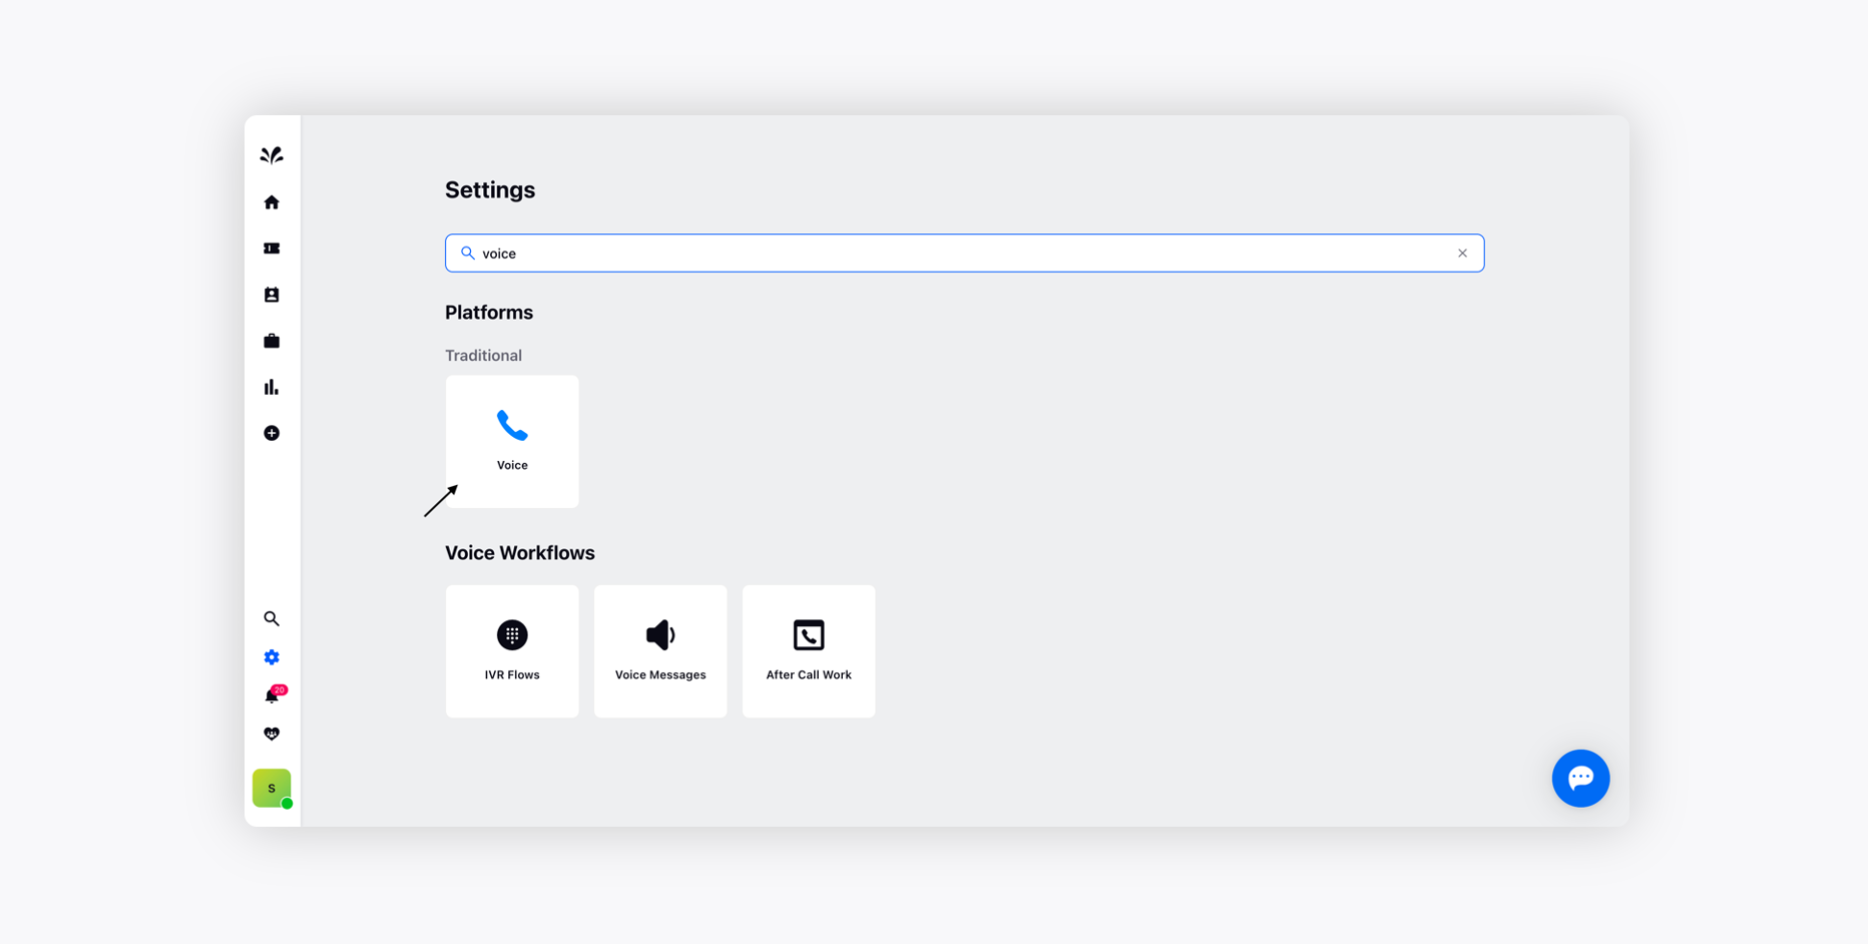
Log into Sprinklr Advanced. Click the Settings icon on the left navigation bar and under Voice Workflows, click IVR Flows.
To create a new IVR, click Create IVR in the top right corner.
On the Create New IVR pop-up window, enter a Name, and Description and select the languages in which you want to build the IVR from the IVR Languages drop-down menu.
Please note that English will be your IVR language by default.

Click Create in the bottom right corner.
Configure an IVR
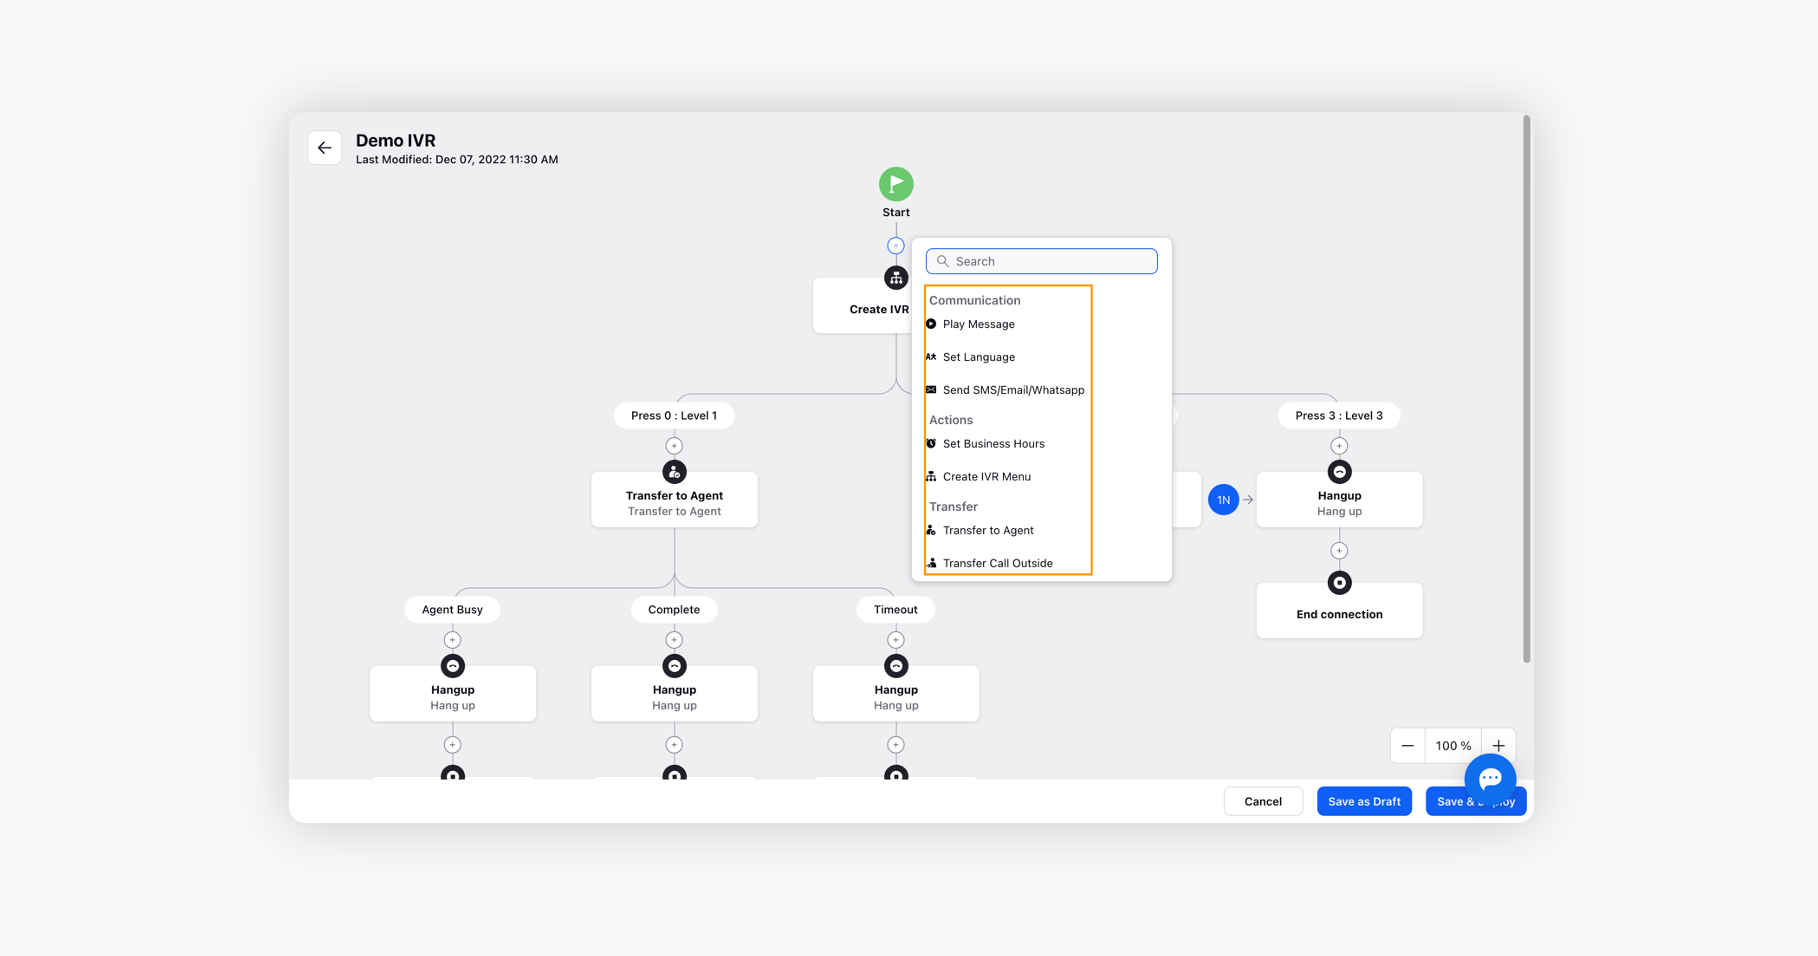
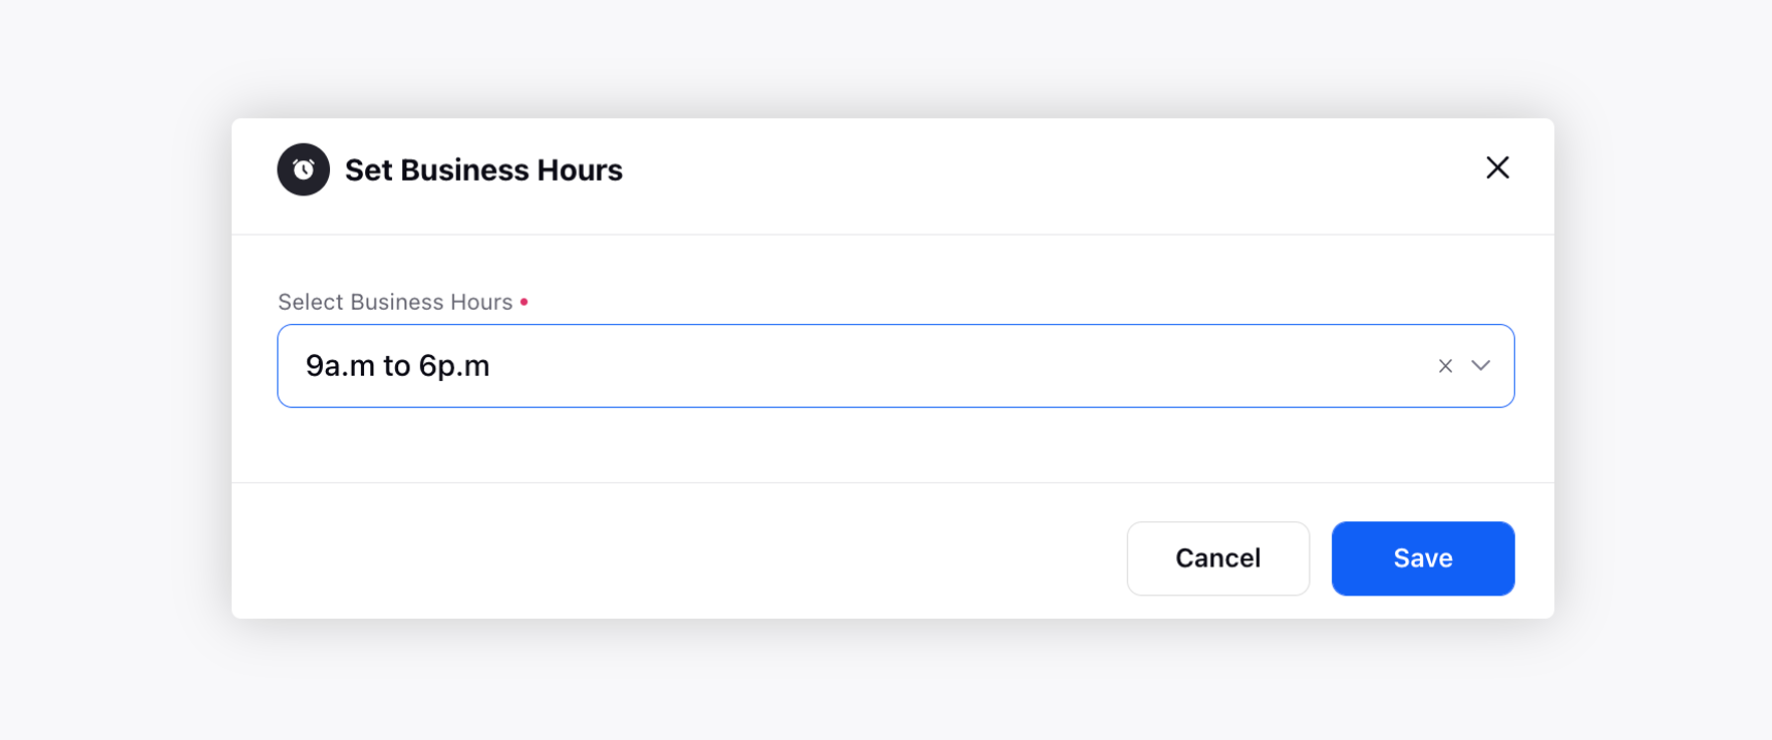
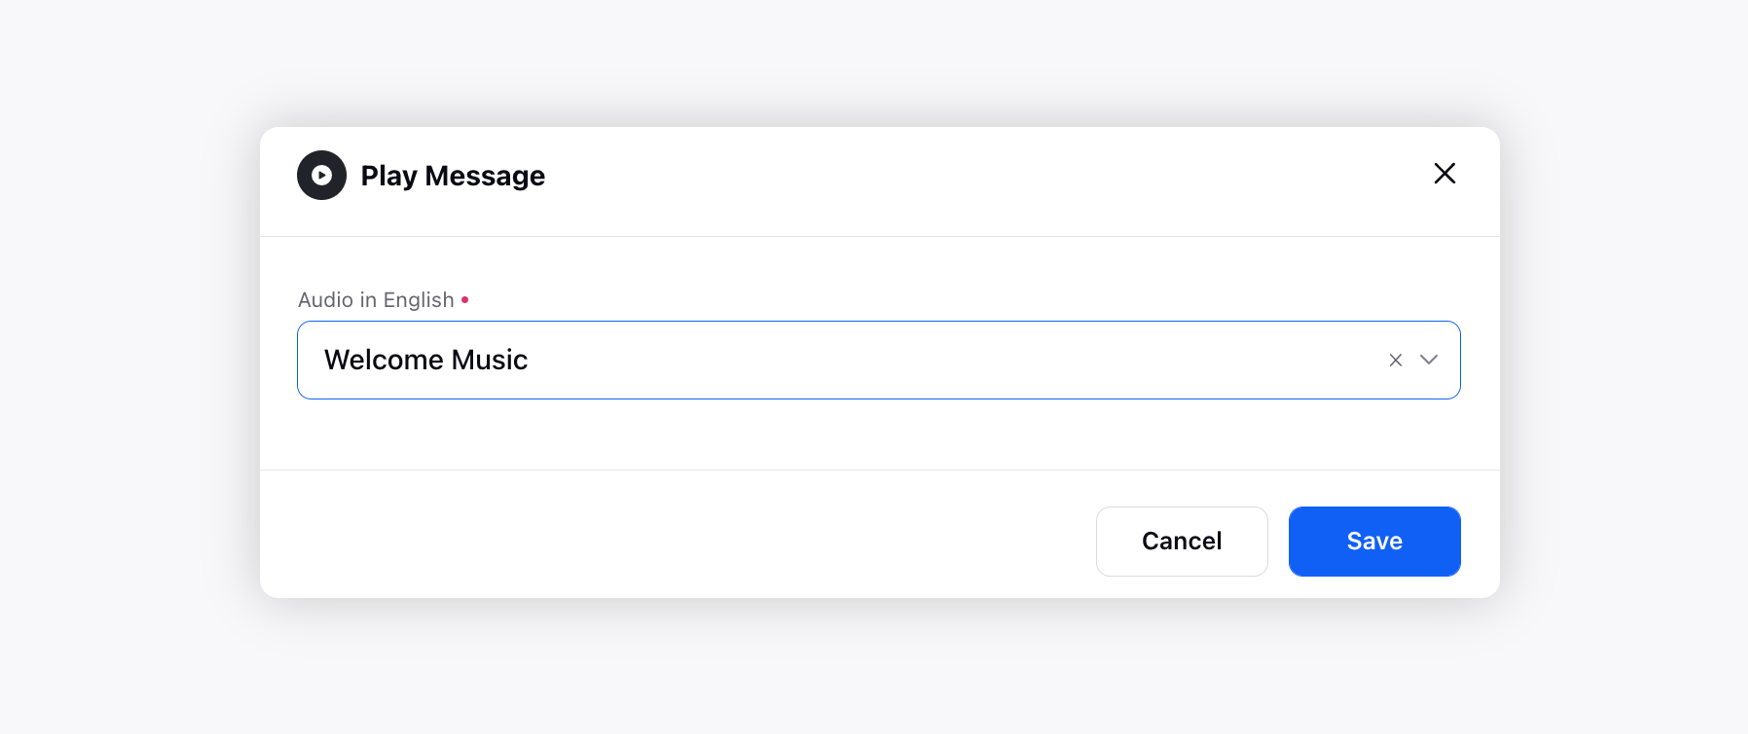
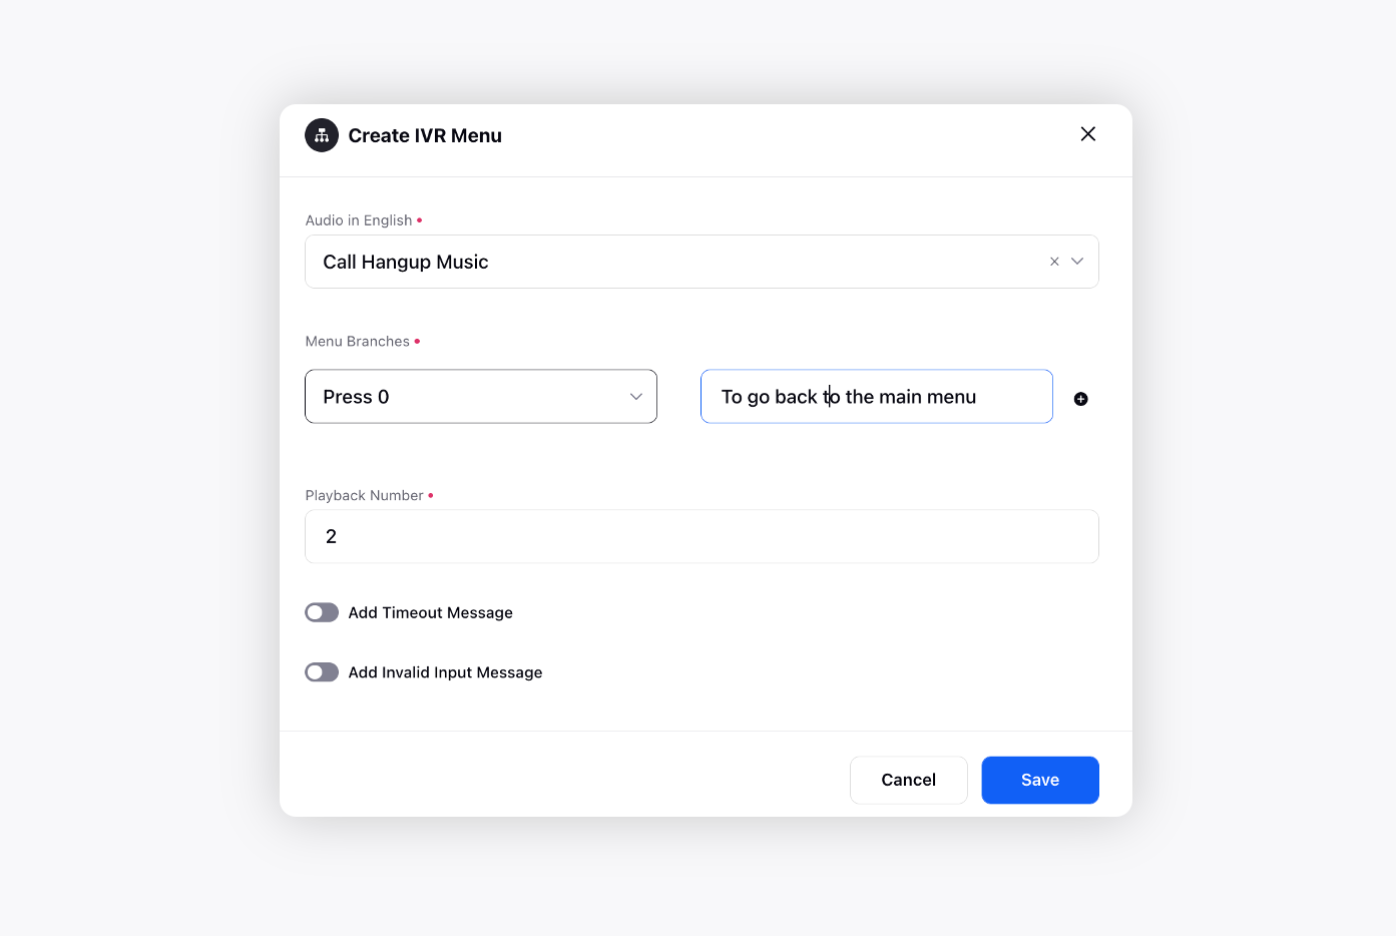
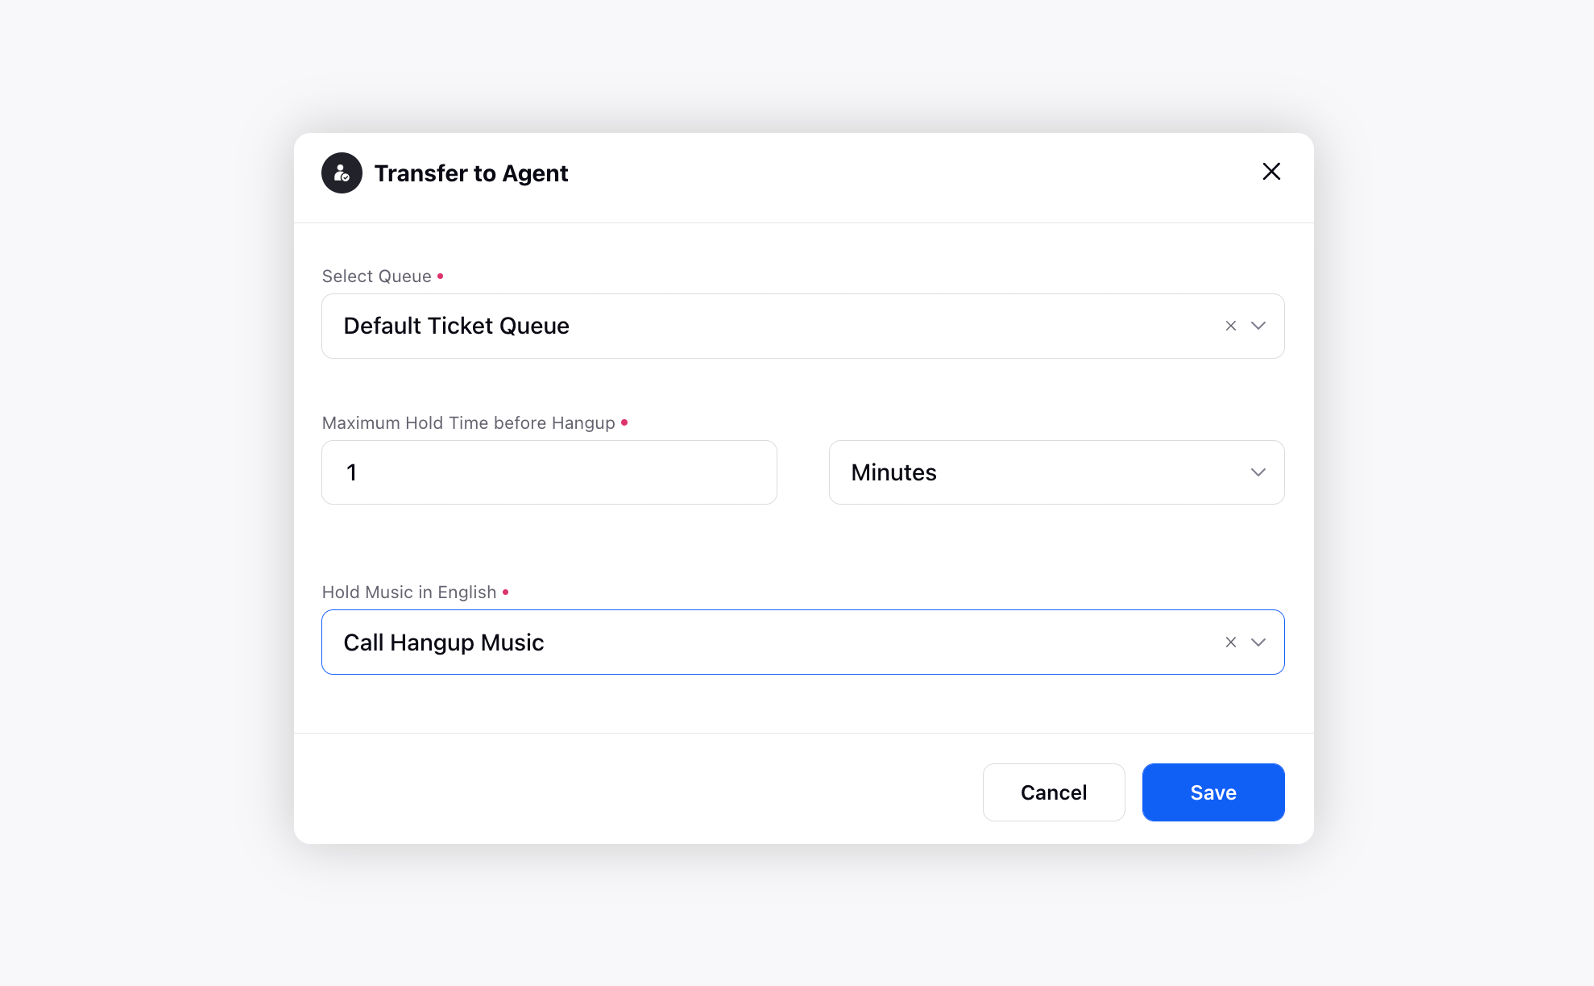
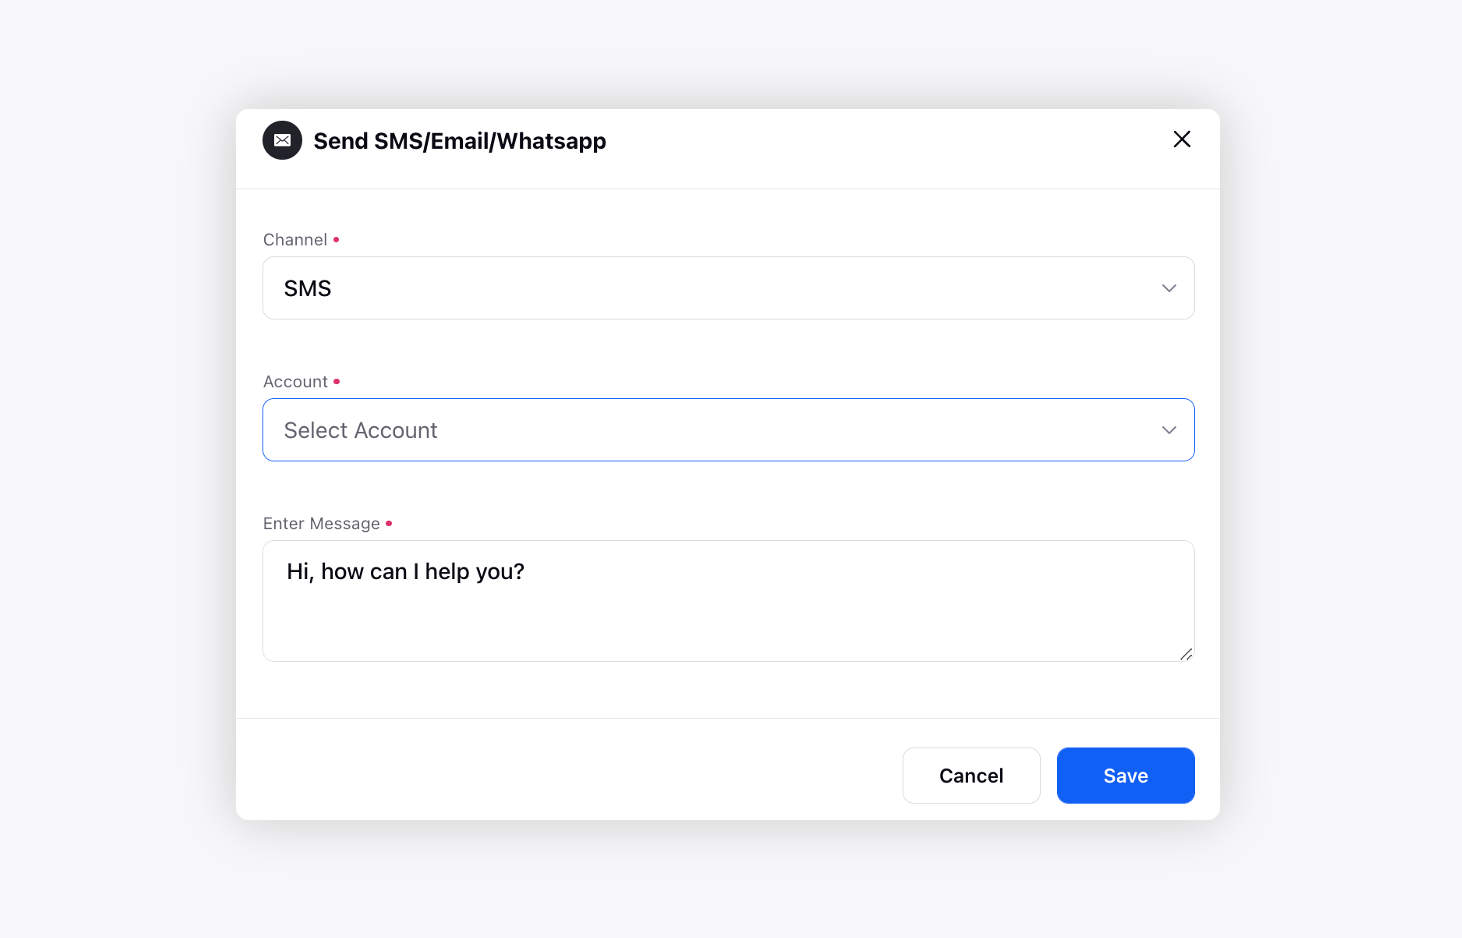
Every IVR can be configured from the IVR canvas using different nodes that help you to take certain actions on the incoming calls. Below is the description of various available nodes:


To insert a node in between the path
You can insert a node in between the IVR flow by clicking on the + icon and choosing the desired communication, action, or transfer point depending upon the conversation flow.

To edit existing IVR
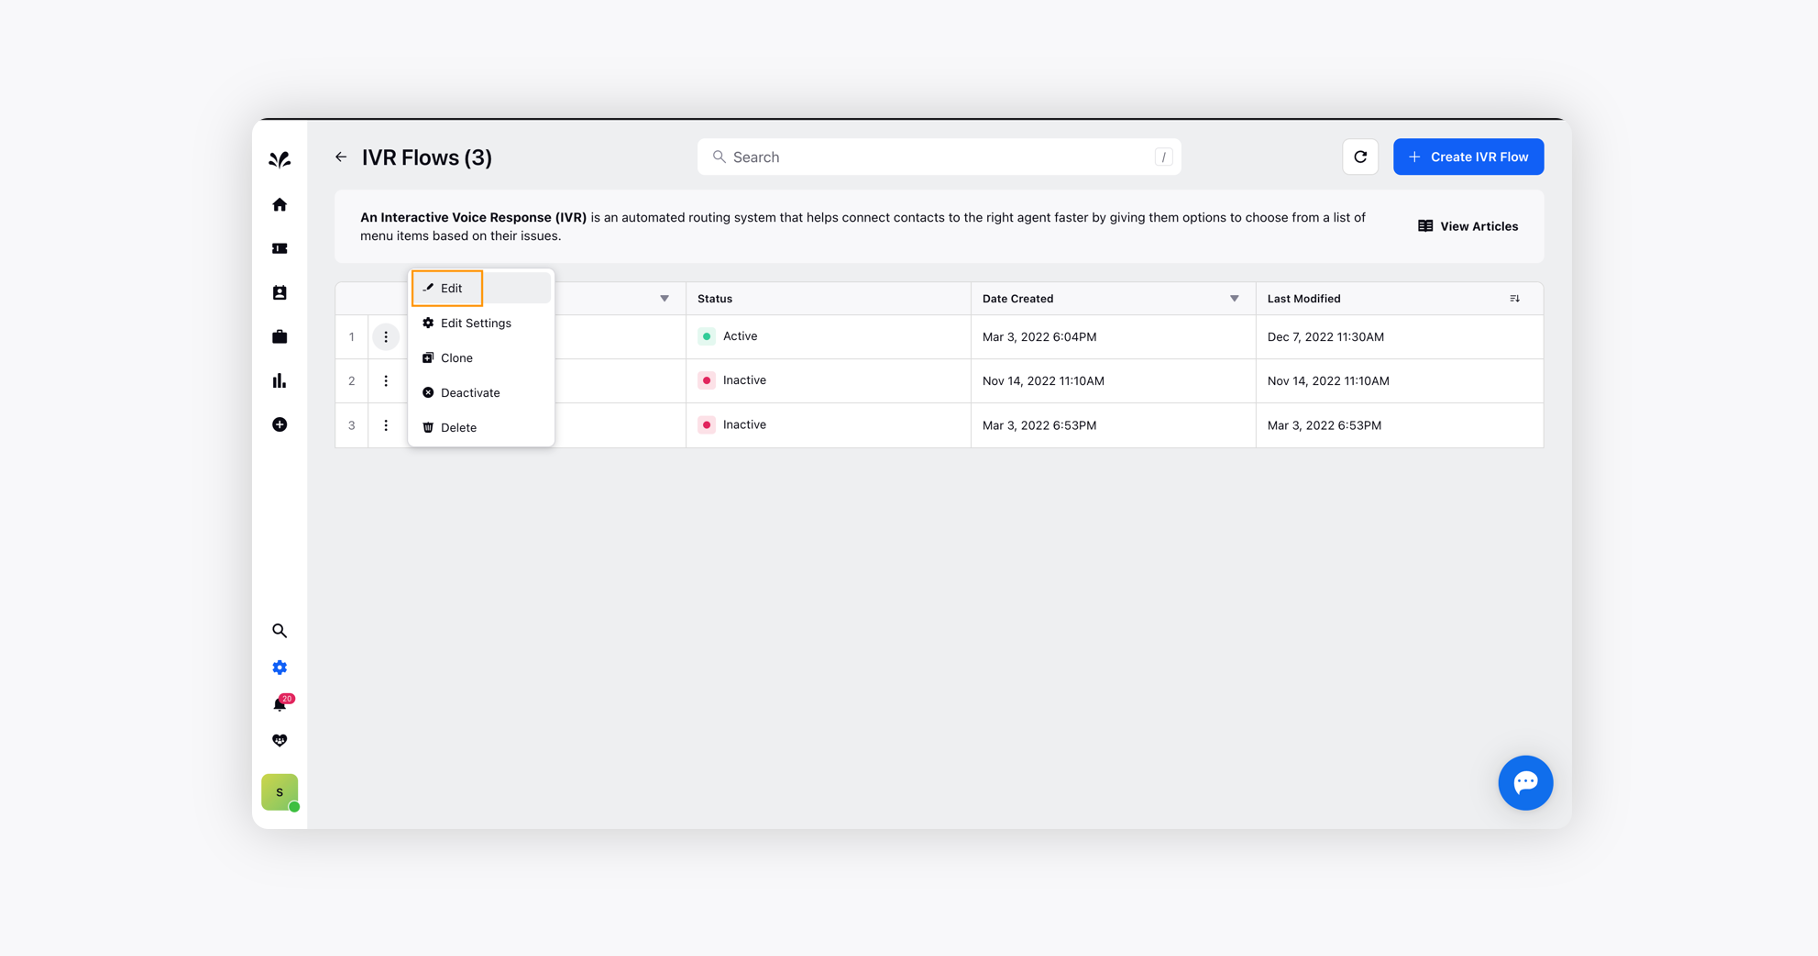
Log into Sprinklr Advanced. Click the Settings icon on the left Navigation Bar and under Voice Workflows, click IVR Flows.
Hover over the Options icon alongside the desired IVR and click Edit to make changes to the pre-existing IVR.
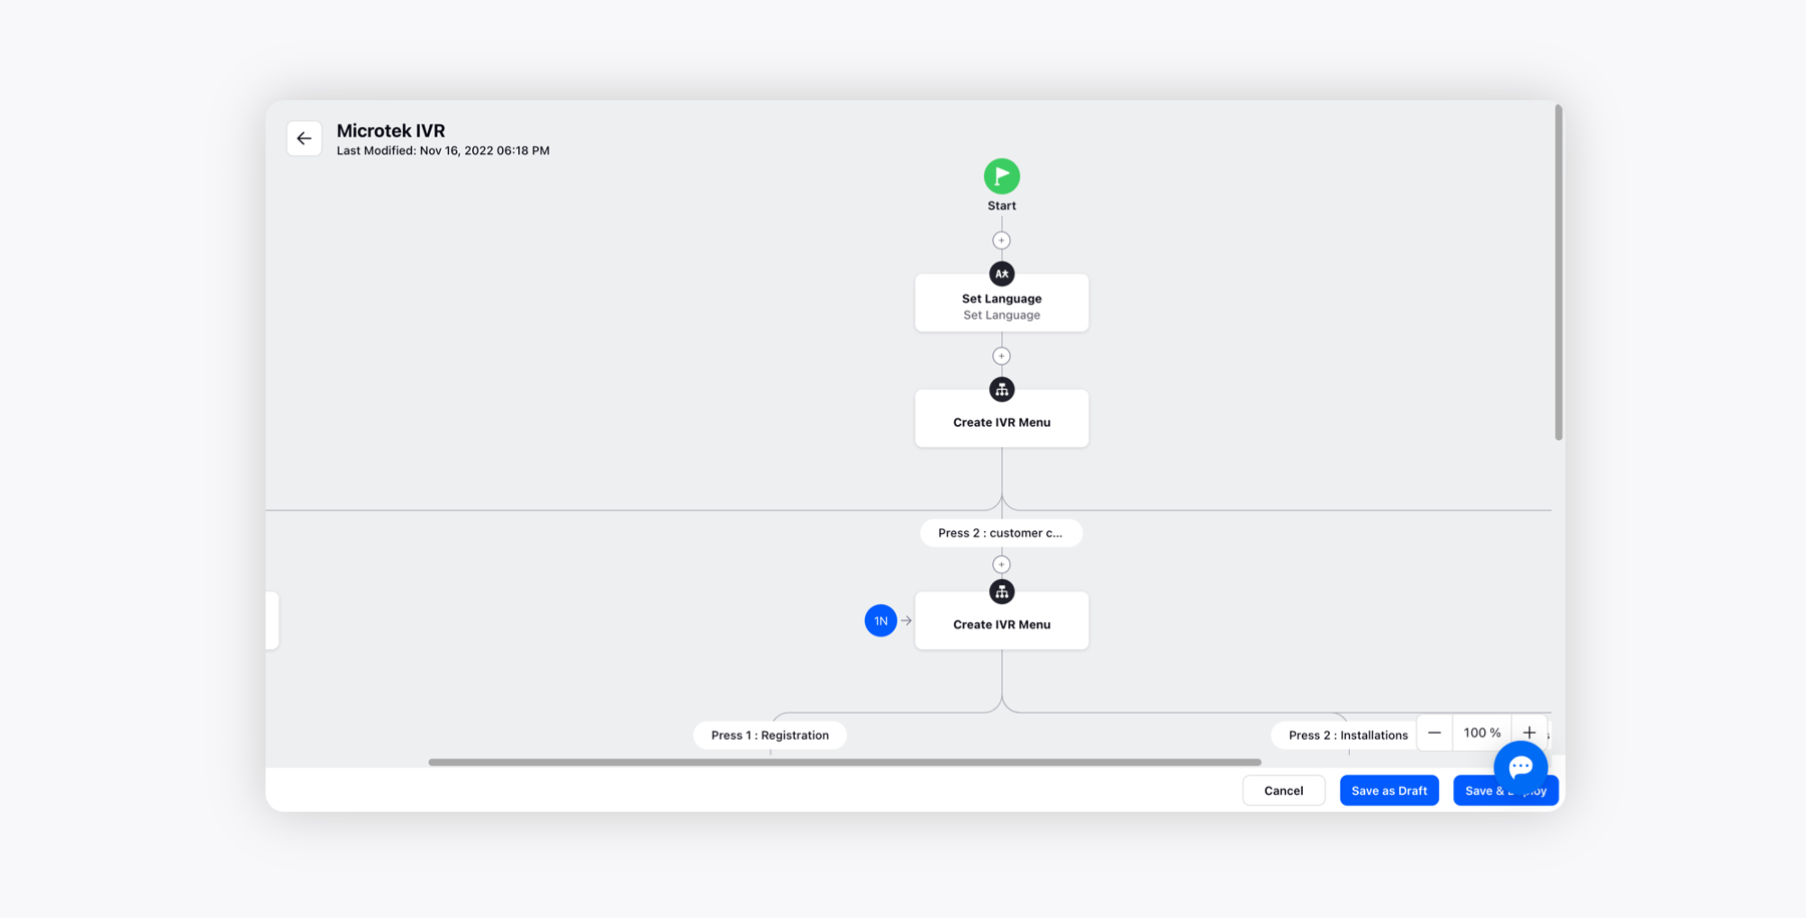
On the IVR Builder canvas, make the desired changes and click Save in the bottom right corner.
To clone existing IVR
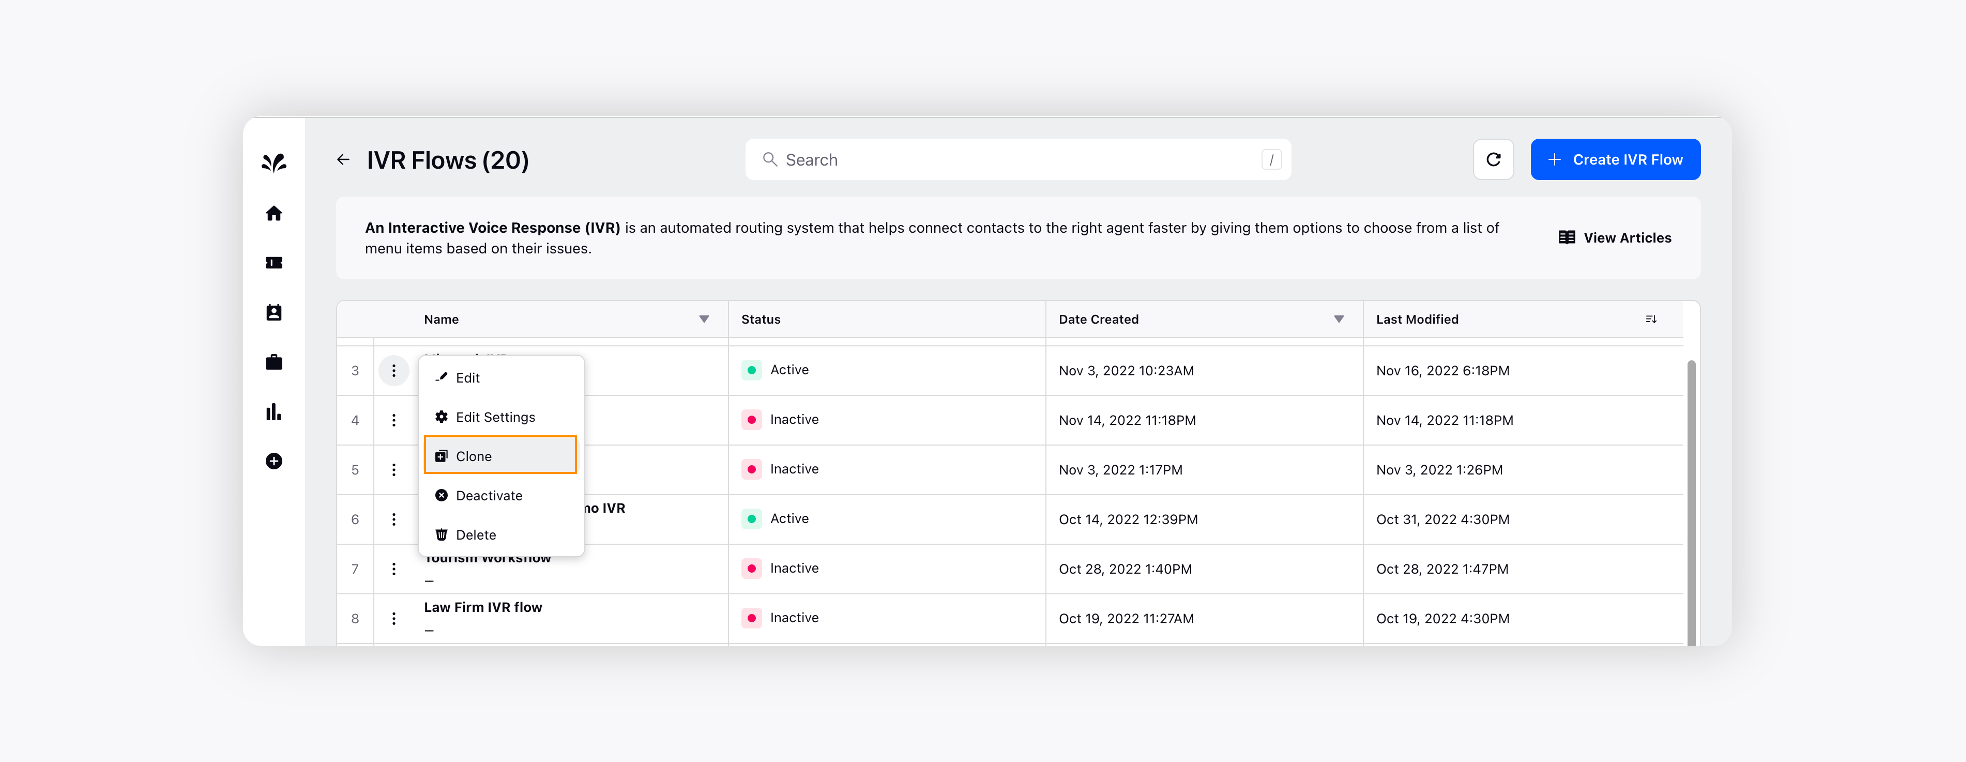
Log into Sprinklr Advanced. Click the Settings icon on the left Navigation Bar and under Voice Workflows, click IVR Flows.
Hover over the Options icon alongside the desired queue and click Clone.
On the Clone Queue pop-up window, click Clone. It will automatically create a new IVR. You can further edit and make changes as desired.
Adding a newly created IVR to your support phone number
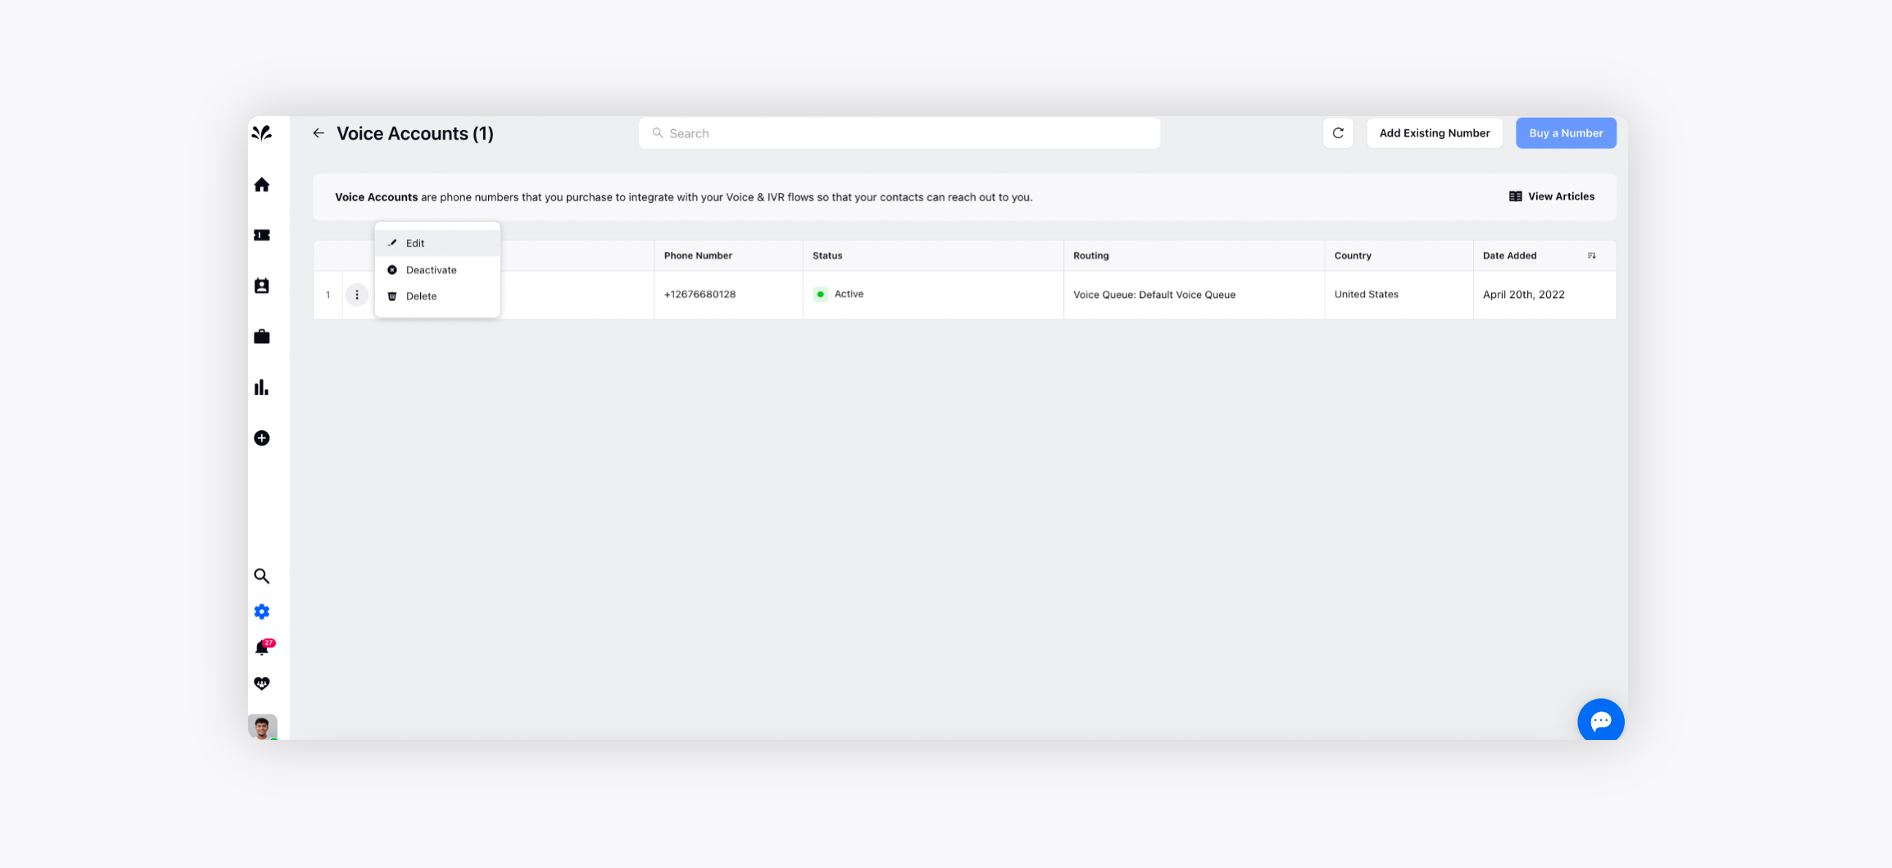
Log into Sprinklr Advanced. Click the Settings icon on the left Navigation Bar and under Traditional, click Voice.
From the list of support numbers available, click on the Options icon and choose Edit from the drop-down.
Choose Advanced IVR from the Manage your Voice Account window and select the created IVR from the drop-down and click on Update.
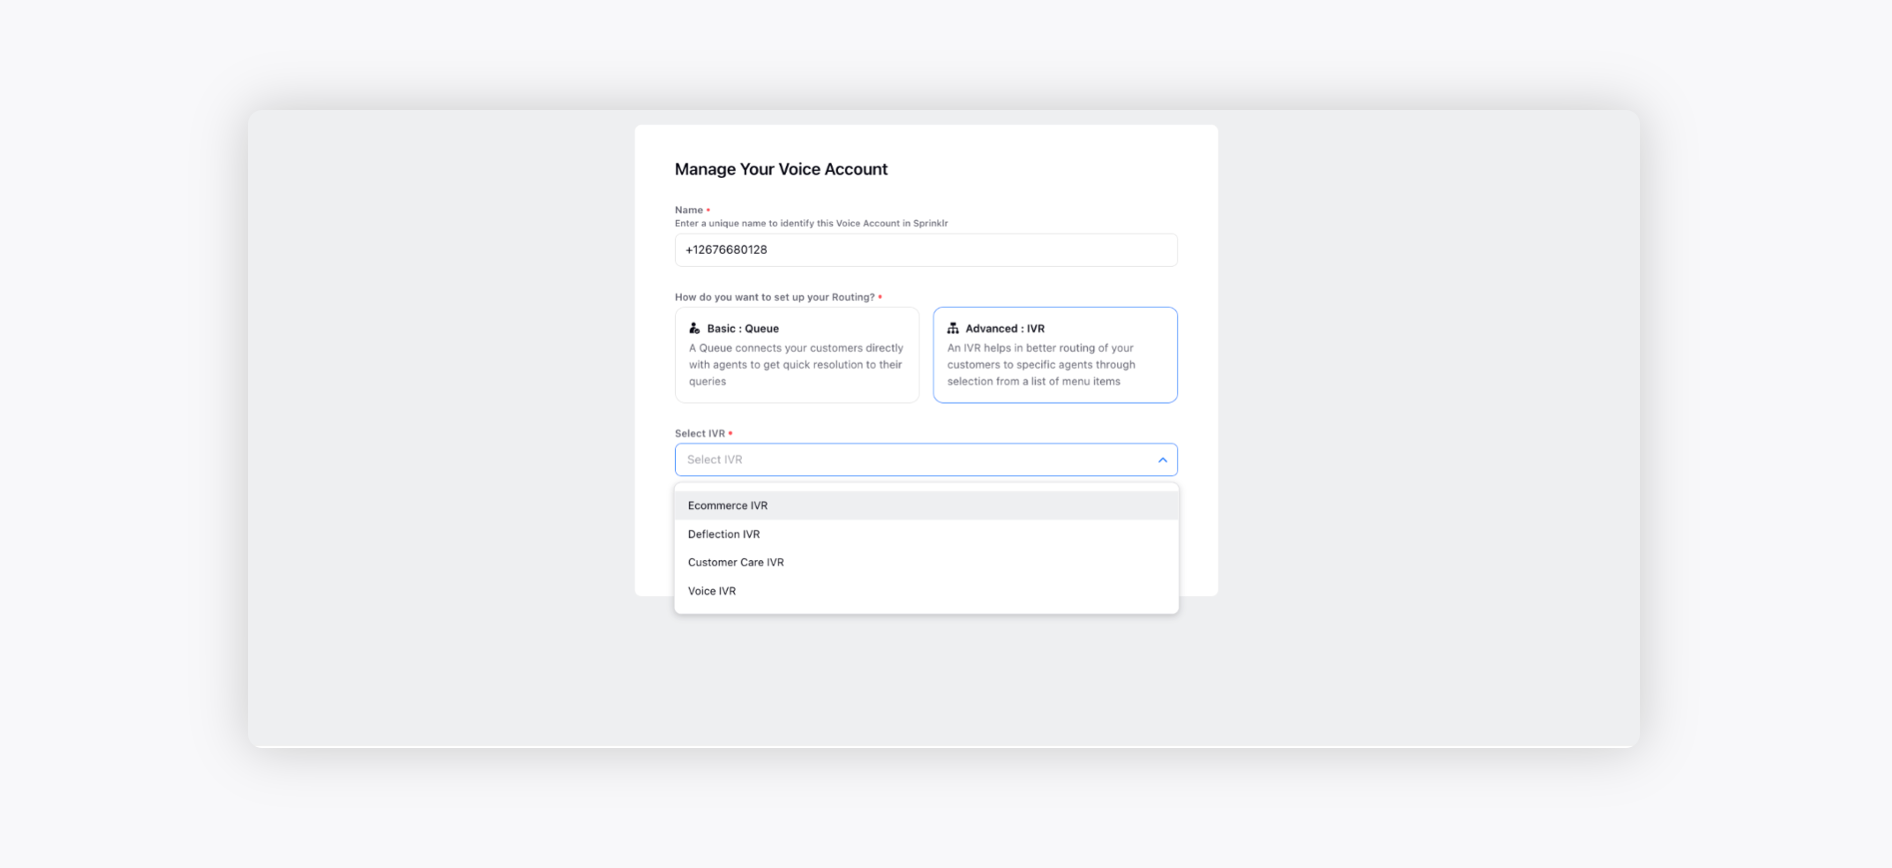
This will link the created IVR to the support number, and you can begin using the IVR.
To delete existing IVR
Log into Sprinklr Advanced. Click the Settings icon on the left Navigation Bar and under Voice Workflows, click IVR Flows.
Hover over the Options icon alongside the desired IVR and click Delete.

On the Delete pop-up window, click Delete to confirm. It will permanently delete your IVR flow.